|
SYLVIE  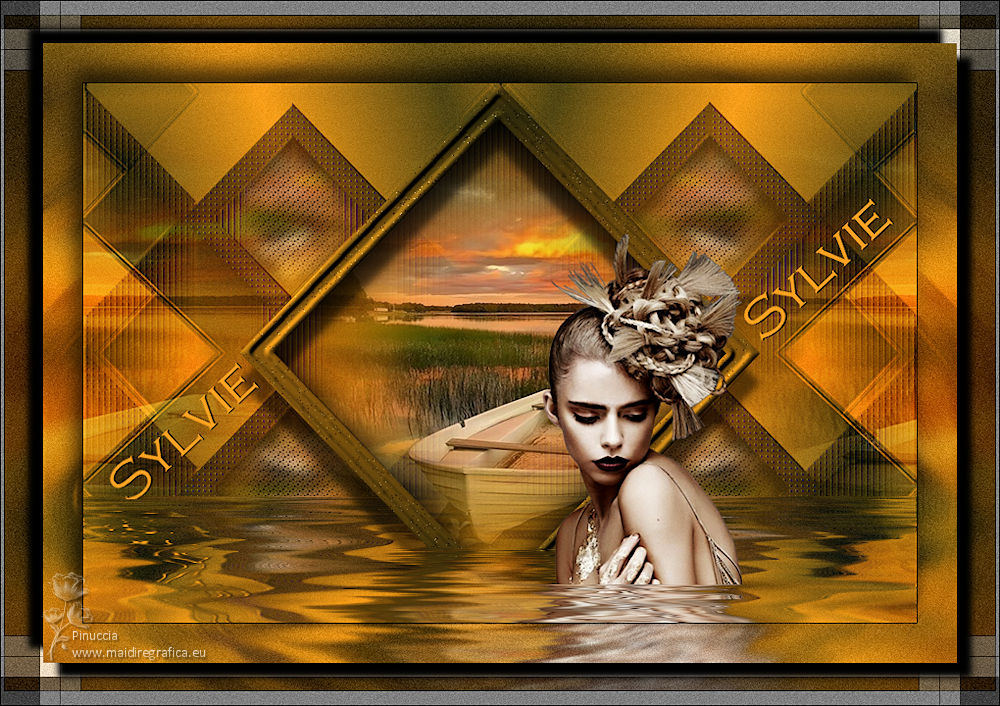

This tutorial was written with Psp2022 and translated with PspX2020, but it can also be made using other versions of PSP.
For this tutorial, you will need:  For the tubes thanks PqnaAlice. (The links of the tubemakers here).  consult, if necessary, my filter section here Filters Unlimited 2.0 here Simple - Top Left Mirror, Centre Tile, Blintz here Eye Candy 4000 here Carolaine and Sensibility - CS-LDots here Flaming Pear - Flood here Mura's Seamless - Duplicate here Toadies - What are you here Filters Mura's Seamless, Toadies and Simple can be used alone or imported into Filters Unlimited. (How do, you see here) If a plugin supplied appears with this icon  it must necessarily be imported into Unlimited it must necessarily be imported into Unlimited You can change Blend Modes according to your colors.  Copy the presets in the Presets Folder. Copy the Selection in the Selections Folder. 1. Choose 4 colors to work. Set your foreground color to #504714, and your background color to #fca219. 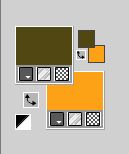 Color 3: #ffffff Color 4: #000000. Set your foreground color to a Foreground/Background Gradient, style Sunburst.  2. Open a new transparent image 850 x 550 pixels. Flood Fill  the transparent image with your Gradient. the transparent image with your Gradient.3. Effects>Plugins>Simple - Blintz This effect works without window. Result: 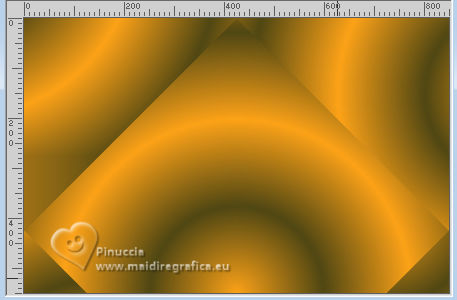 Image>Mirror>Mirror Vertical. Effects>Plugins>Simple - Blintz 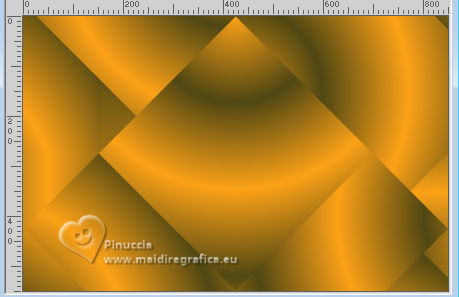 4. Effects>Reflection Effects>Rotating Mirror. 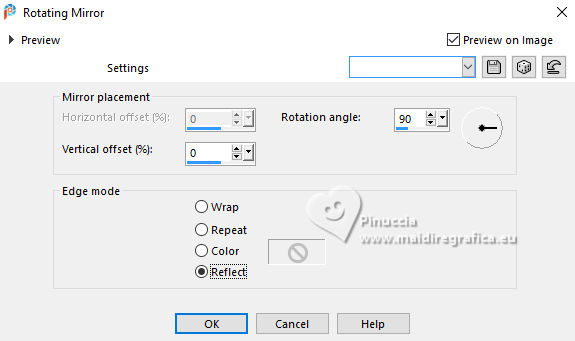 5. Effects>Reflection Effects>Rotating Mirror.  6. Effects>User Defined Filter - preset Bords de verre 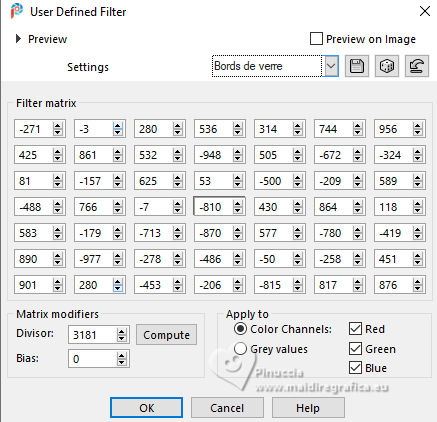 Adjust>Sharpness>Sharpen More. 7. Effects>Plugins>Simple - Top Left Mirror.  8. Selections>Load/Save Selections>Load Selection from Disk. Look for and load the selection Selection267_Xiki1 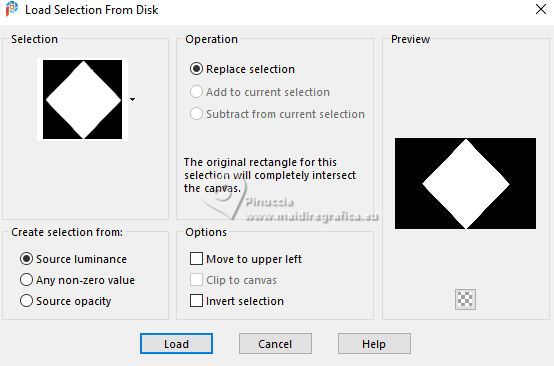 Selections>Promote Selection to Layer. Selections>Modify>Contract - 25 pixels. Press CANC on the keyboard  9. Layers>New Raster Layer. Open the misted 154PaisagemByPqnaAlice  Erase the watermark and go to Edit>Copy. minimize the tube; you'll use again Go back to your work and go to Edit>Paste Into Selection. Adjust>Sharpness>Sharpen. 10. Layers>New Raster Layer. Effects>3D Effects>Cutout, color black.  Selections>Select None. Layers>Merge>Merge Down. 11. Activate the layer Promoted Selection.  Layers>Duplicate. Effects>Plugins>Mura's Seamless - Duplicate.  12. Effects>Plugins>Carolaine and Sensibility - CS-LDots.  13. Effects>Plugins>Simple - Centre Tile.  14. Effects>Plugins>Eye Candy 4000 - Motion Trail.  15. Effects>3D Effects>Drop Shadow, color black.  Layers>Arrange>Move Down. Change the Blend Mode of this layer to Difference and reduce the opacity to 50%.  16. Effects>User Defined Filter - Emboss 3. 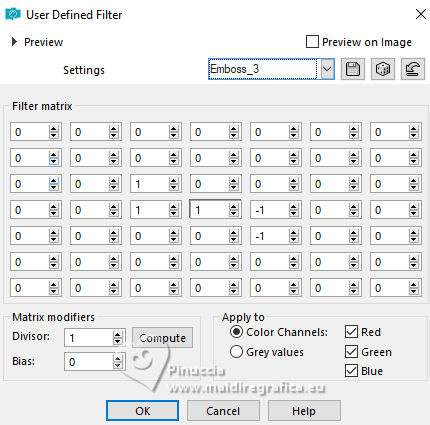 17. Activate the layer Promoted Selection. Layers>Arrange>Bring to Top. 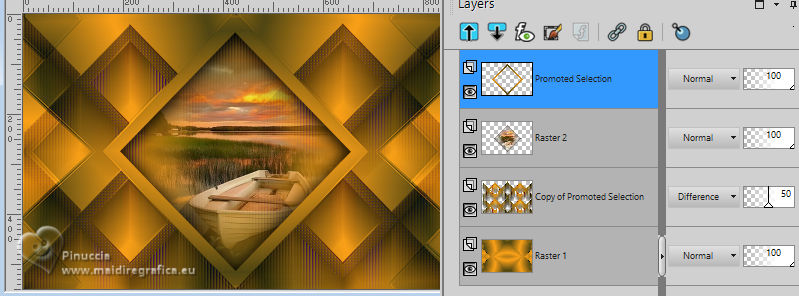 Adjust>Add/Remove Noise>Add Noise. 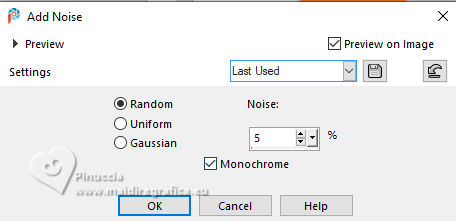 18. Effects>3D Effects>Inner Bevel. 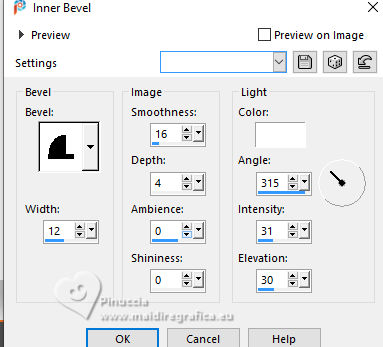 Effects>3D Effects>Drop Shadow - color black.  19. Activate the layer below, Raster 2. Layers>Duplicate. Image>Resize, 35%, resize all layers not checked. Pick Tool  Position X: 130,00 and Position Y: 54,00.  Adjust>Sharpness>Sharpen. Effects>Plugins>Simple - Top Left Mirror.  20. Adjust>Blur>Gaussian Blur - radius 5.  Effects>Texture Effects>Weave - weave color black.  Layers>Arrange>Move Down.  21. Activate your top layer, Promoted Selection. Layers>Merge>Merge Down. Close this layer and activate the layer Copy of Raster 2.  Layers>Merge>Merge Visibile. 22. Stay on this layer.  Effects>Plugins>Flaming Pear - Flood  23. Open and activate the layer above, Raster 2. Repeat Effects>Plugins>Flaming Pear - Flood - Change Horizon with 80 and ok.  24. Open TituloSylvie_ByXiki  Edit>Copy. Go back to your work and go to Edit>Paste as New Layer. Pick Tool Position X: 0,00 - Position Y: 117.00.  Colorize, to adapt according to your colors. 25. Open the woman's tube 717MulherByPqnaAlice  Erase the watermark and go to Edit>Copy. Go back to your work and go to Edit>Paste as New Layer. Image>Mirror>Mirror horizontal. Image>Resize, 80%, resize all layers not checked. Move  the tube to the right side. the tube to the right side.Effects>Plugins>Flaming Pear - Flood.  26. After applying Flood, move the tube further down and position it to your liking. For me  27. Activate your bottom layer, Merged. Layers>New Raster Layer. Selections>Select All. Activate again your misted 154PaisagemByPqnaAlice and go to Edit>Copy. Go back to your work and go to Edit>Paste into Selection. Selections>Select None. 28. Effects>Image Effects>Seamless Tiling - Side by side.  Change the Blend Mode of this layer to Soft Light.  29. Activate again your bottom layer, Merged. Adjust>Add/Remove Noise>Add Noise.  30. Edit>Copy Special>Copy Merged. 31. Image>Add Borders - 1 pixel, symmetric, color black. Selections>Select All Image>Add Borders - 40 pixels, symmetric, whatever color. Selections>Invert. Edit>Paste Into Selection 32. Adjust>Blur>Radial Blur.  Adjust>Add/Remove Noise>Add Noise.  33. Selections>Invert. Effects>3D Effects>Drop Shadow, color black.  Selections>Select None. 34. Image>Add Borders - 1 pixel, symmetric, color black. Image>Add borders, 20 pixels, symmetric, color white. Image>Add Borders - 1 pixel, symmetric, color black. Image>Add borders, 20 pixels, symmetric, color white. Image>Add Borders - 1 pixel, symmetric, color black. 35. Selections>Select All. Selections>Modify>Contract - 43 pixels. Selections>Invert. Effects>Plugins>Toadies - What are you, default settings.  36. Adjust>Add/Remove Noise>Add Noise. Selections>Invert. 37. Effects>3D Effects>Drop Shadow, color black.  Effects>3D Effects>Drop Shadow, color black.  Selections>Select None. 38. Image>Add Borders - 1 pixel, symmetric, color black. 39. Image>Resize, 1000 pixels width, resize all layers checked. Adjust>Sharpness>Unsharp Mask.  40. Sign your work and save as jpg. For the tubes of this version thanks NaiseM and Sdt(Sharlimar) 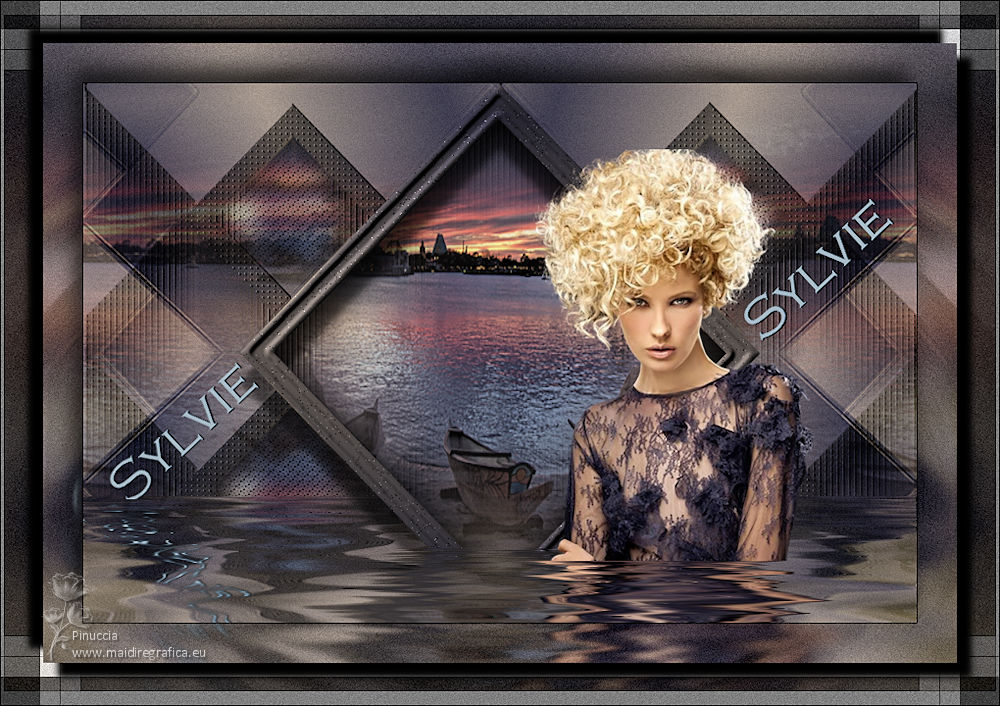  Your versions. Thanks 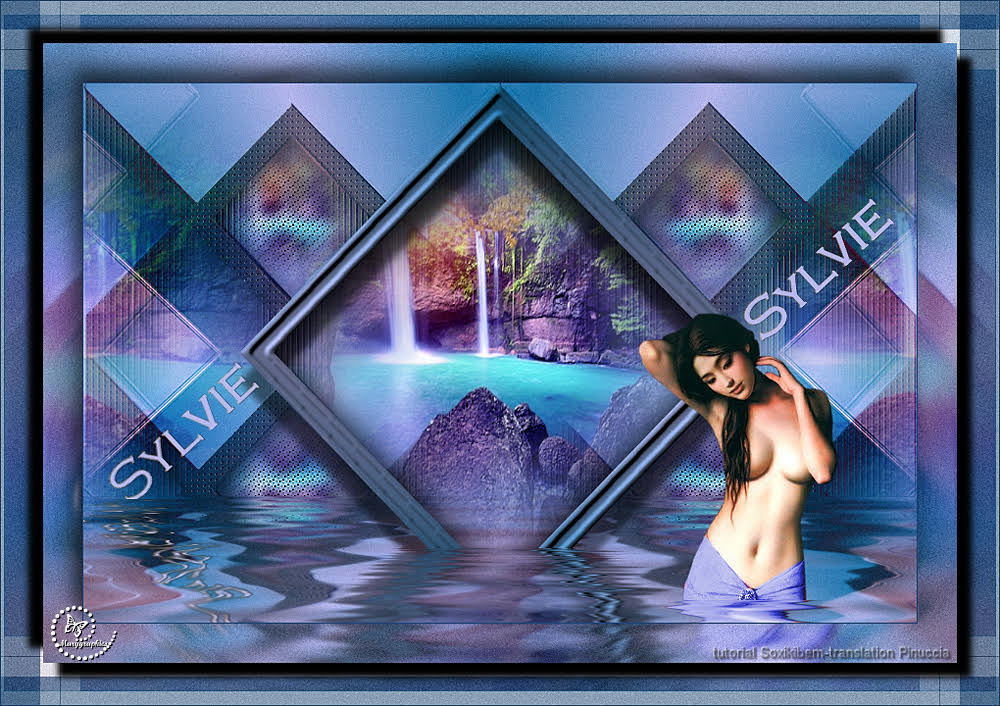 Marygraphics 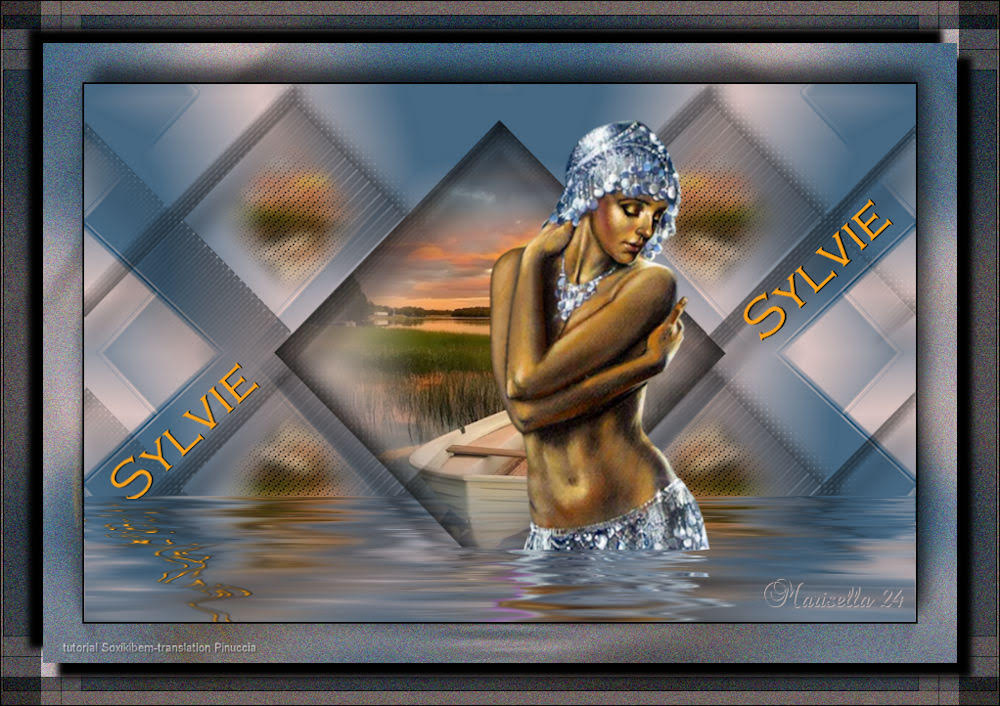 Marisella 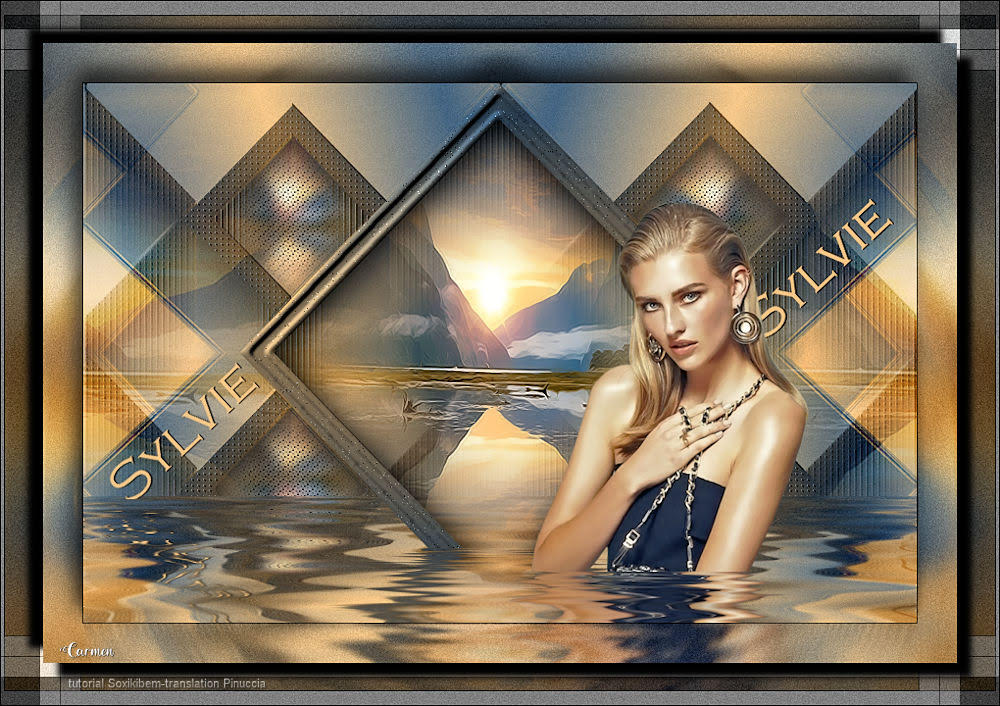 Carmen 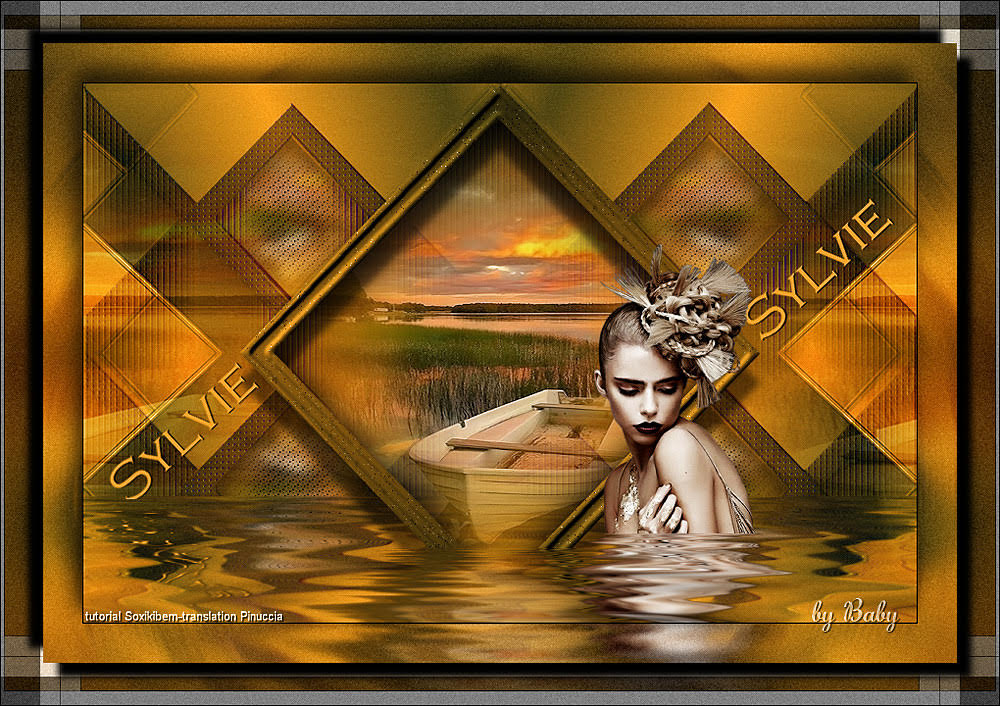 Baby 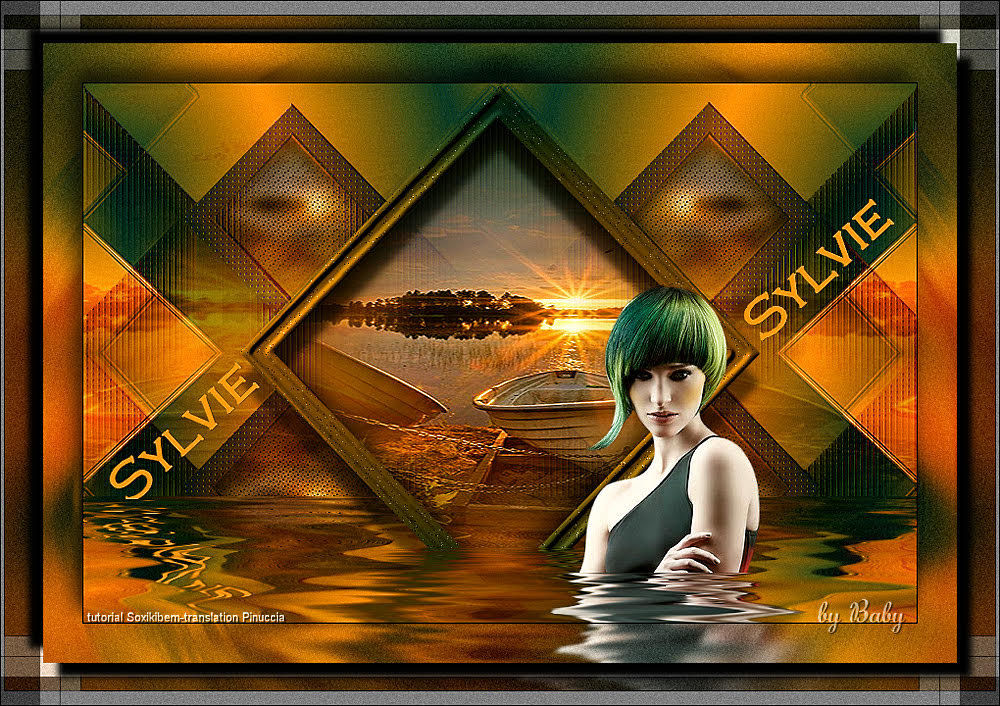 Baby 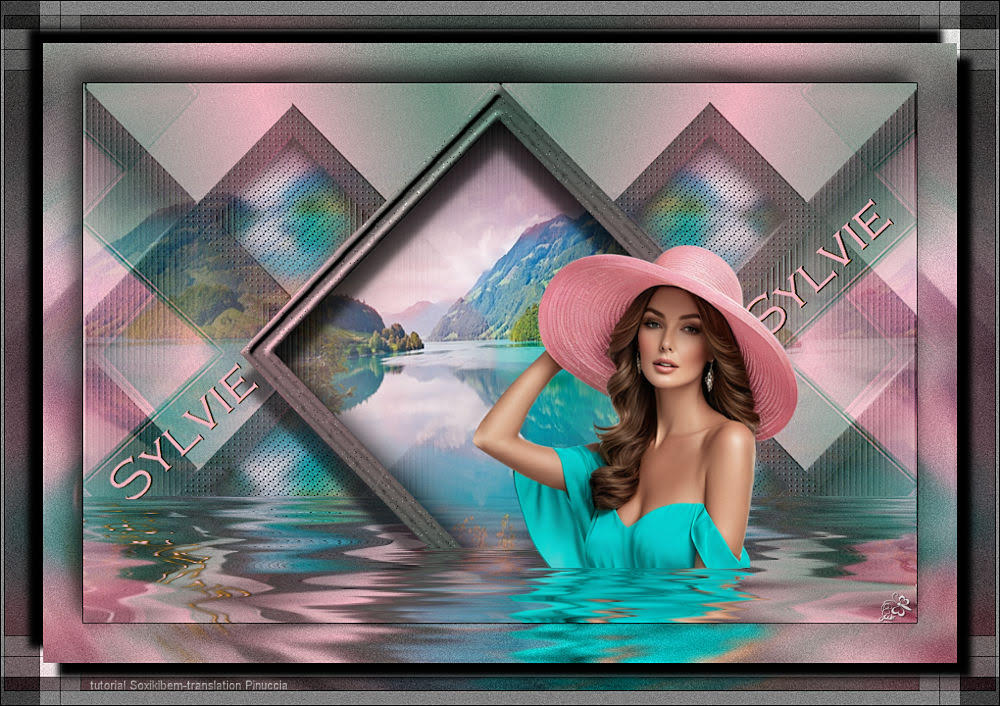 Jolcsi  Melodi  Nadège   If you have problems or doubts, or you find a not worked link, or only for tell me that you enjoyed this tutorial, write to me. 21 May 2024 |