|
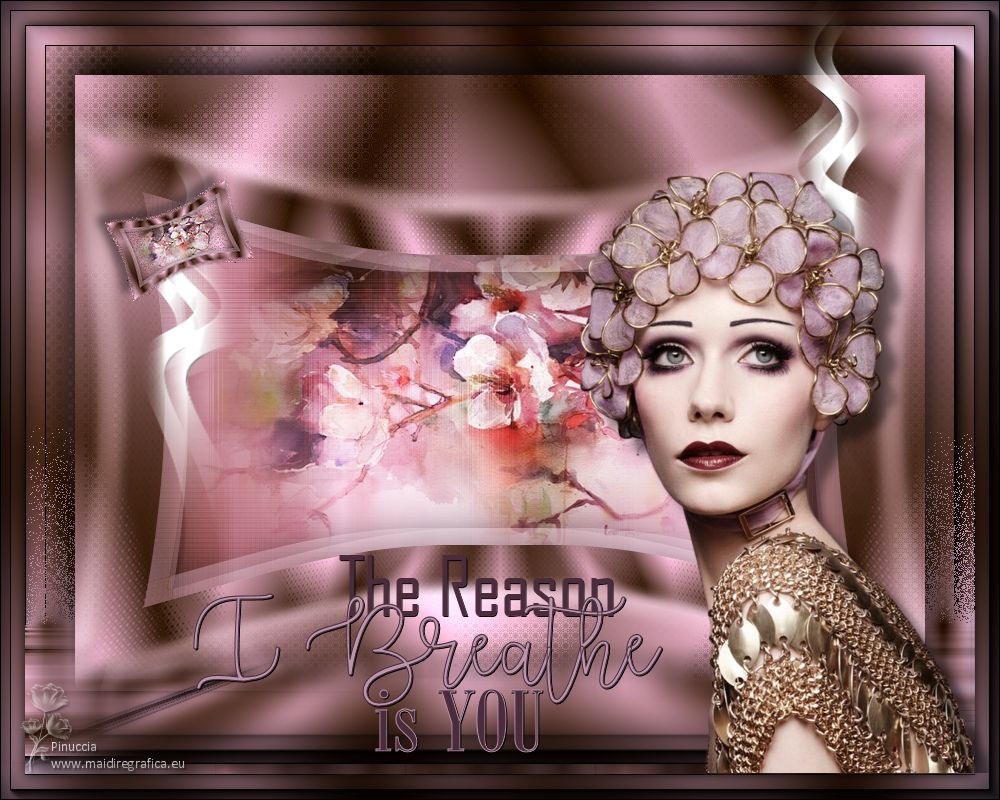
THE REASON I BREATH IS YOU


Thanks Soxikibem for your invitation to translate your tutorials into english

This tutorial was written with Psp2022 and translated with PspX17, but it can also be made using other versions of PSP.
Since version PSP X4, Image>Mirror was replaced with Image>Flip Horizontal,
and Image>Flip with Image>Flip Vertical, there are some variables.
In versions X5 and X6, the functions have been improved by making available the Objects menu.
In the latest version X7 command Image>Mirror and Image>Flip returned, but with new differences.
See my schedule here
For this tutorial, you will need:

For the tubes thanks PqnaAlice
The rest of the material is by Soxikibem.
(The links of the tubemakers here).

consult, if necessary, my filter section here
Filters Unlimited 2.0 here
AAA Frames - Foto Frame here
Funhouse - Polar Perversion, Cirquelate here
It@lian Editors Effect - Effetto Fantasma here
Mehdi - Weaver here
Mura's Meister - Perspective Tiling here
Simple - Diamonds here
Filters It@lian Editors, Funhouse and Simple can be used alone or imported into Filters Unlimited.
(How do, you see here)
If a plugin supplied appears with this icon  it must necessarily be imported into Unlimited it must necessarily be imported into Unlimited

You can change Blend Modes according to your colors.
In the newest versions of PSP, you don't find the foreground/background gradient (Corel_06_029).
You can use the gradients of the older versions.
The Gradient of CorelX here

1. Choose 2 colors from your material.
Foreground color #25190d
background color #ba95ac
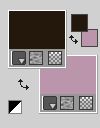
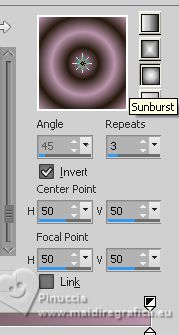
Set your foreground color to a Foreground/Background Gradient, style Sunburst.
2. Open a new transparent image 850 x 650 pixels.
Flood Fill  the transparent image with your Gradient. the transparent image with your Gradient.
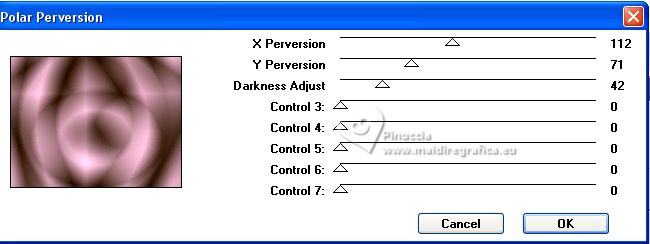
3. Effects>Plugins>Funhouse - Polar Perversion.
4. Effects>Plugins>Funhouse Cirquelate.
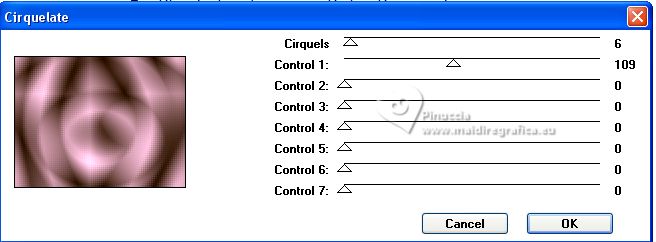
5. Layers>Duplicate.
Image>Resize, to 60%, resize all layers not checked.
Effects>Distortion Effects>Warp.
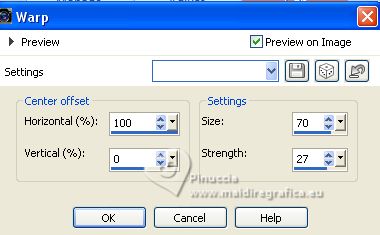
6. Objects>Align>Right.
Layers>Duplicate.
Image>Mirror.
Layers>Merge>Merge Down.
7. Selections>Select All.
Selections>Float.
Selections>Defloat.
Selections>Modify>Contract - 50 pixels.
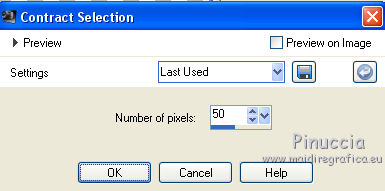
Press CANC on the keyboard 
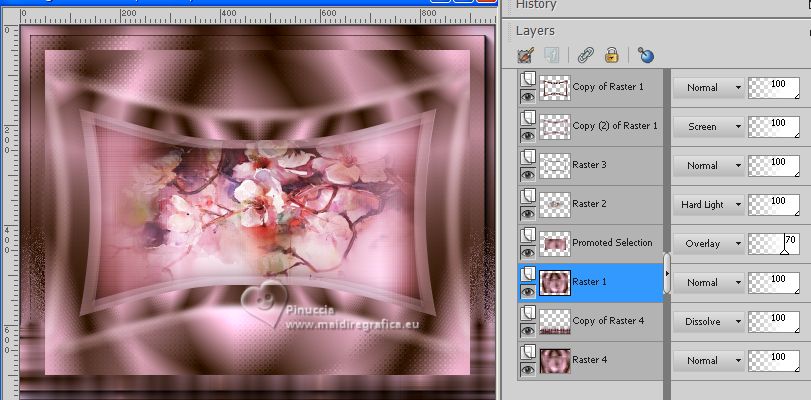
8. Activate your bottom layer, Raster 1.
Effects>Plugins>Mehdi - Weaver.
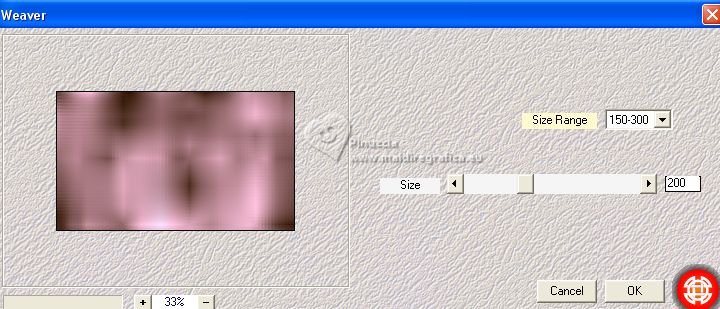
Selections>Promote Selection to layer.
Change the Blend Mode of this layer to Overlay and reduce the opacity to 70%.
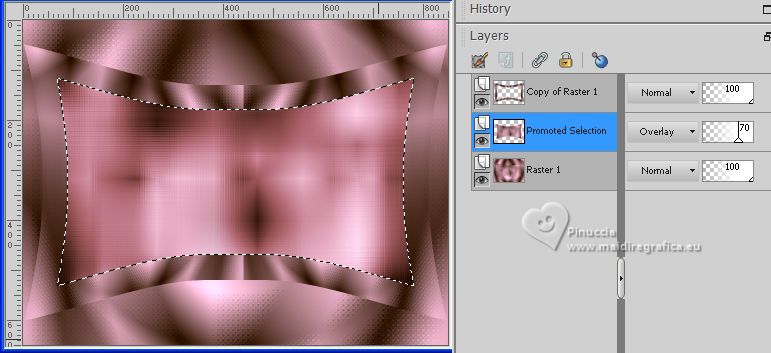
Keep selected.
9. Layers>New Raster Layer.
Open the floral or landscape misted, for me 135PaisagemByPqnaAlice 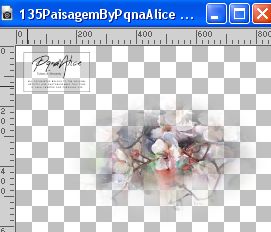
Erase the watermark and go to Edit>Copy.
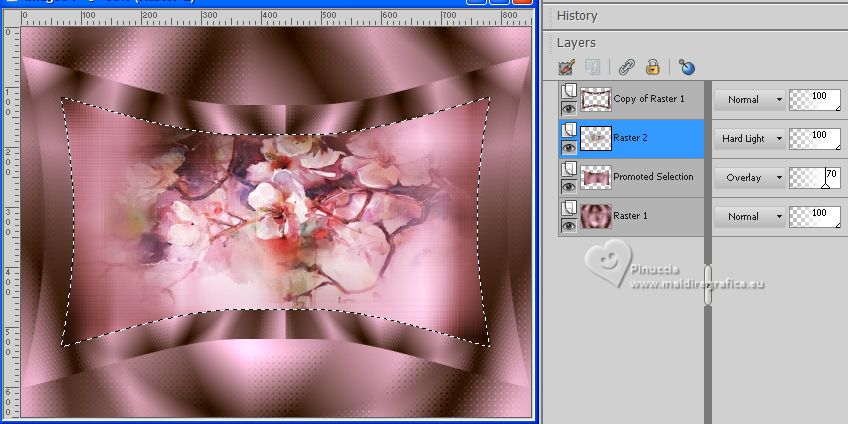
Go back to your work and go to Edit>Paste into Selection.
Change the Blend Mode of this layer to Hard Light.
Keep selected.
10. Layers>New Raster Layer.
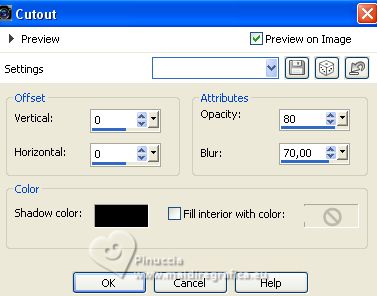
Effects>3D Effects>Cutout.
Selections>Select None.
11. Activate your top layer, Copy of Raster 1.
Effects>Reflection Effects>Rotating Mirror.

12. Activate your Magic Wand Tool  , tolerance and feather 0, , tolerance and feather 0,
and click in the 4 zones of this effect.
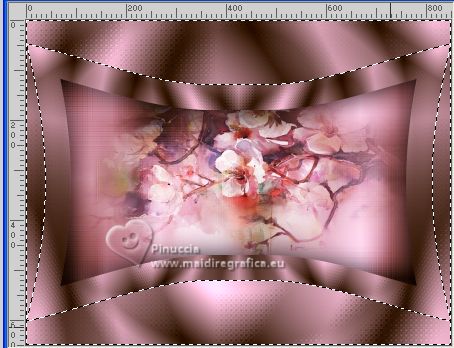
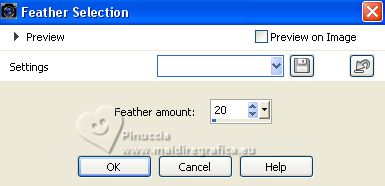
Selections>Modify>Feather - 20 pixels.
Press 5 times CANC on the keyboard.
Selections>Select None.
13. Layers>Duplicate.
Effects>Plugins>It@lian Editors Effect - Effetto Fantasma.
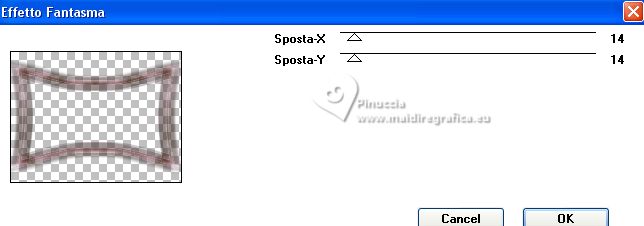
Change the Blend Mode of this layer to Screen.
Layers>Arrange>Move Down.
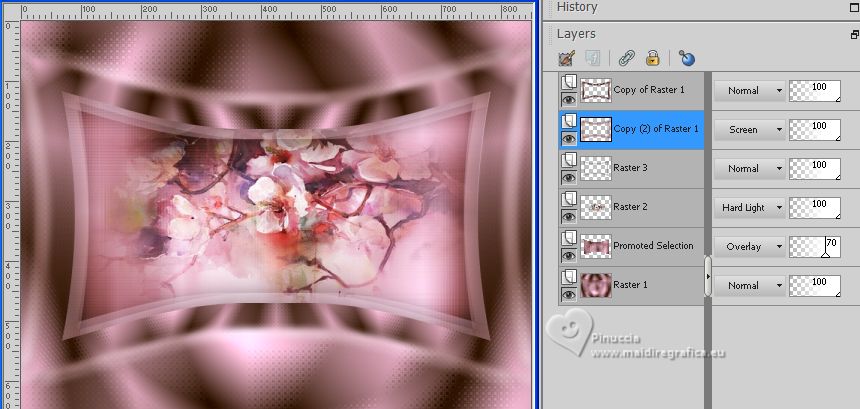
14. Close the layer Raster 1.
Edit>Copy Special>Copy Merged.
Edit>Paste as new image, and minimize this image for the moment.
15. Go back to your work.
Open and activate the layer Raster 1.
Edit>Copy.
Layers>New Raster Layer.
Layers>Arrange>Move Down.
Image>Canvas Size - 950 x 750 pixels
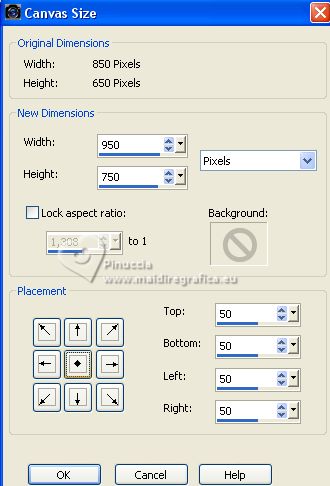
16. Selections>Select All.
Edit>Paste into Selection.
Effects>Plugins>AAA Frames - Foto Frame.
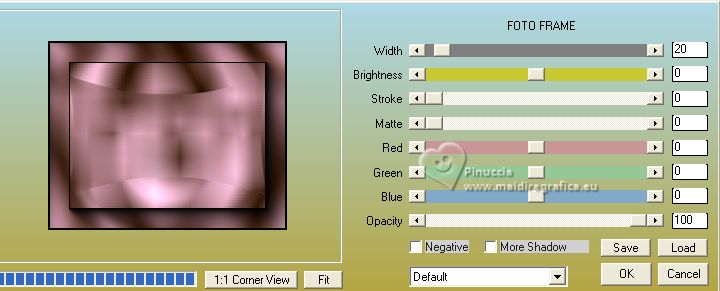
Selections>Select None.
17. Layers>Duplicate.
Effects>Plugins>Mura's Meister - Perspective Tiling.
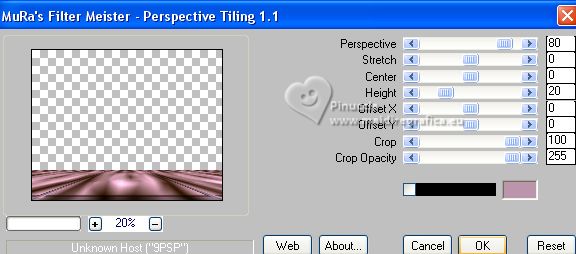
18. Effects>Plugins>Mehdi - Weaver, same settings.
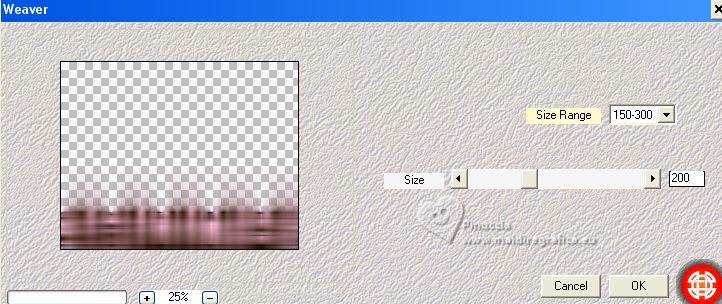
Change the Blend Mode of this layer to Dissolve.
19. Activate the layer Raster 1.
Selection Tool 
(no matter the type of selection, because with the custom selection your always get a rectangle)
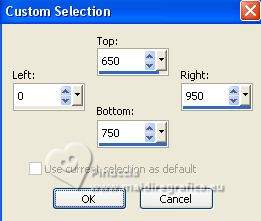
clic on the Custom Selection 
and set the following settings.
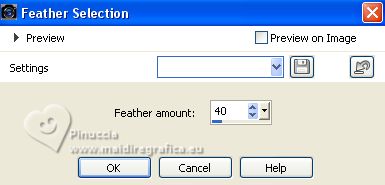
20. Selections>Modify>Feather - 40 pixels.
Press 2 times CANC on the keyboard.
Selections>Select None.
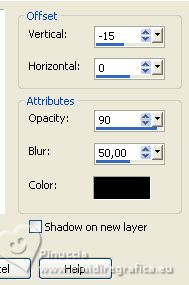
Effects>3D Effects>Drop Shadow, color black.
21. Activate your bottom layer, Raster 4.
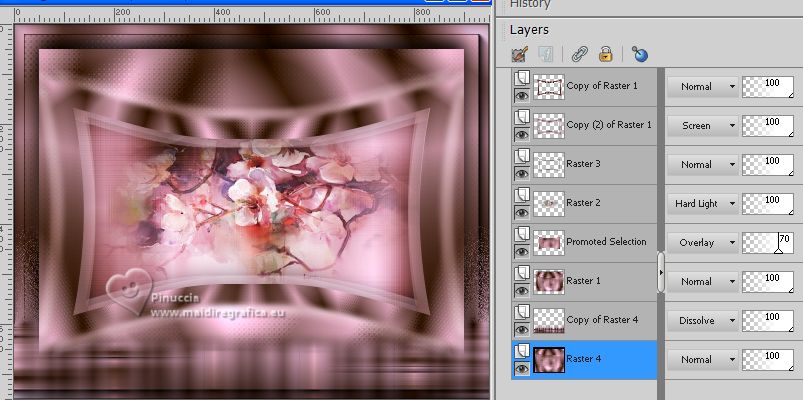
Edit>Copy.
Layers>New Raster Layer.
Layers>Arrange>Move Down.
Image>Canvas Size - 1000 x 800 pixels
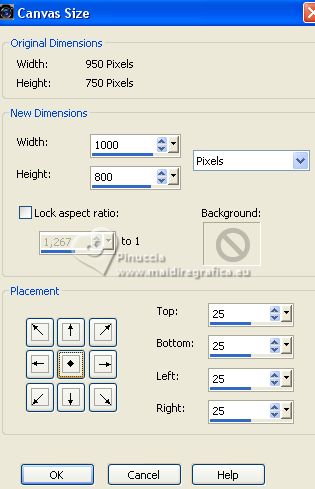
22. Selections>Select All.
Edit>Paste into Selection.
Adjust>Blur>Gaussian Blur - 20 pixels.

Effects>Plugins>AAA Frames - Foto Frame.
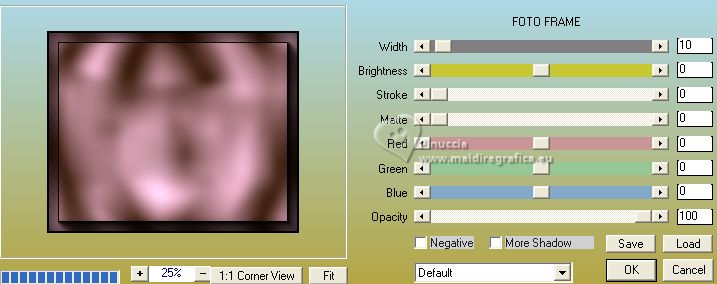
23. Selections>Modify>Contract - 25 pixels.
Effects>3D Effects>Drop Shadow, color black.
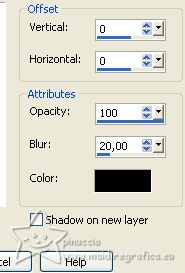
Selections>Select None.
24. Layers>Duplicate.
Effects>Plugins>Mura's Meister - Perspective Tiling.
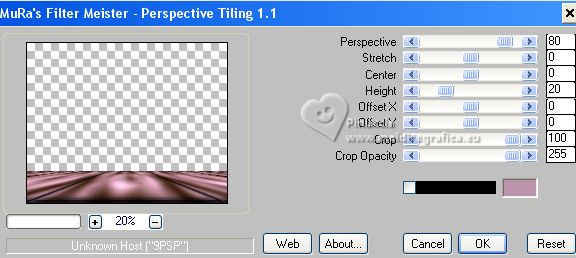
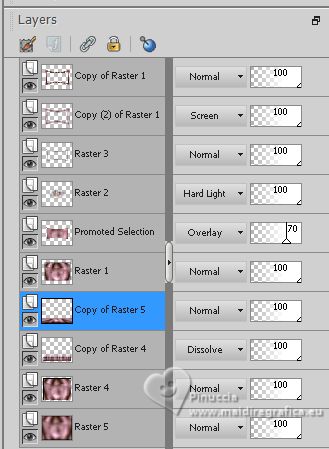
25. Layers>Arrange>Move up (over the layer Copy of Raster 4)
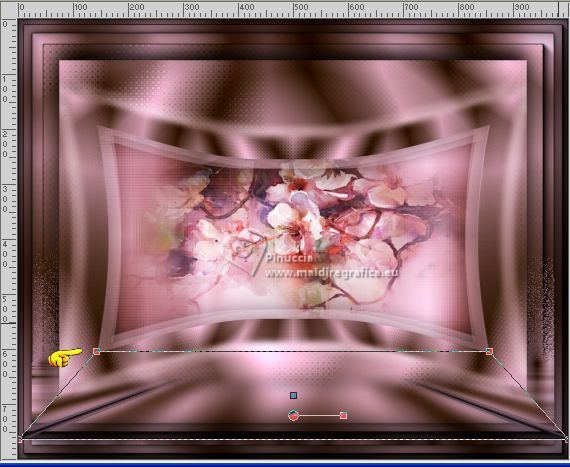
26. Pick Tool to activate your Pick Tool 
keep Position X: 0,00 and set Position Y: 604,00.

Set your Pick Tool in Mode Perspective
push the top left node to the right (the right node will move symmetrically to the left)
Activate your Magic Wand Tool  , tolerance 0 and feather 100 , tolerance 0 and feather 100
Click on the transparent part to select it.
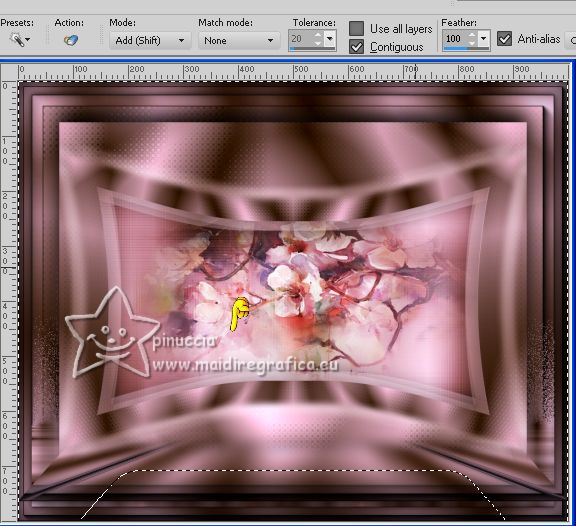
Press 10 times CANC on the keyboard.
Selections>Select None.
don't forget to set again the feather to 0
27. Activate your top layer (Copy of Raster 1).
Open DecorBySoxikibem 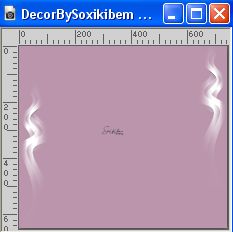
Edit>Copy.
Go back to your work and go to Edit>Paste as new layer.
Pick Tool 
and set Position X: 137,00 and Position Y: 0,00.

28. Activate the image minimized at step 14 and work on it.
Image>Resize, to 15%, resize all layers checked.
Adjust>Sharpness>Sharpen.
Layers>Duplicate.
Change the Blend Mode of this layer to Dissolve.
Layers>Merge>Merge visible.
29. Edit>Copy.
Go back to your work and go to Edit>Paste as new layer.
Image>Free rotate - 20 degrees to left.
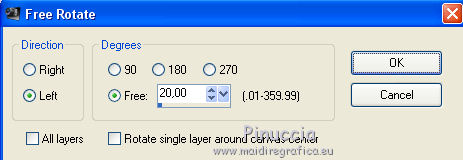
Pick Tool 
and set Position X: 104,00 and Position Y: 177,00.

Adjust>Sharpness>Sharpen.
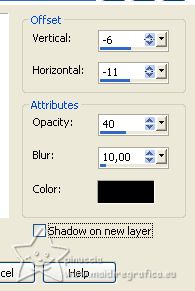
Effects>3D Effects>Drop Shadow, colore black.
30. Open TituloTR_bySoxikibem 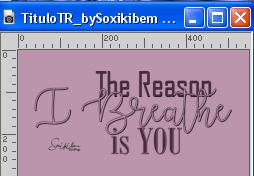
Edit>Copy.
Go back to your work and go to Edit>Paste as new layer.
Place  the text to your liking. the text to your liking.
31. Open the woman's tube 1034MulherByPqnaAlice 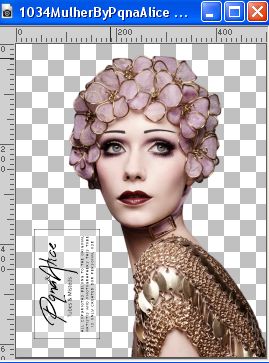
Edit>Copy.
Go back to your work and go to Edit>Paste as new layer.
Place  the tube to your liking. the tube to your liking.
Effects>3D Effects>Drop Shadow or an effect at your choice.
43. Sign your work on a new layer.
Layers>Merge>Merge All and save as jpg.
For the tube of this version thanks Gabry; the misted is mine.
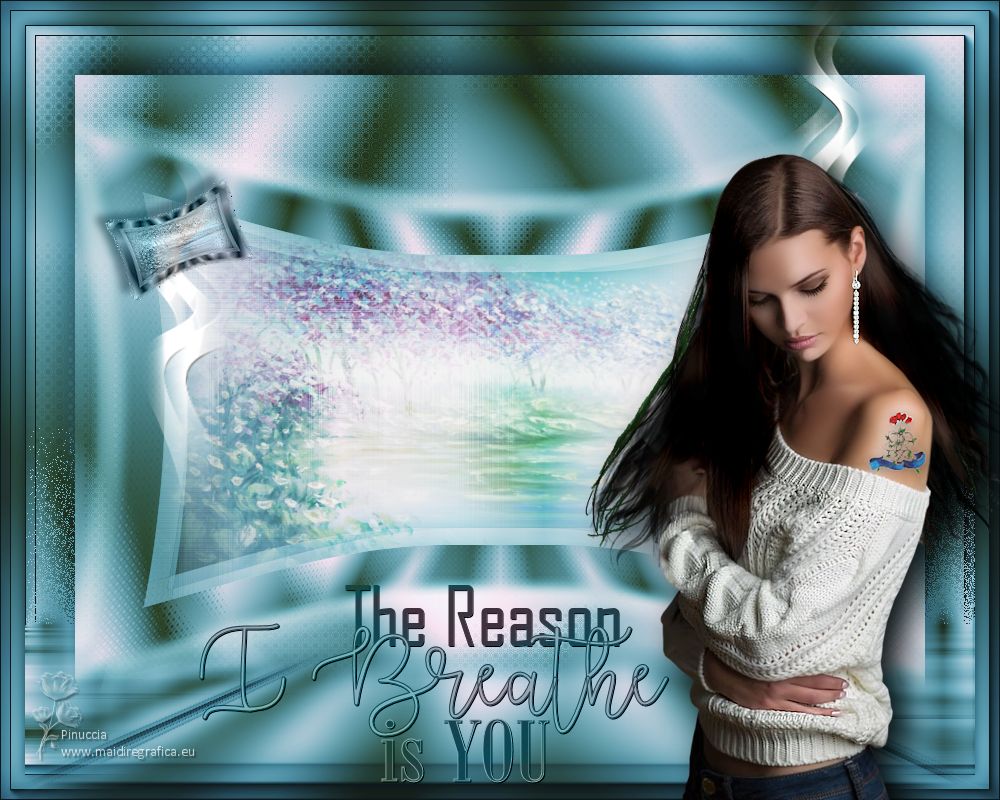

Your versions. Thanks
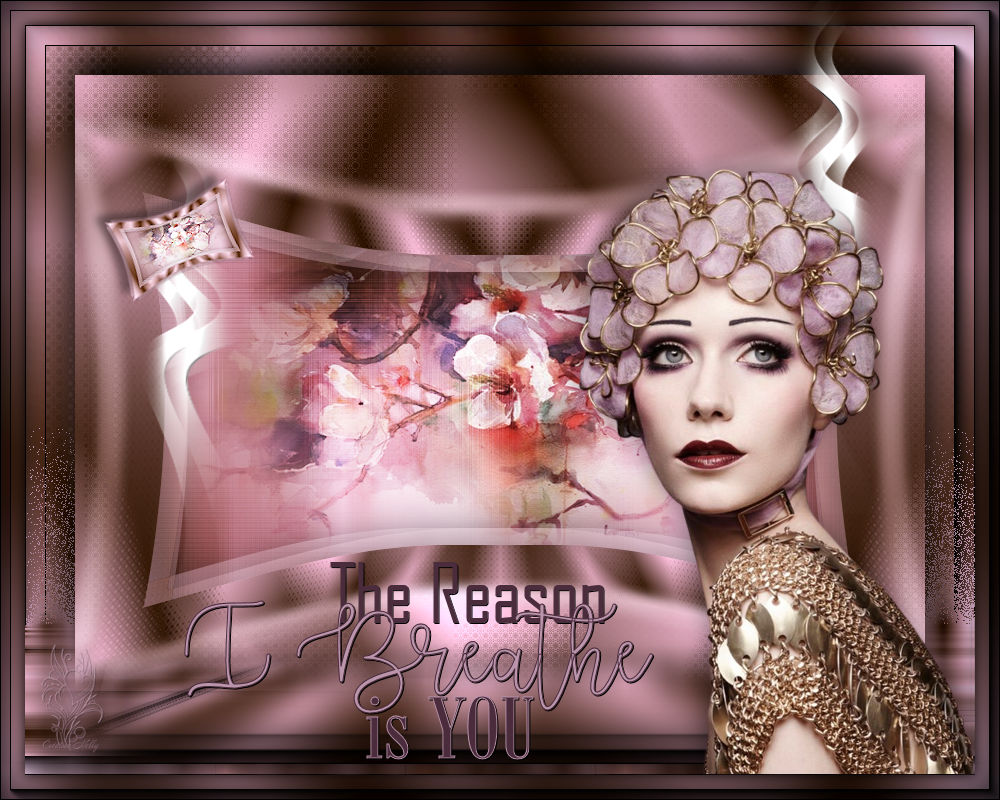
Nelly


If you have problems or doubts, or you find a not worked link, or only for tell me that you enjoyed this tutorial, write to me.
1 July 2023

|

