|
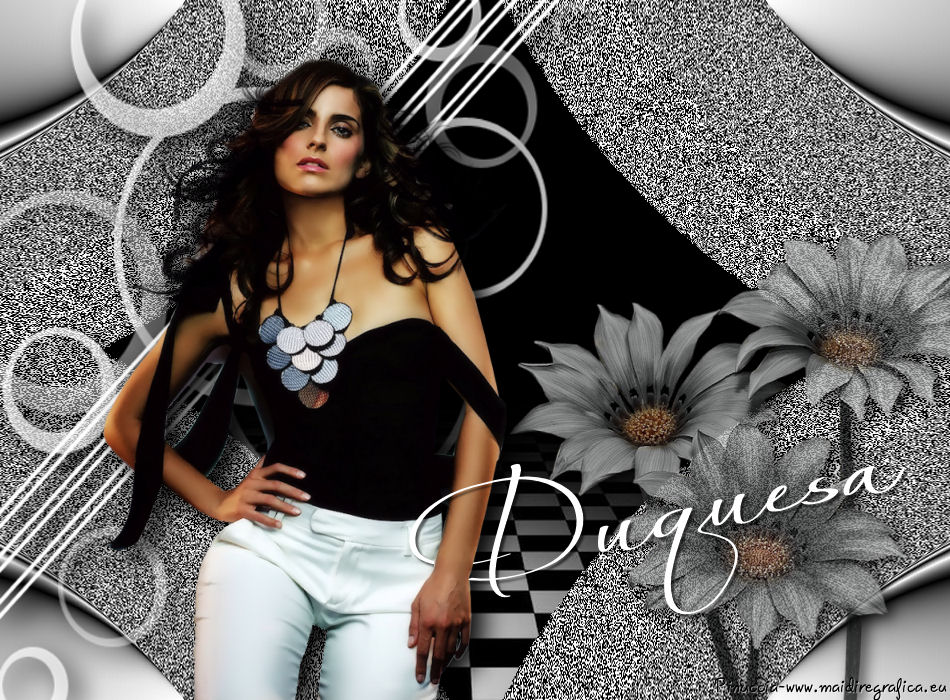
TOP DUQUESA
 english version english version


This tutorial was created with PSP 9 and translated with Corel X3, but it can also be made using other versions of PSP.
Since version PSP X4, Image>Mirror was replaced with Image>Flip Horizontal,
and Image>Flip with Image>Flip Vertical, there are some variables.
In versions X5 and X6, the functions have been improved by making available the Objects menu.
In the latest version X7 command Image>Mirror and Image>Flip returned, but with new differences.
See my schedule here
Italian translation here
French translation here
Your versions here
For this tutorial, you will need:
Material here
The tube is by ClaudiaViza.
One of the masks is by Astrid.
(The links of the tubemakers here).
Plugins
consult, if necessary, my filter section here
Filters Unlimited 2.0 here
Scribe - 4way mirror here
VanDerLee - Unplugged X here
VM Toolbox - Instant Tile here
Filters Scribe and VM Toolbox can be used alone or imported into Filters Unlimited.
(How do, you see here)
If a plugin supplied appears with this icon  it must necessarily be imported into Unlimited it must necessarily be imported into Unlimited

You can change Blend Modes according to your colors.
In the newest versions of PSP, you don't find the foreground/background gradient (Corel_06_029).
You can use the gradients of the older versions.
The Gradient of CorelX here
Open the font and minimize. You'll find it in the list of fonts available when you need it.
With the most recent o.s., this is no longer possible.
To use a font, you must copy it into the Fonts folder in Windows.
Copy the Masks in the Masks Folder.
Copy the Selection in the Selections Folder.
1. Open a new transparent image 950 x 700 pixels.
2. Set your foreground color to color white #ffffff,
and your background color to color black #000000.
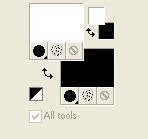
Set your foreground color to a Foreground/Background Gradient, style Sunburst.
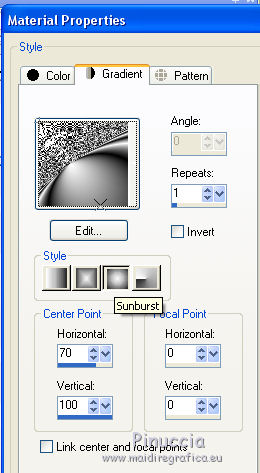
Flood Fill  the transparent image with your Gradient. the transparent image with your Gradient.
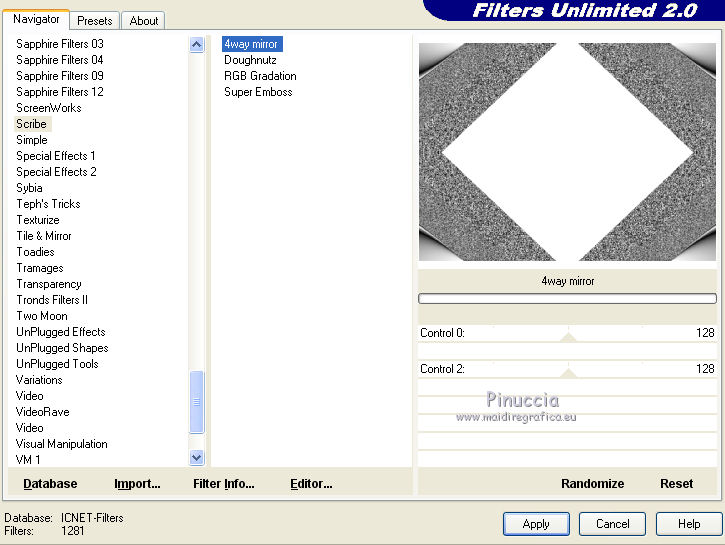
3. Effects>Plugins>Filters Unlimited 2.0 - Scribe - 4way mirror, default settings.
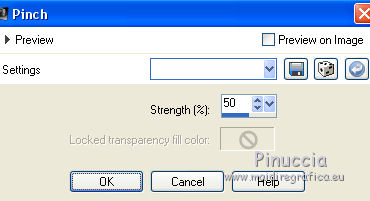
4. Effects>Distortion Effects>Pinch.
Result.
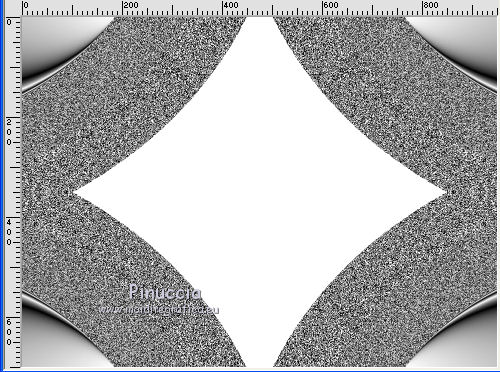
5. Activate the Magic Wand Tool 
and click on the withe space to select it
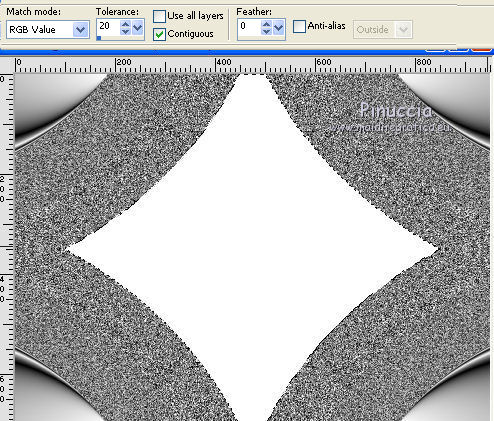
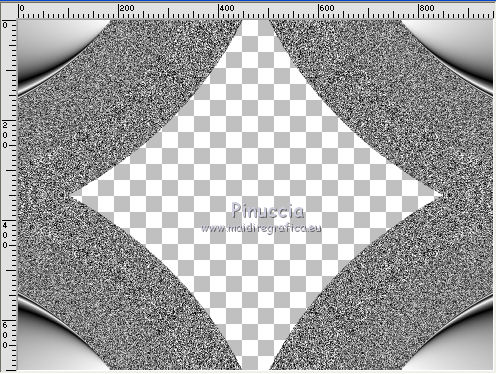
Press CANC on the keyboard 
Selections>Select None.
Result
6. Layers>New Raster Layer.
Flood Fill  with your black background color #000000. with your black background color #000000.
Layers>Arrange>Send to Bottom.
7. Layers>New Raster Layer.
Set your foreground color to Color.
Flood Fill  the layer with color white #ffffff. the layer with color white #ffffff.
8. Layers>Load/Save Mask>Load Mask from Disk.
Look for and load the mask Empty_1400x1050.
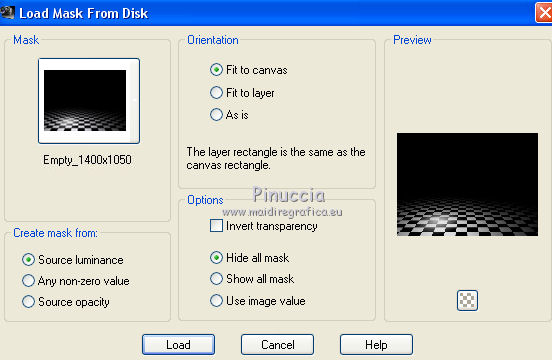
Layers>Merge>Merge Group.
9. Selections>Load/Save Selection>Load Selection from Disk.
Look for and load the selection Nicole-Cibi.
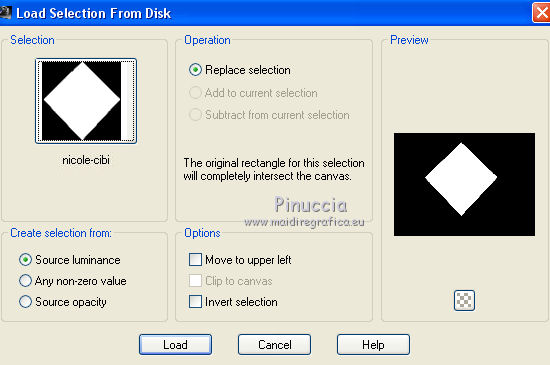
Selections>Promote Selection to Layer.
Flood Fill  with color white #ffffff. with color white #ffffff.
Selections>Select None.
10. Move  the figure in the middle, as below. the figure in the middle, as below.
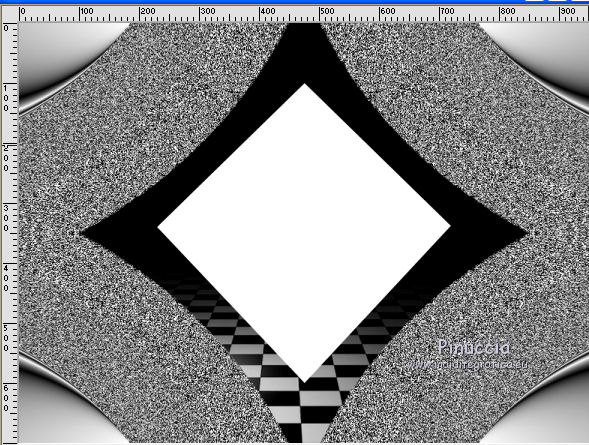
11. Effects>Distortion Effects>Pinch, 3 times, same settings.

Result

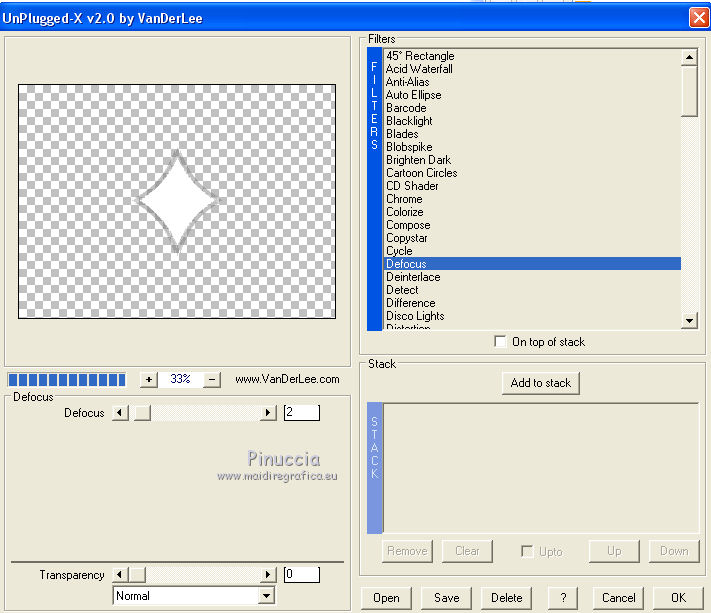
12. Effects>Plugins>VanDerLee - Unplugged-X - Defocus.
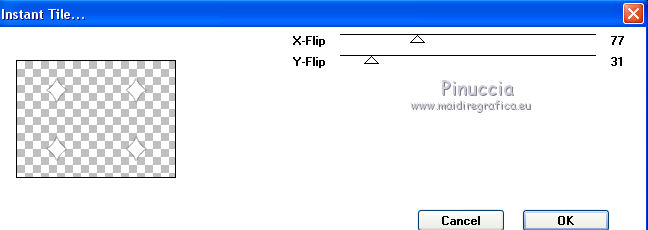
13. Effects>Plugins>VM Toolbox - Instant Tile.
14. Layers>Merge>Merge visible.
15. Layers>New Raster Layer.
Flood Fill  with color white #ffffff. with color white #ffffff.
16. Layers>Load/Save Mask>Load Mask from Disk.
Look for and load the mask Astrid masker 127.
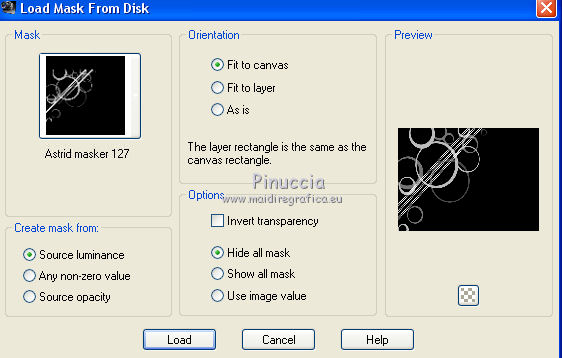
Layers>Merge>Merge Group.
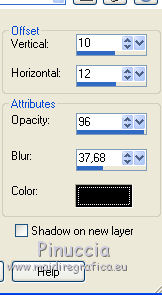
17. Effects>3D Effects>Drop Shadow.
18. Open the flower tube and go to Edit>Copy.
Go back to your work and go to Edit>Paste as new layer.
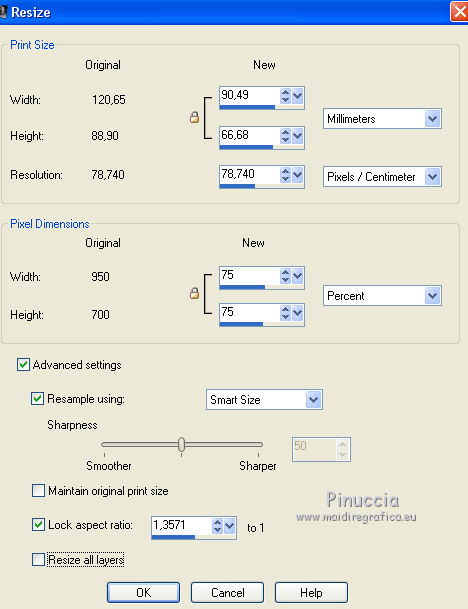
Image>Resize, to 75%, resize all layers not checked.
19. Effects>Image Effects>Offset.
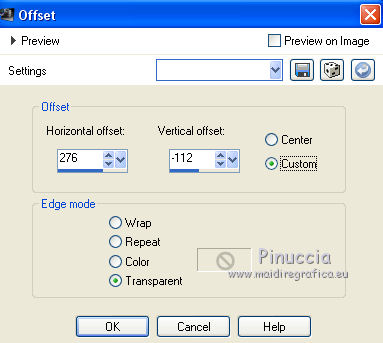
Reduce the opacity of this layer to 78%.
20. Open the tube della donna di ClaudiaViza and go to Edit>Copy.
Go back to your work and go to Edit>Paste as new layer.
Image>Resize, to 80%, resize all layers not checked.
21. Effects>Image Effects>Offset.
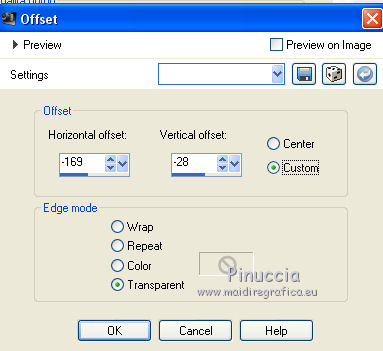
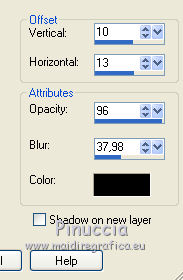
22. Effects>3D Effects>Drop Shadow.
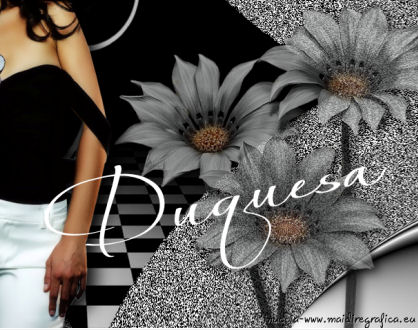
23. Activate the Text Tool  , font Always Regular , font Always Regular
you should adapt the size, according to your text and your PSP version

Write your text.
Layers>Convert to Raster Layer.
Image>Free Rotate - 13 degrees to left.
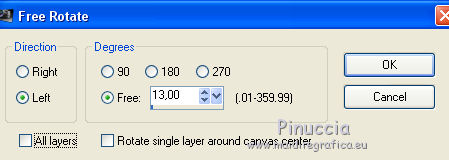
Place  the text as below. the text as below.
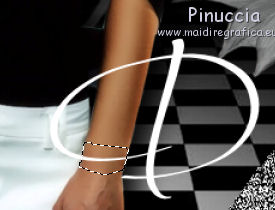
Activate the Eraser Tool 
and erase the first part of the initial that must be invisible, to give the impression of wrapping the arm
 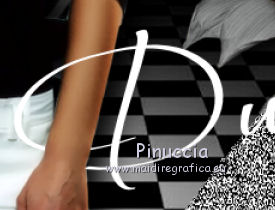
Effects>3D Effects>Drop Shadow, at your choice.
23. Sign your work.
Layers>Merge>Merge All and save as jpg.

If you have problems or doubt, or you find a not worked link, or only for tell me that you enjoyed this tutorial, write to me.
30 September 2017
|
 english version

 english version