|
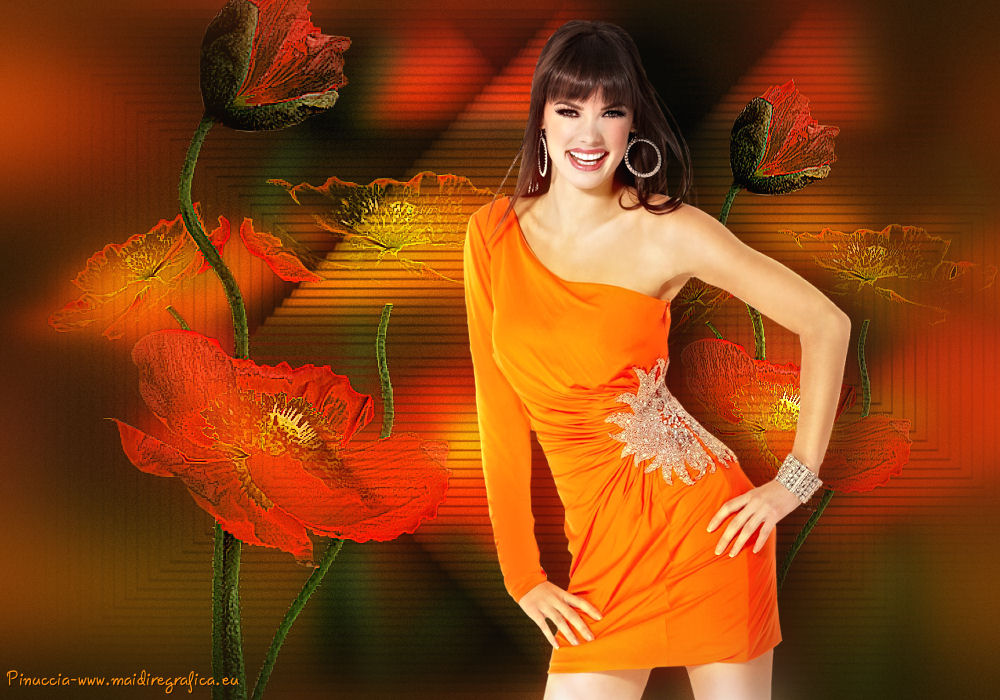
TOP HAPPINESS
english version


This tutorial was created with PSPX7 and translated with Corel X3, but it can also be made using other versions of PSP.
Since version PSP X4, Image>Mirror was replaced with Image>Flip Horizontal,
and Image>Flip with Image>Flip Vertical, there are some variables.
In versions X5 and X6, the functions have been improved by making available the Objects menu.
In the latest version X7 command Image>Mirror and Image>Flip returned, but with new differences.
See my schedule here
Italian translation here
French translation here
Your versions here
For this tutorial, you will need:
Material here
AnaRidzi1700.pspimage
MASKSUIZA098-14.jpg
Yoka-Flowers-Poppies-201009.pspimage
Plugins
consult, if necessary, my filter section here
Simple - Zoom out and flip here
Filters unlimited 2.0 here
Mura's Meister - Perspective Tiling here
Nik Software - Color Efex Pro here
Filters Simple can be used alone or imported into Filters Unlimited.
(How do, you see here)
If a plugin supplied appears with this icon  it must necessarily be imported into Unlimited it must necessarily be imported into Unlimited

You can change Blend Modes and opacity of the layer, according to your colors.
Copy the mask in the Masks folder.
1. Set your foreground color to #212409,
and your background color to #fb8e0d.
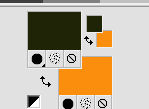
2. Open a new transparent image 1000 x 700 pixels,
Flood Fill  with your foreground color #212409. with your foreground color #212409.
3. Selections>Select All.
4. Open the tube Yoka-Flowers-Poppies-201009.pspimage - Edit>Copy.
Go back to your work and go to Edit>Paste into selection.
Selections>Select None.
5. Effects>Image Effects>Seamless Tiling.

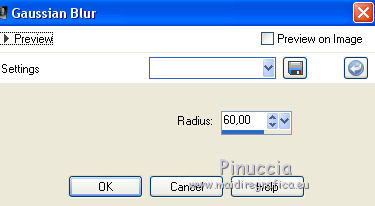
6. Adjust>Blur>Gaussian Blur - radius 60
7. Layers>New Raster Layer.
8. Selections>Select All.
Edit>Paste into selection (il tube Yoka-Flowers-Poppies-201009.pspimage è sempre in memoria).
Selections>Select None.
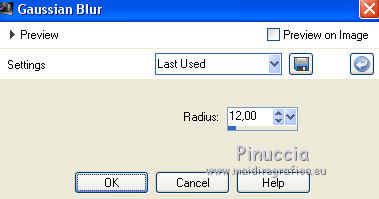
9. Adjust>Blur>Gaussian Blur - radius 12.
10. Layers>Merge>Merge down.
Selections>Select None.
11. Adjust>Add/Remove Noise>Add Noise.
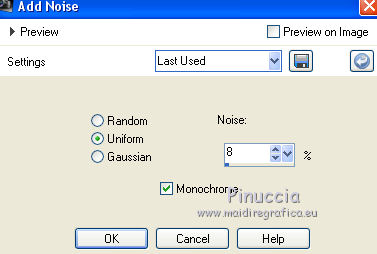
12. Layers>Duplicate.
Layers>Load/Save Mask>Load Mask from Disk.
Look for and load the mask MASKSUIZA098-14.jpg
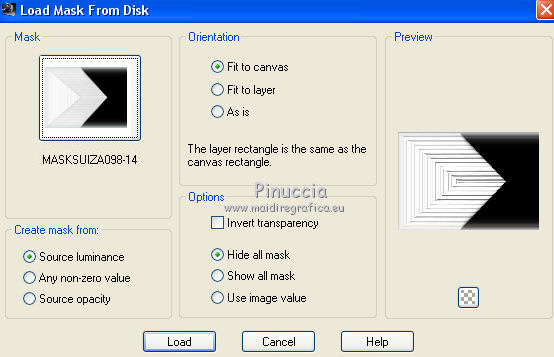
Layers>Merge>Merge Group.
don't worry if you don't see a result
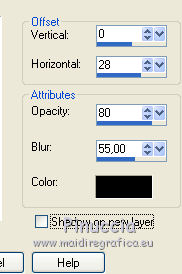
13. Effects>3D Effects>Drop Shadow.
14. Layers>Duplicate.
Image>Mirror.
15. Layers>Duplicate.
Effects>Image Effects>Offset.
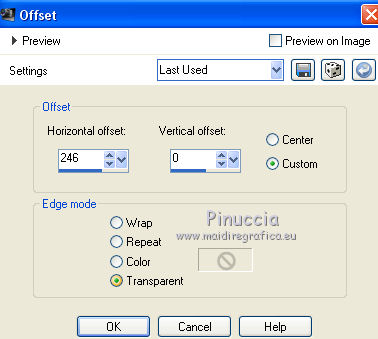
Change the opacity of this layer to 65%.
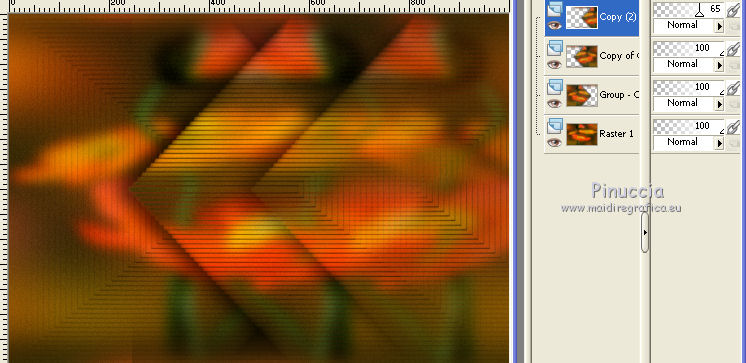
16. Edit>Paste as new layer (the tube Yoka-Flowers-Poppies-201009.pspimage is still in memory).
Move  the tube to the right side the tube to the right side
(with Corel X17/18: Objects>Align>Right).
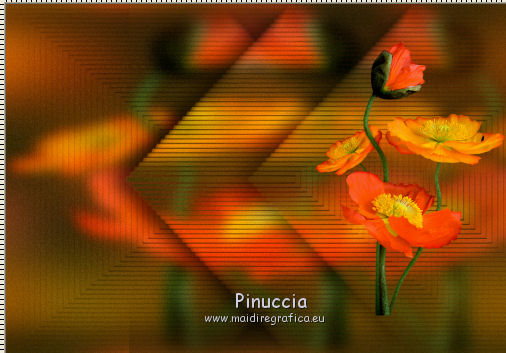
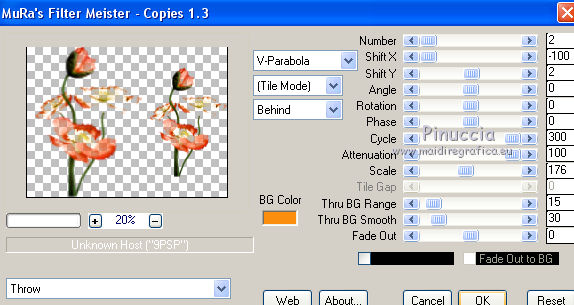
17. Effects>Plugins>MuRa's Meister - Copies.
18. Effects>Edge Effects>Enhance More.
Effects>3D Effects>Drop Shadow.

19. Open the tube AnaRidzi1700.pspimage - Edit>Copy.
Go back to your work and go to Edit>Paste as new layer.
Image>Resize, to 85%, resize all layers not checked.
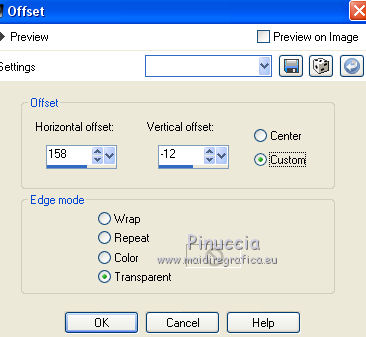
20. Effects>Image Effects>Offset.
21. Adjust>Brightness and Contrast>Fill Light/Clarity.
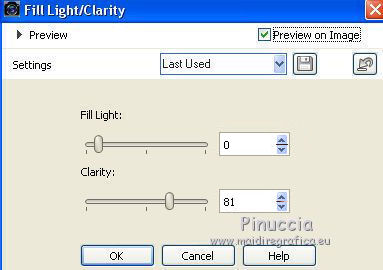
you don't find this effect in the oldest versions of PSP.
If you want, you can apply, according to your version of PSP:
Brightness and Contrast/Clarify (until Corel X2),
our Brightness and Contrast>Local Tone Mapping (after Corel X2).
22. Effects>3D Effects>Drop Shadow, same settings.
23. Layers>Merge visible.
24. Effects>Plugins>Nik Sofware - Color Efex Pro.
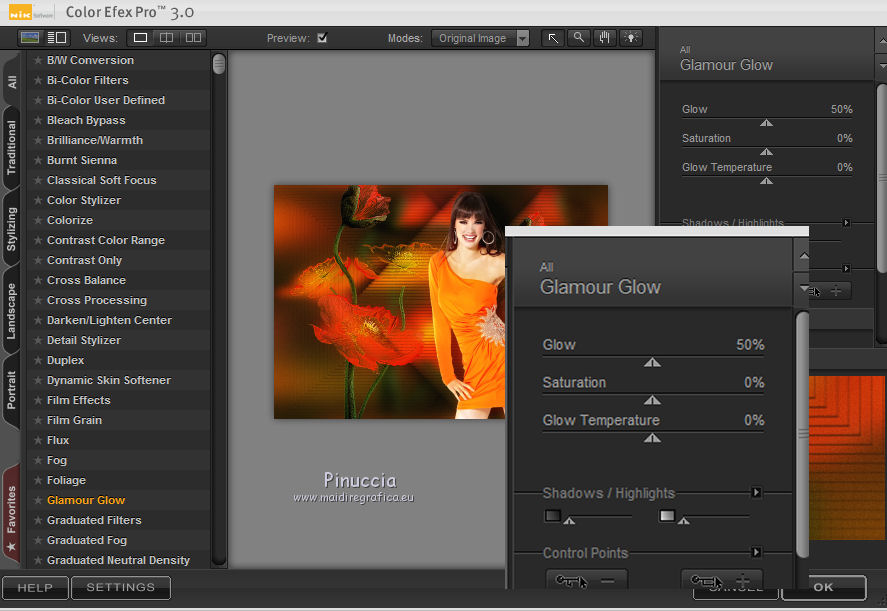
25. Effects>Plugins>Nik Software - Color Efex Pro.
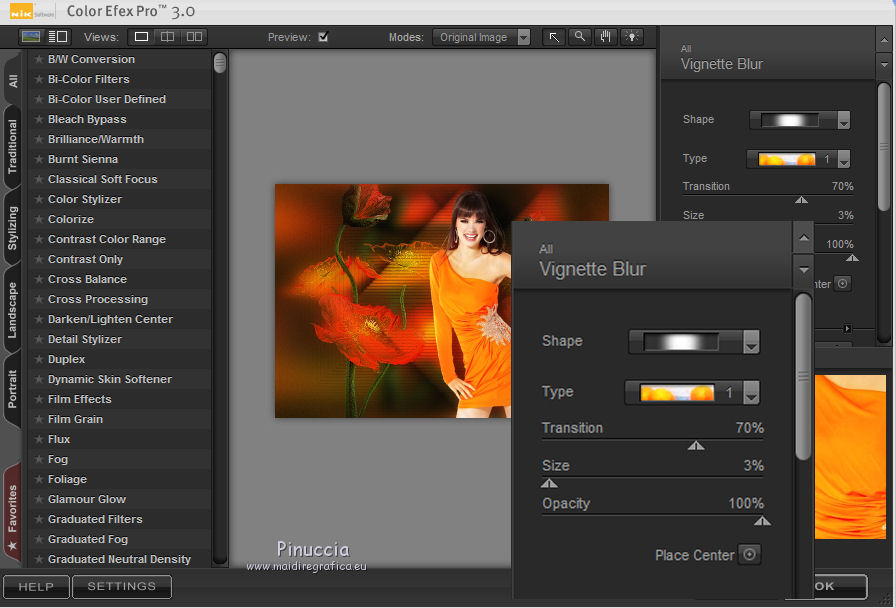
26. Sign your work and save as jpg.
The tube of this version is by Min@
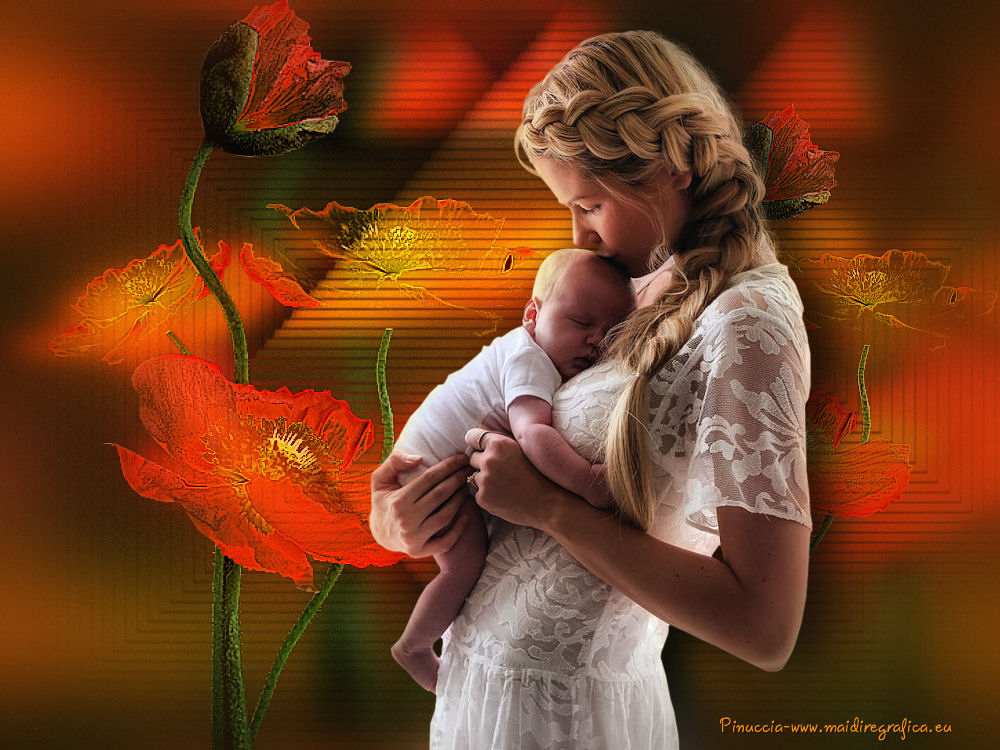

If you have problems or doubt, or you find a not worked link, or only for tell me that you enjoyed this tutorial, write to me.
8 June 2016
|
