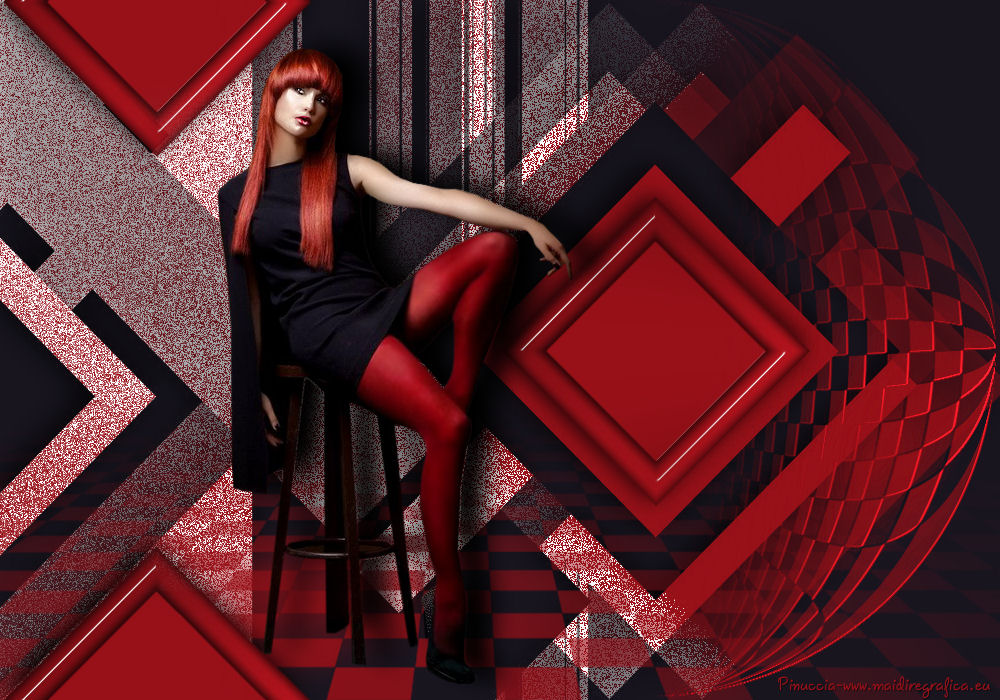
|
TOP HILTRUD HARTMANN
english version


This tutorial was created with PSPX7 but it can also be made using other versions of PSP.
Since version PSP X4, Image>Mirror was replaced with Image>Flip Horizontal,
and Image>Flip with Image>Flip Vertical, there are some variables.
In versions X5 and X6, the functions have been improved by making available the Objects menu.
In the latest version X7 command Image>Mirror and Image>Flip returned, but with new differences.
See my schedule here
 Italian translation here Italian translation here
 French translation here French translation here
 Your versions here Your versions here
For this tutorial, you will need:
Material here
Gabry-woman 283.pspimage
Mask chmasks_rectangulos3.
Mask Empty_1400x1050.
Plugins
consult, if necessary, my filter section here
Filters Unlimited 2.0 here
Eye Candy 4000 - Glass here
&<Bkg Designer sf10III> (to import in Unlimited) here

You can change Blend Modes and opacity of the layer, according to your colors.
Copy the Masks in the Masks Folder.
Copy the Selection in the Selections Folder.
Copy the Preset Emboss 3 in the Presets Folder.
1. Set your foreground color to #18151f
Set your background color to #981018.
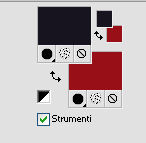
2. Open a new transparent image 1000 x 700 pixels,
Flood Fill  with your foreground color #18151f. with your foreground color #18151f.
3. Layers>New Raster Layer.
Flood Fill  with your background color #981018. with your background color #981018.
4. Layers>Load/save a mask>Load Mask from Disk.
Look for and load the mask chmasks_rectangulo3.
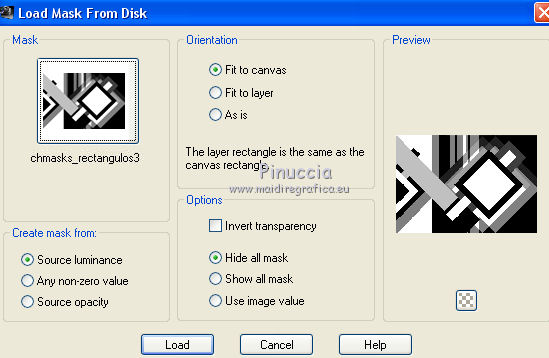
Layers>Merge>Merge Group.
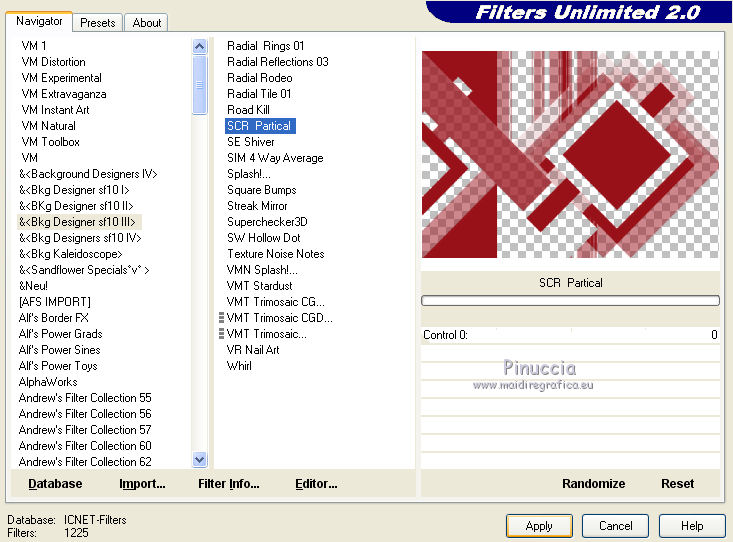
5. Effects>Plugins>Filters Unlimited 2.0 - &<Bkg Designer sf10III> - SCR Partical.
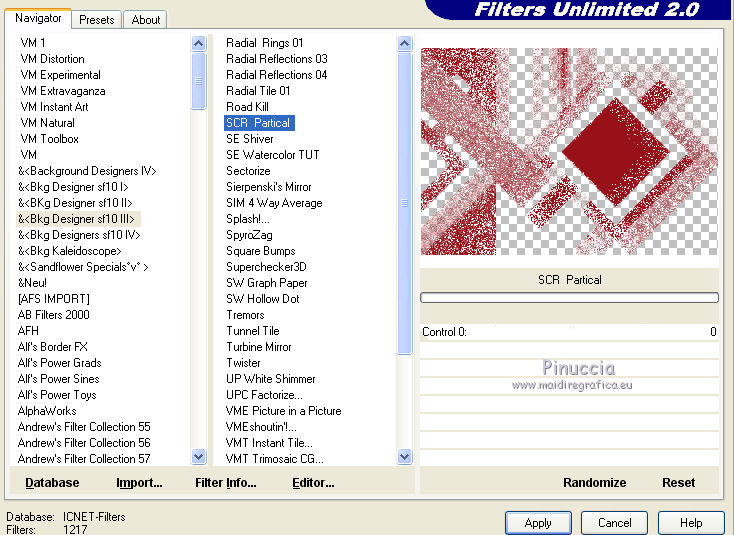
Attention, if you are using the software Unlimited version, that is the version to be installed,
you will have this result
To get the result of the original version, you should use the version of Unlimited without installation,
because it is composed of 8bf format files, that you can find it here
In the File Locations remplace the software version with the second one;
you can always exchange them when necessary
6. Effects>3D Effects>Drop Shadow.
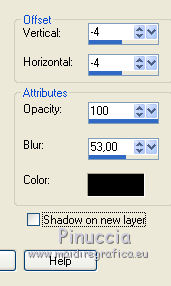
You should have this.
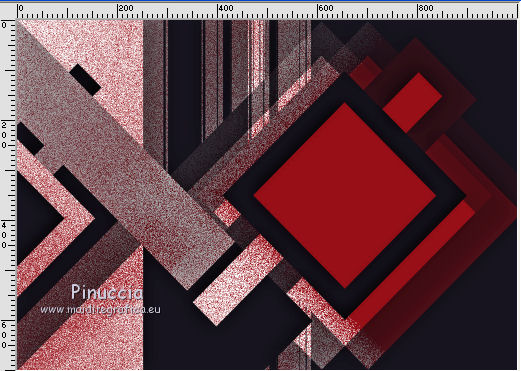
7. Layers>Merge>Merge visible.
8. Layers>New Raster Layer.
Flood Fill  with your background color #981018. with your background color #981018.
9. Layers>Load/save a mask>Load Mask from Disk.
Look for and load the mask Empty_1400x1050
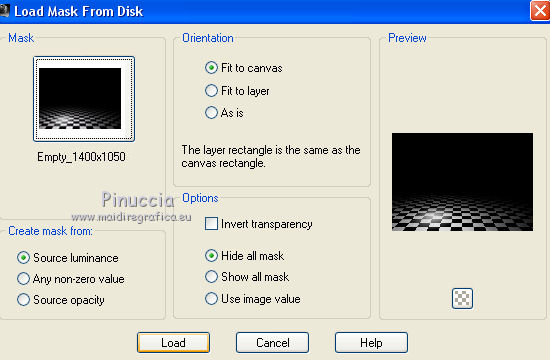
Layers>Merge>Merge group.
10. Layers>Duplicate.
11. Effects>Geometric Effects>Circle.

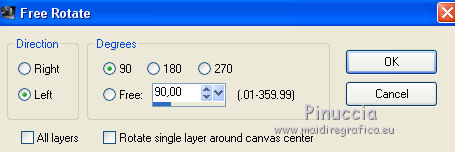
12. Image>Free rotate - 90 degrees to left.
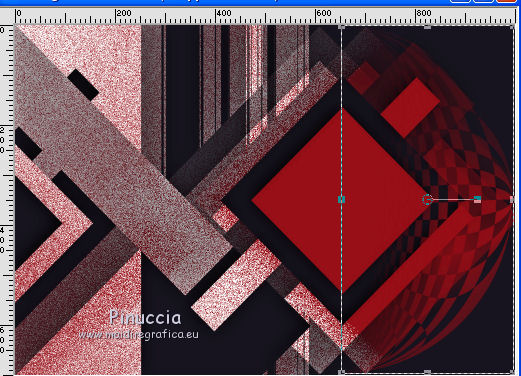
13. Move  the image to the top right. the image to the top right.
with Corel X17/18: Objects>Align>Top
and after Objects>Align>Right.
14. Effets>User Defined Filter - select the preset Emboss 3 and ok.

15. Layers>Merge>Merge visible.
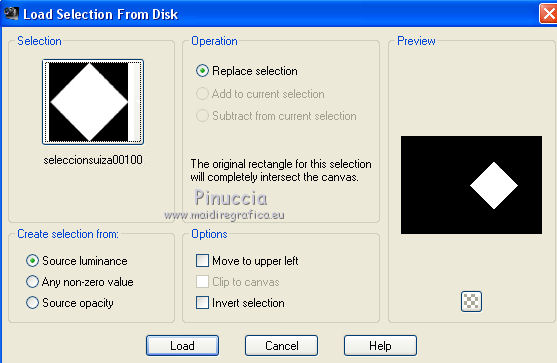
16. Selections>Load/Save selection>Load Selection from Disk.
Look for and load the selection seleccionsuiza00100.
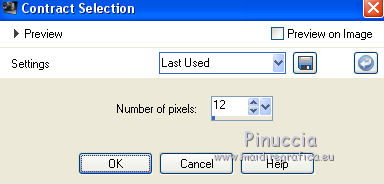
17. Selections>Modify>Contract - 12 pixels.
Selections>Promote selection to layer.
Selections>Select None.
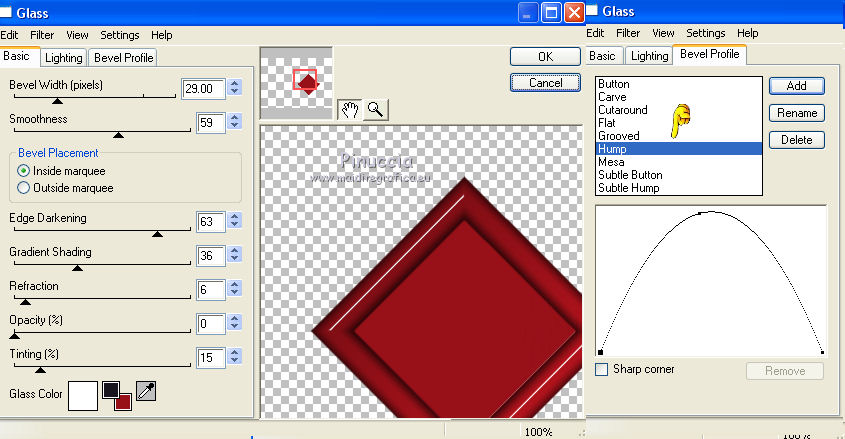
18. Effects>Plugins>Eye Candy 4000 - Glass.
19. Effects>Effects d'image>Seamless Tiling, default settings.

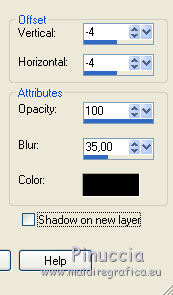
20. Effects>3D Effects>Drop Shadow.
21. Open the tube Gabry-woman 283.pspimage - Edit>Copy.
Go back to your work and go to Edit>Paste as new layer.
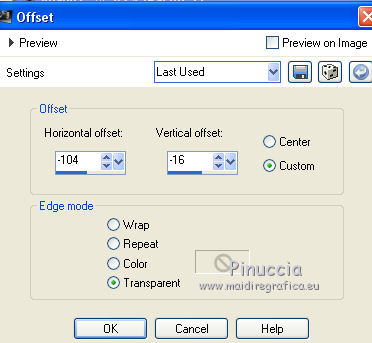
Effects>Image Effects>Offset.
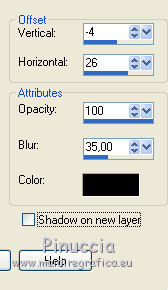
22. Effects>3D Effects>Drop Shadow.
23. Layers>Merge>Merge All.
Sign your work and save as jpg.
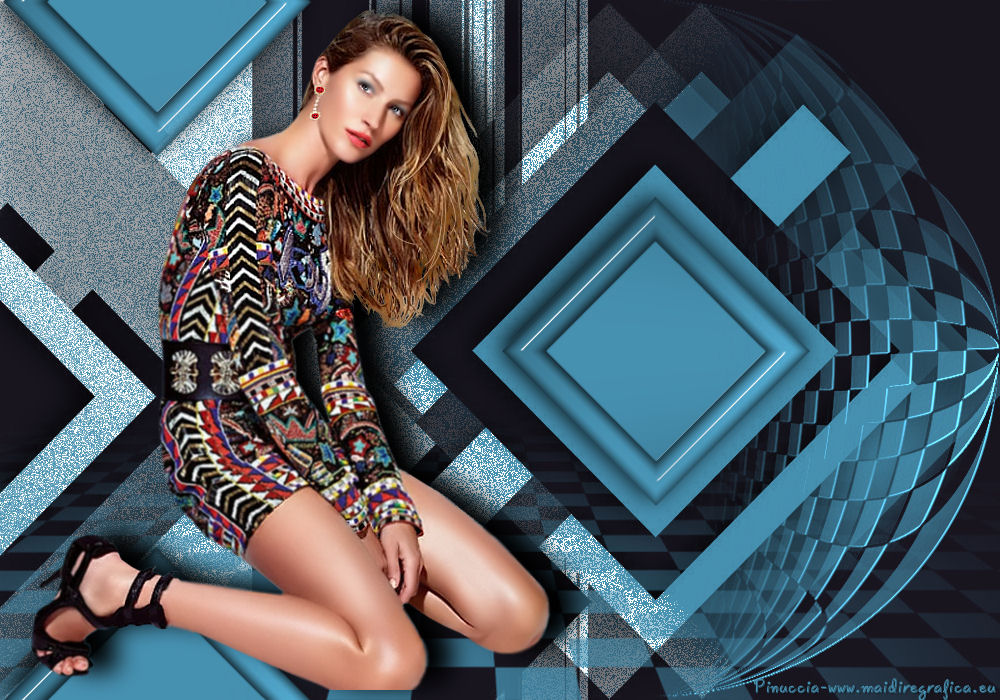
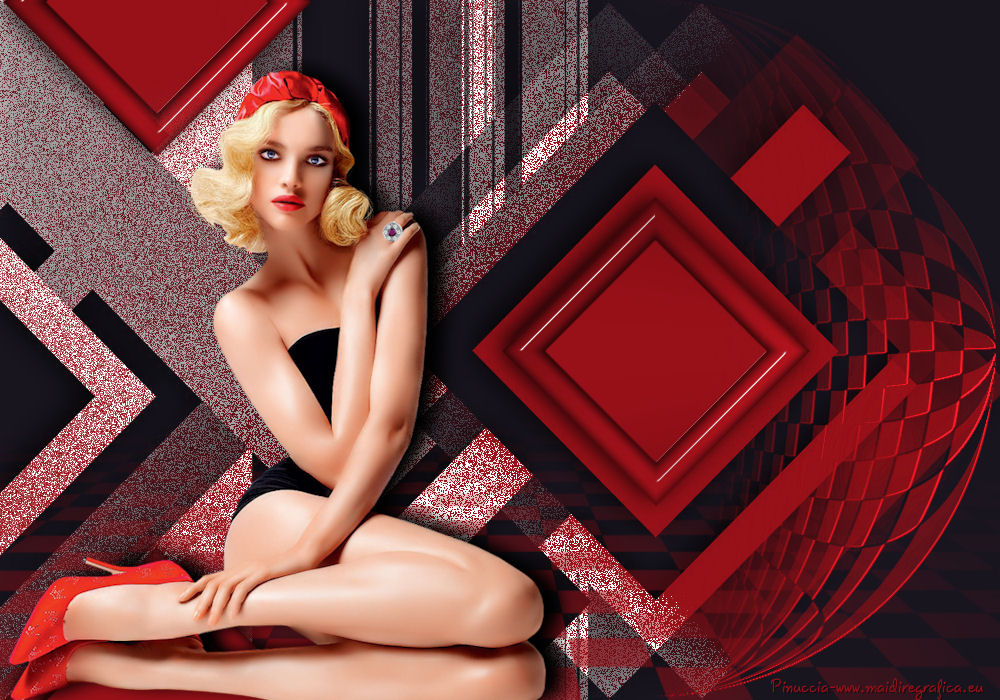
The tubes of these versions are by Min@

If you have problems or doubt, or you find a not worked link, or only for tell me that you enjoyed this tutorial, write to me.
18 May 2016
|
