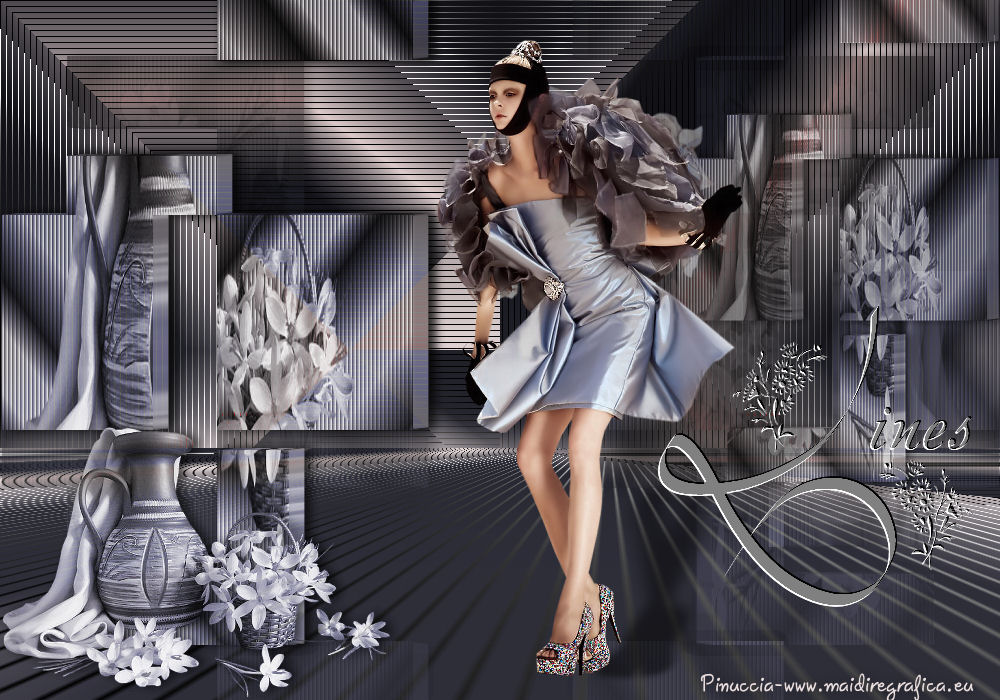
|
TOP LINES
english version


This tutorial was created with PSPX8 but it can also be made using other versions of PSP.
Since version PSP X4, Image>Mirror was replaced with Image>Flip Horizontal,
and Image>Flip with Image>Flip Vertical, there are some variables.
In versions X5 and X6, the functions have been improved by making available the Objects menu.
In the latest version X7 command Image>Mirror and Image>Flip returned, but with new differences.
See my schedule here
Italian translation here
French translation here
Your versions here
For this tutorial, you will need:
Material here
Tube Tocha23421
Tube Guismo > calguiscrocus14910
Deco Suiza Lines
Plugins
consult, if necessary, my filter section here
Mura's Meister - Perspective Tiling here
Filters Unlimited 2.0 here
Tramages - Tow the line here
&<Bkg Kaleidoscope> @BlueBerry Pie (da importare in Unlimited) here
VM Distortion - Flipper here
Alien Skin Eye Candy 5 Impact - Extrude, Perspective Shadow here
Simple - 4Way Average here
Nik software - Color Efex Pro here
Filters Tramages, Simple and VM Distortion can be used alone or imported into Filters Unlimited.
(How do, you see here)
If a plugin supplied appears with this icon  it must necessarily be imported into Unlimited it must necessarily be imported into Unlimited

You can change Blend Modes and opacity of the layer, according to your colors.
Copy the Gradient in the Gradients Folder.
1. Set your foreground color to #272731
Set your background color to #e9dddd.
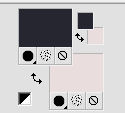
Set your foreground color to Gradient, and select the gradient Suigrad16, style Linear.
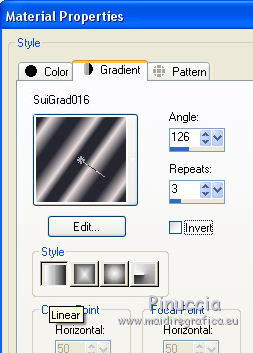
2. Open a new transparente image 1000 x 700 pixels,
Flood Fill  with your gradient. with your gradient.
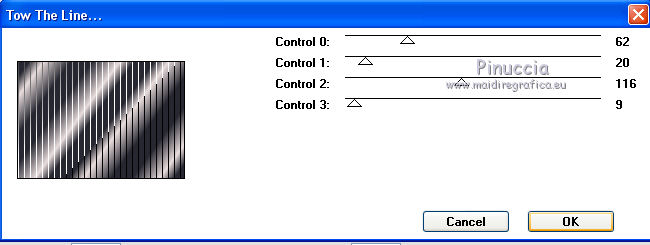
3. Effects>Plugins>Tramages - Tow the line.
4. Effects>Plugins>Filters Unlimited 2.0 - &<Bkg Kaleidoscope> - @BlueBerry Pie.
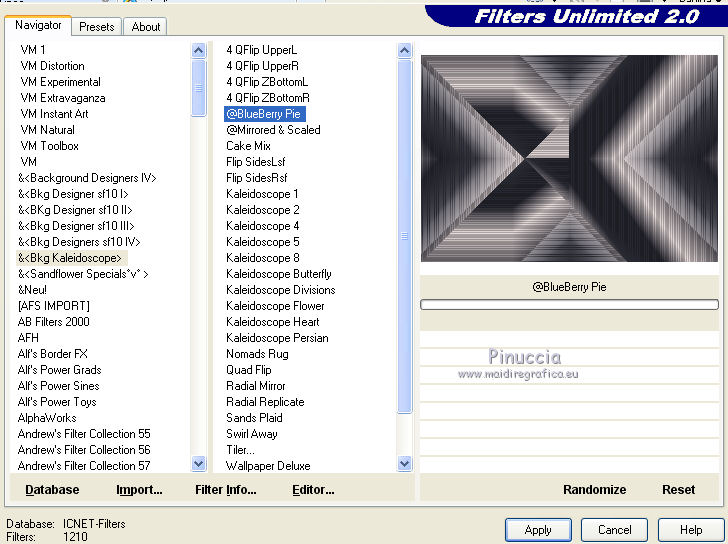
5. Selection Tool 
(no matter the type of selection, because with the custom selection your always get a rectangle)
clic on the Custom Selection 
and set the following settings.
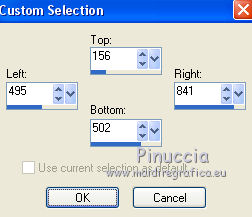
6. Layers>New Raster Layer.
In your Color palette, clic on the little arrow to invert the colors of your gradient.
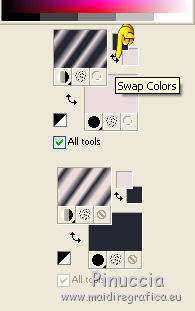
Flood Fill  the selection with the gradient. the selection with the gradient.
Selections>Select None.
7. Effects>Plugins>Filters Unlimited 2.0 - VM Distortion - Flipper, default settings.
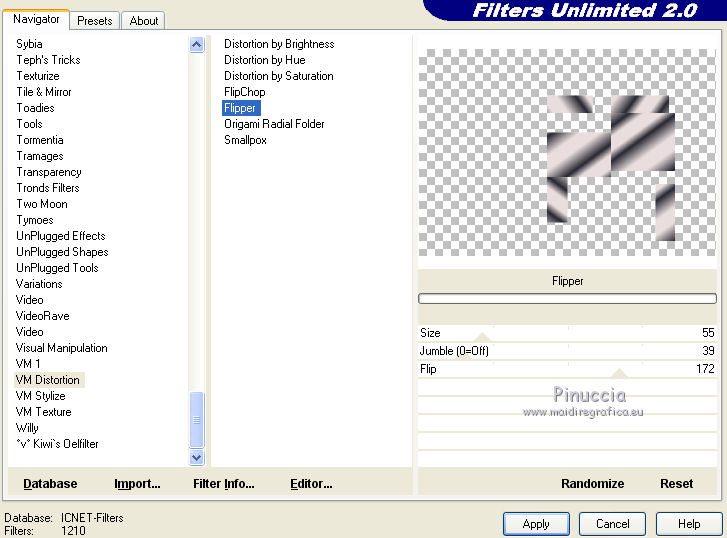
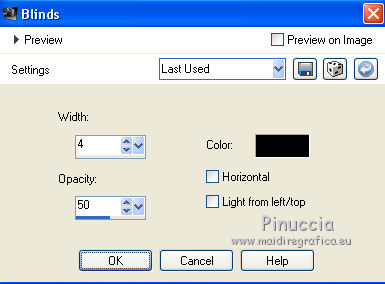
8. Effects>Texture Effects>Blinds.
9. Selections>Select All.
Selections>Float.
Open the tube by Guismo calguiscrocus14910 - Edit>Copy.
Go back to your work and go to Edit>Paste into Selection.
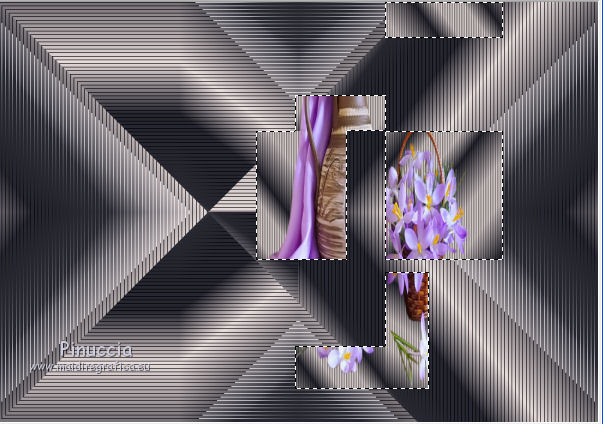
Selections>Select None.
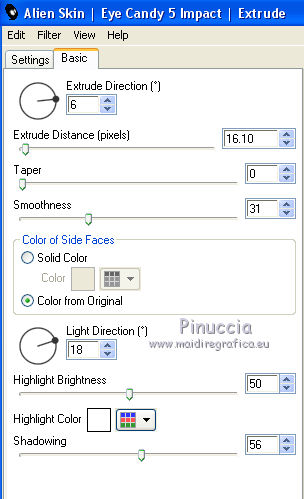
10. Effects>Plugins>Alien Skin Eye Candy 5 Impact - Extrude.
11. Change the Blend mode of this layer to Luminance.
Move  the image to the left side. the image to the left side.
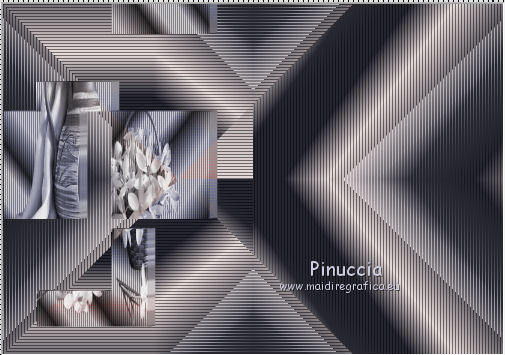
(with Corel X7/X8: Objects>Align>Left)
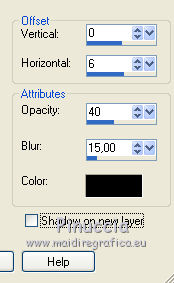
12. Effects>3D Effects>Drop Shadow.
13. Layers>Duplicate.
Effects>Plugins>Simple - 4 Way Average.
14. Activate the layer Raster 2.
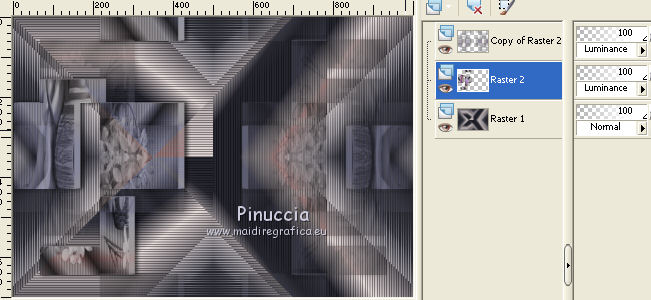
Layers>Arrange>Bring to Top.
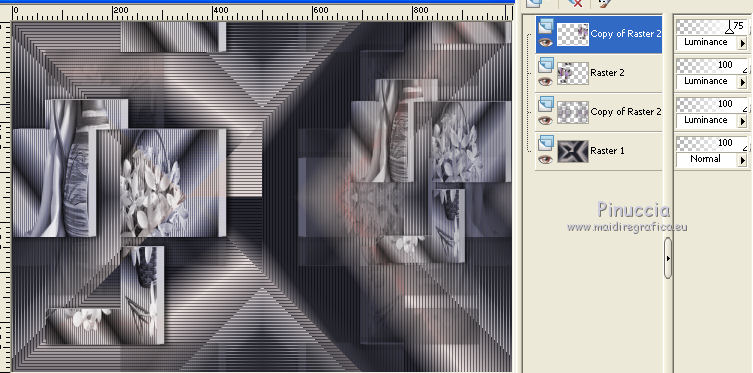
15. Layers>Duplicate.
Image>Resize, to 75%, resize all layers not checked.
Move  the image in the upper right. the image in the upper right.
(with Corel X7/x8: Objects>Align>Top - Objects>Align>Right).
Change the opacity of this layer to 75%.
16. Activate the layer Raster 1.
Layers>Duplicate.
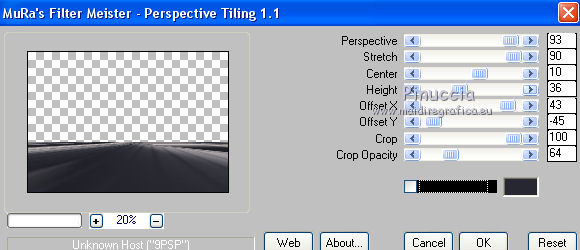
17. Effects>Plugins>Mura's Meister - Perspective Tiling.
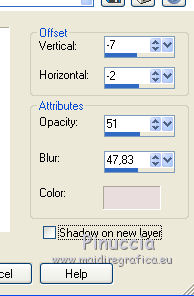
18. Effects>3D Effects>Drop Shadow, color #e9dddd.
19. Activate the top layer.
Edit>Paste as new layer (the tube calguiscrocus14910 is still in memory).
Image>Resize, to 60%, resize all layers not checked.
Change the Blend mode of this layer to Luminance.
Move  the tube on the bottom left. the tube on the bottom left.
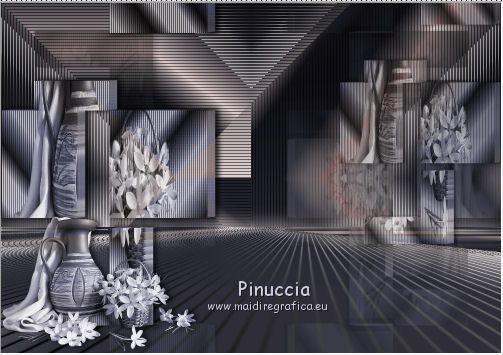
(with Corel X7/X8: Objects>Align>Left - Objects>Align>Bottom)
20. Effects>3D Effects>Drop Shadow 3D>Sfalsa ombra.

21. Layers>Merge>Merge All.
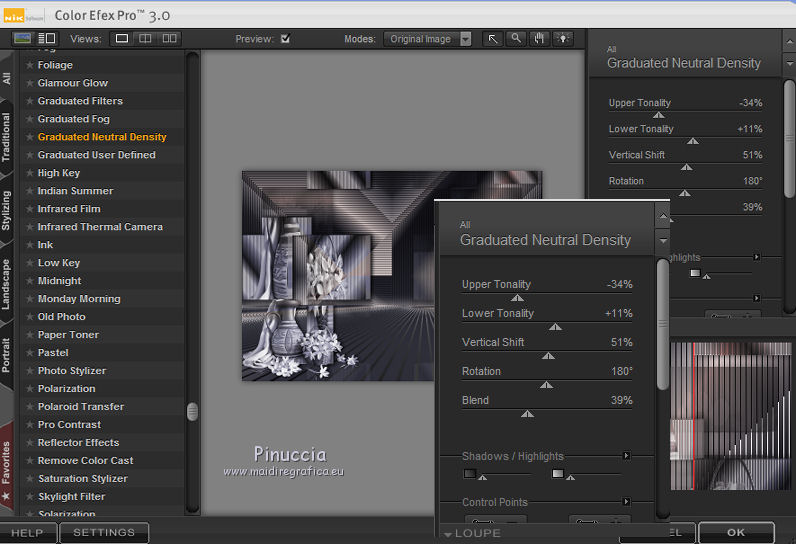
22. Effects>Plugins>Nik Software - Color Efex Pro - Graduated Neautral Density
23. Open the tube Tocha23421 - Edit>Copy.
Go back to your work and go to Edit>Paste as new layer.
Image>Resize, to 65%, resize all layers not checked.
Image>Mirror.
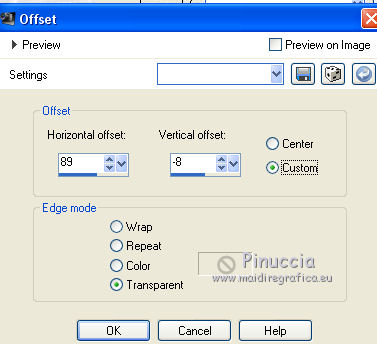
24. Effects>Image Effects>Offset.
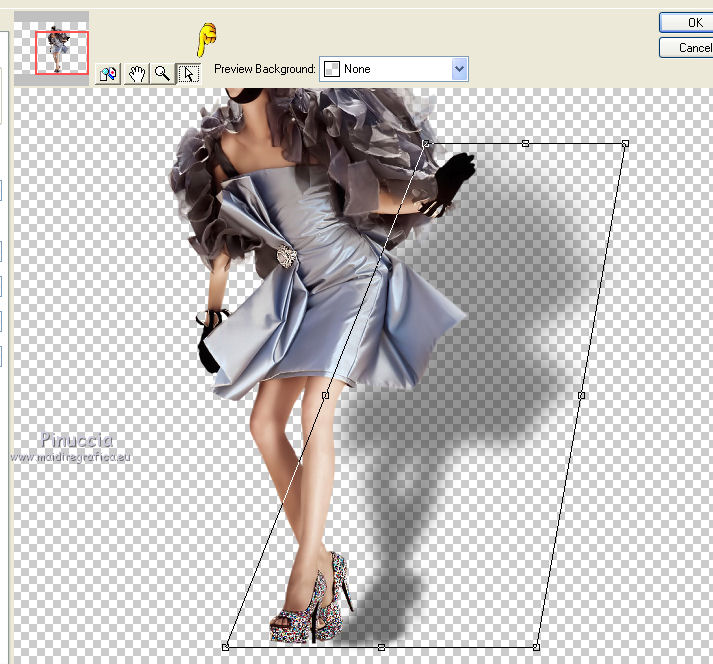
25. Effects>Plugins>Alien Skin Eye Candy 5 Impact - Perspective Shadow.
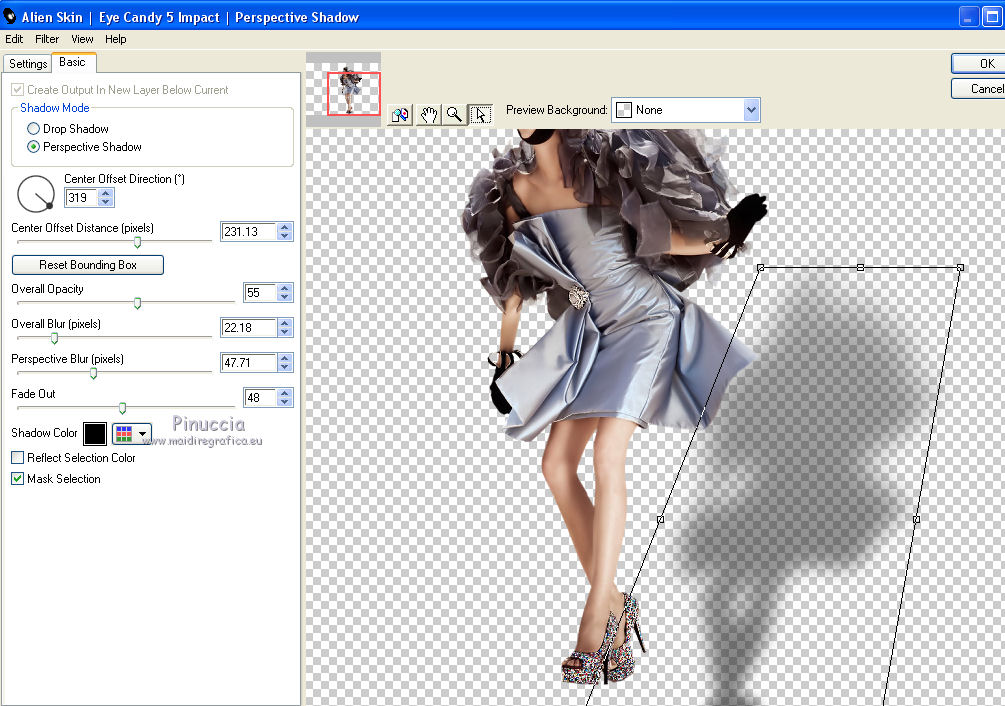
if you want "adjust" the shadow, clic on the white arrow,
hold down the left mouse button if you want to move the shadow,
and use the tool nodes if you want to modify the shadow
26. Open the tube Deco Suiza Lines - Edit>Copy.
Go back to your work and go to Edit>Paste as new layer.
Change the Blend Mode of this layer to Luminance.
27. Sign your work.
Layers>Merge>Merge all and save as jpg.
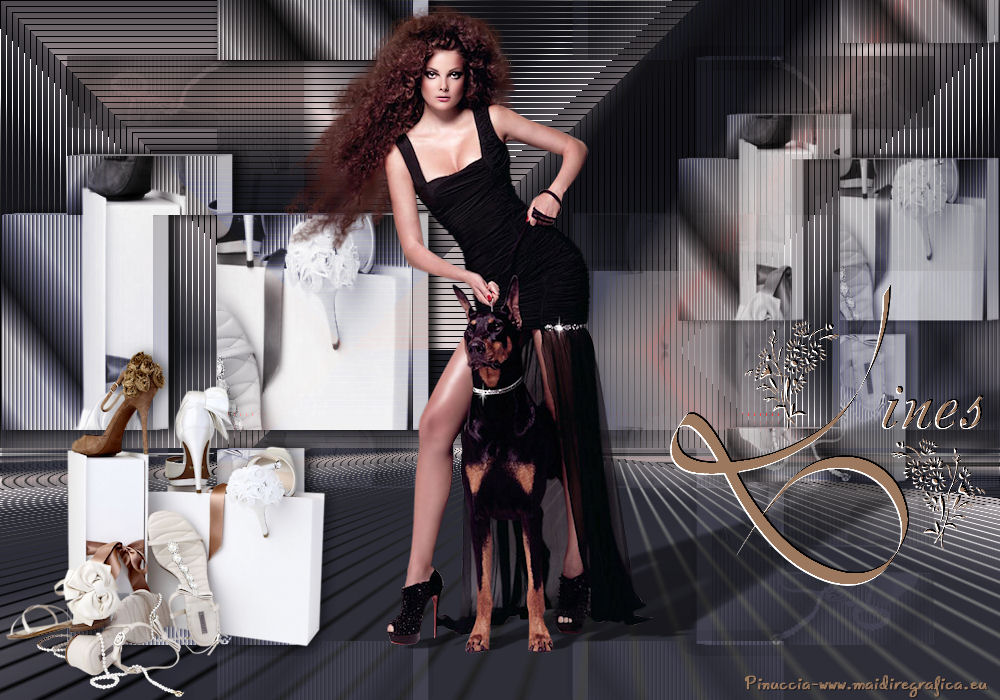
The tube of this version is by Tocha.
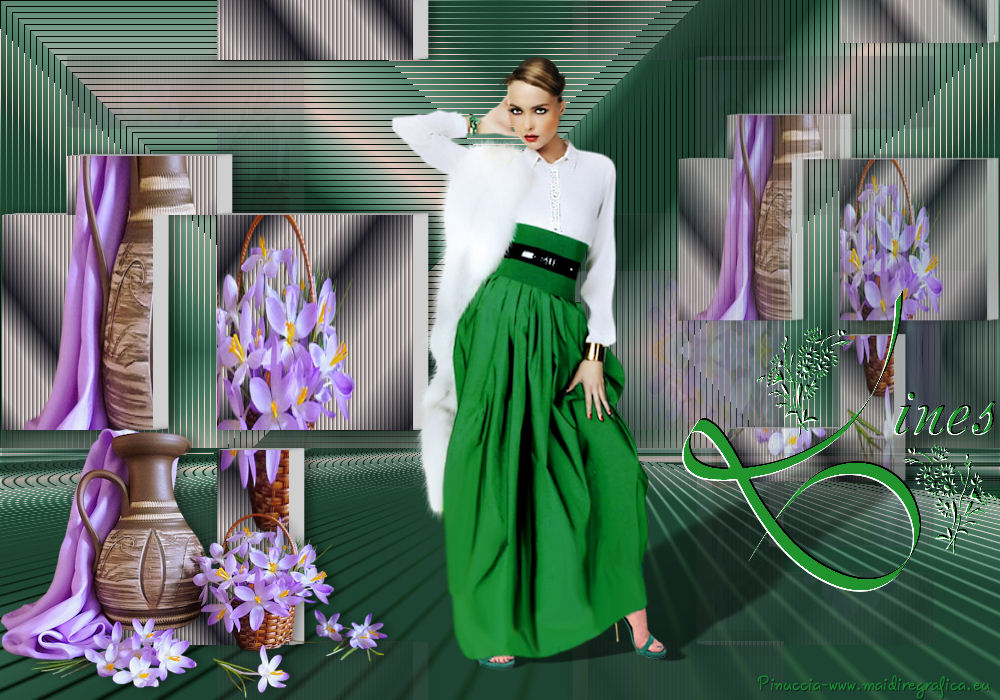
The tubes of this version are by Tocha.

If you have problems or doubt, or you find a not worked link, or only for tell me that you enjoyed this tutorial, write to me.
2 May 2016
|
