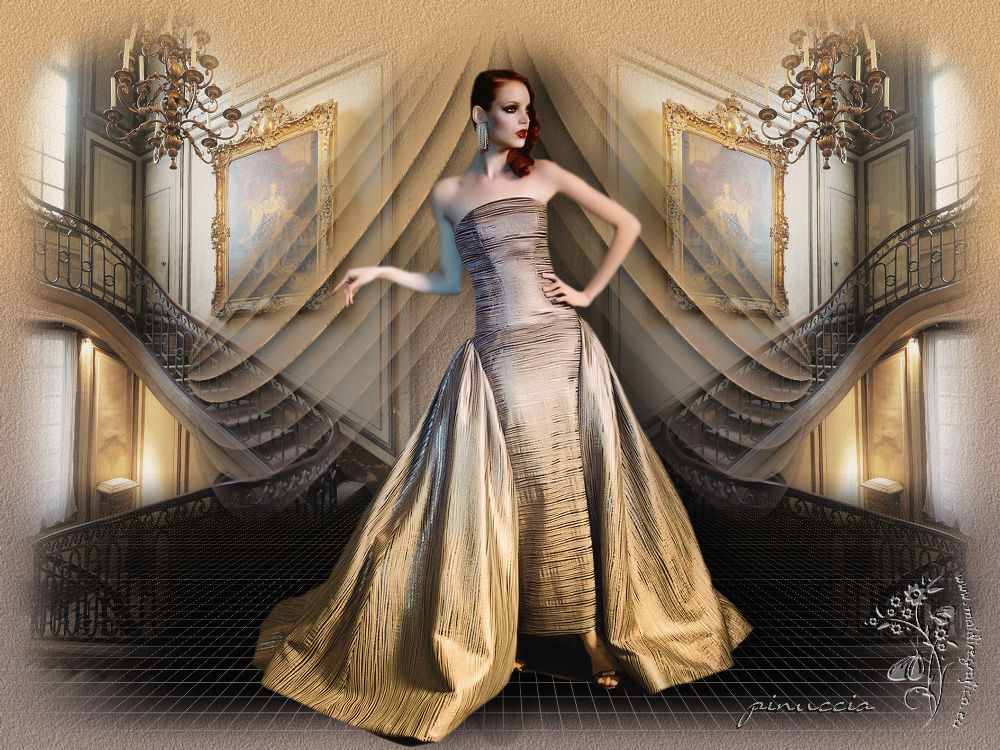
|
TOP LUZ CRISTINA
english version


This tutorial was created with PSPX9 and translated with Corel X7 and CorelX but it can also be made using other versions of PSP.
Since version PSP X4, Image>Mirror was replaced with Image>Flip Horizontal,
and Image>Flip with Image>Flip Vertical, there are some variables.
In versions X5 and X6, the functions have been improved by making available the Objects menu.
In the latest version X7 command Image>Mirror and Image>Flip returned, but with new differences.
See my schedule here
Italian translation here
French translation here
Your versions here
For this tutorial, you will need:
Material here
Tube 4001-luzcristina
anna_escada
@nn_180412_mask_087_tdstudio
MASKSUIZA08-8-8-2
(here the sites of the tubemakers)
Plugins
consult, if necessary, my filter section here
Mura's Meister - Perspective Tiling here
Alien Skin Eye Candy 5 Impact here
Nik Software - Color Efex Pro here
AAA Frames - Frame Work here

Copy the preset Emboss 3 in the Presets Folder.
Copy the Texture in the Patterns Folder.
Copy the Gradient in the Gradients Folder.
Copy the Masks in the Masks Folder.
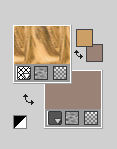
1. Set your foreground color to #cc9f67
and your background color to #9a8276.
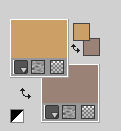
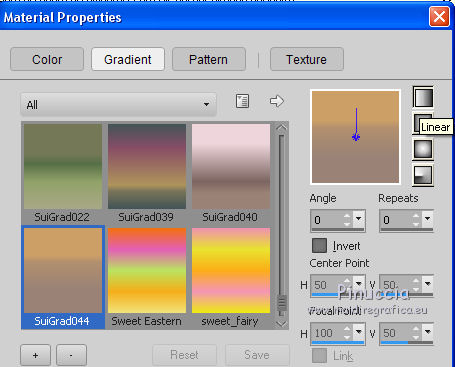
Set your foreground color to Gradient and select the gradient SuiGrad044, style Linear.
2. Open a new transparent image 1000 x 750 pixels,
Flood Fill  with your Gradient. with your Gradient.
if you are using other colors, also the gradient will change color
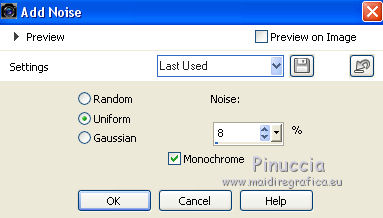
3. Adjust>Add/Remove Noise>Add Noise.
4. Effects>User Defined Filter - select the preset Emboss 3 and ok.

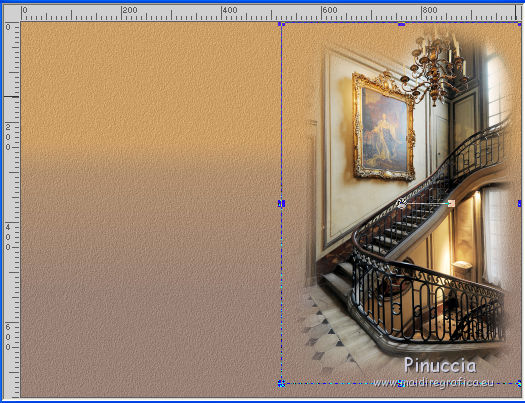
6. Open the tube anna_escada.psd - Edit>Copy.
Go back to your work and go to Edit>Paste as new layer.
7. Objects>Align>Right and Objects>Align>Top.
if you are working with a previous version that has not available the menu Objects,
use the Move Tool 
8. Layers>Duplicate.
Image>Mirror.
Layers>Merge>Merge Down.
9. Reduce the opacity of this layer to 85%.
10. Layers>Merge>Merge visible.
11. Layers>New Raster Layer.
Flood Fill  the layer with your Gradient. the layer with your Gradient.
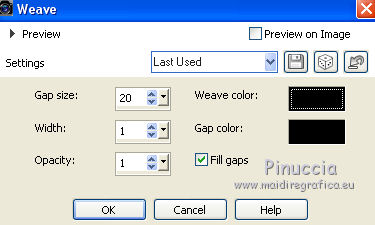
12. Effects>Texture Effects>Weave - the two colors black #000000.
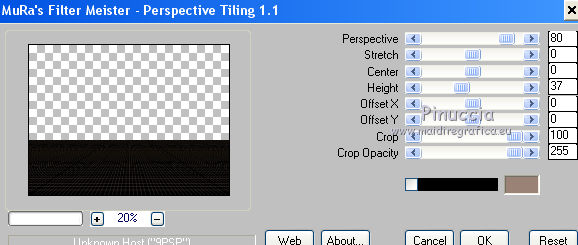
13. Effects>Plugins>Mura's Meister - Perspective Tiling.
14. Layers>Load/Save Mask>Load Mask from Disk.
Look for and load the mask @nn_180412_mask_087_tdstudio.jpg
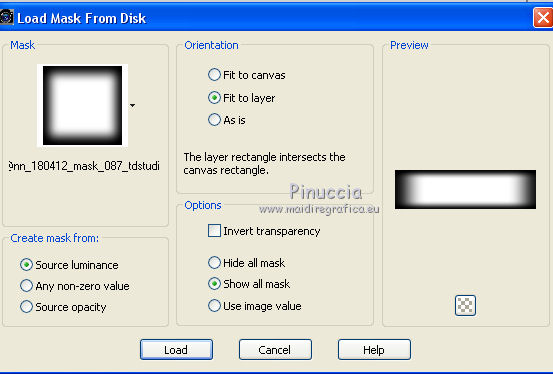
Layers>Merge>Merge Group.
15. Activate the bottom Layer, Merged.
Layers>New raster layer.
Flood fill  the layer with your Gradient. the layer with your Gradient.
16. Layers>Load/Save Mask>Load Mask from Disk.
Look for and load the mask MASKSUIZA08-8-8-2.jpg
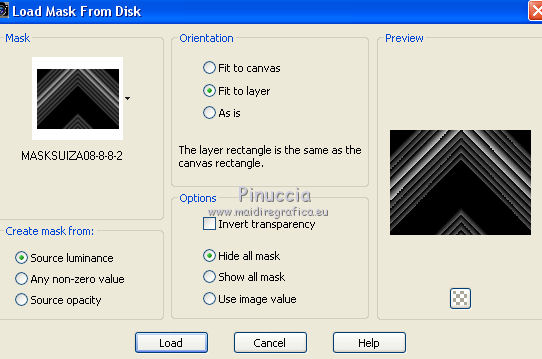
Layers>Merge>Merge >Group.
17. Selections>Select All.
Selections>Float.
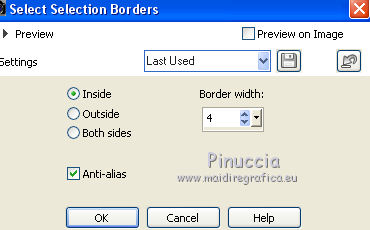
18. Selections>Modify>Select Selection Borders.
19. Set your Foreground color to Pattern and select the texture text.tutoluzcristina.
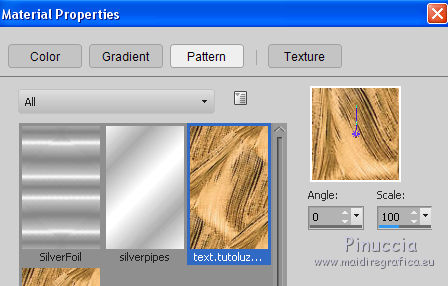 
Flood Fill  the selection with the pattern. the selection with the pattern.
Selections>Select None.
20. Effects>3D Effects>Drop Shadow.

21. Effects>Geometric Effects>Circle.

Reduce the opacity of this layer to 80%.
22. Effects>Geometric Effects>Spherize.
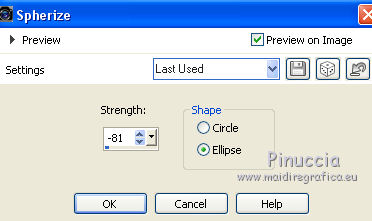
23. Layers>Merge>Merge All.
24. Open the tube 4001-luzcristina.pspimage - Edit>Copy.
Go back to your work and go to Edit>Paste as new layer.
25. Effects>Image Effects>Offset.
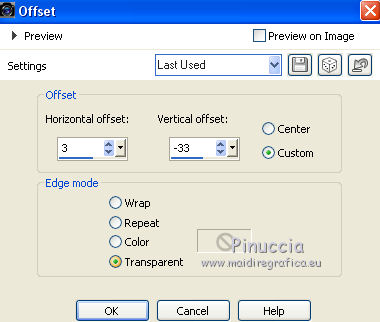
26. Effects>3D Effects>Drop Shadow.
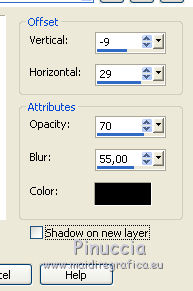
27. Layers>Merge>Merge visible.
28. Effects>Plugins>Nik Software - Color Efex Pro - Glamour Glow.
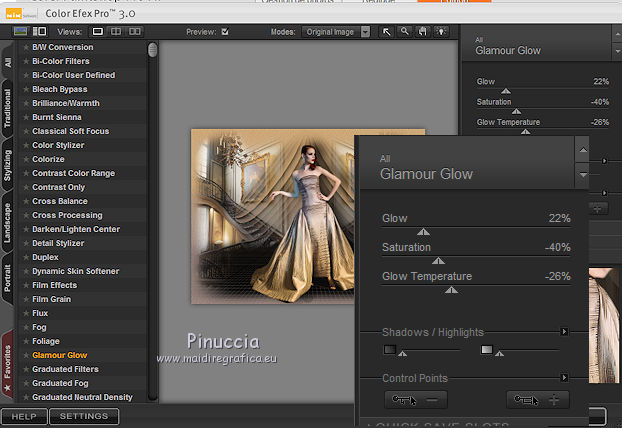
29. Sign your work on a new layer.
Layers>Merge>Merge All and save as jpg.
The tube of this version is by MMDesignz
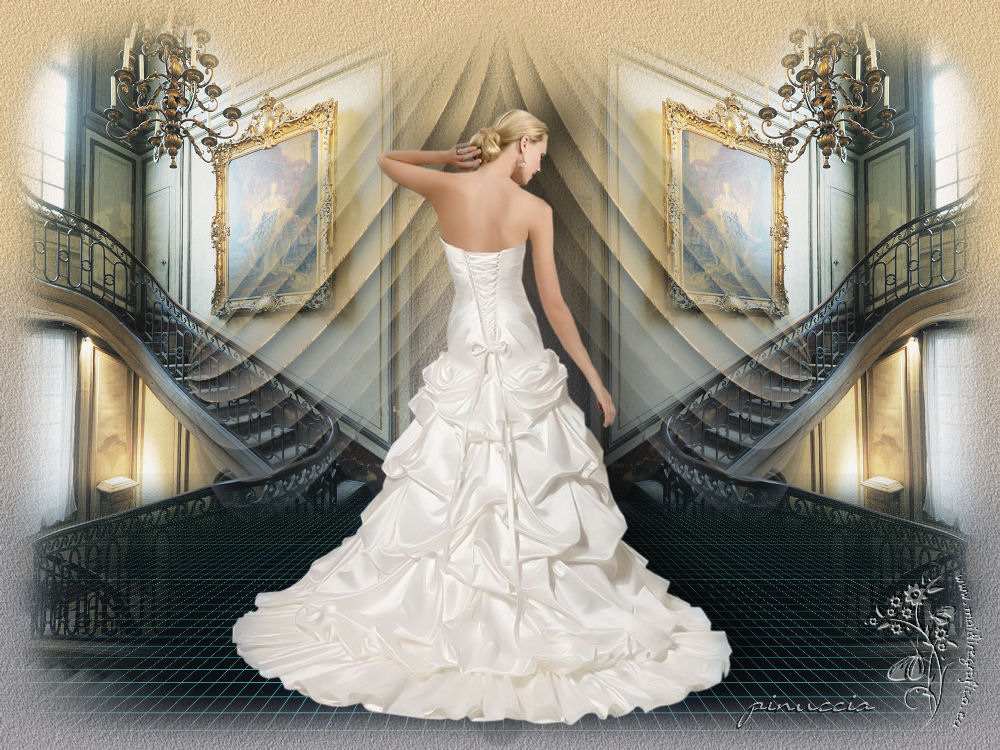
The tubes of this version are by Grisi and Sharlimar
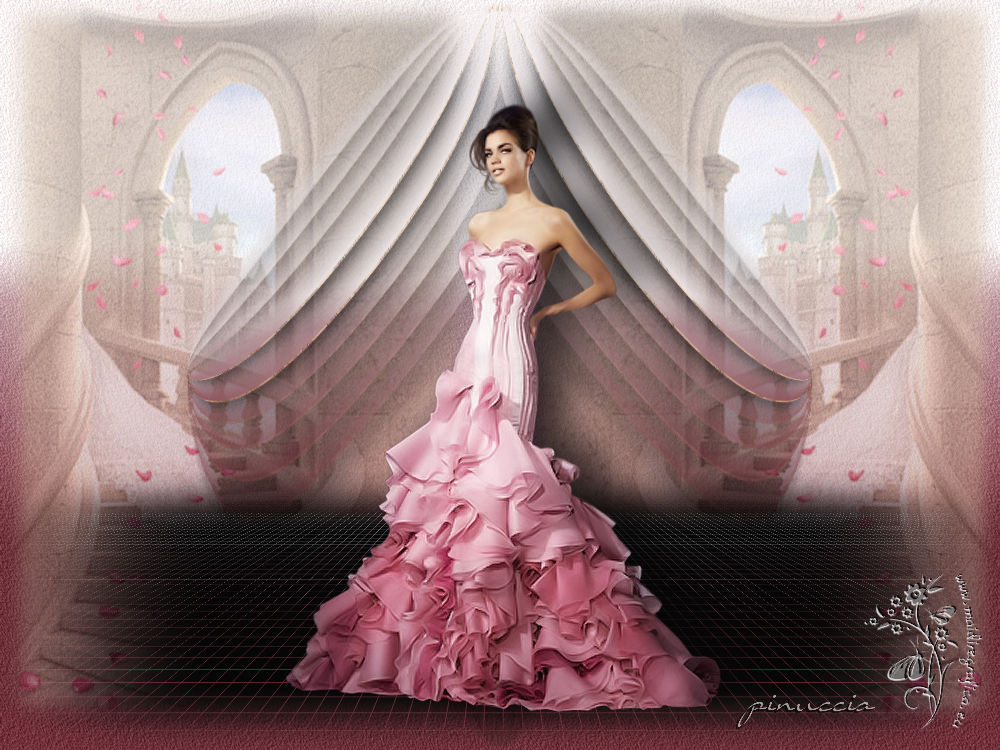

If you have problems or doubt, or you find a not worked link, or only for tell me that you enjoyed this tutorial, write to me.
4 May 2017
|
