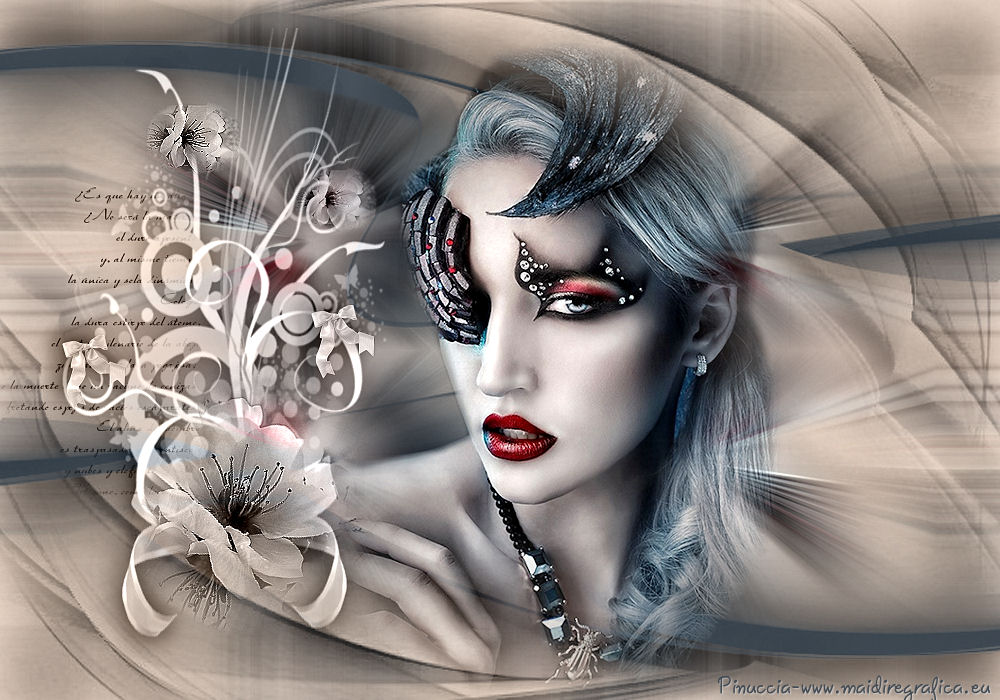
|
TOP MARIE K
english version


This tutorial was created with PSPX5 and translated with Corel X3, but it can also be made using other versions of PSP.
Since version PSP X4, Image>Mirror was replaced with Image>Flip Horizontal,
and Image>Flip with Image>Flip Vertical, there are some variables.
In versions X5 and X6, the functions have been improved by making available the Objects menu.
In the latest version X7 command Image>Mirror and Image>Flip returned, but with new differences.
See my schedule here
Italian translation here
French translation here
Your versions here
For this tutorial, you will need:
Material here
Karine_Misted_Woman_2834_Mars_2014.pspimage
Deco_Zen_2015-21.png
Narah_mask_0399.jpg
Narah_mask_0421.jpg
Plugins
consult, if necessary, my filter section here
Filters unlimited 2.0 here
Nik Software - Color Efex Pro here
VM Distortion - Distortion by Transparency here
Two Moon - Emboston here
Filters VM Distortion and Two Moon can be used alone or imported into Filters Unlimited.
(How do, you see here)
If a plugin supplied appears with this icon  it must necessarily be imported into Unlimited it must necessarily be imported into Unlimited

You can change Blend Modes and opacity of the layer, according to your colors.
Copy the masks in the Masks folder.
1. Set your foreground color to #efddcf,
and your background color to #424b53.
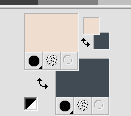
2. Open a new transparent image 1000 x 700 pixels,
Flood Fill  with your foreground color. with your foreground color.
3. Selections>Select All.
Open the tube Misted_Woman_2834_Mars_2014.pspimage - Edit>Copy.
Go back to your work and go to Edit>Paste into Selection.
Selections>Select None.
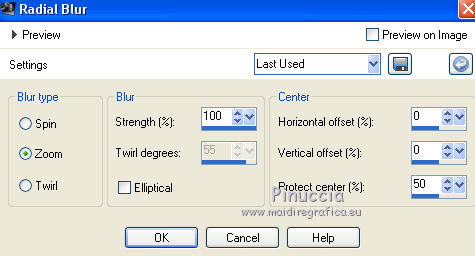
4. Adjust>Blur>Radial Blur.
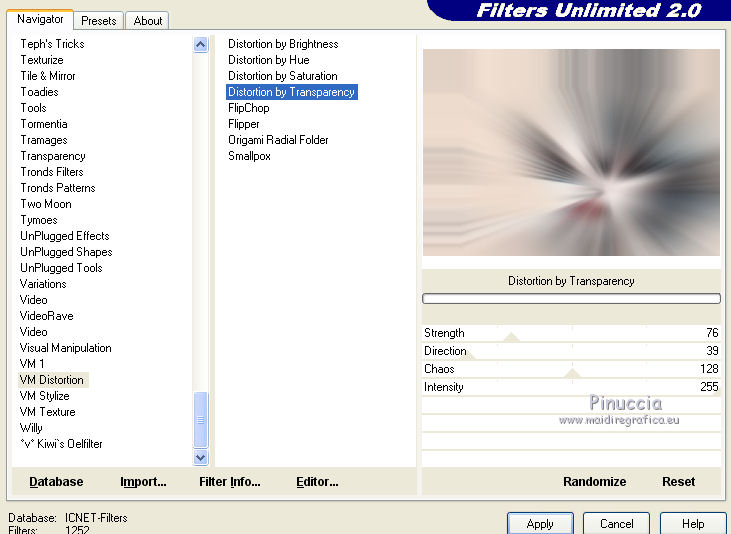
5. Effects>Plugins>Filters Unlmited 2.0 - VM Distortion - Distortion by Transparency, default settings.
6. Effects>Plugins>Filters Unlimited 2.0 - Two Moon - Emboston, default settings.
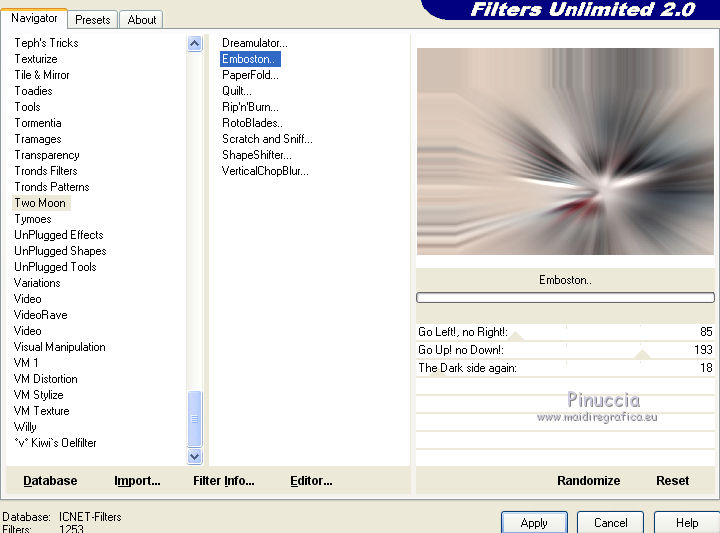
7. Effects>Plugins>Filters Unlimited 2.0 - Tile & Mirror - Mirrored Scaled.
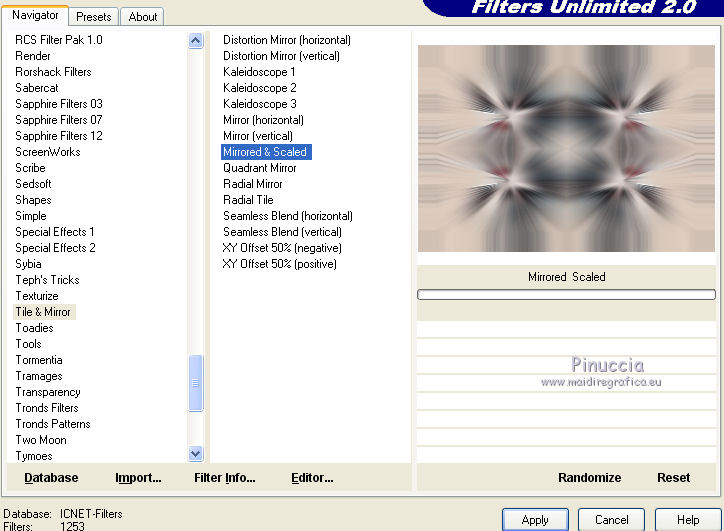
8. Layers>New Raster Layer.
Flood Fill  with your foreground color #efddcf. with your foreground color #efddcf.
9. Layers>Load/Save Mask>Load Mask from Disk.
Look for and load the mask Narah_mask_0399.jpg.
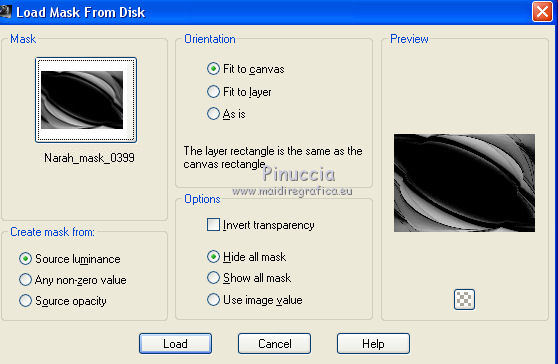
Layers>Merge>Merge group.
10. Effects>3D Effects>Drop Shadow.
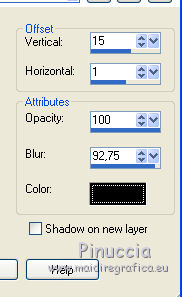
11. Layers>New Raster Layer.
Flood Fill  with your background color #424b53. with your background color #424b53.
12. Layers>Load/Save Mask>Load Mask from Disk.
Look for and load the mask Narah_mask_0421.jpg

Layers>Merge>Merge group.
Effects>3D Effects>Drop Shadow, same settings.
13. Layers>Duplicate.
Image>Flip.
Image>Mirror.
14. Layers>Merge>Merge down.
15. Layers>Duplicate.
16. Layers>Merge>Merge visible.
17. Open the tube Deco_Zen_2015-21.png - Edit>Copy.
Go back to your work and go to Edit>Paste as new layer.
Move  the tube to the left side. the tube to the left side.
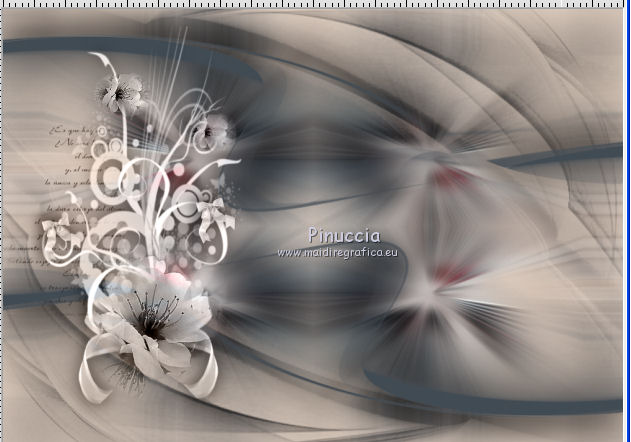
Change the Blend Mode of this layer to Luminance (Legacy).
18. Open the tube Misted_Woman_2834_Mars_2014.pspimage - Edit>Copy.
Go back to your work and go to Edit>Paste as new layer.
Image>Resize, to 80%, resize all layers not checked.
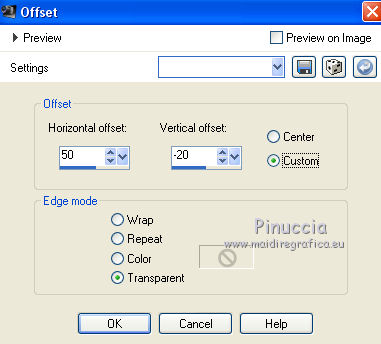
Effects>Image Effects>Offset.
19. Layers>Merge>Merge All.
20. Effects>Plugins>Nik Software - Color Efex Pro - Tonal Contrast.

21. Sign your work and save as jpg.
The tubes of this version are by K@rine e Tocha
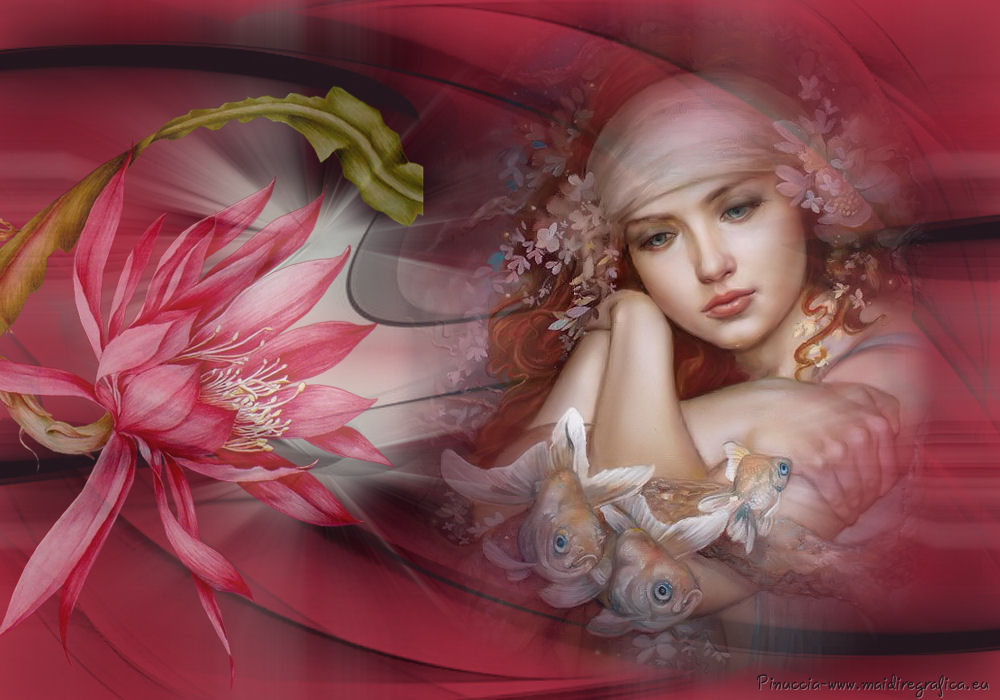

If you have problems or doubt, or you find a not worked link, or only for tell me that you enjoyed this tutorial, write to me.
16 June 2016
|
