|
TOP DE L'AUTRE CÔTÉ DU MUR
 english version english version

This tutorial was created with PSPX5 and translated with Corel X3, but it can also be made using other versions of PSP.
Since version PSP X4, Image>Mirror was replaced with Image>Flip Horizontal,
and Image>Flip with Image>Flip Vertical, there are some variables.
In versions X5 and X6, the functions have been improved by making available the Objects menu.
In the latest version X7 command Image>Mirror and Image>Flip returned, but with new differences.
See my schedule here
Italian translation here
French translation here
Your versions here
For this tutorial, you will need:
Material here
Tocha23857.pspimage
landscape Nov-Falls-By-Lory.psp
bouquet_de_fleurs_cadre_tubed_by_thafs.pspimage
(The links of the tubemakers here).
Plugins
consult, if necessary, my filter section here
Filters Unlimited 2.0 here
VM Distortion - Circulator here
Alien Skin Eye Candy 5 Impact - Glass here
Mura's Meister - Copies here
Mura's Meister - Perspective Tiling here
Filters VM Distortion can be used alone or imported into Filters Unlimited.
(How do, you see here)
If a plugin supplied appears with this icon  it must necessarily be imported into Unlimited it must necessarily be imported into Unlimited

You can change Blend Modes and opacity of the layer, according to your colors.
Copy the texture aquellosanos4 in the Textures Folder.
Copy the Gradient in the Gradients Folder.
Copy the preset EmbosSuiza3 in the Presets Folder.
1. Set your foreground color to #02004d,
and your background color to #f7ddcc.
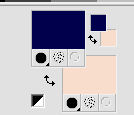
Set your foreground color to Gradient and select the gradient SuiGrad044, style Linear.
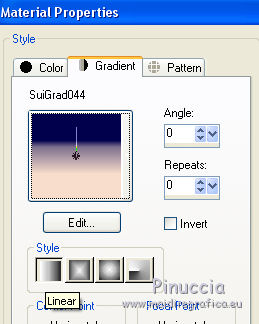
if you use other colors, also the gradient will change color
2. Open a new transparent image 1000 x 750 pixels.
Flood Fill  the transparent image with your Gradient. the transparent image with your Gradient.
3. Layers>Duplicate.
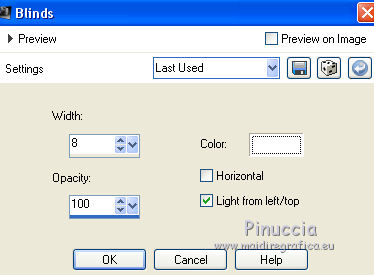
Effects>Texture Effects>Blinds, color white.
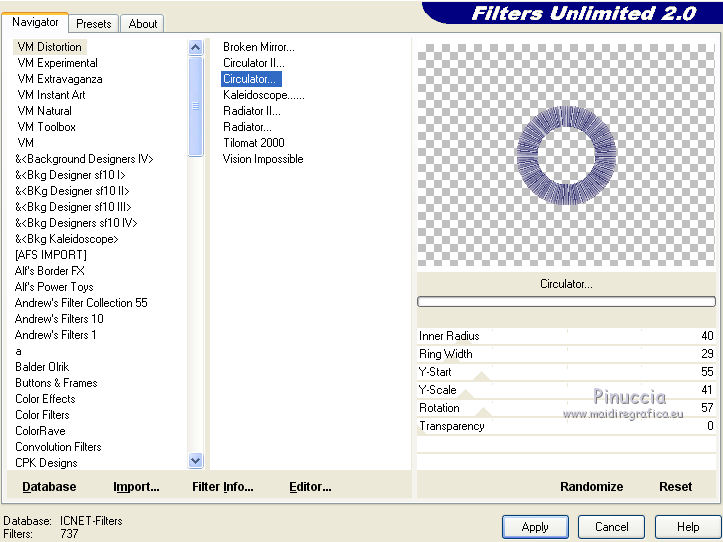
4. Effects>Plugins>Filters Unlimited 2.0 - VM Distortion - Circulator.
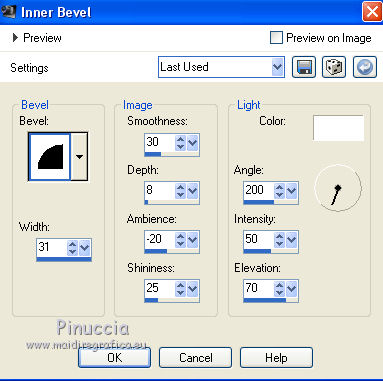
5. Effects>3D Effects>Inner Bevel.
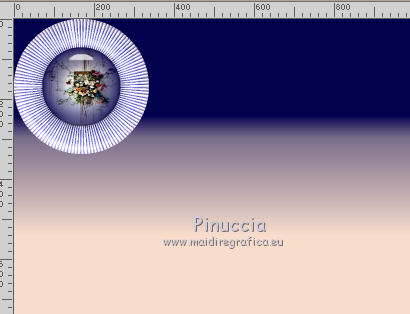
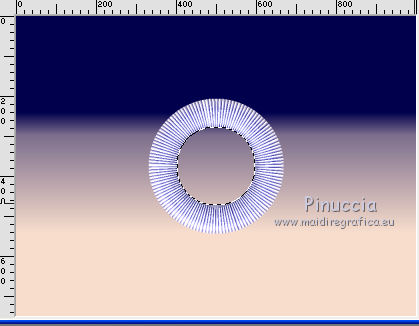
6. Activate the Magic Wand Tool 
and click in the circle to select it.
7. Open the tube bouquet_de_fleurs_cadre_tubed_by_thafs.pspimage and go to Edit>Copy.
Go back to your work and go to Edit>Paste into Selection.
Effects>Plugins>Alien Skin Eye Candy 5 Impact - Glass.

Selections>Select None.
8. Move  the image at the top left. the image at the top left.
in the newest version of PSP:
Objects>Align>Top and after Objects>Align>Left.

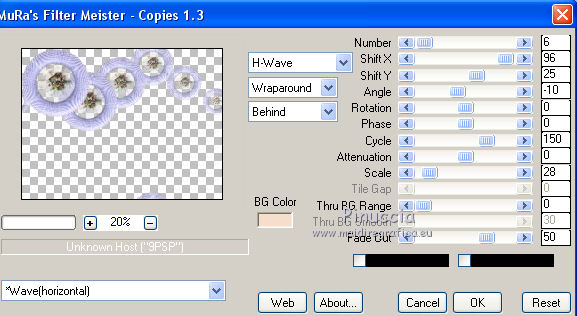
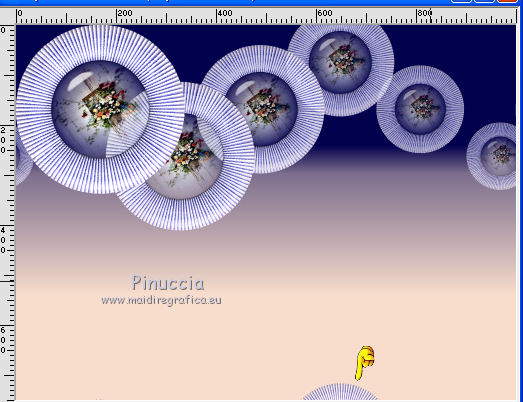
9. Effects>Plugins>Mura's Meister - Copies.

10. Activate the Eraser Tool 
and erase the little piece visible after Copies application.

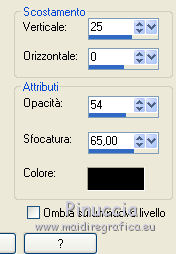
Effects>3D Effects>Drop Shadow.

11. Activate the layer Raster 1.
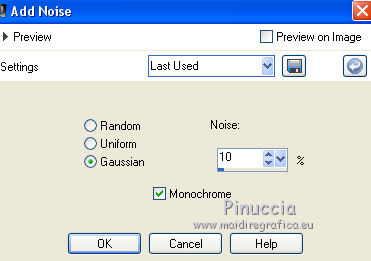
Adjust>Add/Remove Noise>Add Noise.

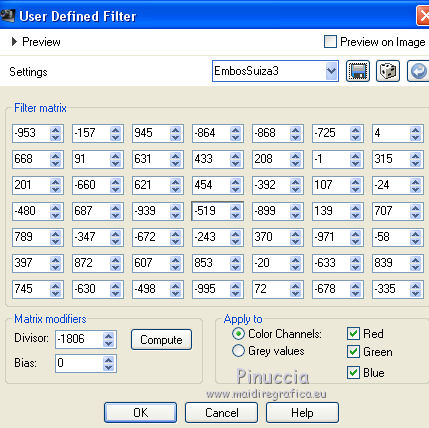
12. Effects>User Defined Filter - select the preset EmbosSuiza3 e ok.

13. Layers>Duplicate.
Image>Flip.
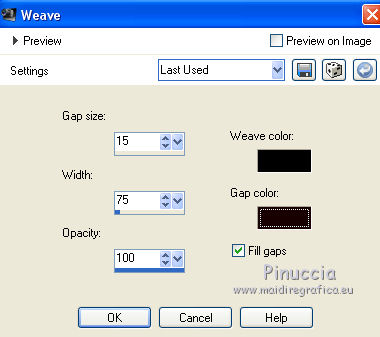
14. Effects>Textures Effects>Weave.

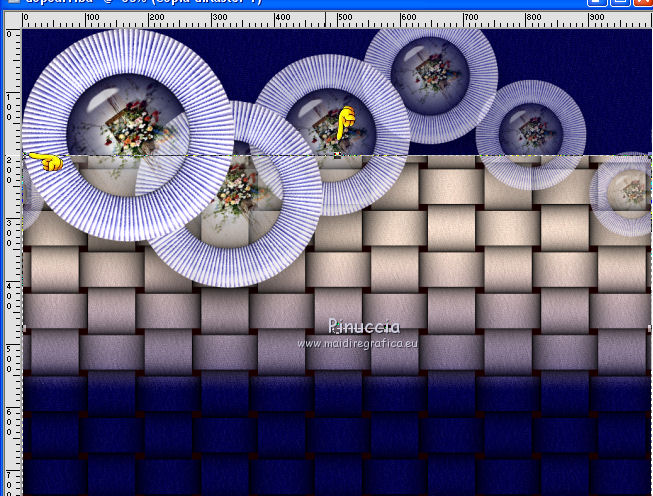
15. K key to activate the Pick tool 
mode Scale 
push the top central node down, until 200 pixels.

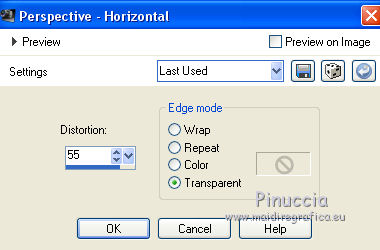
16. Effects>Geometric Effects>Perspective horizontal.

17. Effects>User Defined Filter - preset EmbosSuiza3.
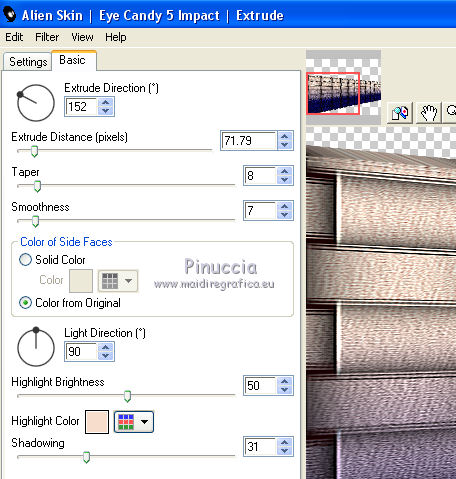
18. Effects>Plugins>Alien Skin Eye Candy 5 Impact - Extrude.
Highlight color: background color

Reduce the opacity of this layer to 95%.
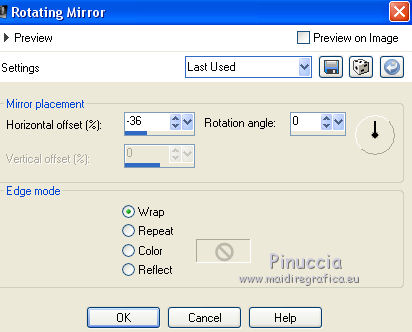
19. Effects>Reflection Effects>Rotating Mirror.

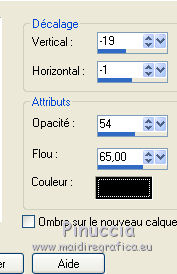
20. Effects>3D Effects>Drop Shadow.

21. Activate the layer Raster 1.
Layers>Duplicate.
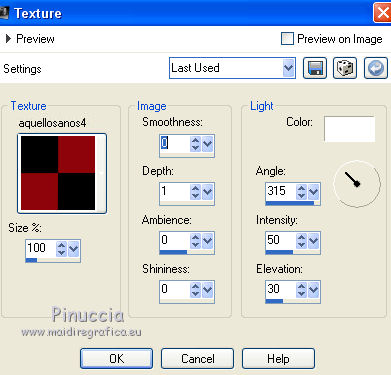
22. Effects>Texture Effects>Texture - select the texture aquellosanos4

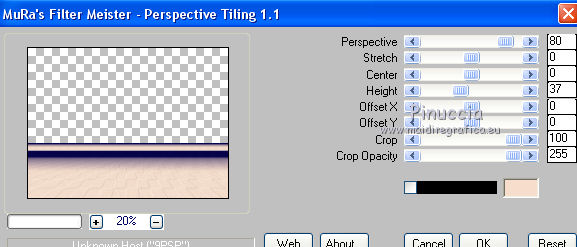
23. Effects>Plugins>Mura's Meister - Perspective Tiling.

24. Activate again the layer Raster 1.
Open the tube Nov-Falls-By-Lory.psp and go to Edit>Copy.
Go back to your work and go to Edit>Paste as new layer.
Move  the tube at the top right. the tube at the top right.
in the newest versions of PSP:
Objects>Align>Top and after Objects>Align>Right
25. Layers>Duplicate.
Image>Mirror.
26. Layers>Merge>Merge visible.
27. Open the tube Tocha23857.pspimage and go to Edit>Copy.
Go back to your work and go to Edit>Paste as new layer.
Image>Resize, to 70%, resize all layers not checked.
Image>Mirror.
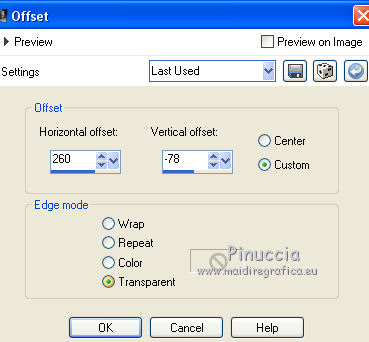
Effects>Image Effects>Offset.

28. Effects>3D Effects>Drop Shadow.

29. Sign your work on a new layer.
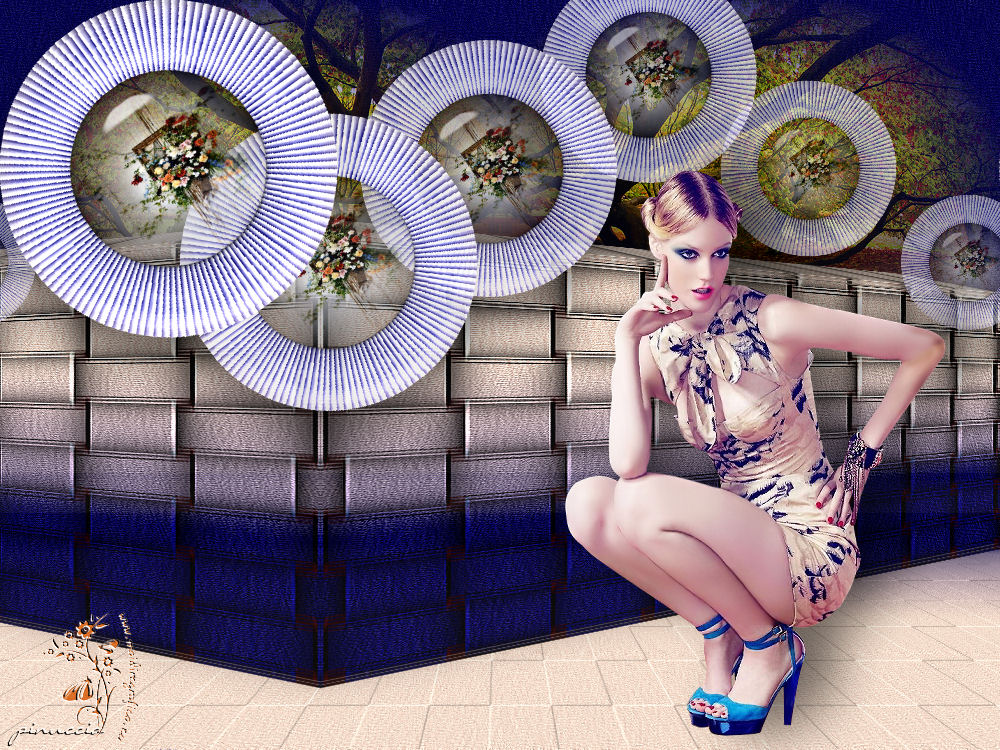
30. Layers>Merge>Merge All and save as jpg.

If you have problems or doubt, or you find a not worked link, or only for tell me that you enjoyed this tutorial, write to me.
30 September 2017
|
 english version


 the transparent image with your Gradient.


 the image at the top left.