|
TOP NARA PAMPLONA
english version


This tutorial was created with PSPX9 and translated with Corel17 and CorelX but it can also be made using other versions of PSP.
Since version PSP X4, Image>Mirror was replaced with Image>Flip Horizontal,
and Image>Flip with Image>Flip Vertical, there are some variables.
In versions X5 and X6, the functions have been improved by making available the Objects menu.
In the latest version X7 command Image>Mirror and Image>Flip returned, but with new differences.
See my schedule here
Italian translation here
French translation here
Your versions here
For this tutorial, you will need:
Material here
TubeNP-807.pspimage
Tube / Leny-dingen52
Narah_mask_0392.jpg
Mask-serie2012-7-zen.jpg
(here the sites of the tubemakers)
Plugins
consult, if necessary, my filter section here
Filters Unlimited 2.0 here
&<Bkg Designer sf10I> - Bee Morph (to import in Unlimited) here

Copy the Gradient in the Gradients Folder.
Copy the Masks in the Masks Folder.
1. Set your Foreground color to #48a9af,
Set your background color to #050505.
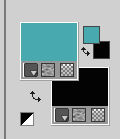
Set your foreground color to Gradient et select the Gradient SuiGrad44, style Radial.
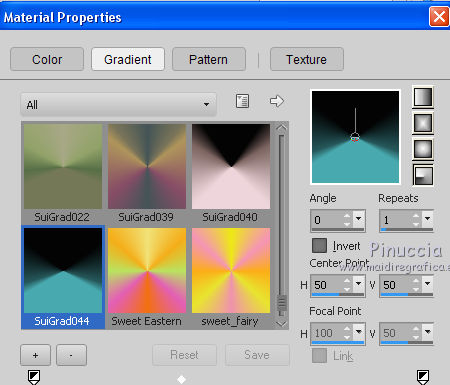
if you use other colors, also the gradient will change color
2. Open a new transparent image 1000 x 750 pixels,
Flood Fill  the image with your Gradient the image with your Gradient
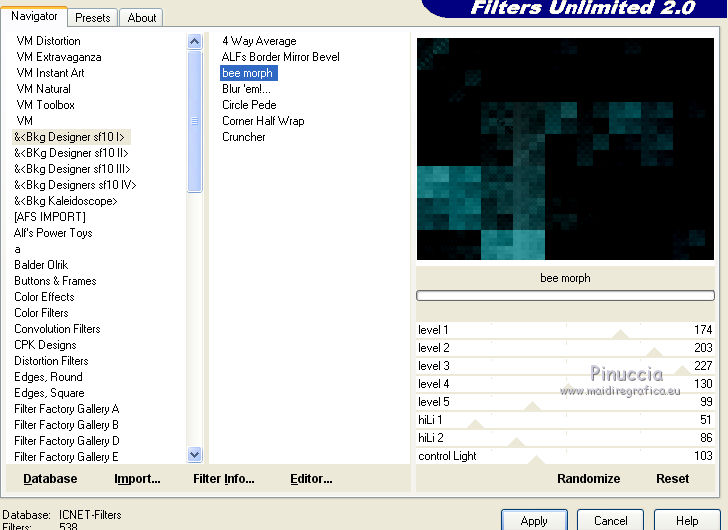
3. Effects>Plugins>Filters Unlimited 2.0 - &<Bkg Designer sf10I> - Bee Morph
4. Layers>New Raster Layer.
Flood Fill  with your Gradient. with your Gradient.
5. Layers>Load/Save Mask>Load Mask drom Disk.
Look for and load the mask Mask-serie2012-7-zen.

Layers>Merge>Merge Group.
6. Layers>New Raster Layer.
Selection Tool 
(no matter the type of selection, because with the custom selection your always get a rectangle)
clic on the Custom Selection 
and set the following settings.
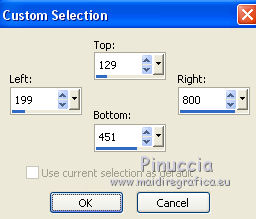
Flood Fill  the selection with your Gradient. the selection with your Gradient.
7. Effects>Plugins>Filters Unlimited 2.0 - &<Bkg Designer sf10I> - Bee Morph.
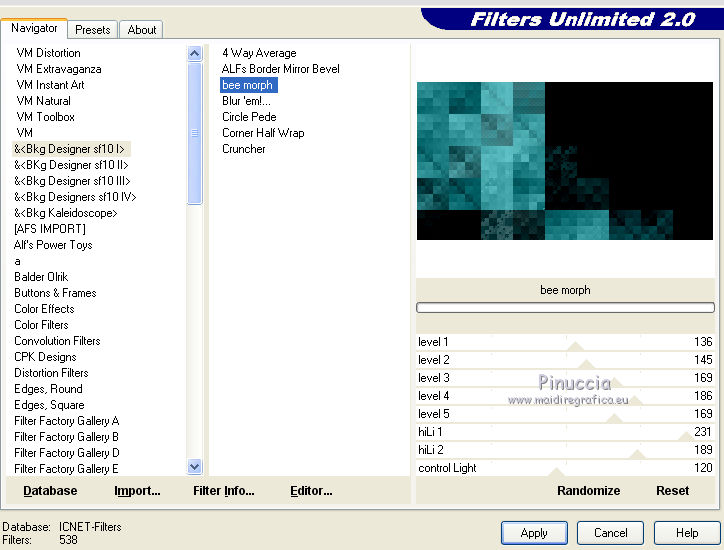
Selections>Select None.
8. Effects>Image Effects>Seamless Tiling.
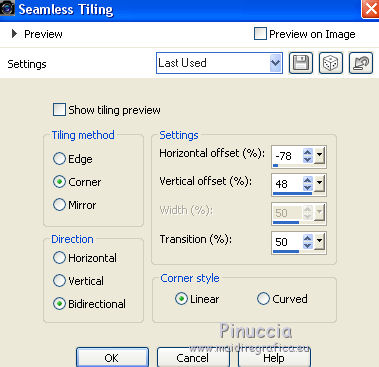
9. Change the Gradient settings and select Invert.
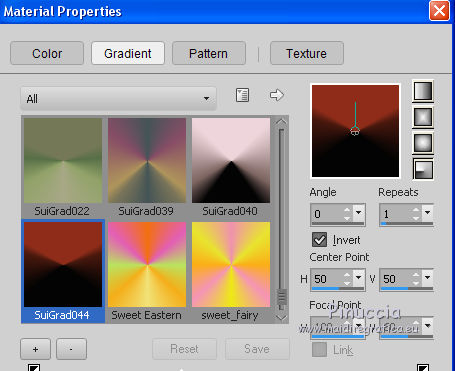
10. Layers>New Raster Layer.
Flood Fill  the layer with your Gradient. the layer with your Gradient.
11. Layers>Load/Save Mask>Load Mask drom Disk.
Look for and load the mask Narah_Mask_0392.
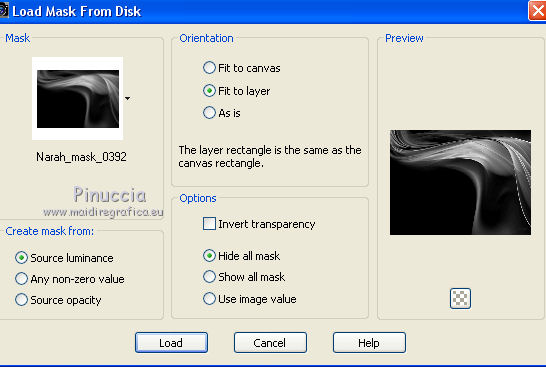
Layers>Merge>Merge Group.
12. Layers>Merge>Merge visible.
13. Open the tube TubeNP-807, - Edit>Copy.
Go back to your work and go to Edit>Paste as new layer.
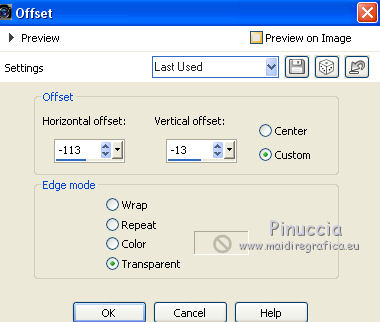
14. Effects>Image Effects>Offset.
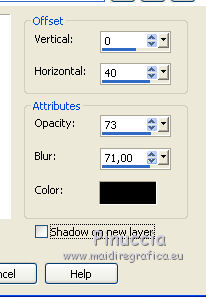
15. Effects>3D Effects>Drop Shadow.
16. Open the tube Leny-dingen52 - Edit>Copy.
Go back to your work and go to Edit>Paste as new layer.
Image>Resize, to 60%, resize all layers not checked.
Change the Blend Mode of this layer to Luminance (Legacy).
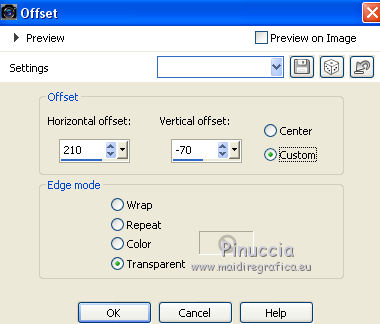
17. Effects>Image Effects>Offset.
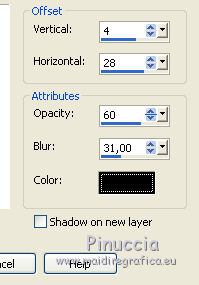
18. Effects>3D Effects>Drop Shadow.
19. Sign your work on a new layer.
Layers>Merge>Merge All and save as jpg.
The tubes of this version are by Yoka and Lecture 33
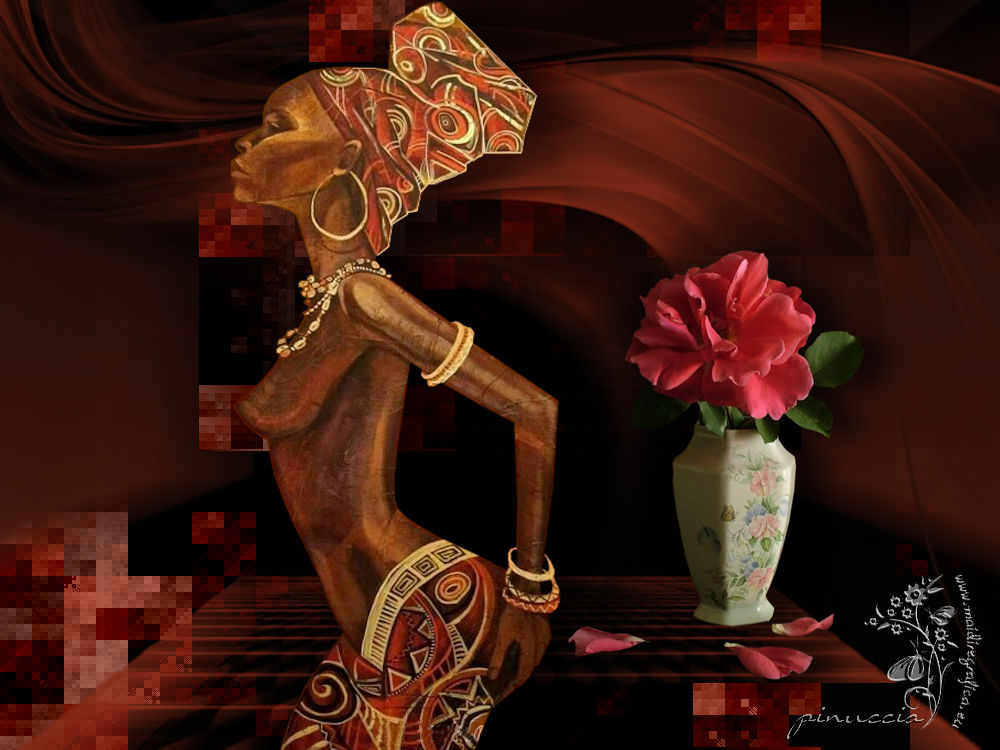

If you have problems or doubt, or you find a not worked link, or only for tell me that you enjoyed this tutorial, write to me.
4 May 2017
|


