|
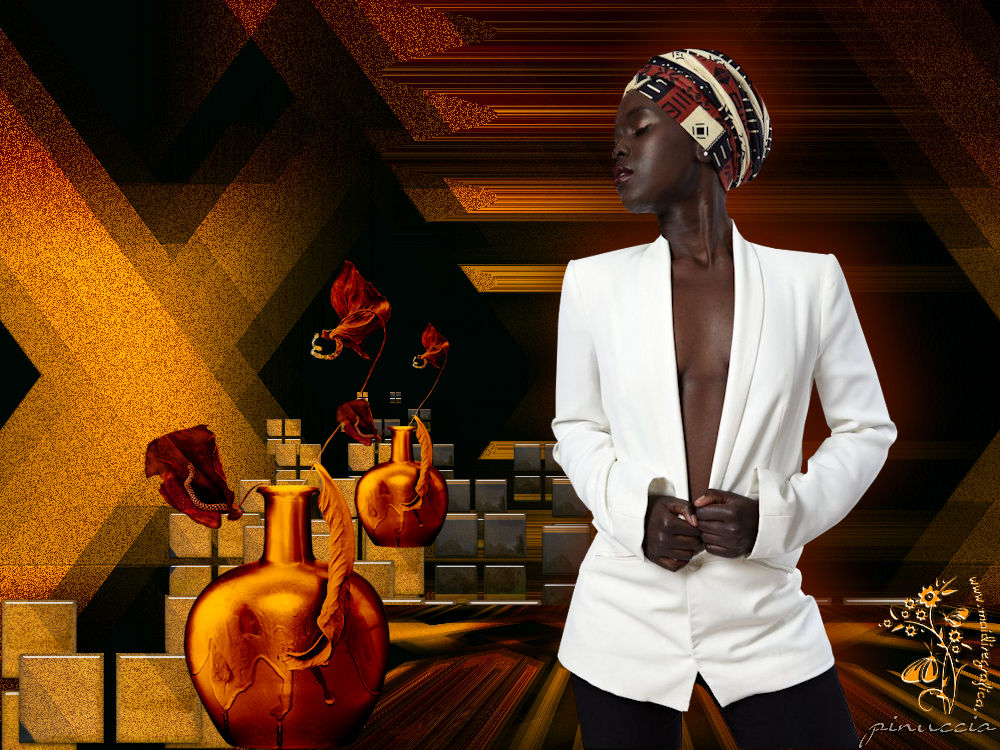
TOP PERFECTION
english version


This tutorial was created with PSPX9 and translated with Corel17 and CorelX but it can also be made using other versions of PSP.
Since version PSP X4, Image>Mirror was replaced with Image>Flip Horizontal,
and Image>Flip with Image>Flip Vertical, there are some variables.
In versions X5 and X6, the functions have been improved by making available the Objects menu.
In the latest version X7 command Image>Mirror and Image>Flip returned, but with new differences.
See my schedule here
Italian translation here
French translation here
Your versions here
For this tutorial, you will need:
Material here
Thanks: for the tubes Maryse et Leny
for the mask @nn
for the selection Astrid.
(here the sites of the tubemakers)
Plugins
consult, if necessary, my filter section here
Filters Unlimited 2.0 here
Alien Skin Eye Candy 5 Impact - Glass here
Mura's Meister - Perspective Tiling here
Mura's Meister - Copies here
It@lian Editors Effect - Seppia here
VM Toolbox - Dynamic Diffusion here
Visual Manipulation - Remove Gray here
VM Stylize - Motion Trail here
Filters VM Toolbox, Visual Manipulation, VM Stylize and It@lian Editors can be used alone or imported into Filters Unlimited.
(How do, you see here)
If a plugin supplied appears with this icon  it must necessarily be imported into Unlimited it must necessarily be imported into Unlimited

Copy the Gradient in the Gradients Folder.
Copy the Selection in the Selection Folder.
Copy the Masks in the Masks Folder.
1. Set your Foreground color to #241612,
Set your background color to #e2e4e3.
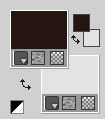
Set your foreground color to Gradient et select the Gradient SuiGrad016, style Linear.
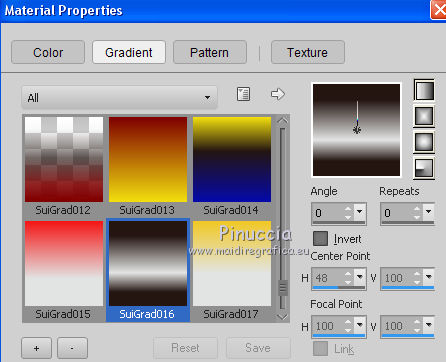
if you use other colors, also the gradient will change color
2. Open a new transparent image 1000 x 750 pixels,
Flood Fill  the image with your Gradient the image with your Gradient
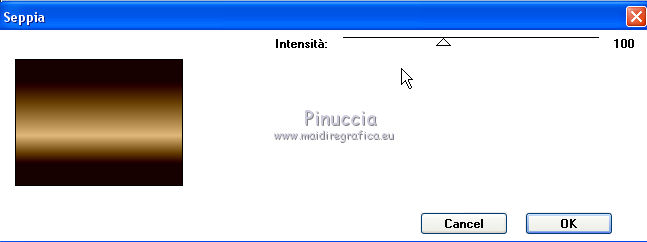
4. Effects>Plugins>Italian Editors Effects - Seppia.
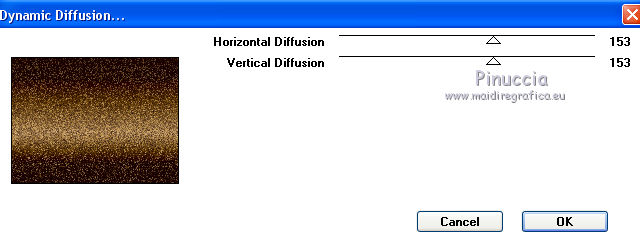
5. Effects>Plugins>VM Toolbox - Dynamic Diffusion.
6. Layers>New Raster Layer.
Flood Fill  with your background color #e2e4e3. with your background color #e2e4e3.
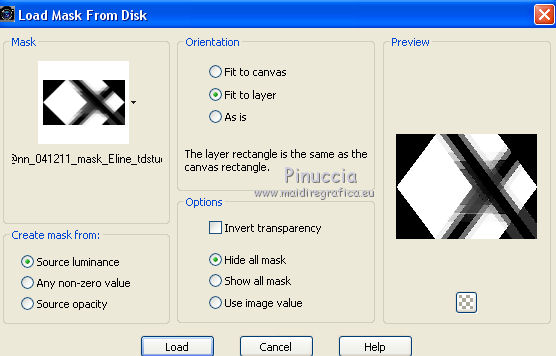
7. Layers>Load/Save Mask>Load Mask from Disk.
Look for and load the mask @nn_041211_mask_Eline_tdstudio.jpg.
Layers>Merge>Merge Group.
8. Effects>Image Effects>Seamless Tiling.

Layers>Merge>Merge down.
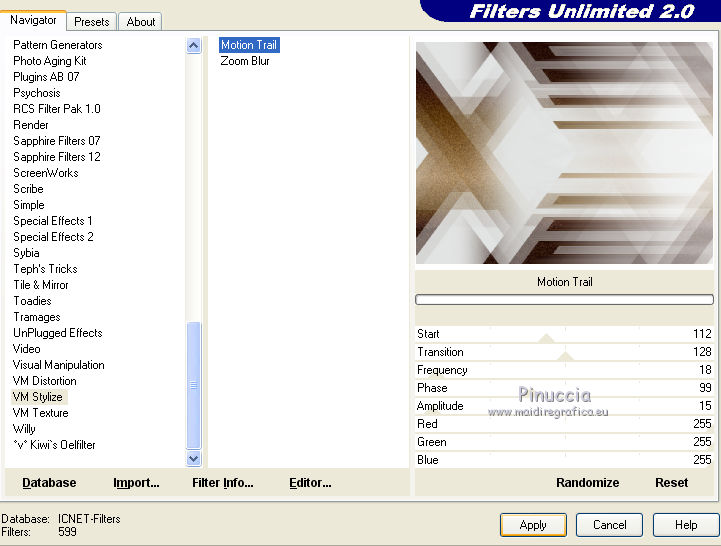
9. Effects>Plugins>Filters Unlimited 2.0 - VM Stylize - Motion Trail.
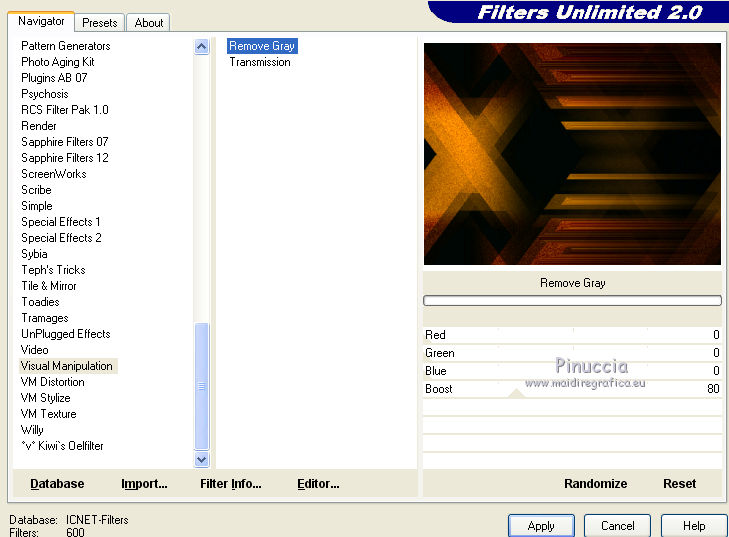
10. Effects>Plugins>Filters Unlimited 2.0 - Visual Manipulation - Remove Gray.
11. Layers>Duplicate.
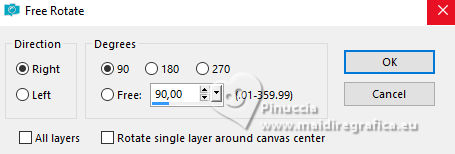
12. Image>Free Rotate - 90 degres to right
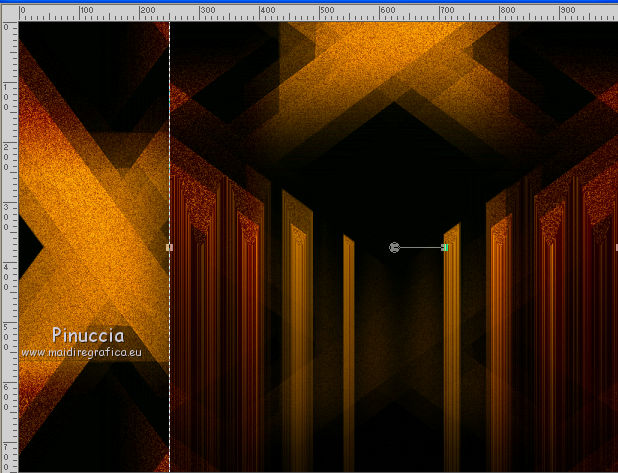
13. Objects>Align>Right
if you are using a previous version that doesn't have the menu Objects disponible,
use the Move tool 
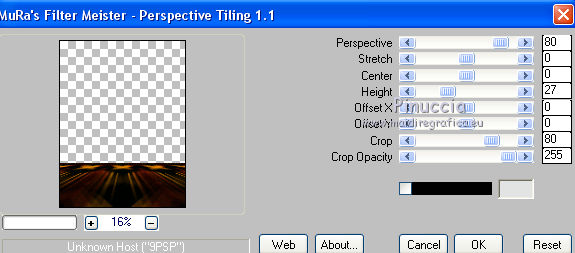
14. Effects>Plugins>Mura's Meister - Perspective Tiling.
11. Activate the layer Raster 1.
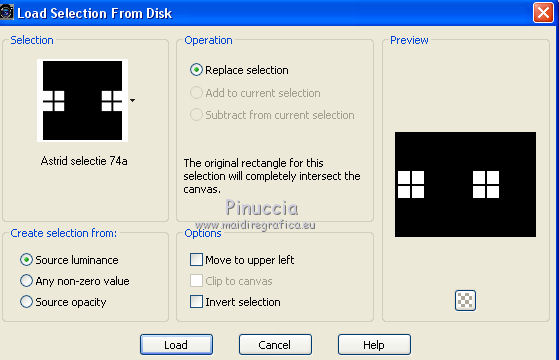
12. Selections>Load/Save Selection>Load Selection from Disk.
Look for and load the selection Astrid selectie 74a.PspSelection.
13. Selections>Promote Selection to Layer.
14. Effects>Plugins>Alien Skin Eye Candy 5 Impact - Glass.

Selections>Select None.
15. Effects>Plugins>Mura's Meister - Copies.
random means casual, for that the result cannot be like mine.
You can change it, clicking on the preview window, until you see the result you prefer

16. Effects>3D Effects>Drop Shadow.
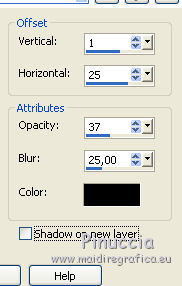
17. Layers>Merge>Merge visible.
18. Open the tube MR_Autumn Deco.pspimage - Edit>Copy.
Go back to your work and go to Edit>Paste as new layer.
Image>Resize, to 65%, resize all layers not checked.
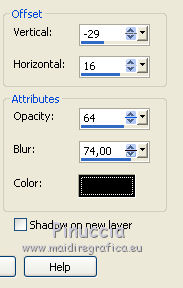
Effects>Image Effects>Offset.
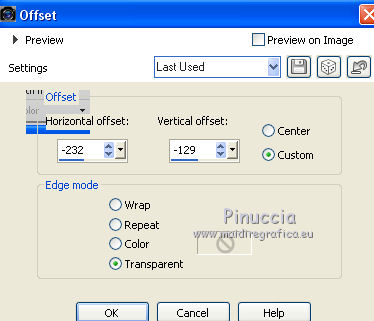
Layers>Duplicate.
Image>Resize, to 46%, resize all layers not checked.
19. Open the tube Leny-vrouw714.psp - Edit>Copy.
Go back to your work and go to Edit>Paste as new layer.
Image>Resize, to 85%, resize all layers not checked.
Effects>Image Effects>Offset.
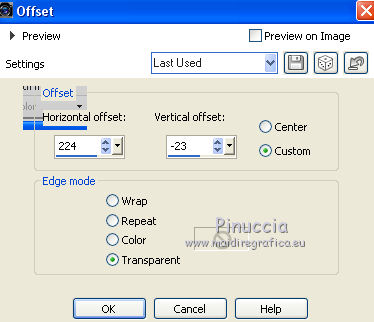
20. Effects>3D Effects>Drop Shadow, color #a92600.
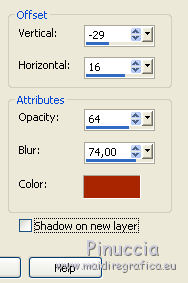
Repeat Drop Shadow, but with color black.
21. Layers>Merge>Merge All.
Sign your work and save as jpg.
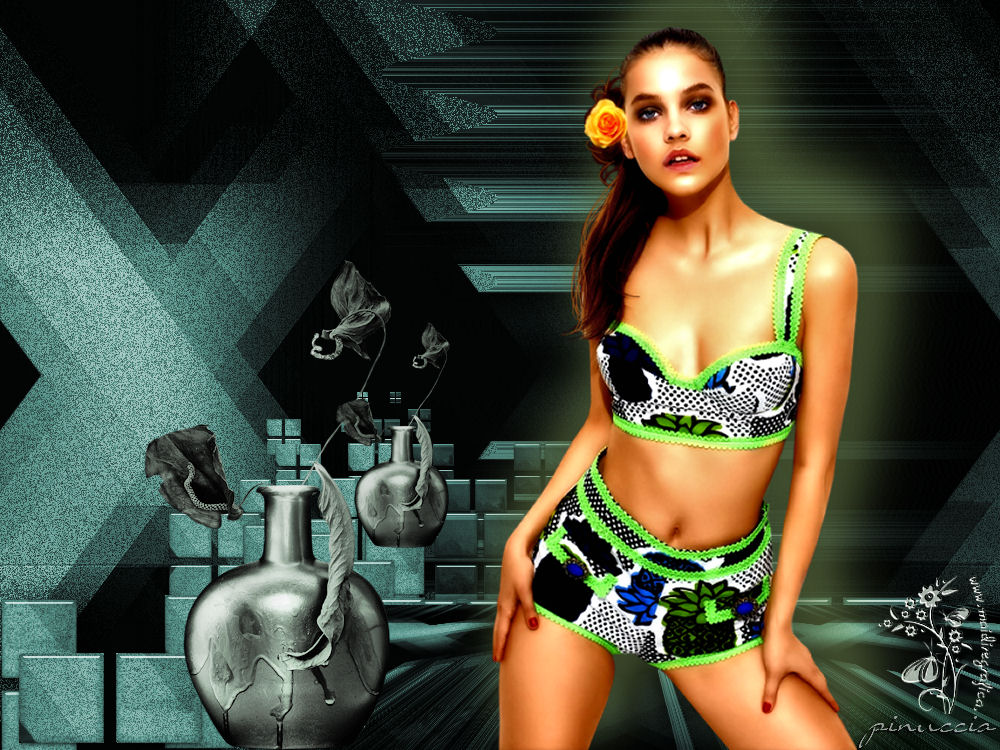
The tube of this version is by Gabry

If you have problems or doubt, or you find a not worked link, or only for tell me that you enjoyed this tutorial, write to me.
21 May 2017
|
