|
TOP PINK ROSE
english version

This tutorial was created with PSPX8 but it can also be made using other versions of PSP.
Since version PSP X4, Image>Mirror was replaced with Image>Flip Horizontal,
and Image>Flip with Image>Flip Vertical, there are some variables.
In versions X5 and X6, the functions have been improved by making available the Objects menu.
In the latest version X7 command Image>Mirror and Image>Flip returned, but with new differences.
See my schedule here
Italian translation here
French translation here
Your versions here
For this tutorial, you will need:
Material here
Tube Radyga-tubes-0140-2905-2013.psp
Tube_flowers_fushia_tubed_by_Thafs.psp
Tube Ketlandscape 110.psp
Plugins
consult, if necessary, my filter section here
VanDerLee - Unplugged-X here

You can change Blend Modes and opacity of the layer, according to your colors.
Copy the preset Emboss 3 in the Presets Folder.
Copy the Gradient in the Gradients Folder.
1. Set your foreground color to #f94faf,
Set your background color to #9c9db2.
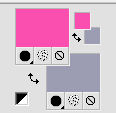
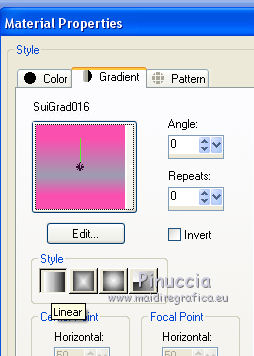
Set your foreground color to Gradient and select the gradient SuiGrad016, style Linear.
Open a new transparente image 1000 x 700 pixels,
Flood Fill  with your gradient. with your gradient.
2. Selections>Select All.
Open the tube Radyga-tubes-0140-2905-2013,psp, and go to Edit>Copy.
Go back to your work and go to Edit>Paste into selection.
Selections>Select None.
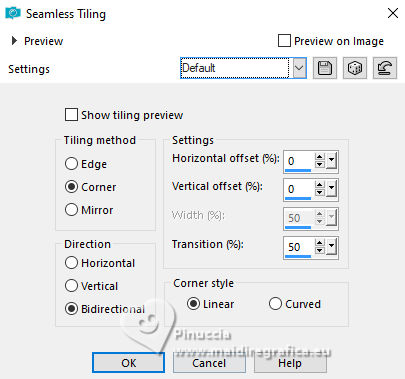
3.- Effects>Image Effects>Seamless Tiling, default settings.
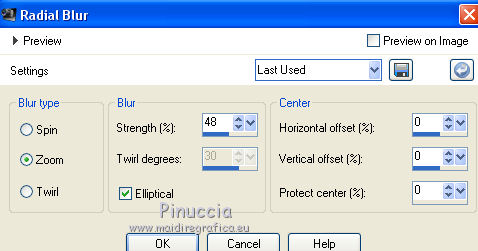
4. Adjust>Blur>Radial Blur.
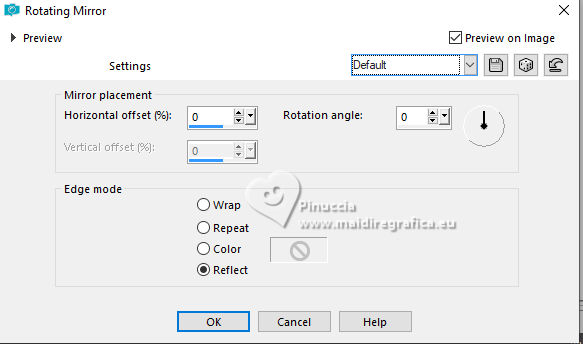
5. Effects>Reflections Effects>Rotating Mirror, default settings.
6. Image>Flip.
7. Layers>Duplicate.
8. Effects>Plugins>VanDerLee - Unplugged-X - 45 Rectangle
Color: foreground color.

9. Activate the Magic Wand tool 
and clic on the shape to select it.
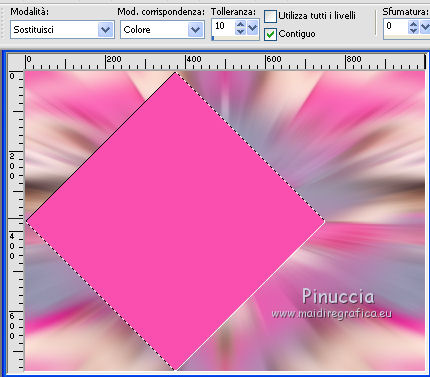
Press CANC on the keyboard 
Selections>Select None.
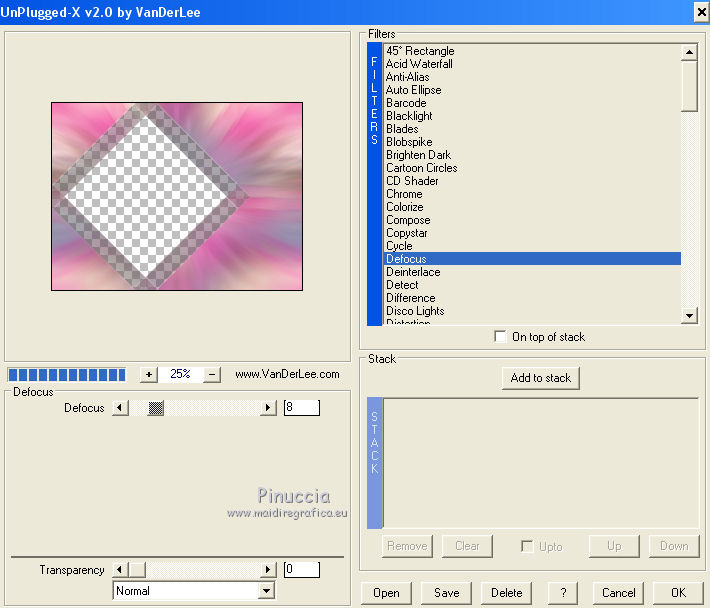
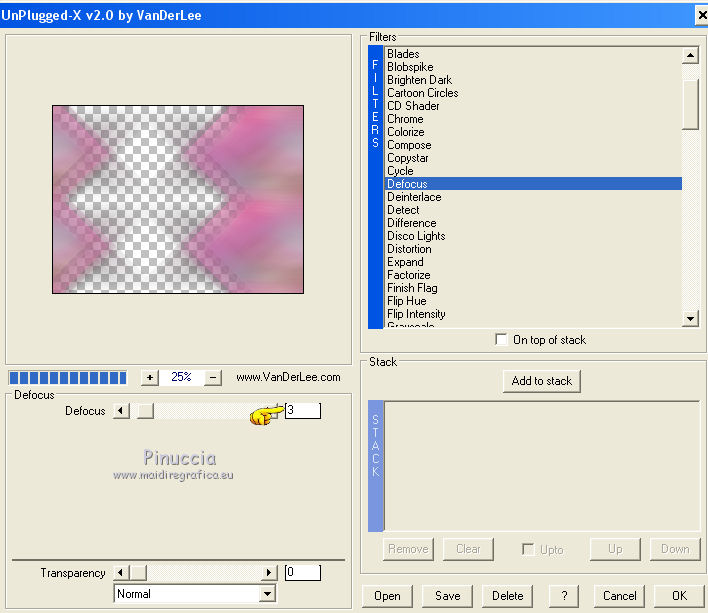
10. Effects>Plugins>VanDerLee - Unplugged-X - Defocus.
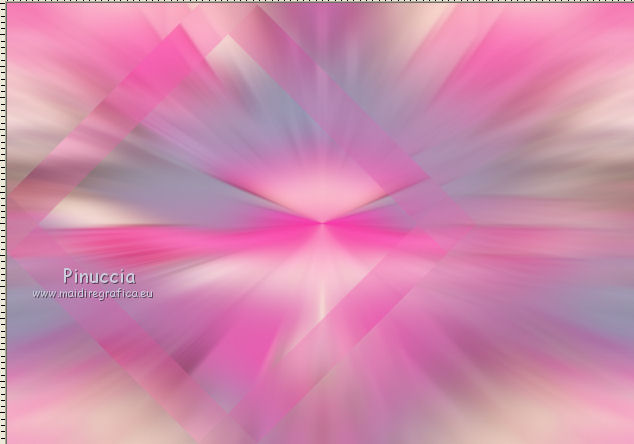
don't worry if you see a different image; par example, with Corel X12 and Corel X13 I get this
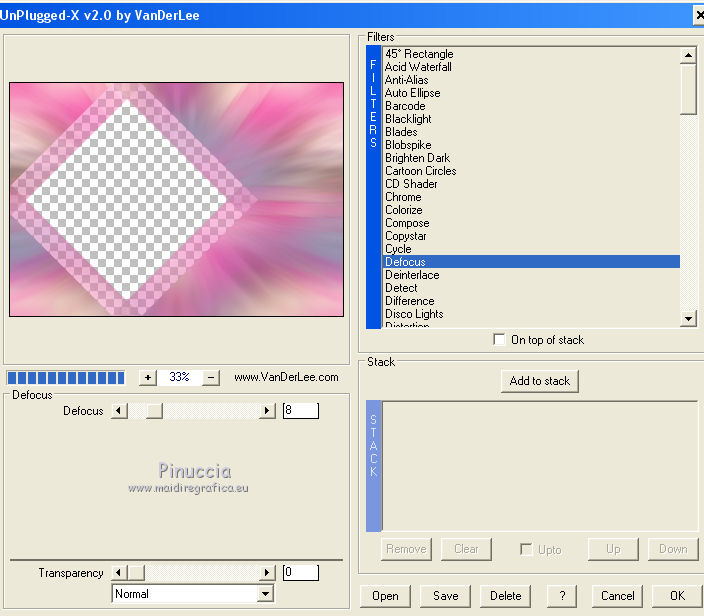
Result
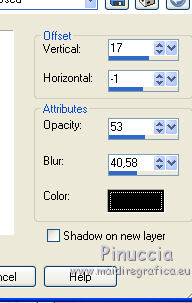
11. Effects>3D Effects>Drop Shadow.
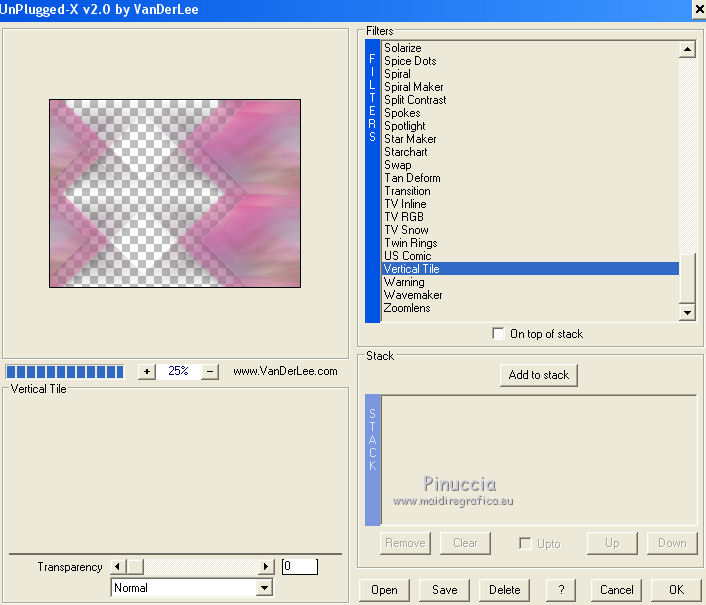
12. Effects>Plugins>VanDerLee - Unplugged-X - Vertical Tile.
13. Effects>Plugins>VanDerLee - Unplugged-X - Defocus.
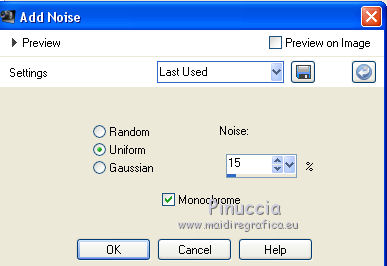
14. Adjust>Add/Remove Noise/Add Noise.
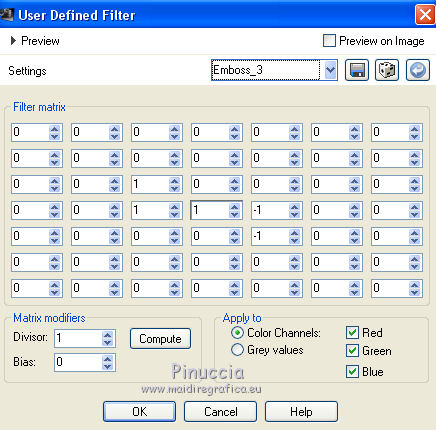
15. Effects>User Defined Filter - select the preset Emboss 3 and ok.
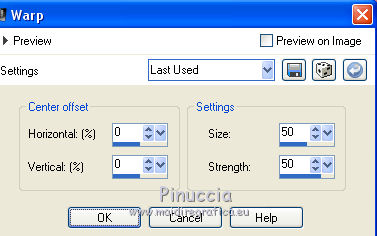
16. Effects>Distortion Effects>Warp.
17. Activate the layer Raster 1.
Open the tube Ketlandscape 110, and go to Edit>Copy.
Go back to your work and go to Edit>Paste as new layer.
Change the Blend Mode of this layer to Luminance (legacy)
and the opacity to 85%.
18. Layers>Merge>Merge All.
19. Open the tube Tube_flowers_fushia_tubed_by_Thafs.psp and go to Edit>Copy.
Go back to your work and go to Edit>Paste as new layer.
Image>Mirror.
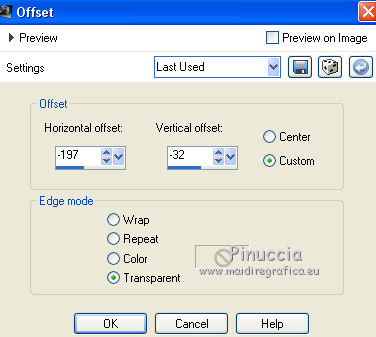
20. Effects>Image Effects>Offset.

21. Effects>3D Effects>Drop Shadow.
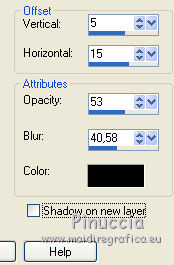
Change the opacity of this layer to 93%.
22. Layers>Merge>Merge All.
23. Open the tube Radyga-tubes-0140-2905-2013.psp and go to Edit>Copy.
Go back to your work and go to Edit>Paste as new layer.
Image>Resize, al 90%, resize all layers not checked.
24. Effects>Image Effects>Offset.
25. Effects>3D Effects>Drop Shadow, same settings.
26. Layers>Merge>Merge All.
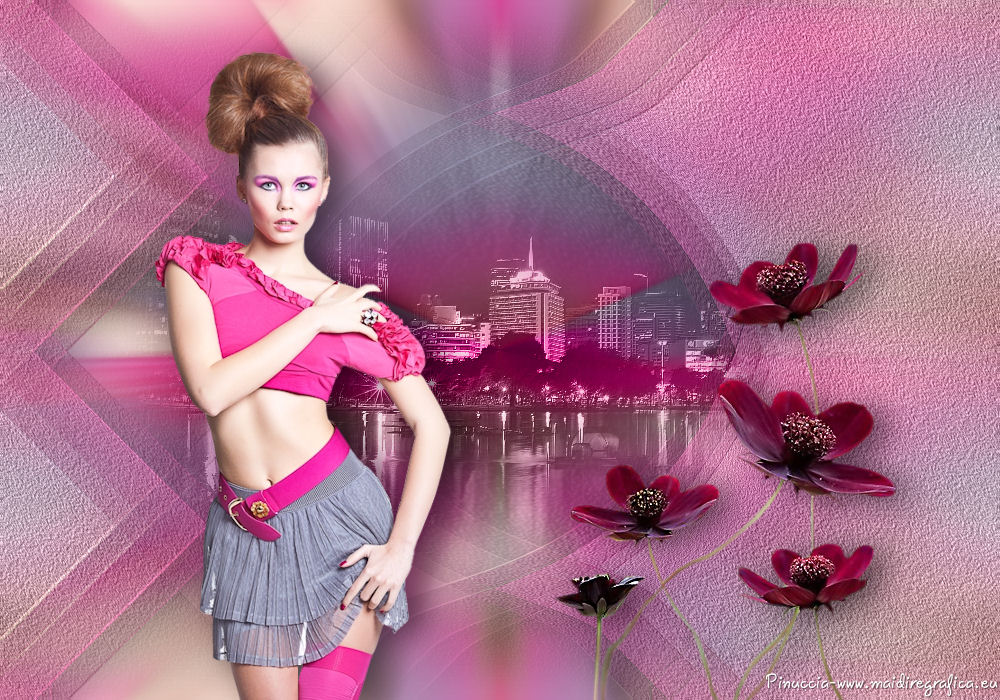
27. Sign your work and save as jpg.
The tubes of this version are by Isa and Thafs.

If you have problems or doubt, or you find a not worked link, or only for tell me that you enjoyed this tutorial, write to me.
21 April 2016
|