|
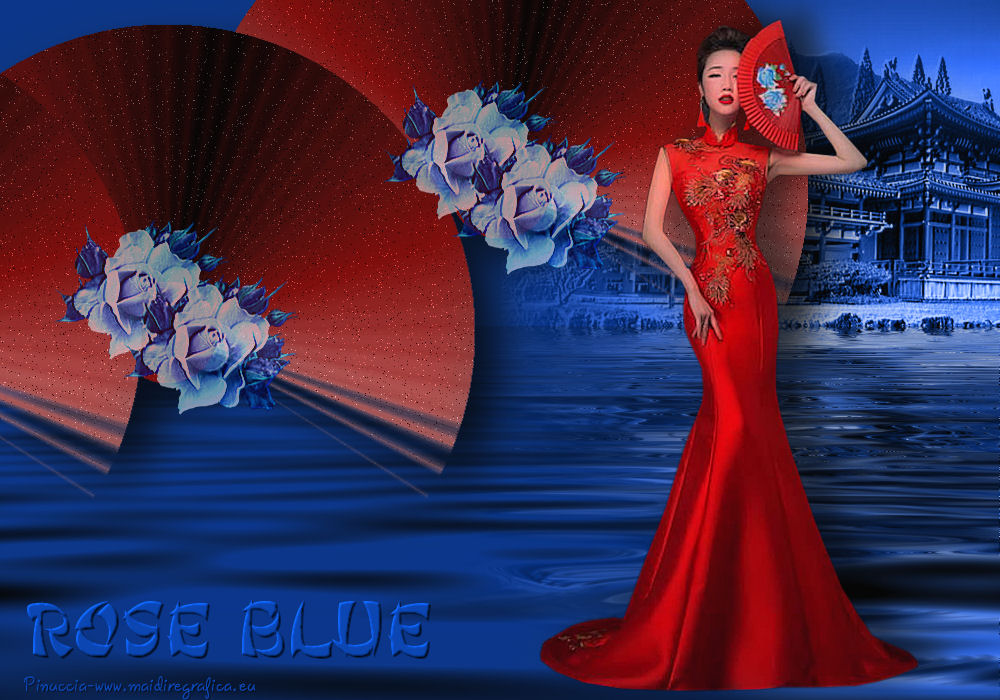
TOP ROSE BLUE
english version


This tutorial was created with PSPX5 and translated with Corel X3, but it can also be made using other versions of PSP.
Since version PSP X4, Image>Mirror was replaced with Image>Flip Horizontal,
and Image>Flip with Image>Flip Vertical, there are some variables.
In versions X5 and X6, the functions have been improved by making available the Objects menu.
In the latest version X7 command Image>Mirror and Image>Flip returned, but with new differences.
See my schedule here
Italian translation here
French translation here
Your versions here
For this tutorial, you will need:
Material here
Japanese_byClo.pspimage
TubeMistedSuiza107-02.png
rose1_animabelle.pspimage
Decotuto22.png
Plugins
consult, if necessary, my filter section here
Filters Unlimited 2.0 qui
Mura's Meister - Copies qui
Alien Skin Eye Candy 5 Impact qui
Nik software - Color Efex Pro qui
Toadies - Sucking Toad Bevel III qui
Flaming Pear - Flood qui
Filtres Toadies peuvent être utilisés seuls ou importés dans Filters Unlimited.
voir comment le faire ici).
Si un filtre est fourni avec cette icône,  on est obligé à l'importer dans Unlimited on est obligé à l'importer dans Unlimited

You can change Blend Modes and opacity of the layer, according to your colors.
If you want to use it, open the font and minimize. You'll find it in the list of fonts available when you need it.
With the most recent o.s., this is no longer possible.
To use a font, you must copy it into the Fonts folder in Windows.
Copy the Preset Emboss 3 in the Presets Folder.
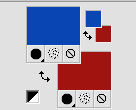
1. Set your foreground color to #0b46b3
and your background color to #a11411.
2. Open a new transparent image 1000 x 700 pixels,
Flood Fill  with your foreground color #0b46b3. with your foreground color #0b46b3.
3. Open the tube TubeMistedSuiza107-02.png - Edit>Copy.
Go back to your work and go to Edit>Paste as new layer.
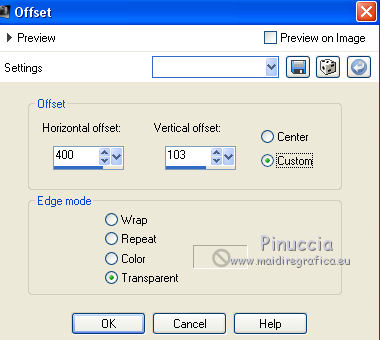
4. Effects>Image Effects>Offset.
5. Change the Blend mode of this layer to Luminance (legacy).
6. Effects>User Defined Filter - select the preset Emboss 3 and ok.

7. Layers>Merge>Merge visible.
8. Effects>Plugins>Flaming Pear - Flood.
Clic on the green wave  , if you want to change the waves , if you want to change the waves

9. Layers>New Raster Layer.
Flood Fill  with your background color #a11411. with your background color #a11411.
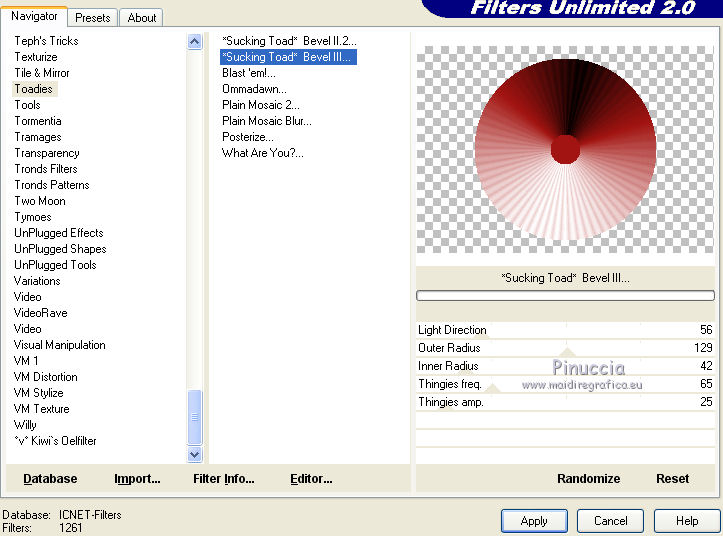
10. Effects>Plugins>Filters Unlimited 2.0 - Toadies - Sucking Toad Bevel III
11. Effects>Plugins>Mura's Meister - Copies
BG color #f3e7d9.
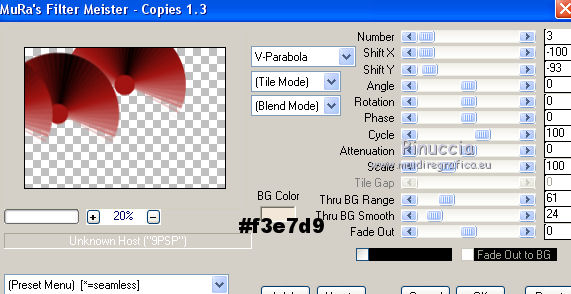
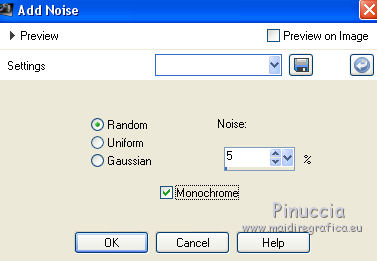
12. Adjust>Add/Remove Noise>Add Noise.
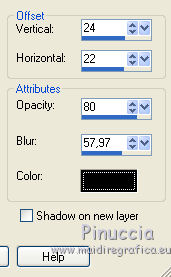
13. Effects>3D Effects>Drop Shadow.
14. Open the tube Decotuto22.png (rose1_animabelle.pspimage), - Edit>Copy.
Go back to your work and go to Edit>Paste as new layer.
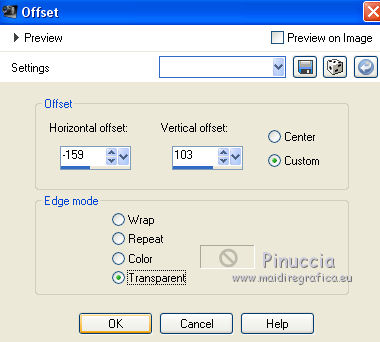
15. Effects>Image Effects>Offset.
16. Open the tube Japanese_byClo.pspimage - Edit>Copy.
Go back to your work and go to Edit>Paste as new layer.
Move  to the right side. to the right side.
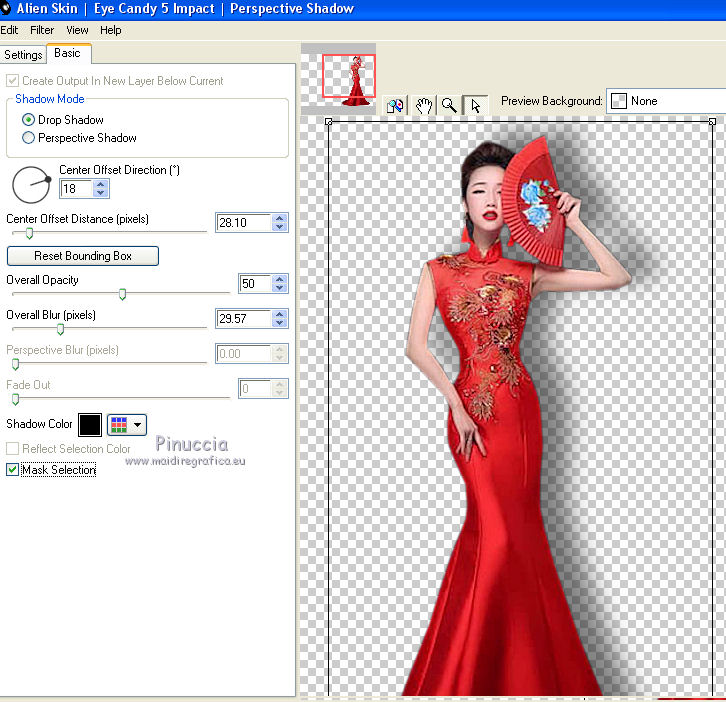
17. Effects>Plugins>Alien Skin Eye Candy 5 Impact - Perspective Shadow.
18. Layers>Merge>Merge visible.
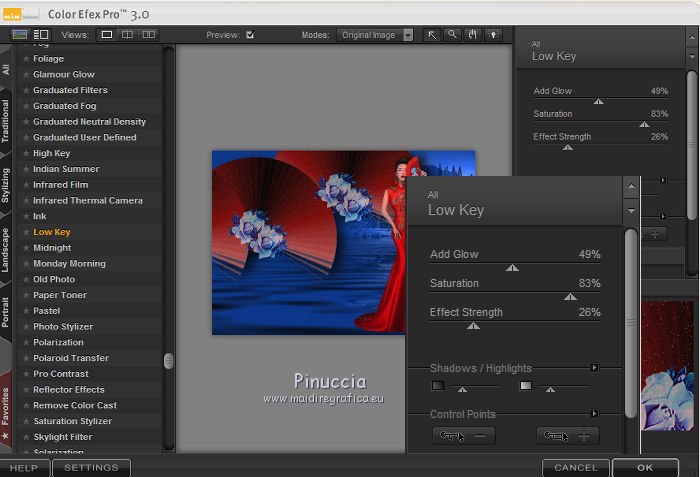
19. Effects>Plugins>Nik software - Color Efex Pro - Low Key
20. If you want, write a text.
For my example, I used the font Ginko, that you find in the material.
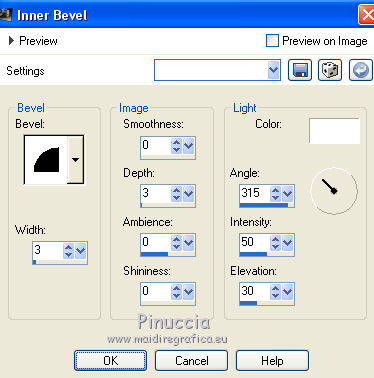
I applied this Inner Bevel
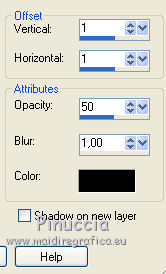
and this Drop Shadow.
20. Sign your work and save as jpg.

If you have problems or doubt, or you find a not worked link, or only for tell me that you enjoyed this tutorial, write to me.
5 Juillet 2016
|
