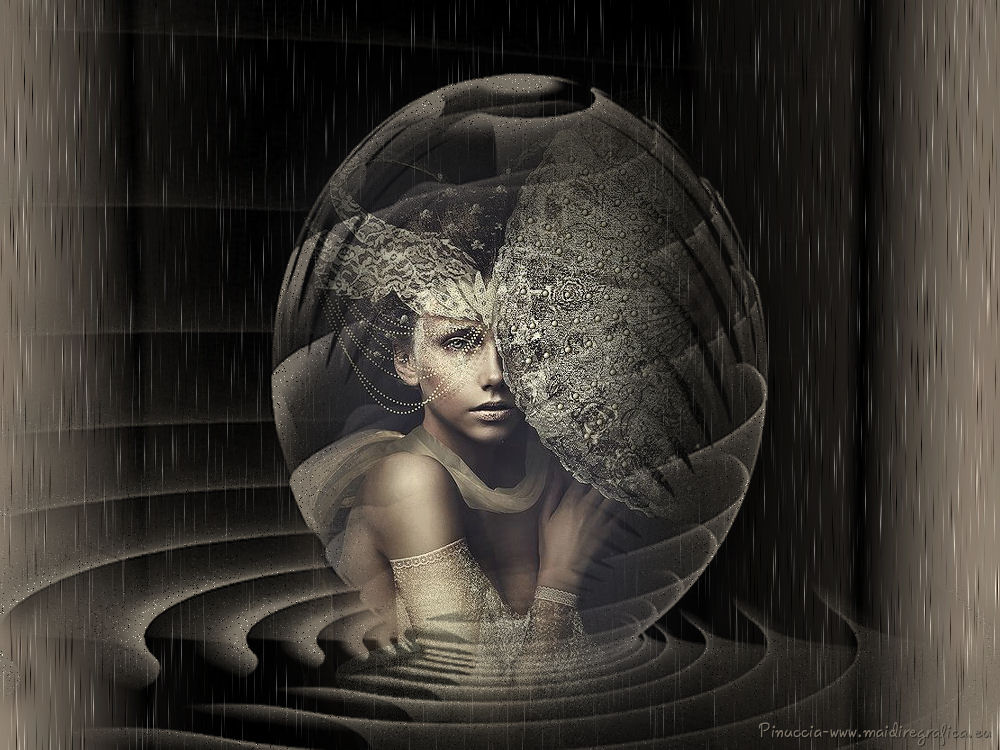
|
TOP SWEET FANTASIE
english version


This tutorial was created with PSPX7 and translated with Corel X3, but it can also be made using other versions of PSP.
Since version PSP X4, Image>Mirror was replaced with Image>Flip Horizontal,
and Image>Flip with Image>Flip Vertical, there are some variables.
In versions X5 and X6, the functions have been improved by making available the Objects menu.
In the latest version X7 command Image>Mirror and Image>Flip returned, but with new differences.
See my schedule here
Italian translation here
French translation here
Your versions here
For this tutorial, you will need:
Material here
4209-luzcristina (1).pspimage
LF-Mask-169
Plugins
consult, if necessary, my filter section here
Filters Unlimited 2.0 here
Unplugged Effects - Acid Waterfalls here
Mura's Meister - Pole Transform here
Filters Unplugged Effects can be used alone or imported into Filters Unlimited.
(How do, you see here)
If a plugin supplied appears with this icon  it must necessarily be imported into Unlimited it must necessarily be imported into Unlimited

You can change Blend Modes and opacity of the layer, according to your colors.
Copy the gradient in the Gradients Folder.
Copy the mask in the Masks Folder.
1. Set your foreground color to #302f2a
Set your background color to #7c7467.
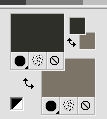
Set your foreground color to Gradient, and select the gradient SuiGrad016, style Sunburst.
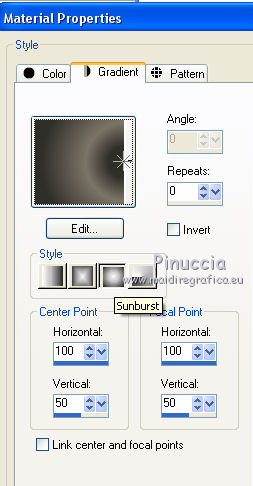
2. Open a new transparent image 1000 x 750 pixels,
Flood Fill  with your gradient. with your gradient.
3. Effects>Plugins>Filters Unlimited 2.0 - Unplugged Effects - Acid Waterfalls.
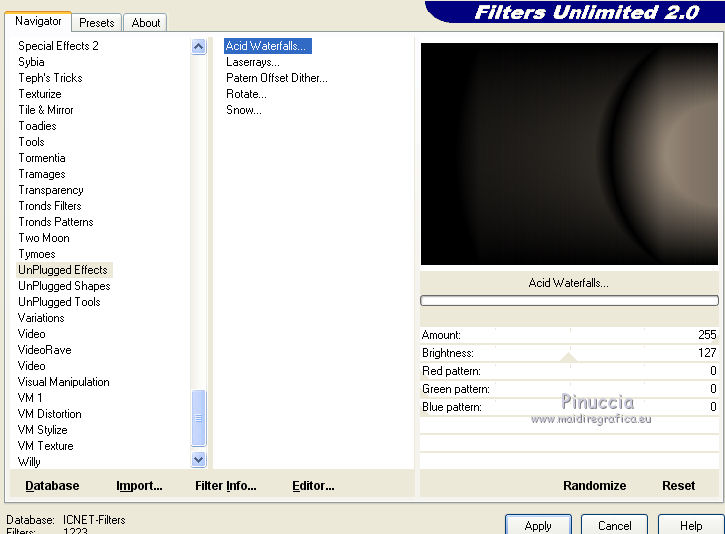
4. Layers>New Raster Layer.
Flood Fill  with your background color #7c7467. with your background color #7c7467.
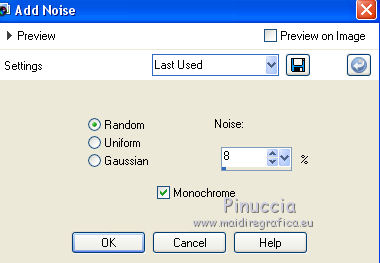
5. Adjust>Add/Remove Noise>Add Noise.
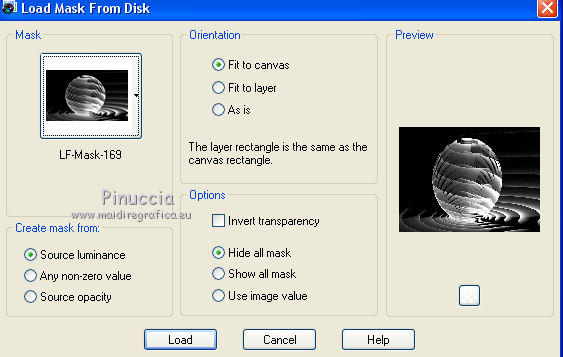
6. Layers>Load/Save Mask>Load Mask from Disk.
Look for and load the mask LF-Mask-169.jpg.
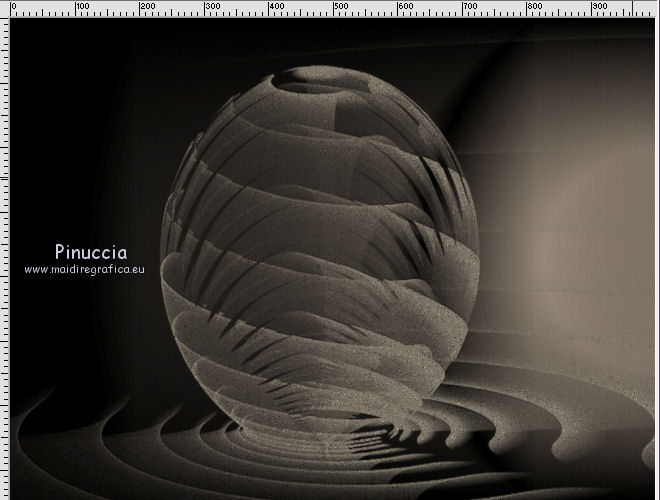
Calques>Merge>Merge group.
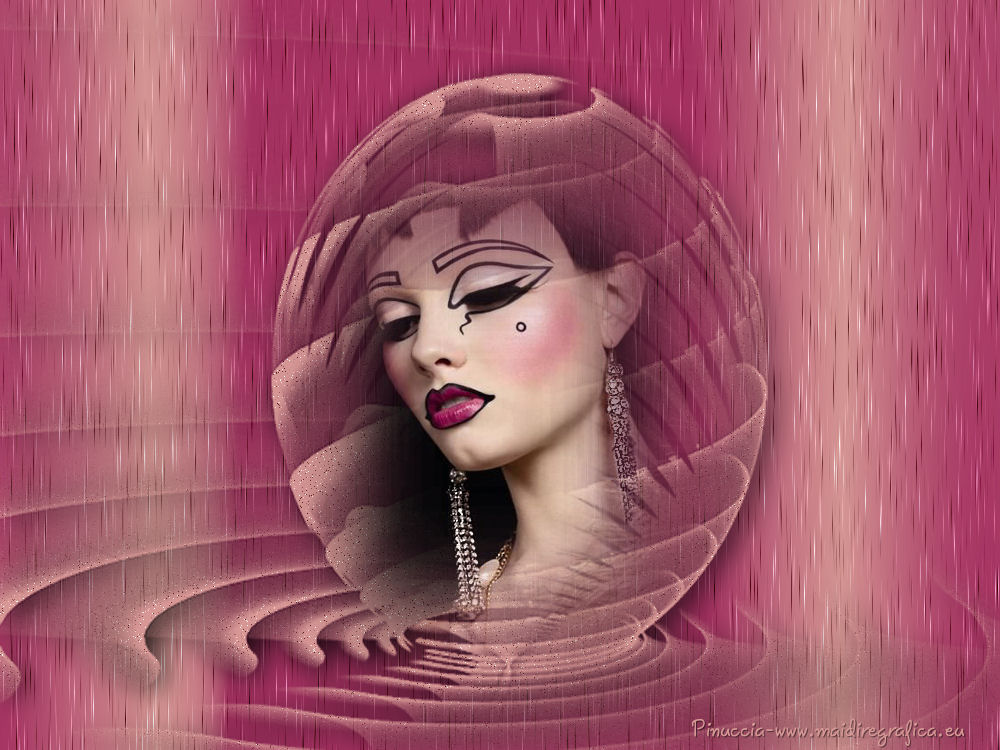
Result
7. Image>Mirror.
8. Open the tube 4209-luzcristina (1).pspimage - Edit>Copy.
Go back to your work and go to Edit>Paste as new layer.
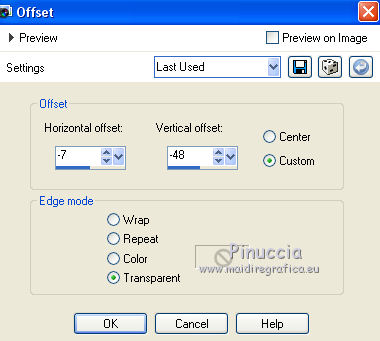
Effects>Image Effects>Offset.
Layers>Merge>Merge down.
9. Effects>3D Effects>Drop Shadow.
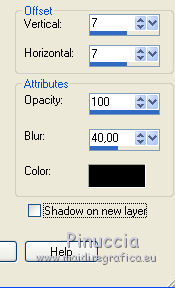
10. Activate the layer Raster 1.
Effects>Geometric Effects>Cicle.
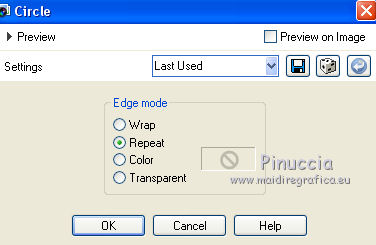
11. Adjust>Add/Remove Noise>Add Noise, same settings.

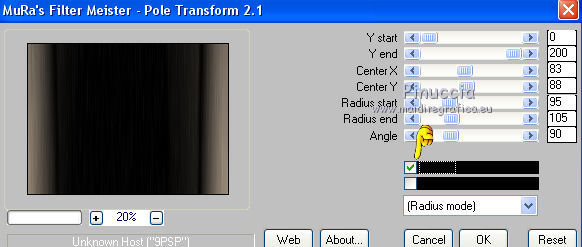
12. Effects>Plugins>Mura's Meister - Pole Transform
(inverse checked: don't worry if you don't see the texts).
13. Sign your work.
Layers>Merge>Merge all and save as jpg.
The tubes of these versions are by
Gabry
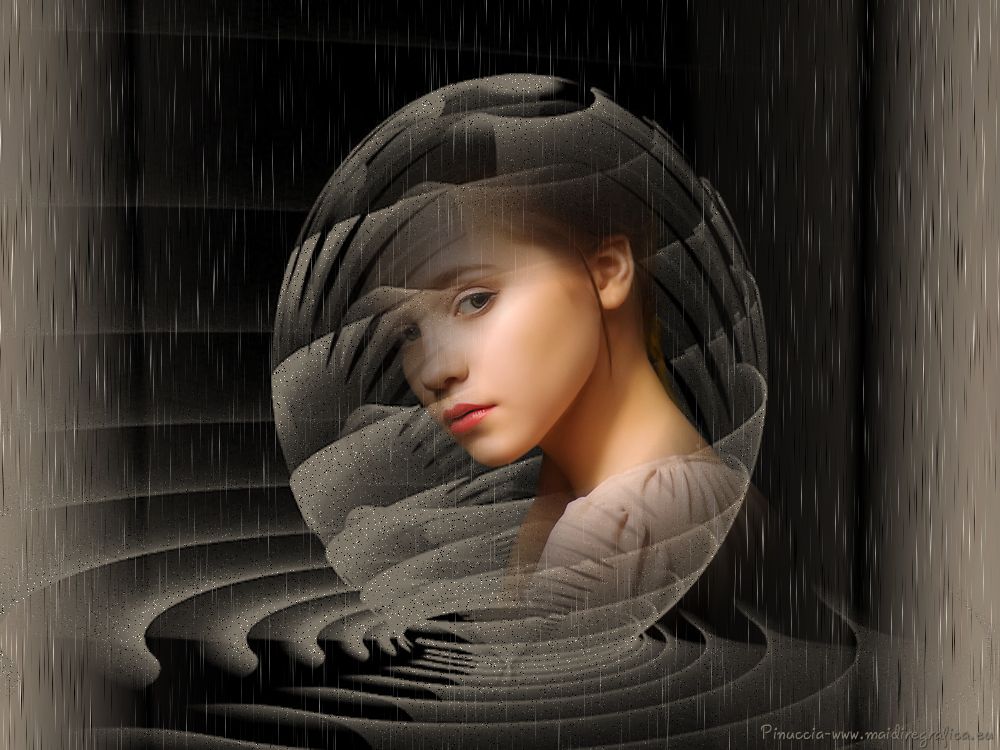
Luz Cristina

If you have problems or doubt, or you find a not worked link, or only for tell me that you enjoyed this tutorial, write to me.
31 May 2016
|
