|
TOP BLUE
 english version english version


This tutorial was created with PSP 9 and translated with Corel X3, but it can also be made using other versions of PSP.
Since version PSP X4, Image>Mirror was replaced with Image>Flip Horizontal,
and Image>Flip with Image>Flip Vertical, there are some variables.
In versions X5 and X6, the functions have been improved by making available the Objects menu.
In the latest version X7 command Image>Mirror and Image>Flip returned, but with new differences.
See my schedule here
Italian translation here
French translation here
Your versions here
For this tutorial, you will need:
Material here
The tube is an exclusive tube by Tocha.
In the zip I put the tube used for my second version (after the tutorial).
The mask is my Cameron.
(The links of the tubemakers here).
Plugins
consult, if necessary, my filter section here
Filters Unlimited 2.0 here
Plugin AB22 - Something Like An Original here
Mura's Meister - Perspective Tiling here
Mura's Meister - Copies here
Nik Software - Color Efex Pro here
AP 01 [Innovations] - Lines SilverLining here

You can change Blend Modes according to your colors.
In the newest versions of PSP, you don't find the foreground/background gradient (Corel_06_029).
You can use the gradients of the older versions.
The Gradient of CorelX here
Copy the Mask in the Masks Folder.
1. Open a new transparent image 950 x 700 pixels.
2. Set your foreground color to #36b3c3,
and your background color to color black #000000.
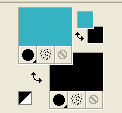
Set your foreground color to a Foreground/Background Gradient, style Rectangular.
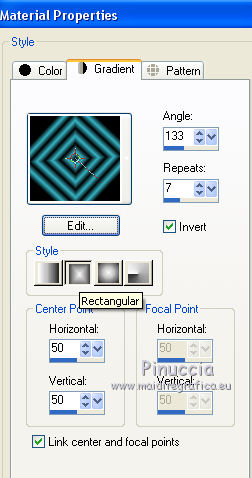
Flood Fill  the transparent image with your Gradient. the transparent image with your Gradient.
3. Effects>Plugins>Filters Unlimited 2.0 - Plugins Ab22 - Something Like An Original,
default settings.
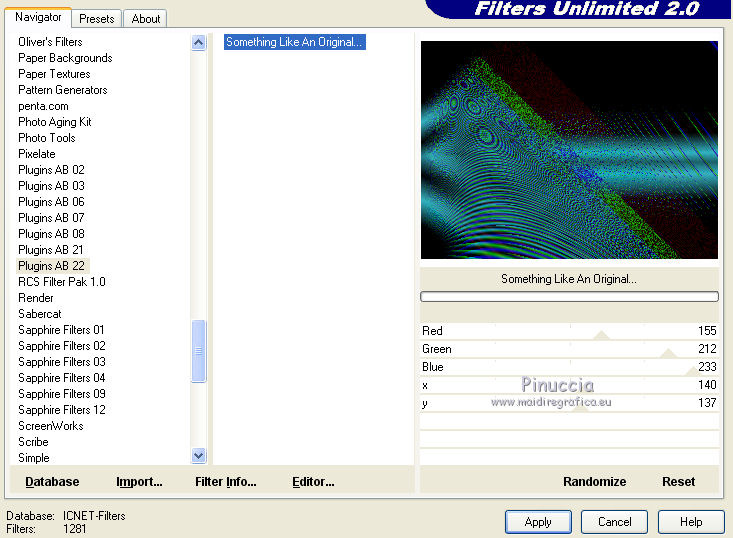
Reduce the opacity of this layer to 96%.
4. Layers>Duplicate.
Effects>Plugins>Mura's Meister - Perspective Tiling.
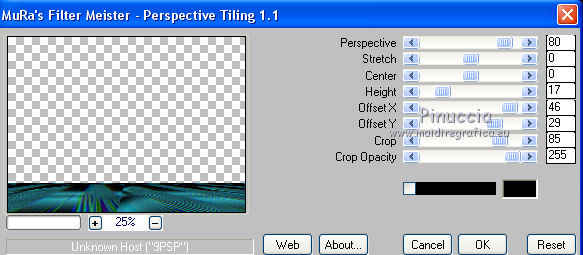
5. Effects>Reflection Effects>Rotating Mirror.

6. Activate the bottom layer.
Layers>New Raster Layer.
Set your foreground color to Color.

Flood Fill  the layer with your foreground color #36b3c3. the layer with your foreground color #36b3c3.
7. Effects>Plugins>AP 01 [Innovations] - Lines SilverLining.
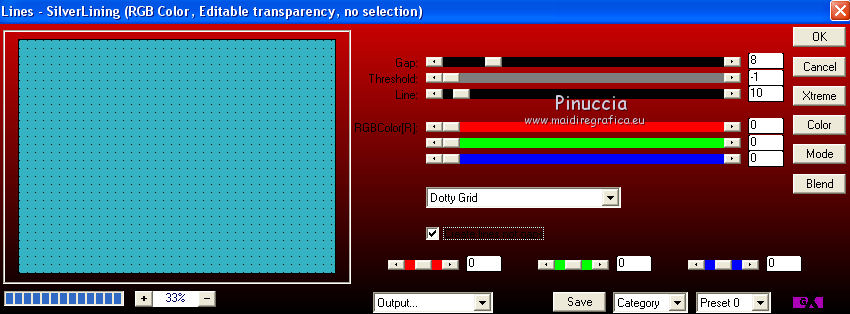
8. Layers>Load/Save Mask>Load Mask from Disk.
Look for and load the mask maskcameron284.
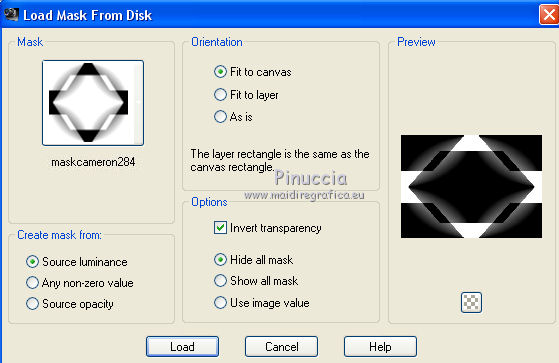
Layers>Merge>Merge Group.
9. Effects>3D Effects>Drop Shadow.
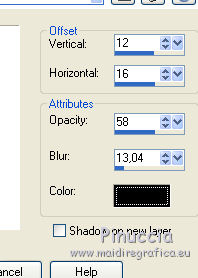
10. Layers>Merge>Merge All.
11. Open the tube di Tocha and go to Edit>Copy.
Go back to your work and go to Edit>Paste as new layer.
For my example, I resize to 75%
12. Layers>Duplicate.
Close this layer and activate the layer below of the original.
13. Effects>Geometric Effects>Perspective horizontal.
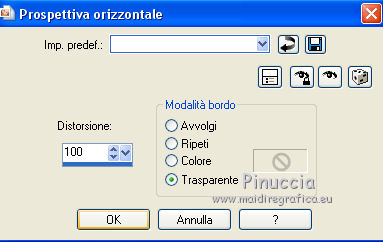
14. Image>Mirror.
Repeat Effects>Geometric Effects>Perspective horizontal, same settings.
15. Effects>Distortion Effects>Wave.
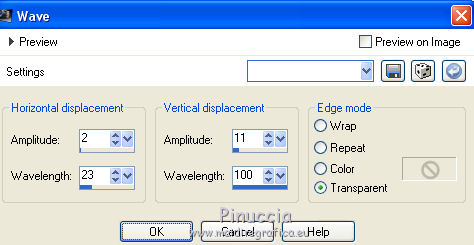
16. Effects>Plugins>Mura's Meister - Copies
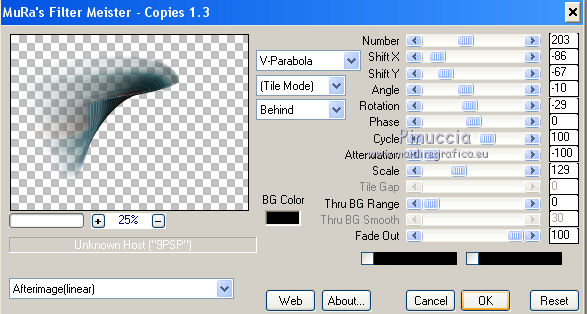
The result of this effects change according to the tube.
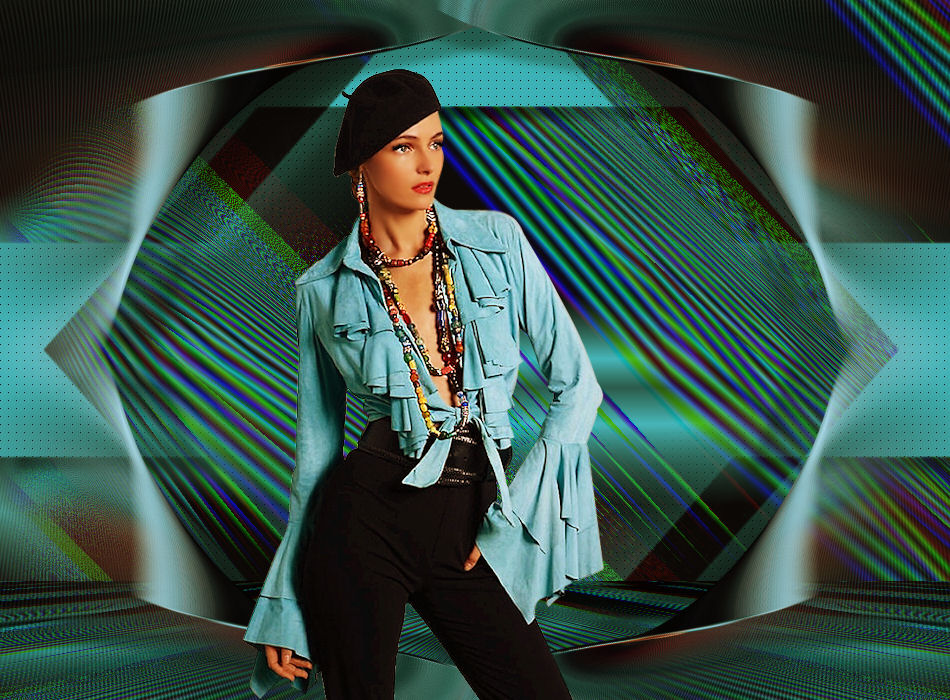
Here, for example, the window with the supplied tube.
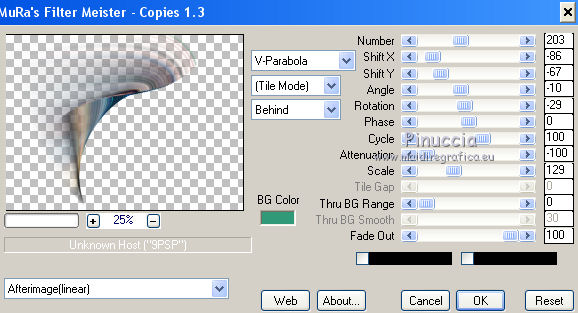
17. Move  the image at the upper left. the image at the upper left.
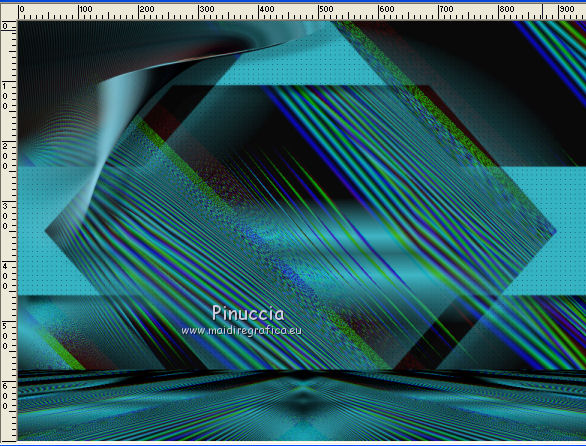
With the supplied tube
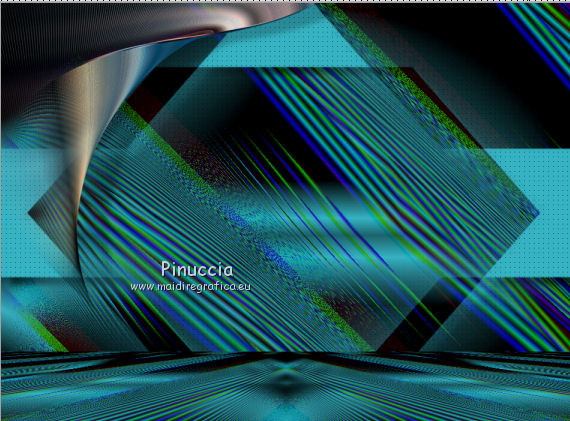
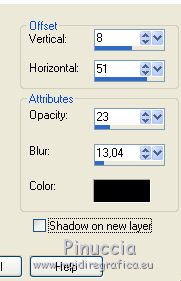
18. Effects>3D Effects>Drop Shadow.
19. Layers>Duplicate.
Image>Mirror.
Layers>Duplicate.
Image>Flip.
Layers>Duplicate.
Image>Mirror.
20. Re-open and activate the top layer.
Place  rightly the tube. rightly the tube.
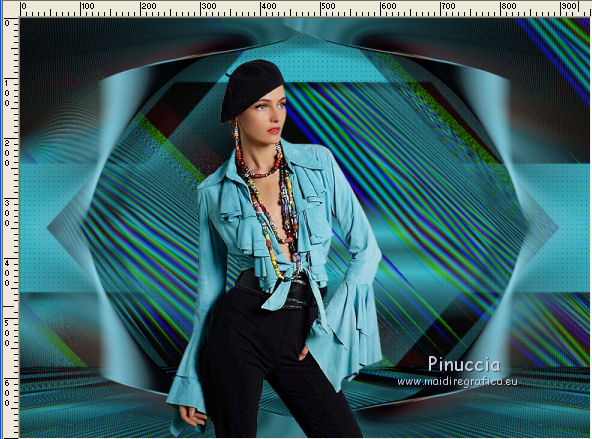
The supplied tube.
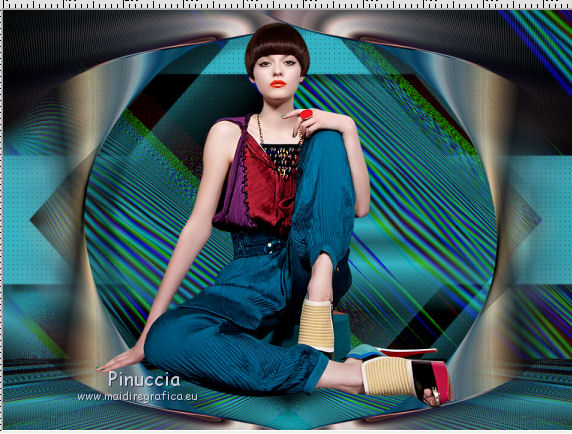
21. Sign your work.
Layers>Merge>Merge All.
22. Effects>Plugins>Nik Software - Color Efex Pro.
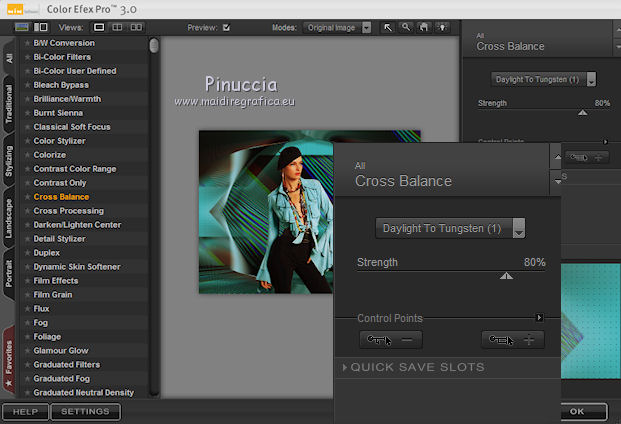
Adapt the settings to your colors.
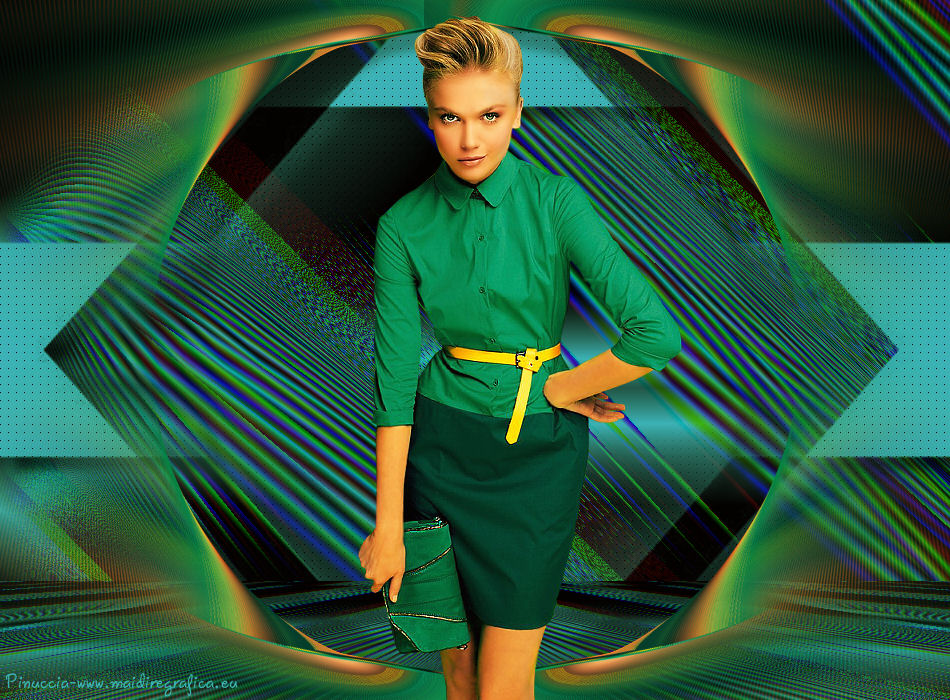
The result with the supplied tube.
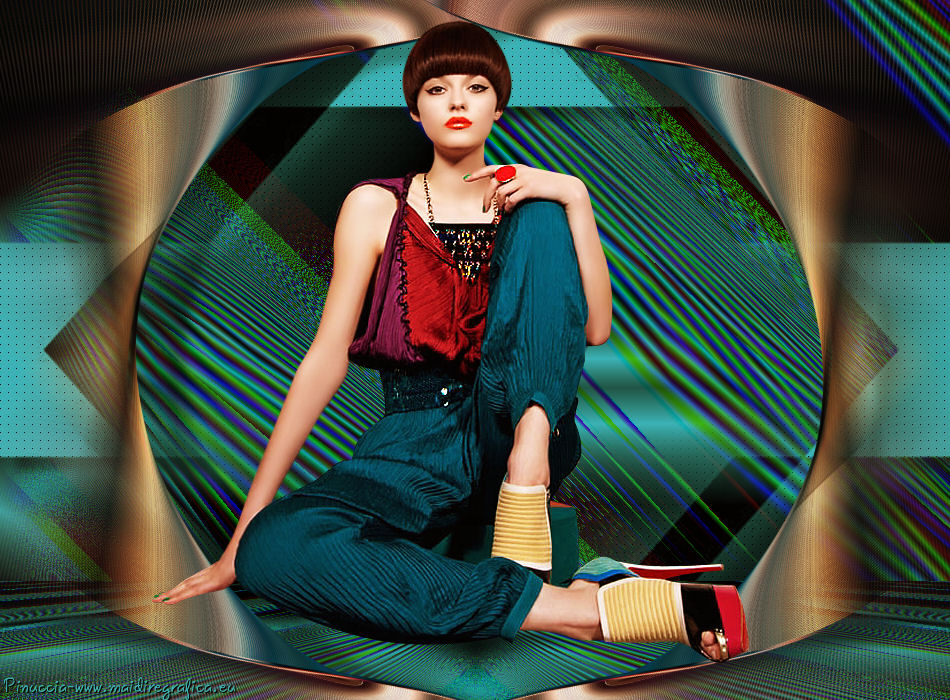
Save as jpg.
Version with other settings of Filter Nik.
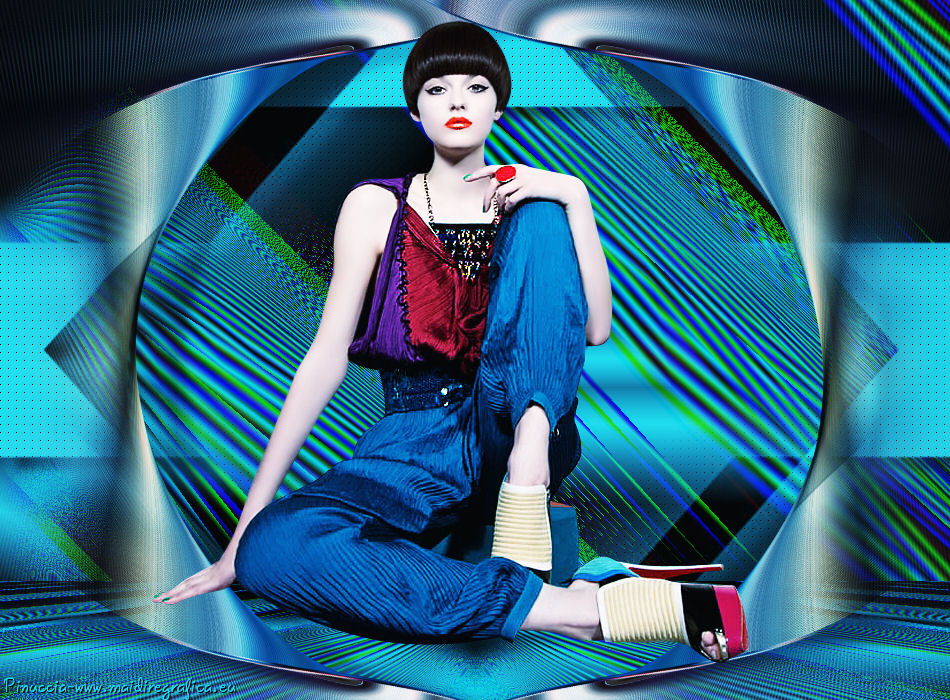
Another version.

If you have problems or doubt, or you find a not worked link, or only for tell me that you enjoyed this tutorial, write to me.
30 September 2017
|
 english version

 english version