|
TUTORIAL 126
 english version english version
Thank you Sweety for your invitation to translate your tutorial.
This tutorial is a personal creation of Sweety and it is prohibited to copy or distribute it on the net (forums, groupes.. etc), or to use it on commercials sites.
This tutorial was created with CorelX12 and translated with Corel13, but it can also be made using other versions of PSP.
Since version PSP X4, Image>Mirror was replaced with Image>Flip Horizontal,
and Image>Flip with Image>Flip Vertical, there are some variables.
In versions X5 and X6, the functions have been improved by making available the Objects menu.
In the latest version X7 command Image>Mirror and Image>Flip returned, but with new differences.
See my schedule here
For this tutorial, you will need:
Tube and image of your choice.
The rest of the material here
For the tube used and not supplied thanks Azalée.
Your versions
Plugins
consult, if necessary, my filter section here
Filters Unlimited 2.0 here
Filters Factory Gallery S - Itsa Edge Thing here
VM Toolbox - Zoom Blur here
L&K's - L&K's Dijn here
Mura's Meister - Cloud here
Alien Skin Eye Candy 5 Impact - Glass here
Filters Factory Gallery and VM Toolbox can be used alone or imported into Filters Unlimited.
(How do, you see here)
If a plugin supplied appears with this icon  it must necessarily be imported into Unlimited it must necessarily be imported into Unlimited

You can change Blend Modes according to your colors.
In the newest versions of PSP, you don't find the foreground/background gradient (Corel_06_029).
You can use the gradients of the older versions.
The Gradient of CorelX here
Copy the Selections in the Selections Folder.
The texture Canvas Simple (or Corel_15_015) is standard in PSP.
If you don't find it in your PSP, copy the supplied texture in the Textures Folder.
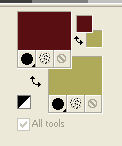
Choose two colors according to your main tube.
Colors of version 1
foreground #591112, background #afaa59.

other color #ffffff
Colors of version 2
foreground #4e517c, background #aed0ec

other color #f2d5b0.
1. Foreground color #591112,
background color #afaa59.
Open a new transparent image 950 x 600 pixels.
Selections>Select All.
Open your landscape and go to Edit>Copy.
Go back to your work and go to Edit>Paste into selection.
Selections>Select None.
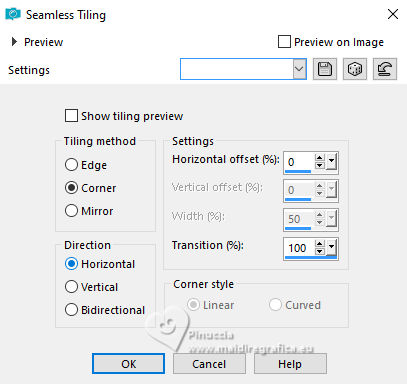
2. Effetcts>Image Effects>Seamless Tiling.
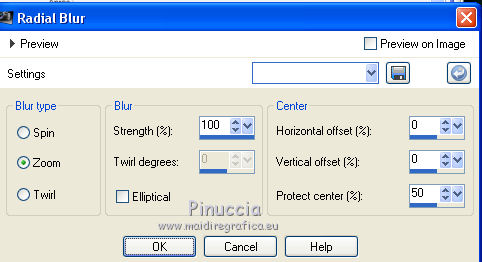
Adjust>Blur>Radial Blur.
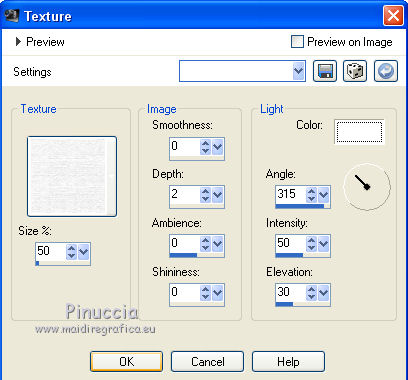
Effects>Texture Effects>Texture - select the texture Canvas Simple or Corel_15_015
3. Layers>New Raster Layer.
Effects>Plugins>Mura's Meister - Cloud
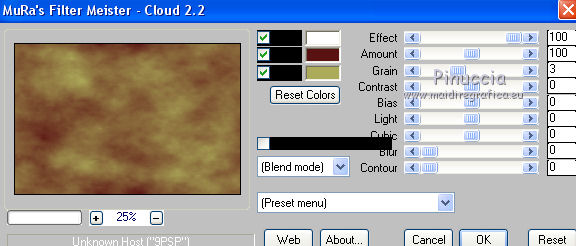
Layers>New Mask layer>From image
Open the menu under the source window and you'll see all the files open.
Select the mask 1131165.

Effect>Edge Effects>Enhance.
Layers>Merge>Merge Group.
4. Selection Tool 
(no matter the type of selection, because with the custom selection your always get a rectangle)
clic on the Custom Selection 
and set the following settings.
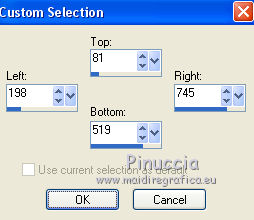
Click CANC on the keyboard 
Layers>New Raster Layer.
Layers>Arrange>Move down.
Edit>Paste into Selection (your landscape is still in memory)
Selections>Select None.
5. Selections>Load/Save Selections>Load Selection from Disk.
Look for and load SELECTION 1 TUTORIEL 126.
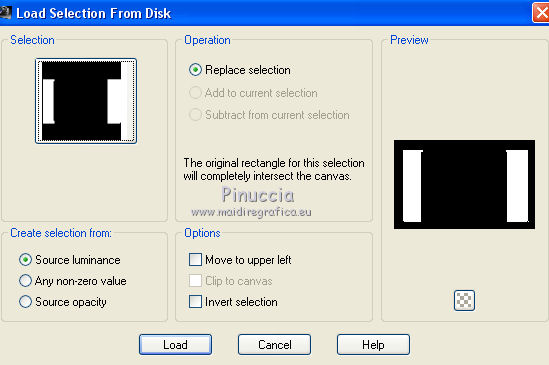
Go back to the layer above (Group Raster 2)
Press CANC on the keyboard.
Edit>Paste as new layer (your landscape is still in memory).
Or do: (Layers>New Raster Layer; Edit>Paste into Selection.
This I did for my second version).
Reduce the opacity of this layer to 50%, or according to your landscape.
(for my second version I did opacity to 65%).
Selections>Invert.
Press CANC on the keyboard.
Again Selections>Invert and keep selected.
6. On this layer.
Effects>Texture Effects>Texture, same settings.
Effects>Plugins>Alien Skin Eye Candy 5 Impact - Glass
Select the preset Clear et ok.
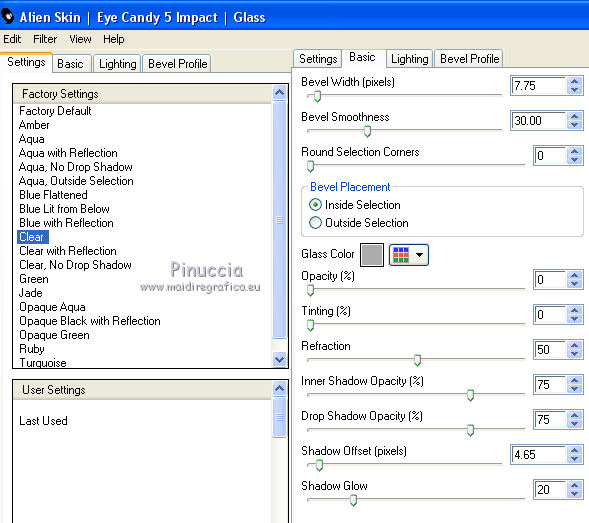
Selections>Select None.
Layers>Arrange>Move Down.
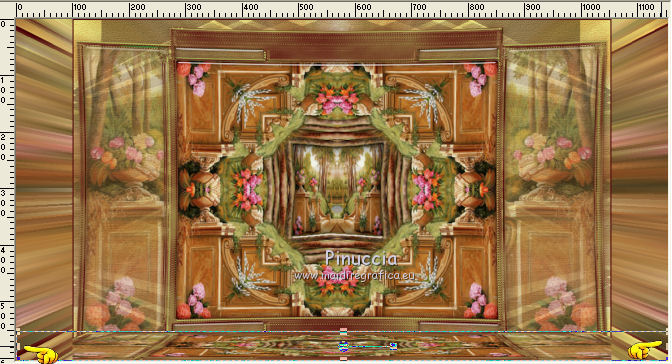
Your layers and your tag look like so
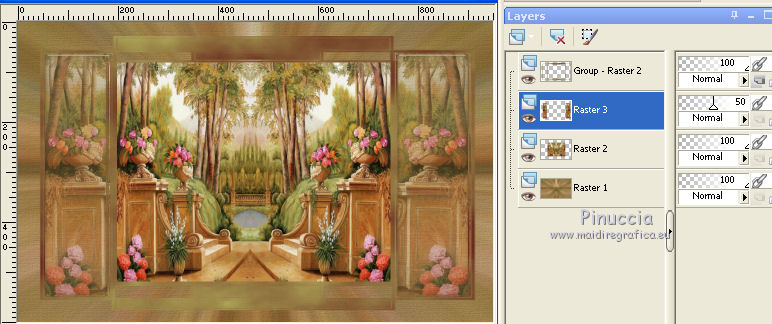
7. We are on Raster 3.
Activate the layer below Raster 2.
Custom Selection 

Layers>Duplicate.
Effects>Reflection Effects>Kaleidoscope.
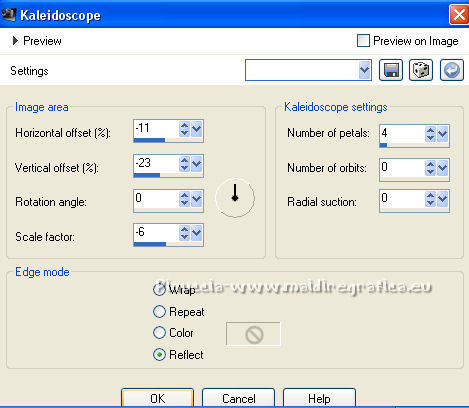
NB: Attention, please. According to your landscape, it may happen that your effects doesn't look like as mine,
Don't worry, because it is better to see different effects.
Selections>Select None.
Selections>Load/Save Selections>Load Selection from Disk.
Look for and load SELECTION 2 TUTORIEL 126.
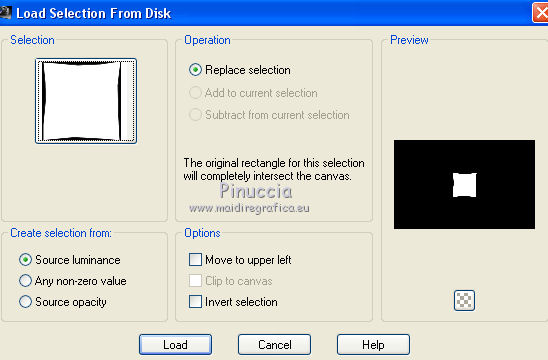
Press CANC on the keyboard.
Layers>New Raster Layer.
Edit>Paste into Selection (your landscape is in memory), or autre.
Selections>Invert.
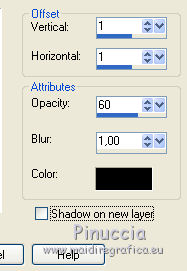
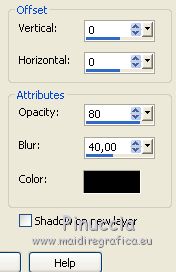
Effects>3D Effects>Drop Shadow, color #000000.
Layers>Arrange>Move Down.
Selections>Select None.
8. Your layers and your tag look like so
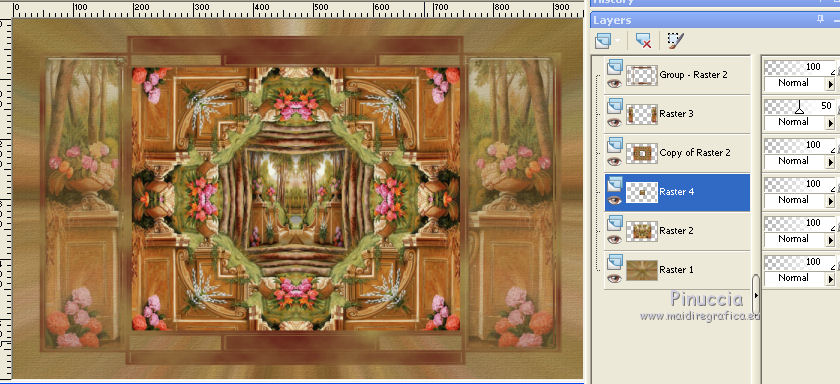
We are on the 3th layer from the bottom (Raster 4).
Activate the layer above (Copy of Raster 2).
Effects>Plugins>Alien Skin Eye Candy 5 Impact - Glass, same settings.
Go back to the top layer (Group – Raster 2)
Effects>Plugins>Filter Factory Gallery S - Itsa Edge Thing.
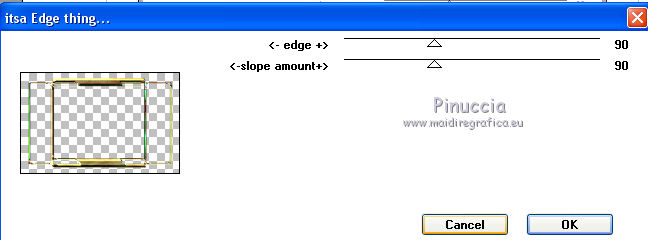
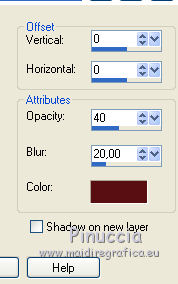
Effects>3D Effects>Drop Shadow, foreground color.
9. Keep the top layer selected (Group – Raster 2).
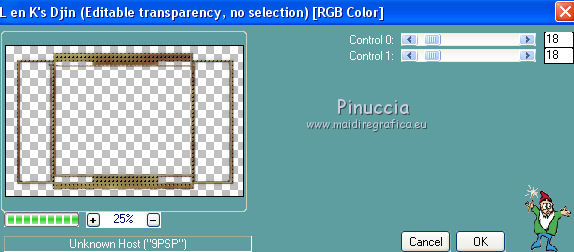
Effects>Plugins>L&K's - L&K's Dijn - 2 times with these settings.
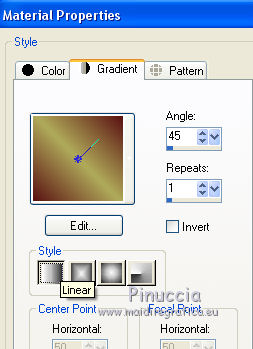
10. Set your foreground color to a Foreground/Background Gradient, style Linear.
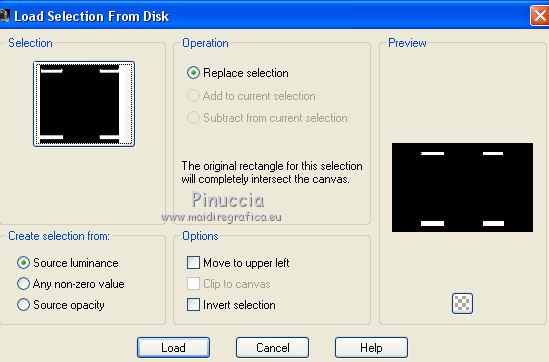
Selections>Load/Save Selections>Load Selection from Disk.
Look for and load SELECTION 3 TUTORIEL 126.
Activate the bottom layer (Raster 1).
Selections>Promote Selection to layer.
Layers>Arrange>Bring to Top.
Flood Fill  with your gradient. with your gradient.
Effects>Plugins>Alien Skin Eye Candy 5 Impact - Glass, same settings.
Layers>Arrange>Move Down.
Selections>Select None.
10. Close the bottom layer Raster 1.
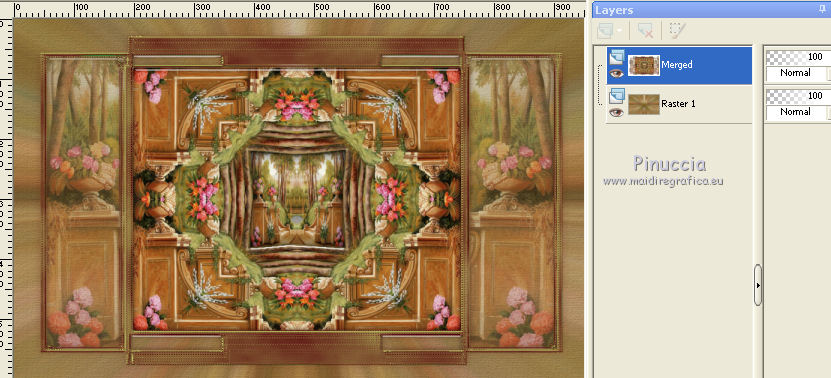
Layers>Merge>Merge visible.
You should have this

Set your foreground color to white #ffffff.
Layers>New Raster Layer.
Flood Fill  the layer with color white. the layer with color white.
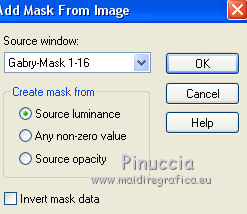
Layers>New Mask layer>From image
Open the menu under the source window
and select the mask Gabry mask1-16.

Layers>Merge>Merge Group.
Effects>Image Effects>Seamless Tiling, default settings.

Layers>Arrange>Move Down.
Change the Blend Mode of this layer to Overlay and reduce the opacity to 95%.
(For my second version I choose the color 3
and change the layer to Dodge, opacity 95%).
11. Activate the top layer (Merged).
Effects>Distortion Effects>Lens Distortion.

Image>Resize, to 110%, resize all layers not checked.
Activate your bottom layer, Raster 1.
Selections>Select All.
Go back to the top layer (Merged).
Image>Crop to selection.
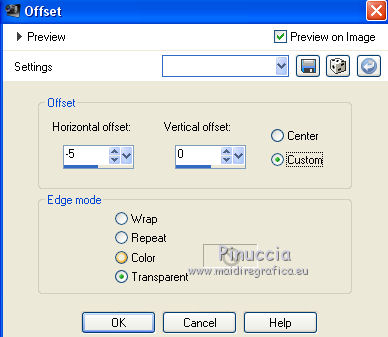
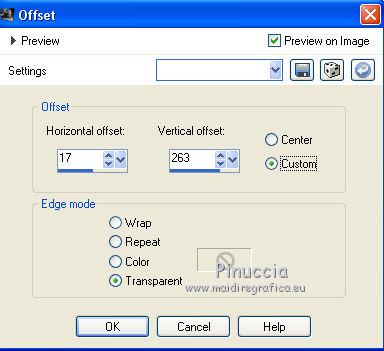
Effects>Image Effects>Offset.

12. OPTIONNEL
If you want, if you don't like the effect, you may do:
Activate the central layer of the mask (Group-Raster 2).
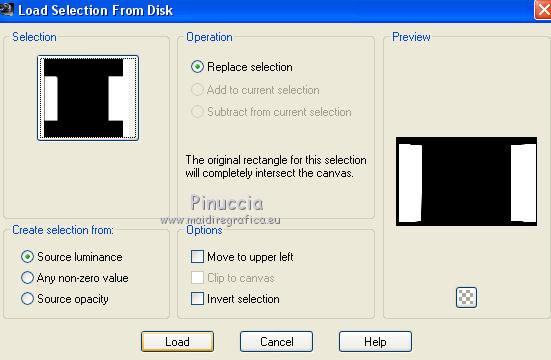
Selections>Load/Save Selections>Load Selection from Disk.
Look for and load SELECTION 4 TUTORIEL 126.

Press CANC on the keyboard.
Selections>Select None.
13. Image>Add borders, 2 pixels, symmetric, foreground color.
Adjust>Sharpness>Sharpen.
Selections>Select All.
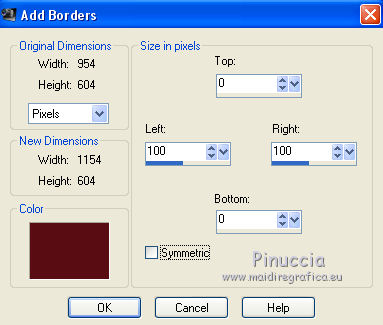
Image>Add borders (whatever color: I kept my foreground color), symmetric not checked.

Edit>Copy.
Selections>Invert.
Edit>Paste into Selection.
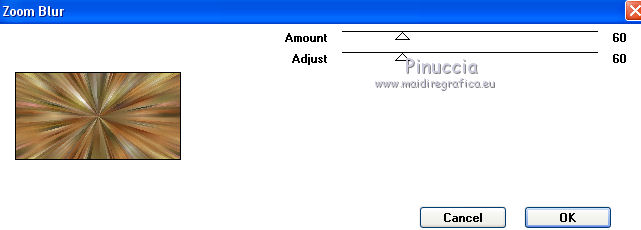
Effects>Plugins>VM Toolbox - Zoom Blur

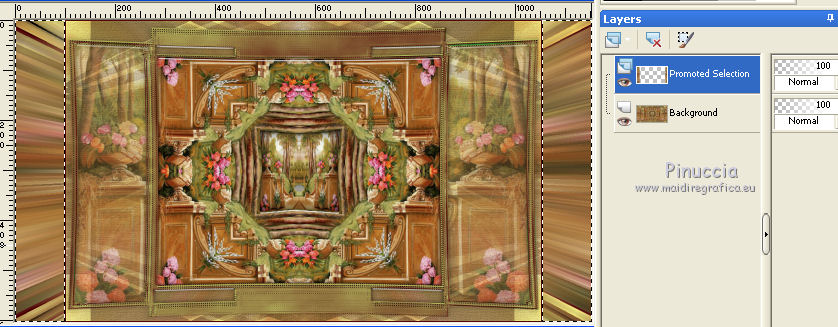
Selections>Promote Selection to layer.
Keep selected.
14. We are this

Activate the bottom layer (background).
Selections>Invert.
Selections>Promote Selection to layer.
Selections>Select None.
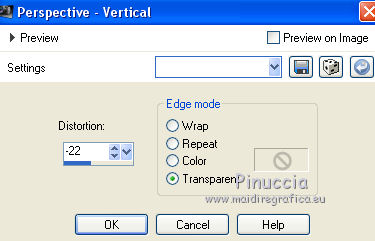
Effects>Geometric Effects>Perspective verticale.

K key on the keyboard to activate your Pick Tool 
pull your central top node down until 550 pixels

After pull the central left and right nodes to the borders

Effects>3D Effects>Drop Shadow, color black.

Activate the top layer (Promoted Selection).
Edit>Repeat Drop Shadow.
15. TUBES.
Join your tubes.
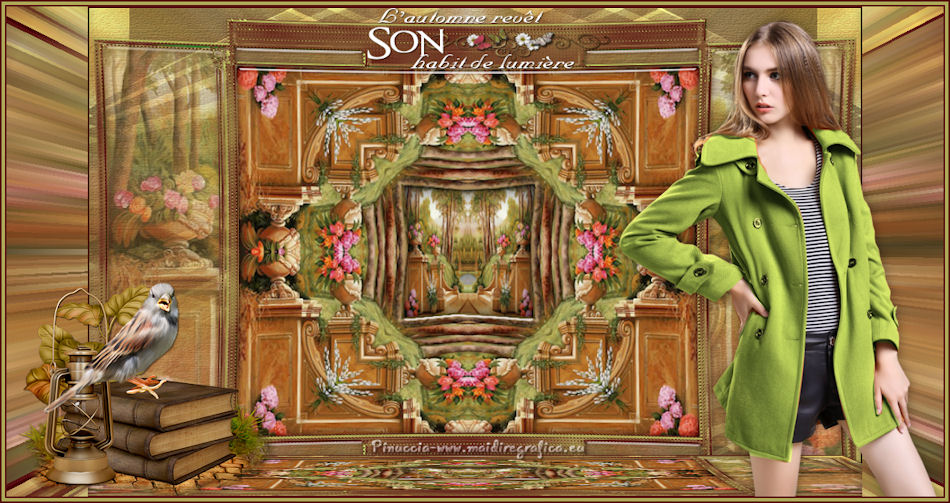
For my first version:
Femme-1424-Azalée (received by sharing)
I resized to 65%. Move it at your choice.
Wordart.
Effects>Image Effects>Offset

Effects>3D Effects>Drop Shadow, color black.

Left deco from the net: resize to 40%.
Effects>3D Effects>Drop Shadow, same settings.

FINAL STEP
Image>Add borders, 2 pixels, symmetric, foreground color.
Image>Add borders, 4 pixels, symmetric, background color.
Image>Add borders, 2 pixels, symmetric, foreground color.
Sign your work on a new layer.
Layers>Merge>Merge All.
Image>Resize, 950 pixels width, resize all layers checked.
Save as jpg.
Version with tube by Maryse


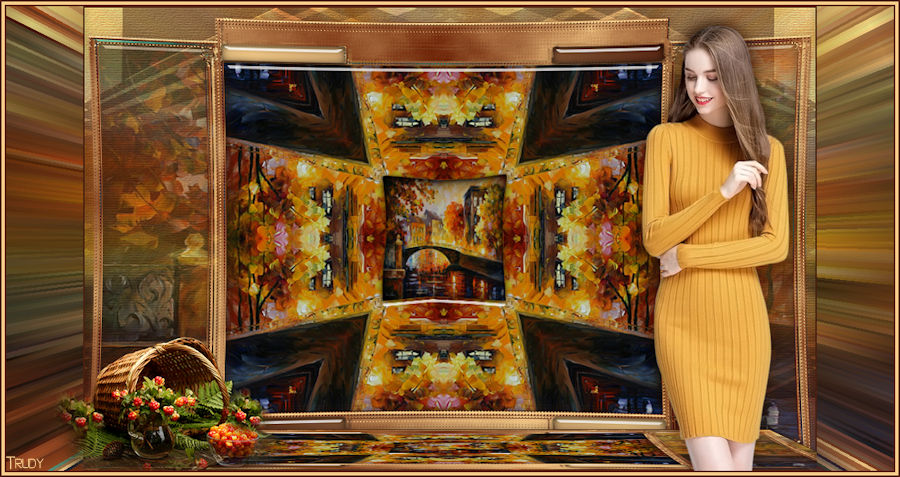
Your versions

Trudy

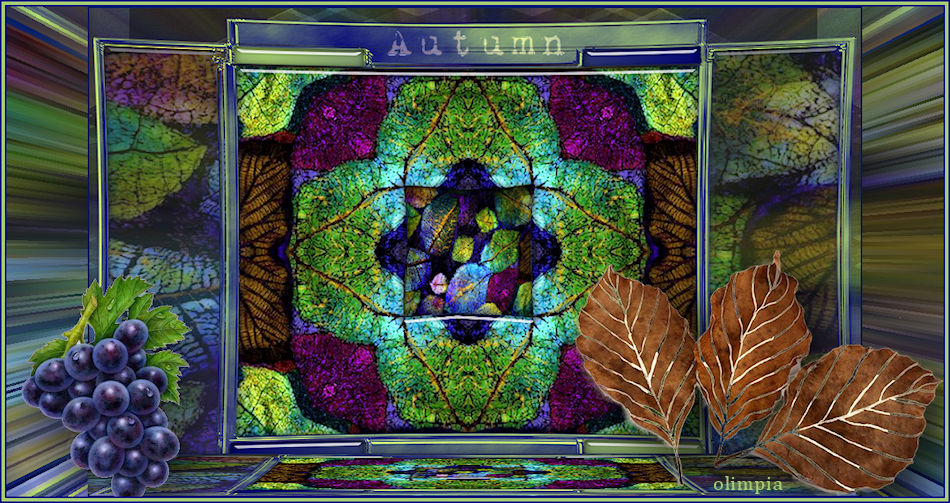
Olimpia

If you have problems or doubts, or you find a not worked link, or only for tell me that you enjoyed this tutorial, write to me.
5 September 2019
|
 english version


 with your gradient.