|
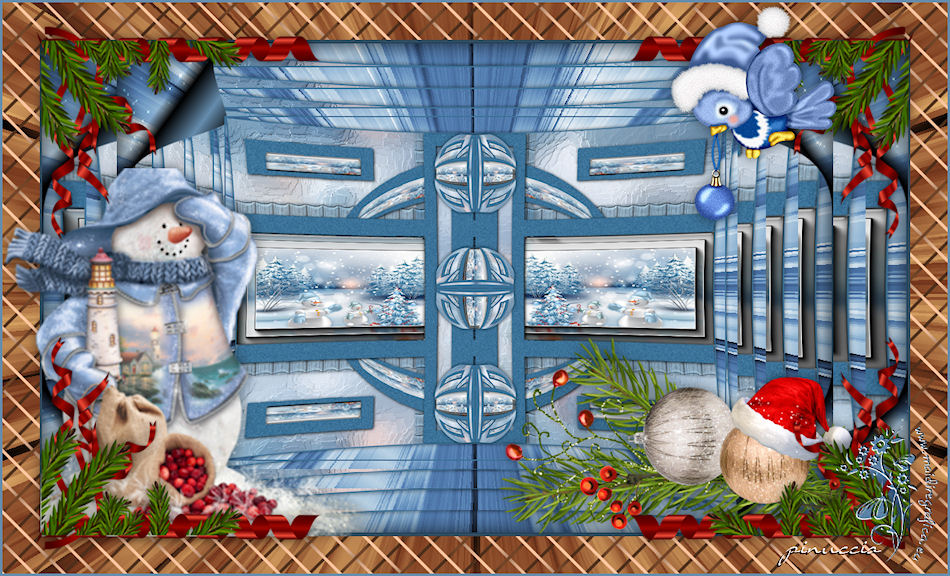
TUTORIAL 105
 english version english version
Thank you Sweety for your invitation to translate your tutorial.
Here you find the original of this tutorial:
This tutorial is a personal creation of Sweety and it is prohibited to copy or distribute it on the net (forums, groupes.. etc), or to use it on commercials sites.
This tutorial was created with CorelX12 and translated with Corel13, but it can also be made using other versions of PSP.
Since version PSP X4, Image>Mirror was replaced with Image>Flip Horizontal,
and Image>Flip with Image>Flip Vertical, there are some variables.
In versions X5 and X6, the functions have been improved by making available the Objects menu.
In the latest version X7 command Image>Mirror and Image>Flip returned, but with new differences.
See my schedule here
For this tutorial, you will need:
Tubes and decos of yours
The rest of material here
Image not supplied:
Two Landscapes images (Google Image)
Version 2: Tube YP_Christmas-Doll_Waltraud_Hanl.psp By Yvonne (received by groups sharing)
Version 1: deco (on the net)
Version 2. Tree and text Joyeux Noel (on the net).
Plugins
consult, if necessary, my filter section here
Filters Unlimited 2.0 here
Simple - 4 Way Average, Top Left Mirror here
Alien Skin Eye Candy 5 Impact - Glass, Perspective Shadow here
VM Toolbox - Zoom Blur here
Toadies - What are you here
AAA Frames - Foto Frame here
Optional: Nik Software - Color Efex Pro here
Filters Simple and VM Toolbox can be used alone or imported into Filters Unlimited.
(How do, you see here)
If a plugin supplied appears with this icon  it must necessarily be imported into Unlimited it must necessarily be imported into Unlimited

You can change Blend Modes according to your colors.
Copy the texture in the Textures Folder.
Copy the selections in the Selections Folder.
Chose 3 colors according to your main tube.
Foreground color #668dae
Background color #c8e7fb
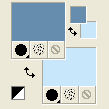
Terzo colore #a66c3c 
For the second version:
Foreground color #724528
Background color #ffc8a2

Third color #a9b45e 
1. Chose un landascape tube and drop a dark color for your foreground color,
and a light color for your background color.
Open a new transparent image 950 x 650 pixels.
Selections>Select All.
Open your landscape tube - Edit>Copy.
Go back to your work and go to Edit>Paste into Selection.
Selections>Select None.
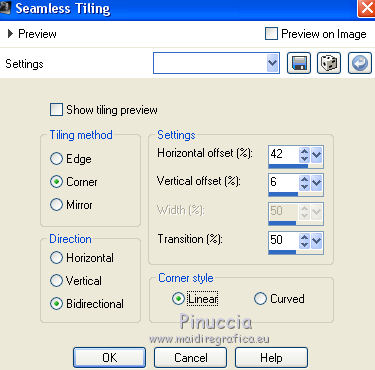
Effects>Image Effects>Seamless Tiling
Layers>Duplicate.
Image>Flip.
Image>Mirror.
Reduce the opacity of this layer to 50%.
Layers>Merge>Merge Down.
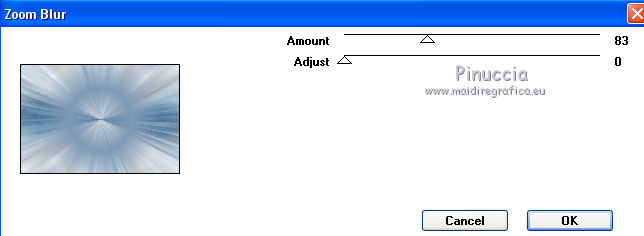
2. Effects>Plugins>VM Toolbox - Zoom Blur
Effects>Plugins>Simple - 4 Way Average.
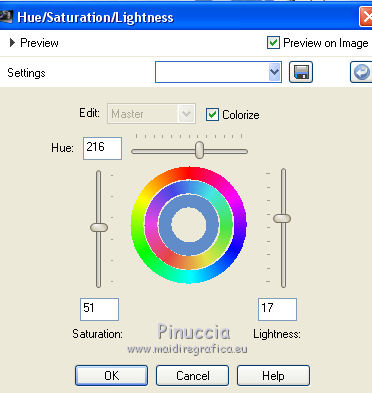
Note completely optional:
(For personal taste, I colorized my tag in a tone of my image)
I used
Adjust>Hue and Saturation>Hue/Saturation>Lightness
Layers>New Raster Layer.
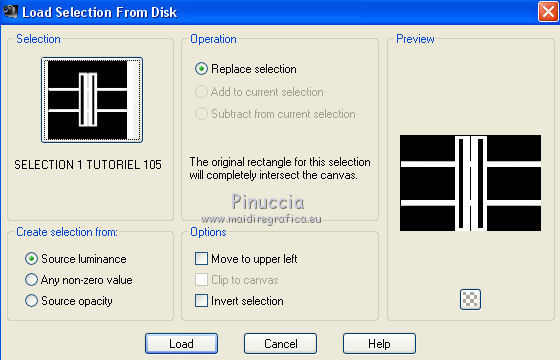
Selections>Load/Save Selection>Load Selection from Disk.
Look for and load the selection Selection 1 Tutoriel 105.
Flood Fill  the selection with your foreground color. the selection with your foreground color.
Adjust>Add/Remove Noise>Add Noise

Selections>Select None.
Edit>Cut (this commande keeps also in memory).
Selections>Select All.
Edit>Paste into Selection.
Selections>Select None.
3. Layers>New Raster Layer.
Layers>Arrange>Move Down.
Selection Tool 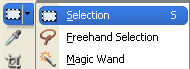
(no matter the type of selection, because with the custom selection your always get a rectangle)
clic on the Custom Selection 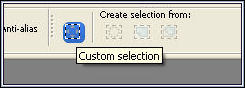
and set the following settings.
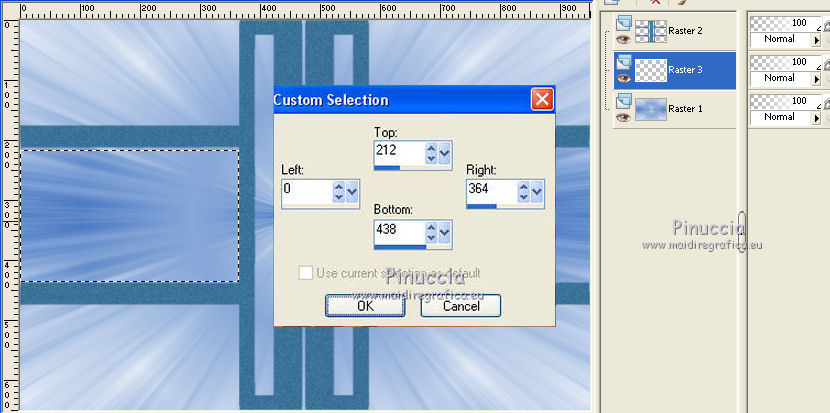
Activate again your landscape tube - Edit>Copy.
Go back to your work and go to Edit>Paste into Selection.
Selections>Select None.
Custom Selection
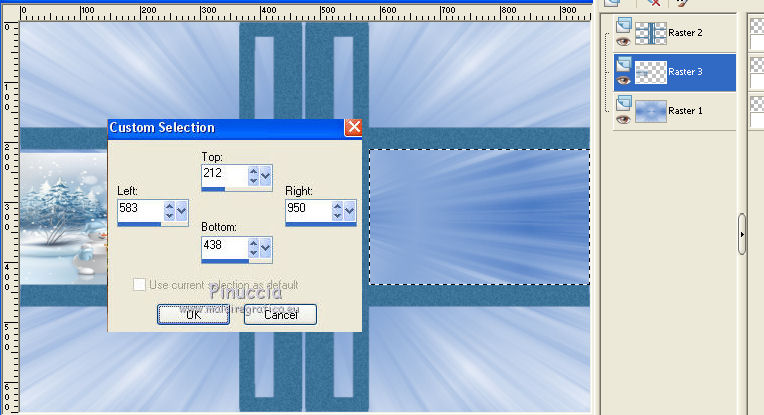
Activate your landscape and, according to your image, you can chose to make Image>Mirror.
Edit>Copy.
Go back to your work and go to Edit>Paste into Selection.
Selections>Select None.
Adjust>Sharpness>Sharpen.
Don't forget to made Edit>Undo Mirror on your landscape tube.
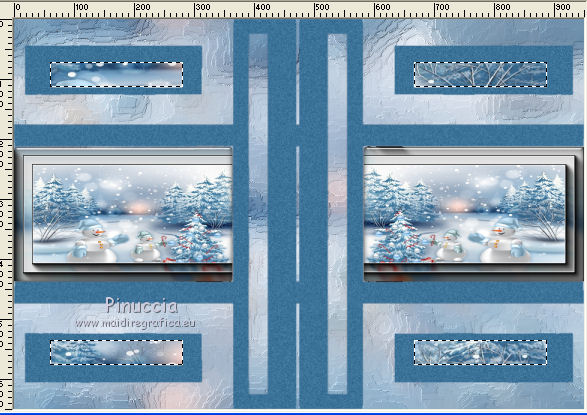
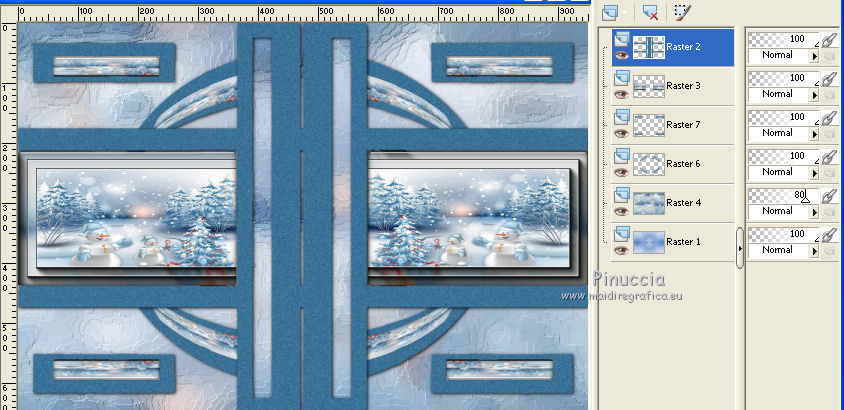
4. You should have this
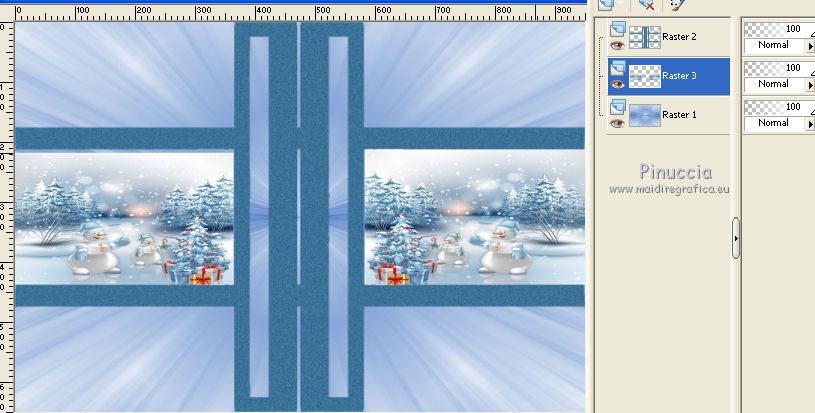
Keep Raster 3 selected.
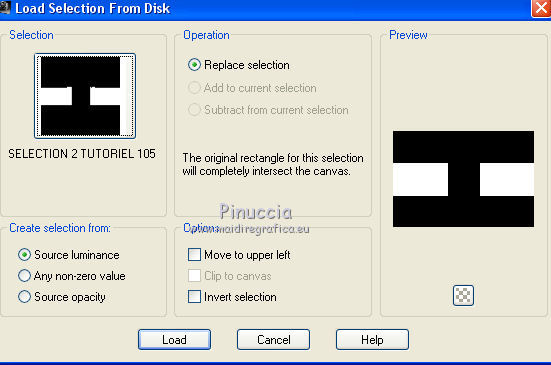
Selections>Load/Save Selection>Load Selection from Disk.
Look for and load the selection Selection 2 Tutoriel 105.
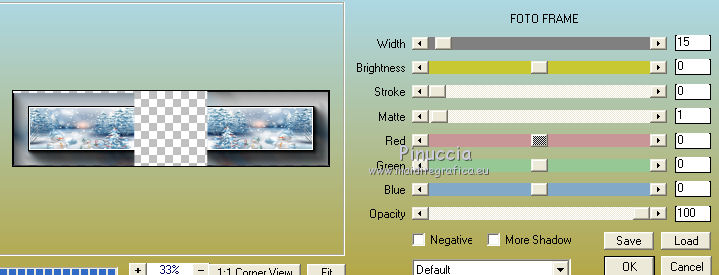
Effects>Plugins>AAA Frames - Foto Frame
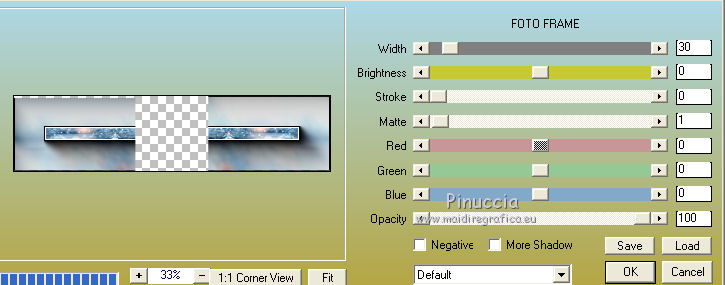
Repeat Effects>Plugins>AAA Frames - Foto Frame - width 15.
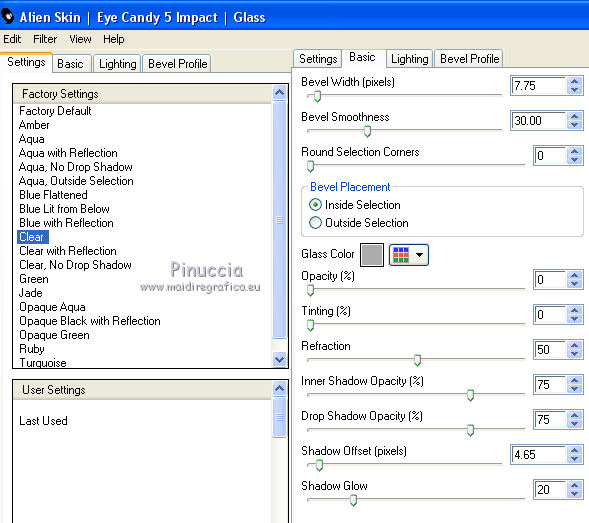
Effects>Plugins>Alien Skin Eye Candy 5 Impact - Glass
select the preset Clear and ok.
Selections>Select None.
5. Activate the bottom layer, Raster 1.

Selections>Select All.
Layers>New Raster Layer.
Activate your landscape tube - Edit>Copy.
Go back to your work and go to Edit>Paste into Selection.
Selections>Select None.
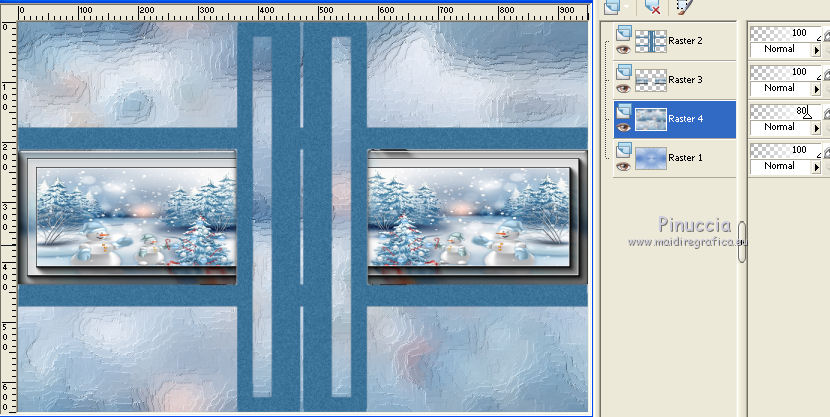
Effects>Image Effects>Seamless Tiling, same settings
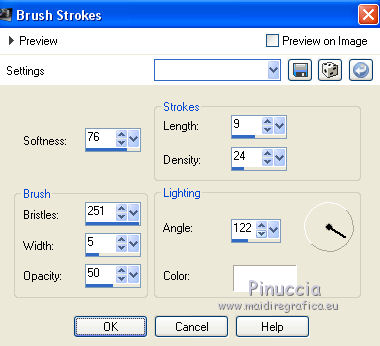
Effects>Art Media Effects>Brush Strokes
Réduce the opacity of this layer to 80%.
6. Keep Raster 4 selected.
Layers>New Raster Layer.
Selections>Load/Save Selection>Load Selection from Disk.
Look for and load the selection Selection 3 Tutoriel 105.
Flood Fill la selection with your foreground color.
Adjust>Add/Remove Noise>Add Noise, same settings
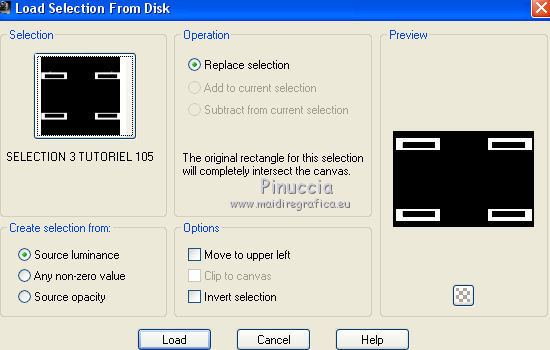
Selections>Load/Save Selection>Load Selection from Disk.
Look for and load the selection Selection 4 Tutoriel 105.

The new selection will take the place of selection 3
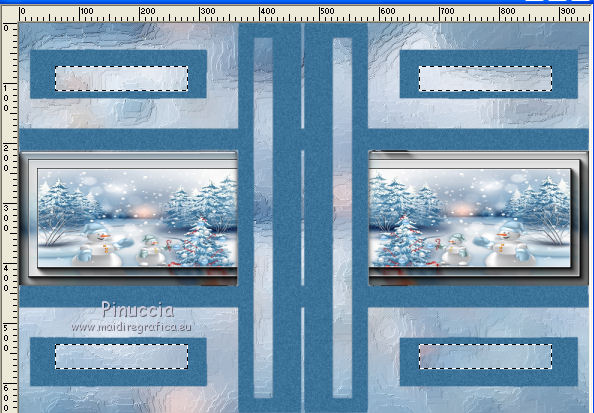
Layers>New Raster Layer.
Layers>Arrange>Move Down.
Activate your landscape.
If you think that it is necessary to do:
Effects>Image Effects>Seamless Tiling, same settings still in memory.
Edit>Copy.
Go back to your work and go to Edit>Paste into Selection.
****
For my example:
as with the Seamless Tiling Effect I get
and without the Seamless Tiling Effect I get this
I prefer to do as below:
I selected the first frame with the Selection Tool
I copy/paste into Selection the original landscape.
Selections>Select None
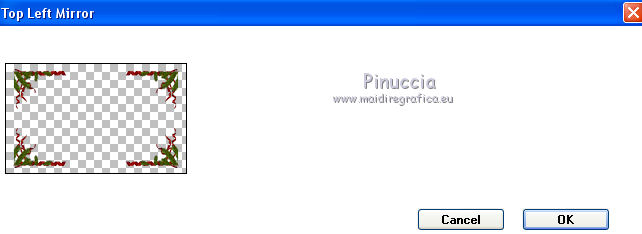
Effects>Plugins>Simple - Top Left Mirror

Result
You may chose the way you like better, according to your image
****
Effects>Plugins>Alien Skin Eye Candy 5 Impact - Glass, same settings.
Selections>Select None.
Activate the layer above (Raster 5).
Layers>Merge>Merge Down.
7. Keep this layer selected.
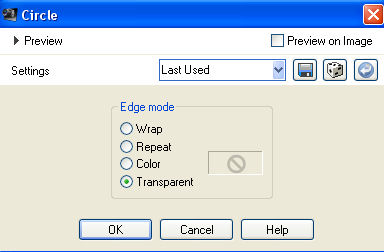
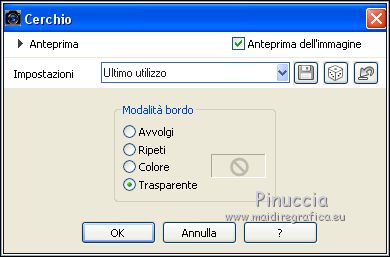
Effects>Geometric Effects>Circle
Selections>Load/Save Selection>Load Selection from Disk.
Look for and load the selection Selection 5 Tutoriel 105.
Press CANC on the keyboard 
Selections>Select None.
Layers>New Raster Layer.
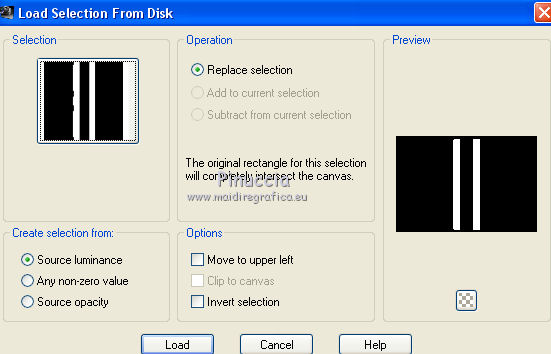
Selections>Load/Save Selection>Load Selection from Disk.
Look for and load the selection Selection 6 Tutoriel 105.
Flood Fill the selection with your foreground color.
Adjust>Add/Remove Noise>Add Noise, same settings still in memory.
Selections>Select None.
Layers>New Raster Layer.
Layers>Arrange>Move Down.
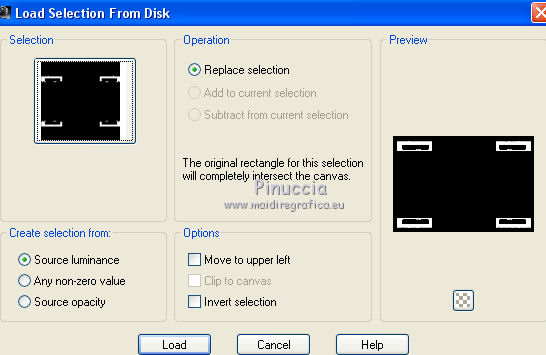
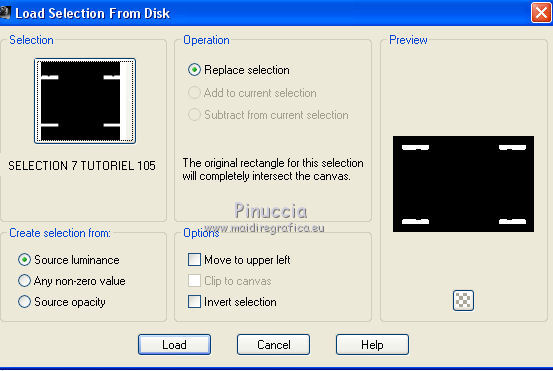
Selections>Load/Save Selection>Load Selection from Disk.
Look for and load the selection Selection 7 Tutoriel 105.
Activate your landscape - Edit>Copy.
Go back to your work and go to Edit>Paste into Selection.
Effects>Plugins>Alien Skin Eye Candy 5 Impact - Glass, same settings.
Selections>Select None.
For my example, I made as at step 7
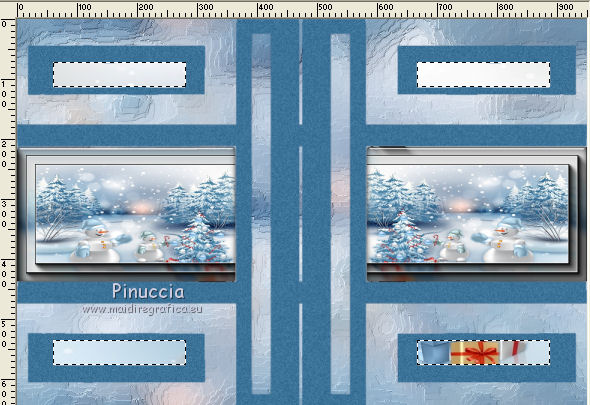
8. You should have this

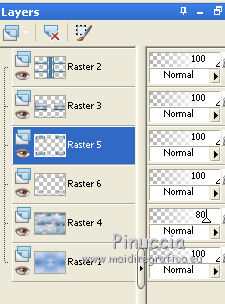
Activate the layers above, Raster 5.
Layers>Merge>Merge Down.
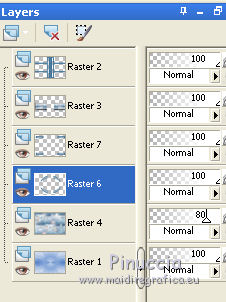
Activate the layer below of the circle, Raster 6.
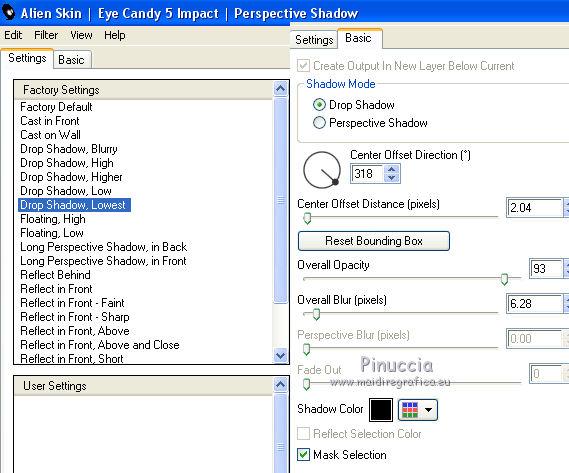
Effects>Plugins>Alien Skin Eye Candy 5 Impact - Perspective Shadow,
select the preset Drop Shadow, Lowest and ok.
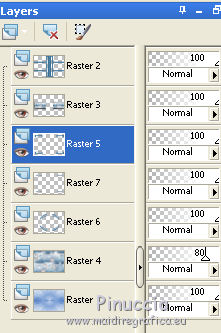
Repeat this effect on the layers Raster 7 and on the top layer Raster 2.
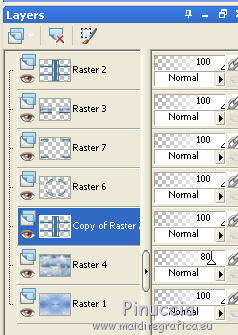
9. Keep top layer Raster 2 selected.
Layers>Duplicate.
Layers>Arrange>Move down - 4 times (it should be over Raster 4)
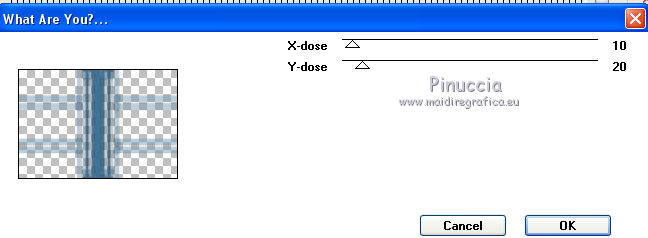
Effects>Plugins>Toadies - What are you
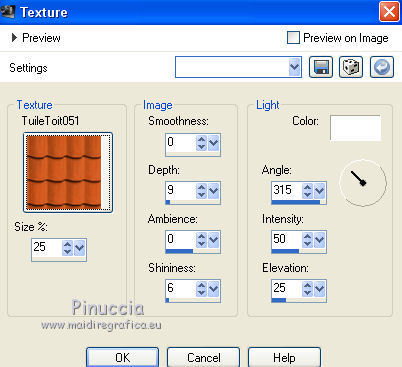
Effects>Texture Effects>Texture - select the texture TuileToit051
Layers>Duplicate.
Image>Flip
Réduce the opacity of this layer to 50%.
Layers>Merge>Merge Down.
NOTE
For my example, I loaded again the selection 5,
and after I pressed CANC on the keyboard.
Selections>Select None.
To you to see what your like better.
Adjust>Sharpness>Sharpen.
10. Image>Add borders, 2 pixels, symmetric, Foreground color.
Layers>Duplicate.
Effects>Distortion Effects>Lens Distortion.

Layers>Duplicate.
Effects>Geometric Effects>Circle.
Image>Resize, to 25%, resize all layers not checked.
Layers>Duplicate.
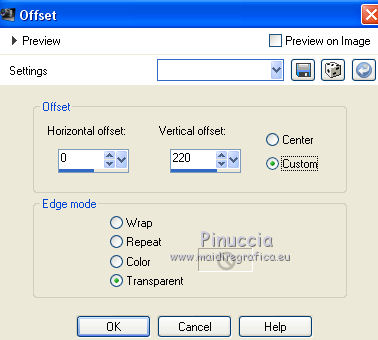
Effects>Image Effects>Offset
Again Layers>Duplicate.
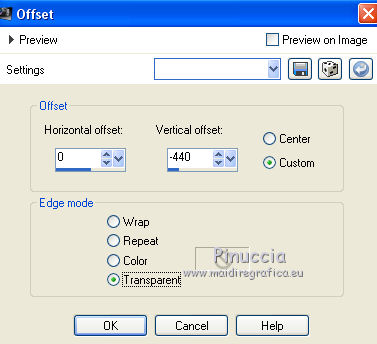
Effects>Image Effects>Offset
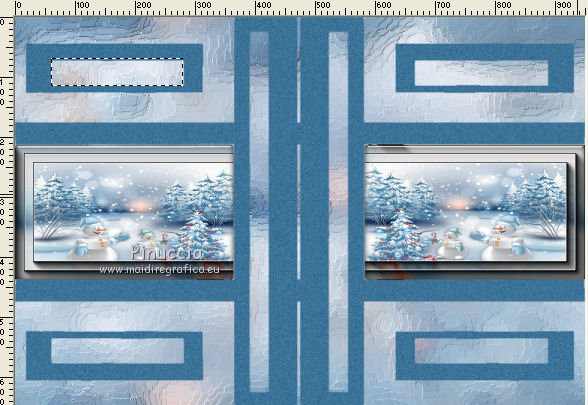
11. You should have this
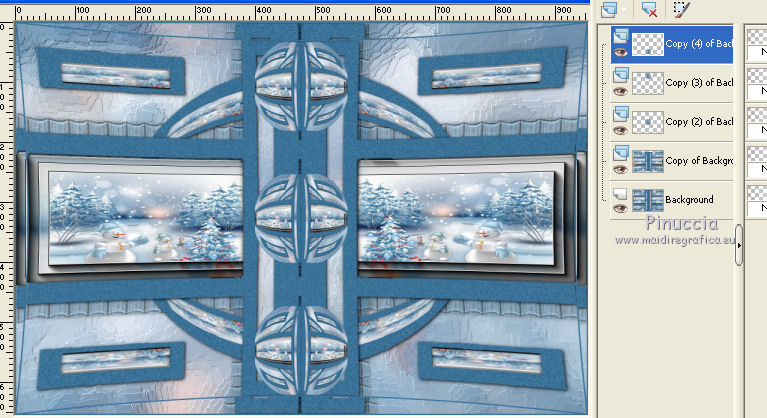
Keep the top layer selected (Copy 4 of Background)
Layers>Merge>Merge Down.
Activate the layer below (Copy 2 of Background)
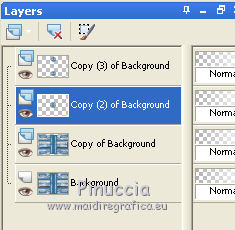
Layers>Arrange>Bring to Top.
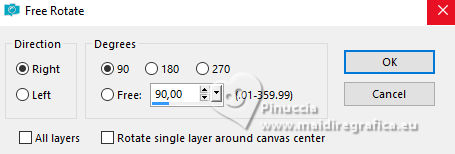
Image>Free Rotate - 90 degrees to right.
Layers>Merge>Merge Down.
Effect>3D Effects>Drop Shadow, color black.

Activate the layer below (Copy of Background)
Edit>Repeat Drop Shadow.
12. Activate again the top layer (copy 3 of Background).
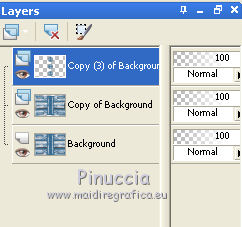
Layers>Merge>Merge Down (copy of Background).
Activate the layer below (Background).
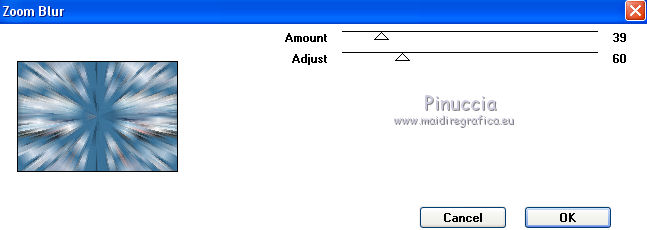
Effects>Plugins>VM Toolbox - Zoom Blur, default settings.
Optional (for my version, and according to my personal taste):
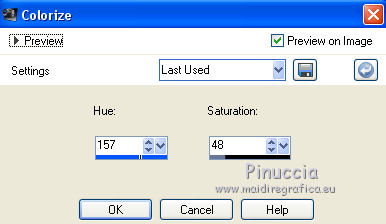
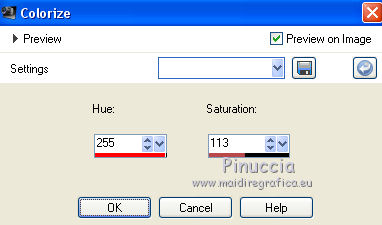
Adjust>Hue et Saturation>Colorize
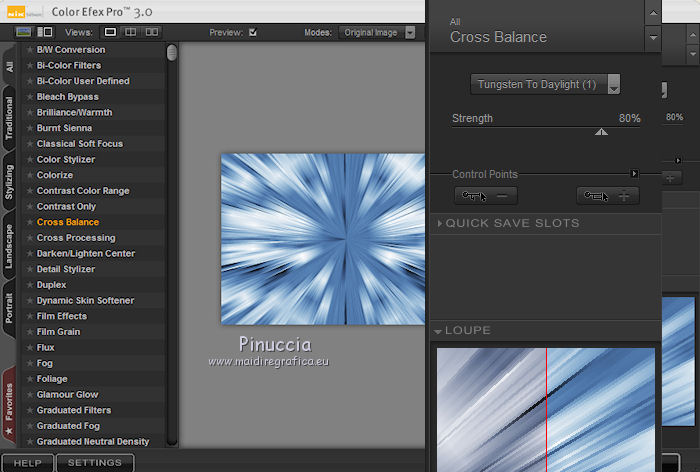
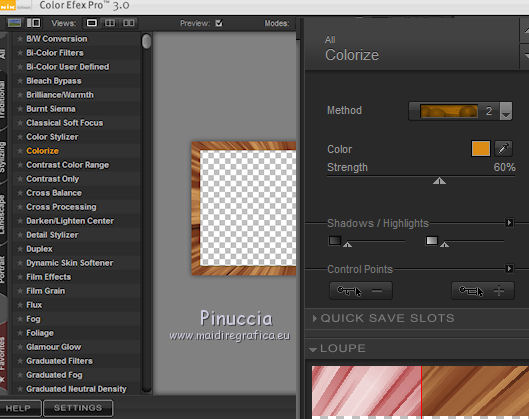
Effects>Modules Externes>Nik Software - Color Efex Pro.
Image>Add borders, 2 pixels, symmetric, foreground color.
13. Selections>Select All.
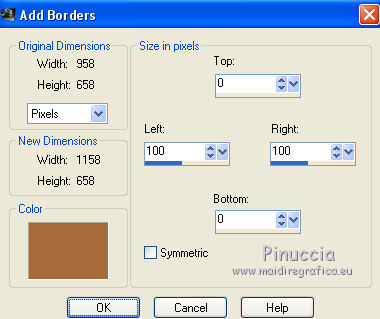
Image>Add borders, foreground or background color or your 3th color, according to your taste
for me #a66c3c
Selections>Promote Selection to Layer.
Edit>Copy
Selections>Select None.
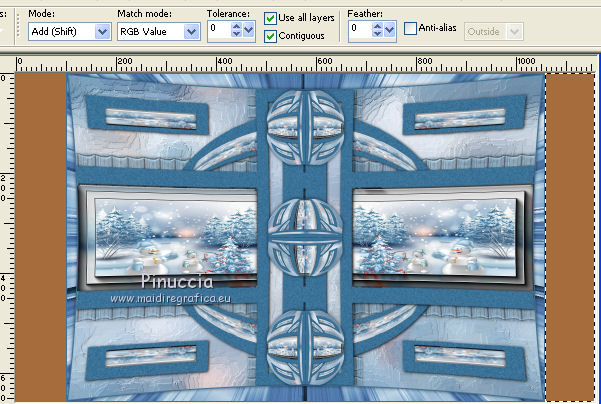
Activate the Magic Wand Tool and clic on the right part to select it
Layers>New Raster Layer.
Edit>Paste into Selection.
Selections>Select None.
Layers>Duplicate.
Image>Mirror.
Layers>Merge>Merge down.
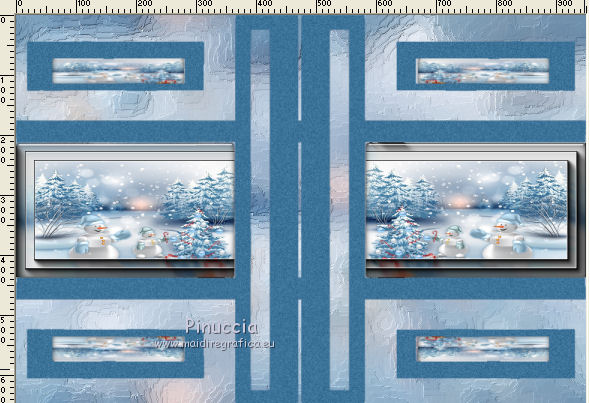
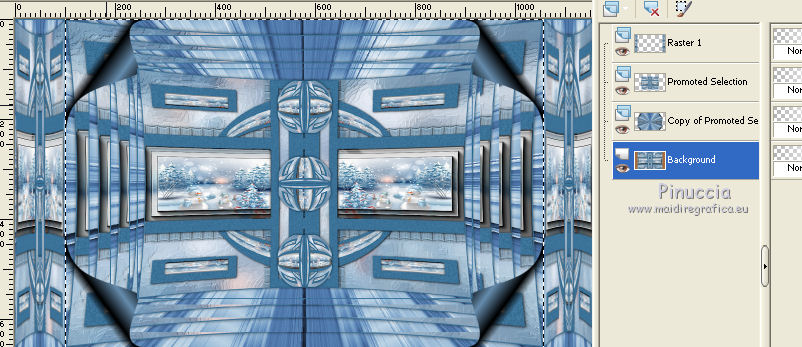
14. You should have this
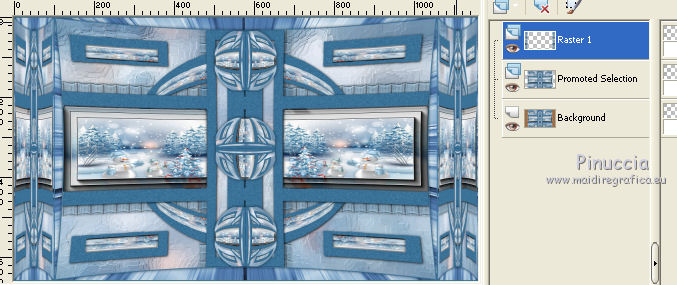
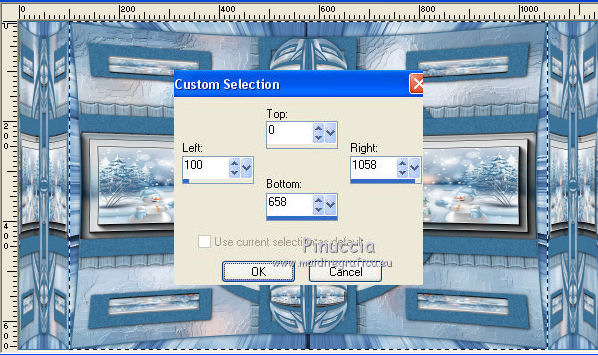
Activate the layer below (Promoted Selection).
Custom Selection
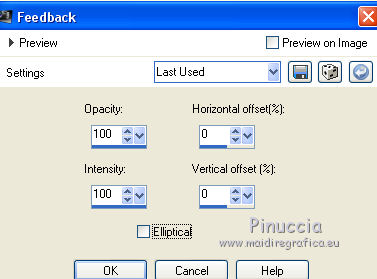
Layers>Duplicate.
Effects>Reflection Effects>Feedback
Effects>Image Effects>Page Curl - foreground color
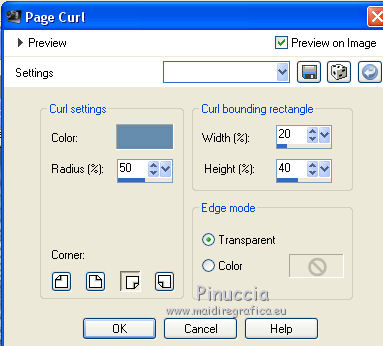
Repeat the Page Curl with the bottom left corner, top left corner and top right corner, with same settings.
Layers>Arrange>Move Down.
Activate the layer above (Promoted Selection).

Image>Resize, to 70%, resize all layers not checked.
Keep selected.
15. Activate the bottom layer (Background).
Effects>Plugins>VM Toolbox - Zoom Blur, same settings.
I remade:
Optional (for my version and according to my personal taste):
Adjust>Hue et Saturation>Colorize, as at step 12
Effects>Modules Externes>Nik Software - Color Efex Pro, as at step 12.
Layers>New Raster Layer.
Open the tube déco perso 1 - Edit>Copy.
Go back to your work and go to Edit>Paste into Selection.
Selections>Select None.
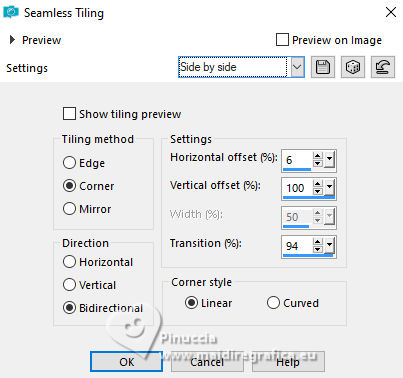
Effect>Image Effects>Seamless Tiling, Side by Side
Change the Blend Mode of this layer to Dodge, or as you like better.
16. You should have this
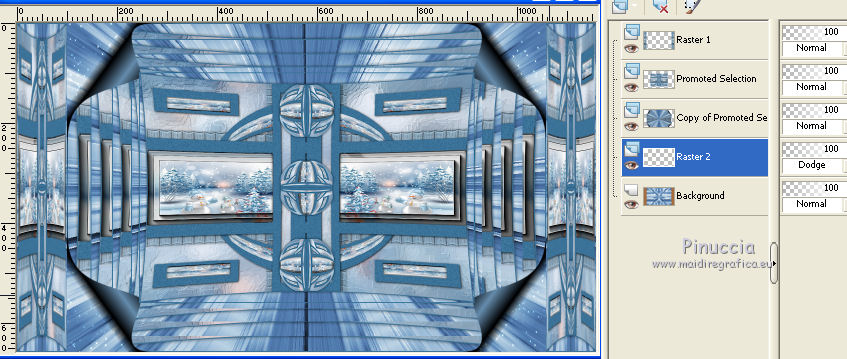
Activate the top layer, Raster 1.
Selections>Select All.
Selections>Float.
Selections>Defloat.
Selections>Invert.
Activate the layer below (Promoted Selection).
Edit>Copy Special>Copy Merged.
Go back to the layer above (Raster 1).
Again Sélections>Invert.
Edit>Paste into Selection.
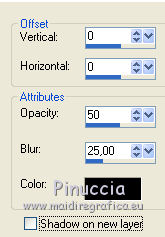
Effects>3D Effects>Drop Shadow, color black.

Image>Add borders, 3 pixels, symmetric, foreground color.
Selections>Select None.
17. Selections>Select All.
Image>Add borders, 50 pixels, symmetric, whatever color.
Edit>Copy.
Selections>Invert.
Edit>Paste into Selection.
Effects>Plugins>VM Toolbox - Zoom Blur, same settings.
Optional (for my example and according to my personal taste):
Adjust>Hue et Saturation>Colorize
Effects>Plugins>Nik Software - Color Efex Pro
Layers>New Raster Layer.
Open the tube déco perso 2 - Edit>Copy.
Go back to your work and go to Edit>Paste into Selection.
(adapt the tube according to your colors).
Effects>3D Effects>Drop Shadow, same settings.
Layers>Merge>Merge Down.
Selections>Promote Selection to layer.
Selections>Select None.
*****
THE DECORATION
Open you Christmas corner.
(For my version, I receive it by sharing).
I resize it to 70%.
Place  the corner on the left internal bord the corner on the left internal bord

Effects>Plugins>Simple - Top Left Mirror
Effects>3D Effects>Drop Shadow, color black.
Open your main tube:
for me a deco received by sharing groups
for my second version YP_Christmas-Doll_Waltraud_Hanl.psp By Yvonne (received by sharing groups).
I resize it to 80%.
Move the tube where you like better.
Effects>3D Effects>Drop Shadow, same settings
The tree find on the net and not resized.
Drop shadow, same settings.
For my second version I copy/paste my text (find on the net);
I duplicated it and change the Blend mode to Dodge, oopacity 45.
*****
Image>Add borders - 3 pixels, symmetric, foreground color.
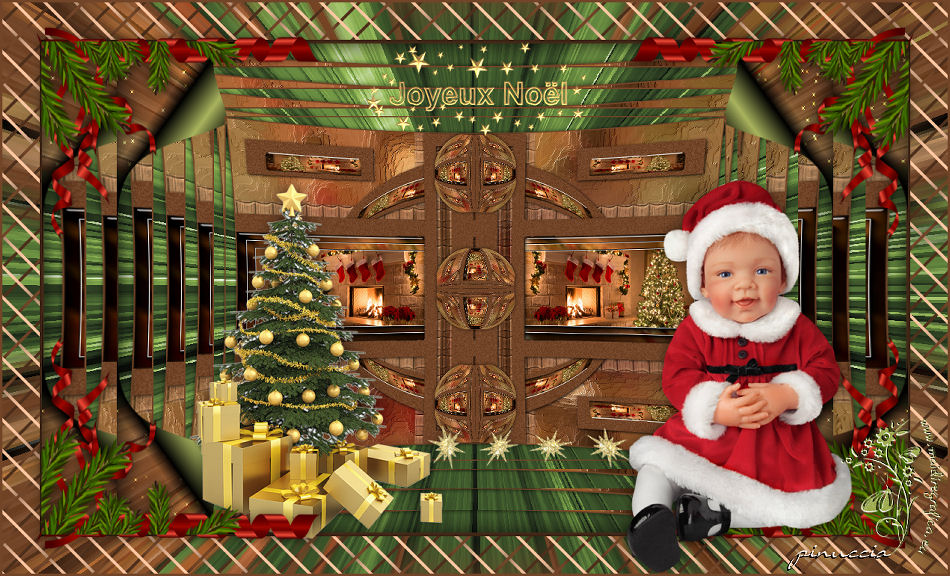
FINAL STEP
Sign your work.
Image>Resize, to 950 pixels width, resize all layers checked.
Save as jpg.
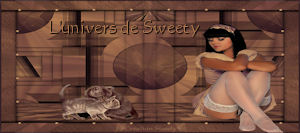
Second version

Your versions. Thanks
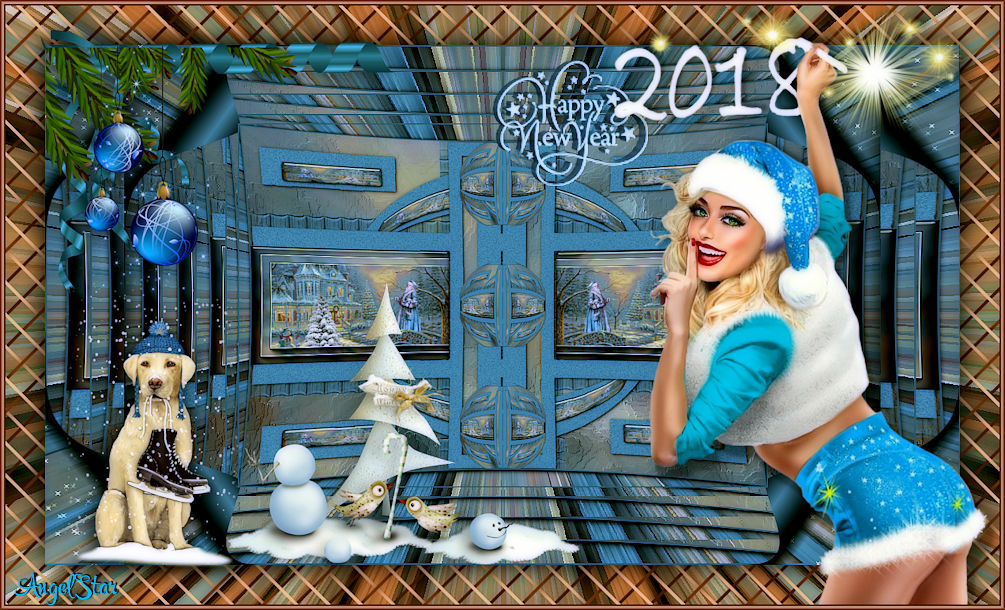
AngelStar

If you have problems or doubts, or you find a not worked link, or only for tell me that you enjoyed this tutorial, write to me.
6 December 2017
|