|
TUTORIAL 113
 english version english version
Thank you Sweety for your invitation to translate your tutorial.
Here you find the original of this tutorial:
This tutorial is a personal creation of Sweety and it is prohibited to copy or distribute it on the net (forums, groupes.. etc), or to use it on commercials sites.
This tutorial was created with CorelX12 and translated with Corel13, but it can also be made using other versions of PSP.
Since version PSP X4, Image>Mirror was replaced with Image>Flip Horizontal,
and Image>Flip with Image>Flip Vertical, there are some variables.
In versions X5 and X6, the functions have been improved by making available the Objects menu.
In the latest version X7 command Image>Mirror and Image>Flip returned, but with new differences.
See my schedule here
For this tutorial, you will need:
Tube, landscapes and decos at your choice.
The rest of the material here
Image not supplied:
1. Fractak Image (optional)
Two landscape (from Google image)
WordArt (I don't know the author)
Deco (I don't know the author).
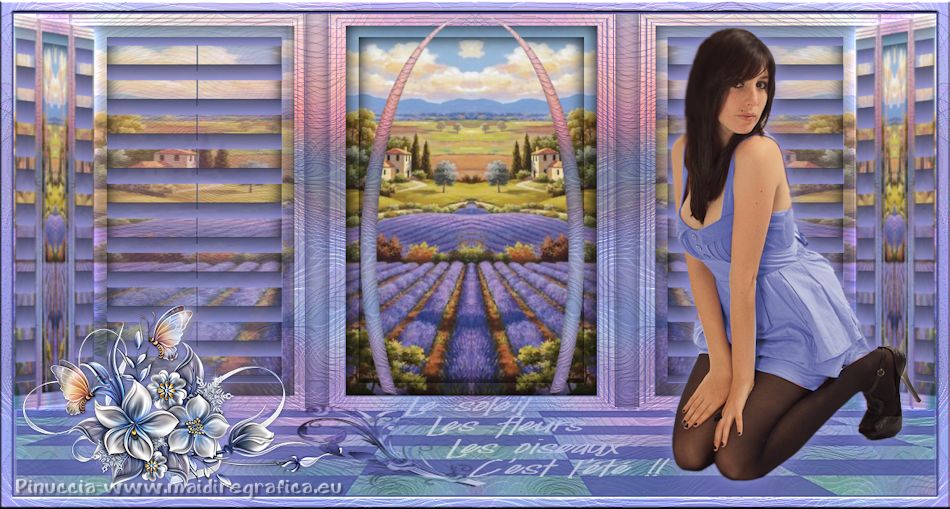
Woman: tube Kamalini
Plugins
consult, if necessary, my filter section here
VanDerLee - Unplugged-X here

You can change Blend Modes according to your colors.
Copy the Selections in the Selections Folder.
Open the mask in PSP and minimize it with the rest of the material.
Choose 2 colors according to your main tube.
Set your foreground color to the dark color, for me #4e519e,
and your background color to the light color, for me #9092d4.
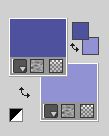
(for my 2nd version:
foreground color #4e6e94,
background color #c2e0f8.)
1. Open a new transparent image 950 x 600 pixels.
Selections>Select All.
Open your fractal image and go to Edit>Copy.
Go back to your work and go to Edit>Paste into Selection.
Selections>Select None.
Effects>Artistic Effects>Enamel.
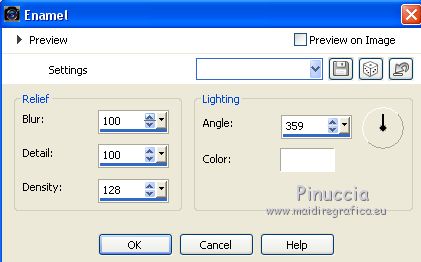
Effects>Reflection Effects>Rotating Mirror.

2. Layers>New Raster Layer.
Flood Fill  the layer with your dark foreground color. the layer with your dark foreground color.
Layers>New Mask layer>From image
Open the menu under the source window and you'll see all the files open.
Select the mask creation_tine_masque 126

Effects>Edge Effects>Enhance.
Layers>Merge>Merge group.
3. Layers>New Raster Layer.
Selection Tool 
(no matter the type of selection, because with the custom selection your always get a rectangle)
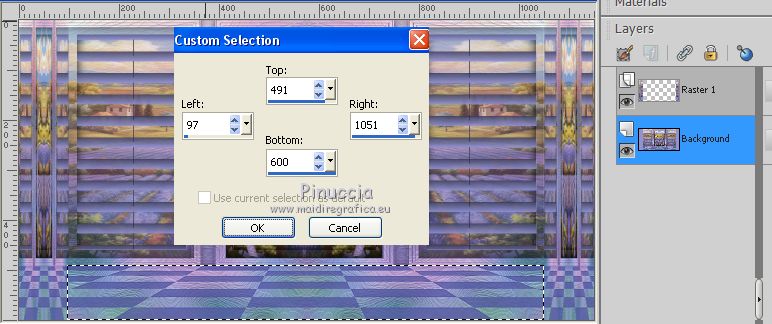
clic on the Custom Selection 
and set the following settings.
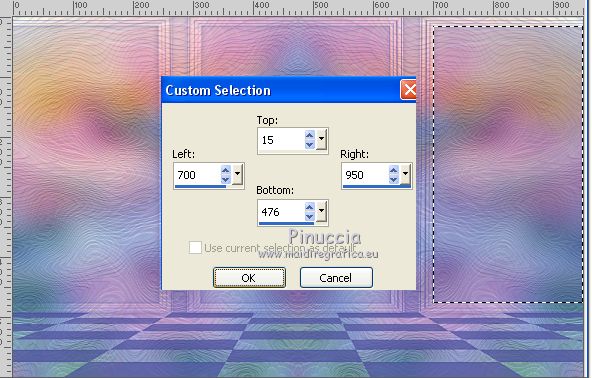
Open your landscape image (do Image>Mirror if it is necessary) and go to Edit>Copy.
Go back to your layer and go to Edit>Paste into Selection.
Selections>Invert.
Effects>3D Effects>Drop Shadow, color black.
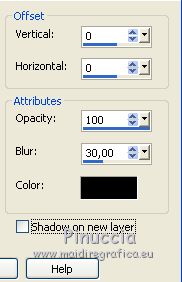
Selections>Select None.
Layers>Duplicate.
Image>Mirror.
Layers>Merge>Merge Down.
Reduce the opacity of this layer to 65%, according to your landscape.
(for my 2nd version, I reduced to 75%).
4. Layers>New Raster Layer.
Custom Selection 

Open your landscape image and go to Edit>Copy.
Go back to your work and go to Edt>Paste into Selection.
Selections>Invert.
Effects>3D Effects>Drop Shadow, color black.

Selections>Select None.
Layers>Merge>Merge Down.
5. Open the tube déco perso 1 and go to Edit>Copy.
Go back to your work and go to Edit>Paste as new layer.
Effects>Image Effects>Offset.
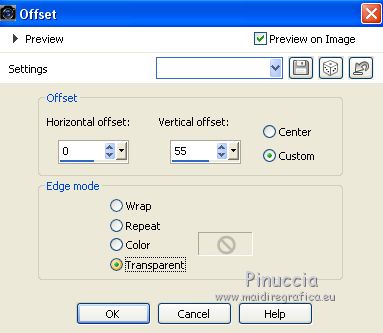
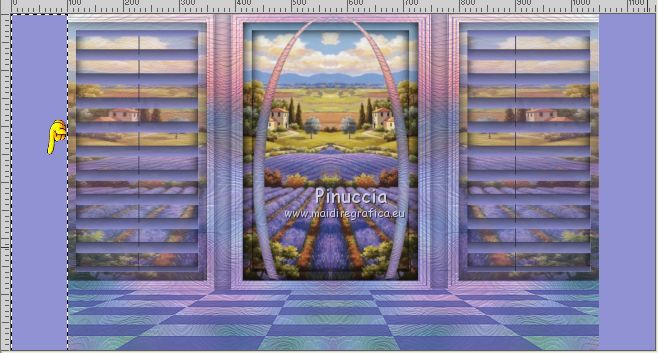
You should have this

6. Activate the bottom layer, Raster 1.
Selections>Load/Save Selection>Load Selection from Disk.
Look for and load the selection Selection 1 Tutorial 113.
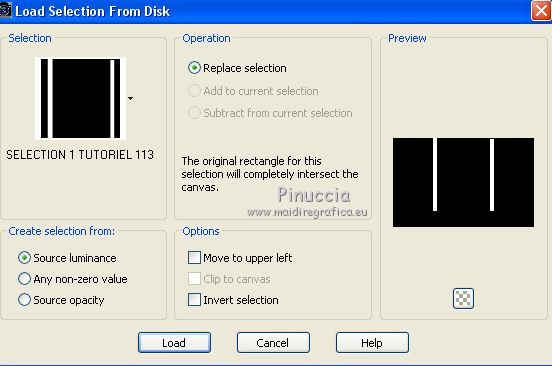
Selections>Promote Selection to Layer.
Selections>Invert.
Effects>3D Effects>Drop Shadow, color black.
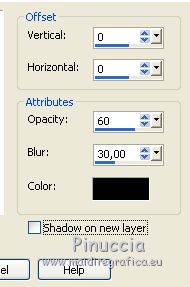
Selections>Select None.
7. Layers>Duplicate.
Layers>Arrange>Bring to Top.
Effects>Geometric Effects>Circle.

K key on the keyboard to activate the Pick Tool 
mode Scale 
use the central node
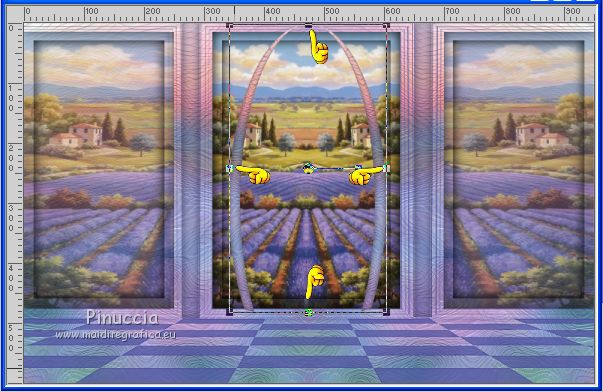
to enlarge the image as below
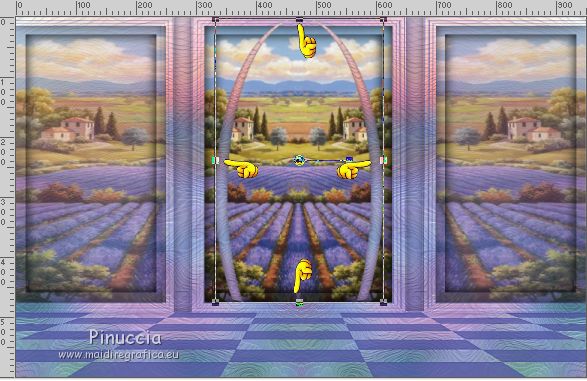
Layers>New Raster Layer.
5. Selections>Load/Save Selection>Load Selection from Disk.
Look for and load the selection Selection 2 Tutorial 113.
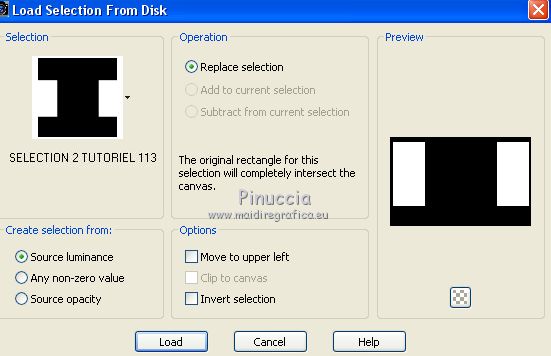
Effects>Plugins>VanDerLee - Unplugged-X - Jalusi
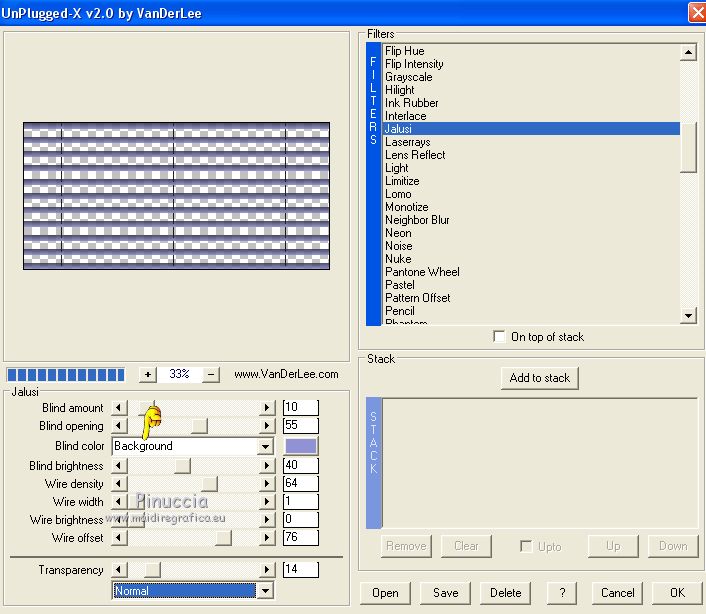
Selections>Select None.
Effects>3D Effects>Drop Shadow, background color.

8. Layers>Merge>Merge All.
Edit>Copy.
(for caution, you can do Edit>Paste as new image and minimize this image).-
Go back to your work.
Image>Add borders, symmetric not checked, foreground color.
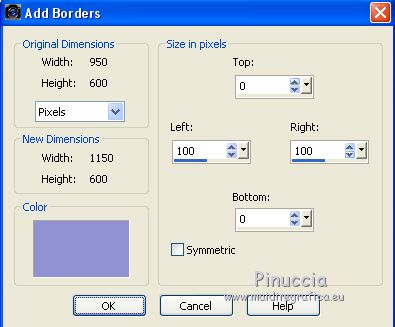
Activate the Magic Wand Tool  , tolerance and feather 0, , tolerance and feather 0,
and click on the left border to select it.

Layers>New Raster Layer.
Edit>Paste into Selection (your image is in memory).
Selections>Select None.
Layers>Duplicate.
Image>Mirror.
Layers>Merge>Merge Down.
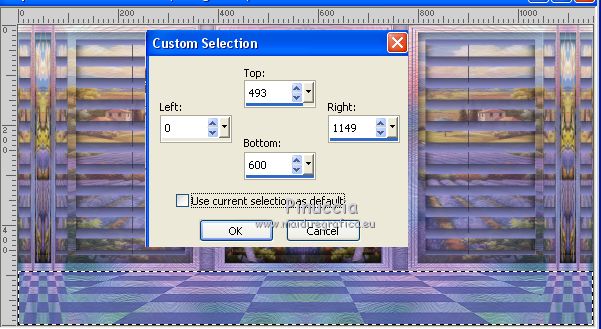
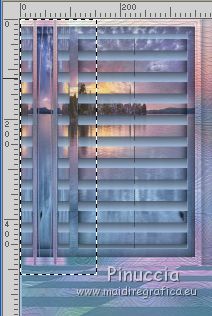
9. Custom Selection 

Edit>Copy.
Custom Selection 

(this new selection will substitute the precedent selection).
Layers>New Raster Layer.
Edit>Paste into Selection.
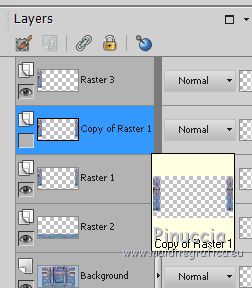
Activate the layer above (Raster 1).
Press CANC on the keyboard 
Selections>Select None.
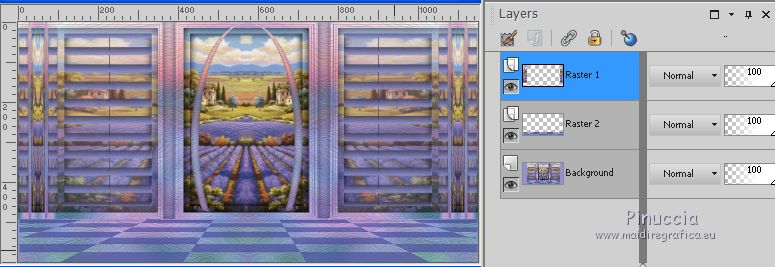
10. You should have this

Open the tube déco perso 2 and go to Edit>Copy.
Go back to your work and go to Edit>Paste as New Layer.
Don't move it.
**** for your tube déco, duplicate the top layer.
Activate the Selection Tool 
and select the left part of the layer

Edit>Copy.
Layers>New Raster Layer
Edit>Paste into Selection.
Selections>Select None.
Now you can close or delete the layer of the duplicate.

Activate the Pick tool 
Mode Perspective 
push the top right node down until 30 pixels
(the opposite node will move symmetrically)

Layers>Duplicate.
Image>Mirror.
Layers>Merge>Merge down.
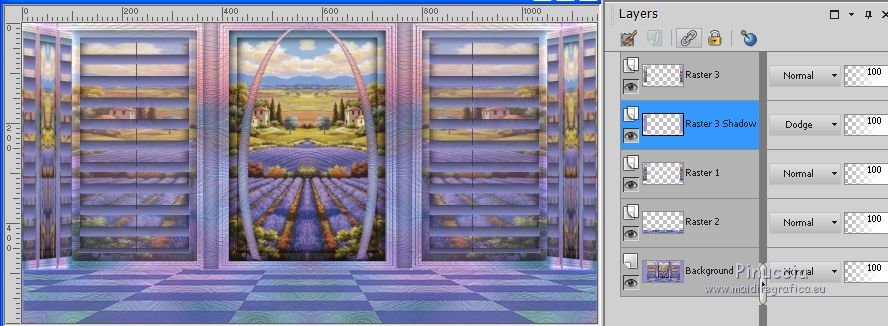
And you'll get your tube Deco 2.
(for my 2nd version I change the Blend Mode of this layer to Luminance (L)).

*****
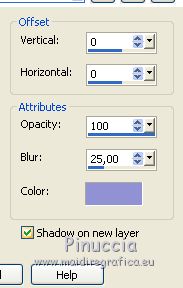
Effects>3D Effects>Drop Shadow, background color
shadow on a new layer checked

Change the Blend Mode of the shadow layer to Dodge, or other

(for my 2nd version I have not done the shadow).
11. Open your main tube (I used a tube by Kamalini) and go to Edit>Copy.
Go back to your work and go to Edit>Paste as new layer.
Image>Resize, (for me to 55%), resize all layers not checked.
Effects>3D Effects>Drop Shadow, as you like.
(for my 2nd version I used a tube by Mina, resized to 75+95%)
For both my version I used a wordart found on the net.
I moved it according to my taste.
It's up to you to do this research. Let your imagination run.
12. Image>Add borders, 2 pixels, symmetric, foreground color.
Selections>Select All.
Image>Add borders, 15 pixels, symmetric, background color.
Selections>Invert.
Effects>Artistic Effects>Enamel, same settings.

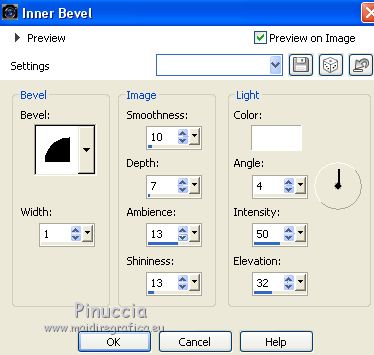
Effects>3D Effects>Inner Bevel.

Selections>Select None.
Sign your work on a new layer.
Layers>Merge>Merge All.
Image>Resize, 950 pixels width, resize all layers checked.
Save as jpg.
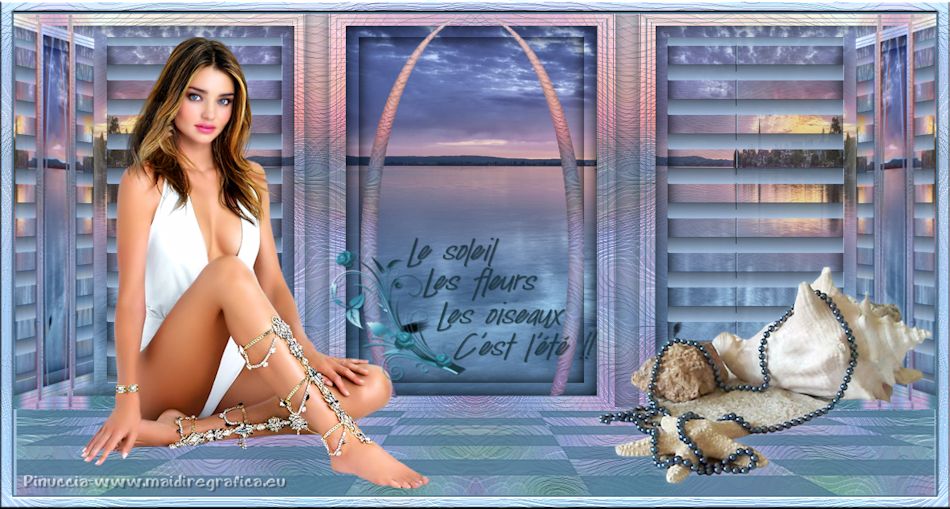
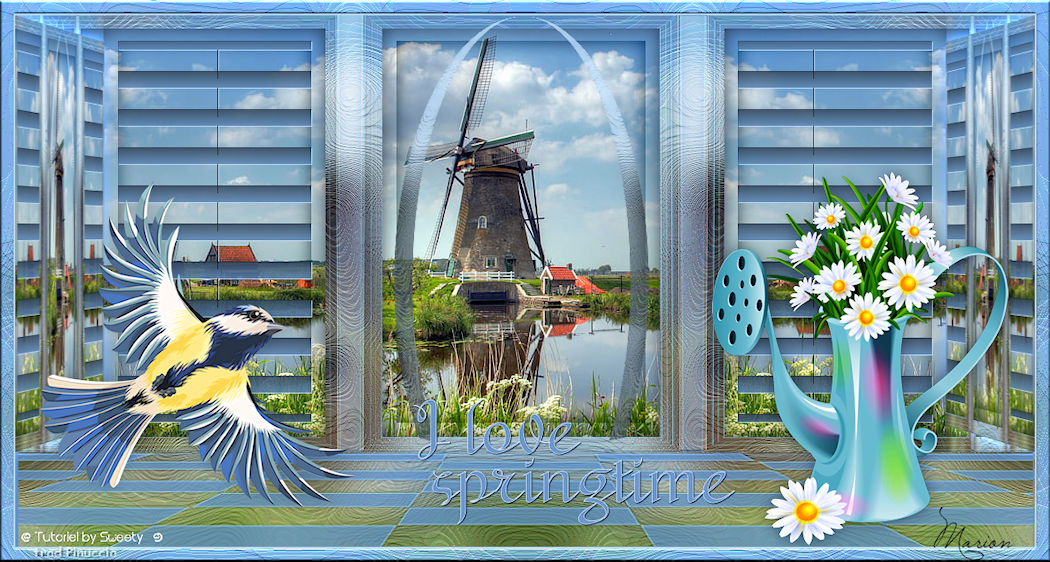
The tube of this version is by Mina.


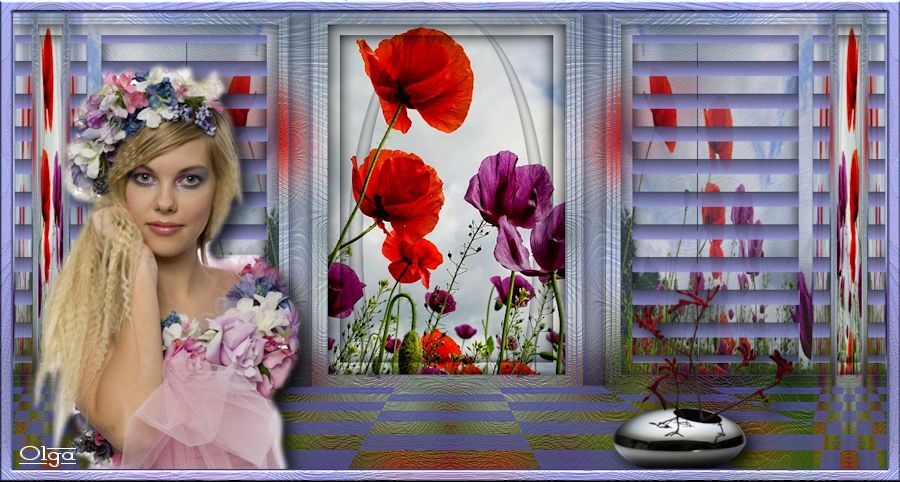
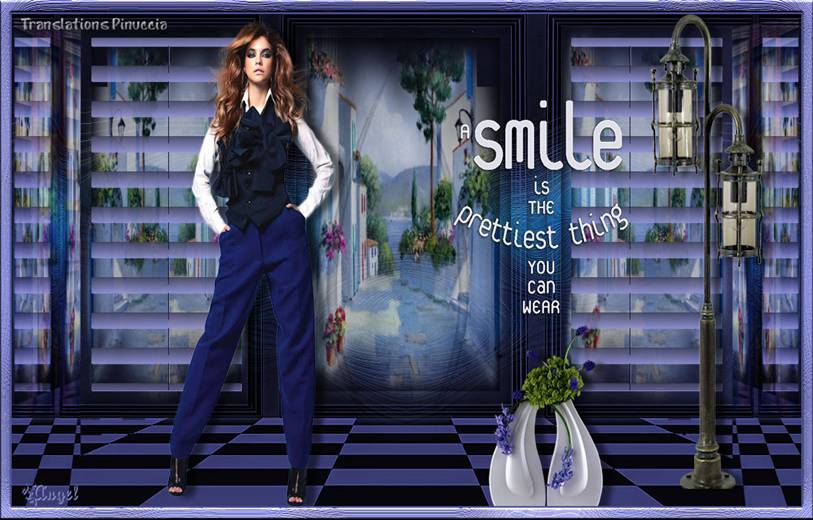
Your versions. Thanks

Olga

Angel

Marion

If you have problems or doubts, or you find a not worked link, or only for tell me that you enjoyed this tutorial, write to me.
9 June 2018
|
 english version


 the layer with your dark foreground color.


 , tolerance and feather 0,