|
TUTORIAL 121
 english version english version
Thank you Sweety for your invitation to translate your tutorial.
Here you find the original of this tutorial:
This tutorial is a personal creation of Sweety and it is prohibited to copy or distribute it on the net (forums, groupes.. etc), or to use it on commercials sites.
This tutorial was created with CorelX12 and translated with Corel13, but it can also be made using other versions of PSP.
Since version PSP X4, Image>Mirror was replaced with Image>Flip Horizontal,
and Image>Flip with Image>Flip Vertical, there are some variables.
In versions X5 and X6, the functions have been improved by making available the Objects menu.
In the latest version X7 command Image>Mirror and Image>Flip returned, but with new differences.
See my schedule here
For this tutorial, you will need:
Tube, landscapes and decos of your choice.
The rest of the material here
Images not supplied:
1st version: Landscape, winter person, animal and wordart from Internet.
2nd versions: Landscape and wordart from Internet.
For the tube thanks Louise
Plugins
consult, if necessary, my filter section here
Final Impact - Hot Shot here
L&K's - L&K's Zitah here
AP Lines - Lines SilverLining here

You can change Blend Modes according to your colors.
Choose 2 colors according to your landscape tube.
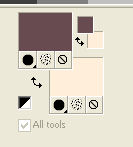
For version 1:
foreground color #674b51
background color #feedd9.
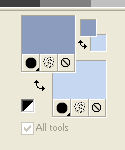
For versions 2:
foreground color #8c9cbf
background color #c5d7f0.
Copy the Selections in the Selections Folder.
1. Open a new transparent image 900 x 650 pixels.
Selections>Select All.
Open your landscape and go to Edit>Copy.
Go back to your work and go to Edit>Paste into Selection.
Selections>Select None.
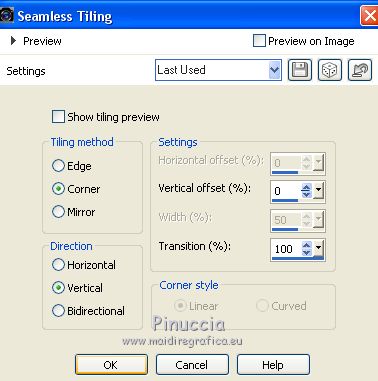
Effects>Image Effects>Seamless Tiling.
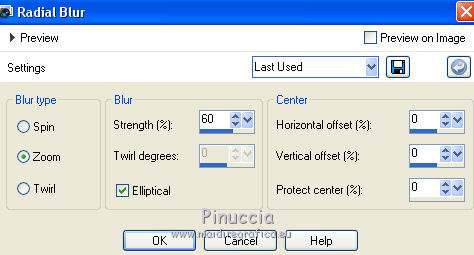
Adjust>Blur>Radial Blur.
Layers>Duplicate.
Image>Mirror.
Change the Blend Mode of this layer to Soft Light.
Layers>Merge>Merge Down.
Adjust>Sharpness>Sharpen.
2. Open the tube déco perso 1 and go to Edit>Copy.
Go back to your work and go to Edit>Paste as new layer.
Colorize with your tones or change the Blend Mode to Luminance (L) or other.
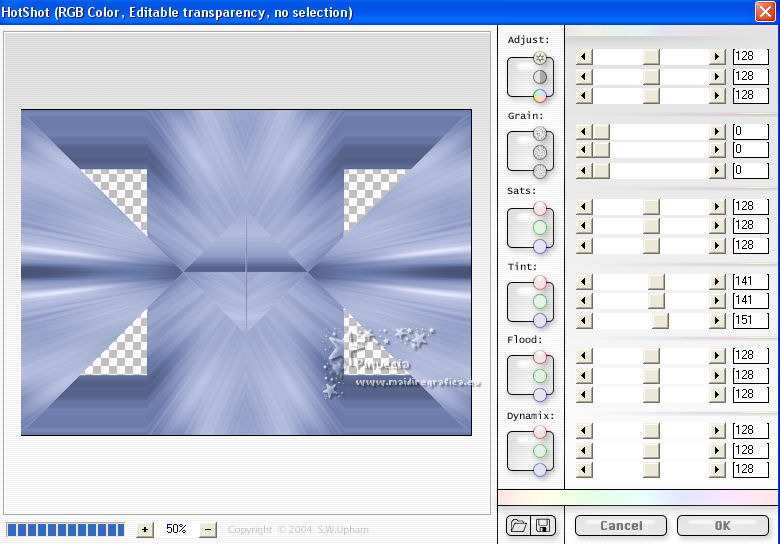
for my second version I made Adjust>Hue and Saturation>Colorize

And after I applied the Plugin Final impact>Hot Shot as below
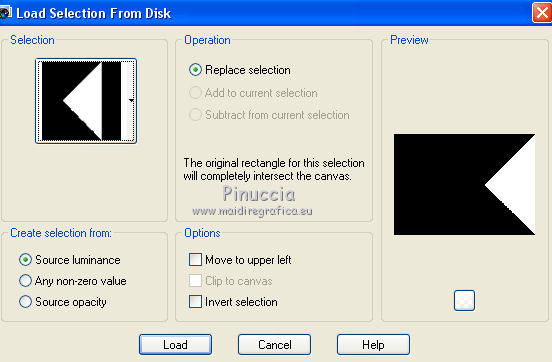
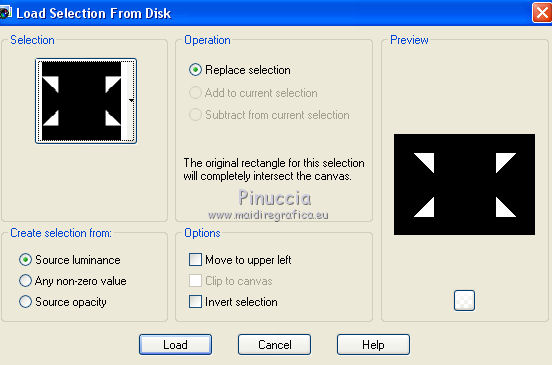
Selections>Load/Save Selection>Load Selection from Disk.
Look for and load the Selection sélection#1.

Selections>Promote Selection to Layer.
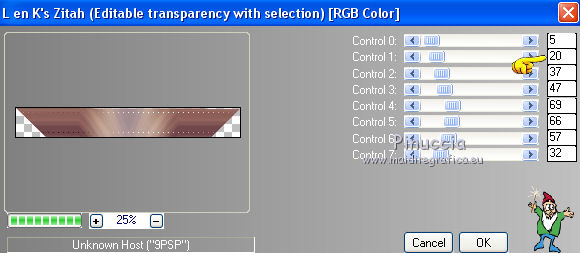
Effects>Plugins>L&K's - L&K's Zitah
Selections>Select None.
Layers>Duplicate.
Image>Flip.
Layers>Merge>Merge Down.
Effects>3D Effects>Drop Shadow, color black

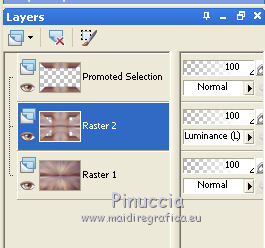
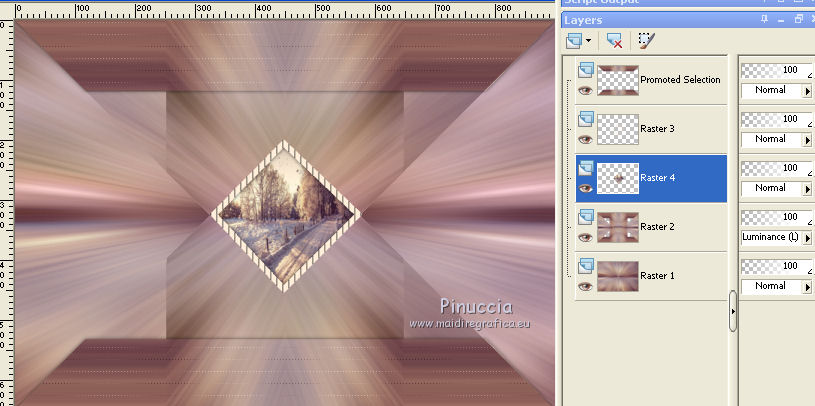
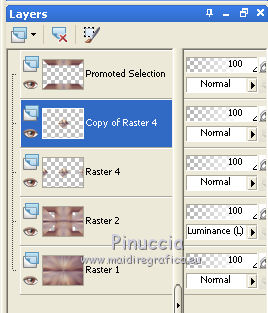
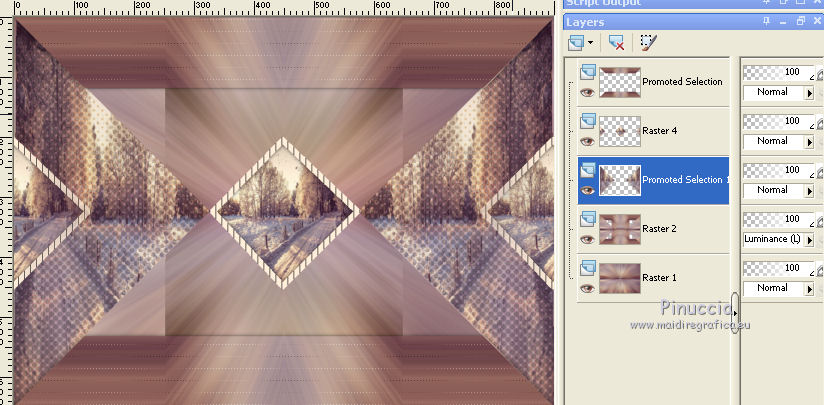
3. Our layers and our tag look like as below
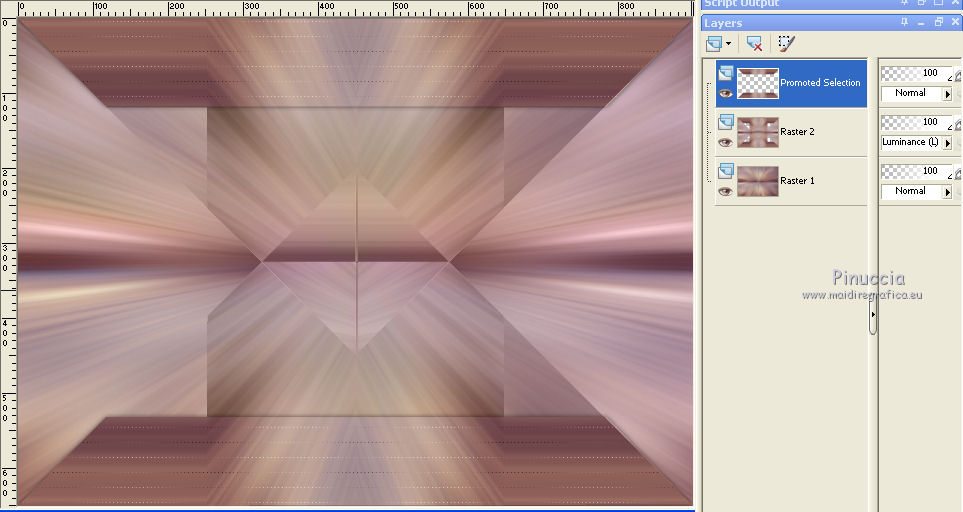
We stay on the top layer (Promoted Selection).
Activate the layer below Raster 2.
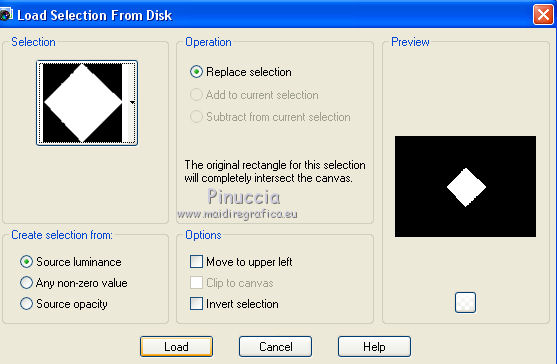
Selections>Load/Save Selection>Load Selection from Disk.
Look for and load the Selection sélection#2.
Layers>New Raster Layer.
Flood Fill  the selection with your background color. the selection with your background color.
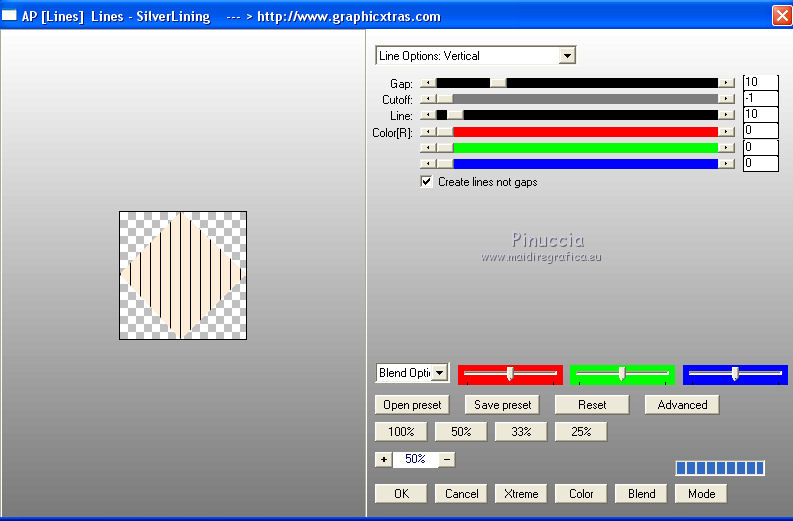
Effects>Plugins>AP Lines - Lines SilverLining.
Selections>Modify>Contract - 10 pixels.
Press CANC on the keyboard 
Keep selected.
4. Layers>New Raster Layer.
Layers>Arrange>Move Down.
Open your landscape and go to Edit>Copy.
Go back to your work and go to Edit>Paste into Selection.
Selections>Invert.
Effects>3D Effects>Drop Shadow, color black.
Selections>Select None.
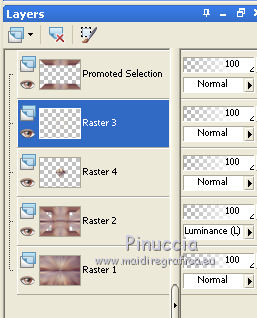
Our layers and our tag look like as below
5. We are on the middle layer, the landscape (Raster 4).
Activate the layer above, Raster 3.
Layers>Merge>Merge Down.
Layers>Duplicate.
Activate the layer below, Raster 4.
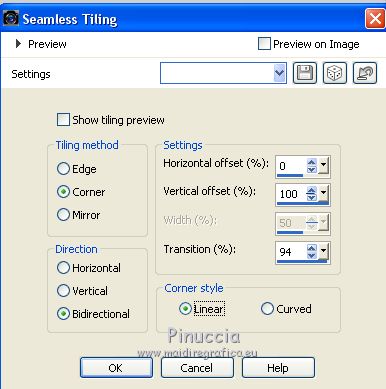
Effects>Image Effects>Seamless Tiling.
Go back to the layer above, Copy of Raster 4.
Layers>Merge>Merge Down.
6. Selections>Load/Save Selection>Load Selection from Disk.
Look for and load the Selection sélection#3.
Activate the layer above (Raster 2).
Selections>Promote Selection to layer.
Edit>Paste into Selection (your landscape is still in memory).
Reduce the opacity of this layer between 70 and 80%, according to your landscape.
(for my first version I made 80%
and for my 2nd version 70%).
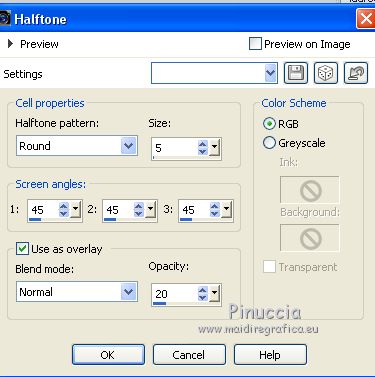
Effects>Artistic Effects>Halftone
Selections>Select None.
Layers>Duplicate.
Image>Mirror.
Layers>Merge>Merge Down.
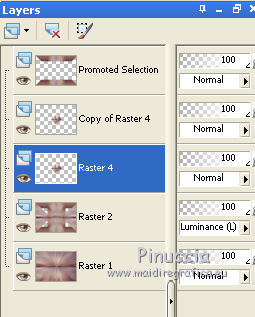
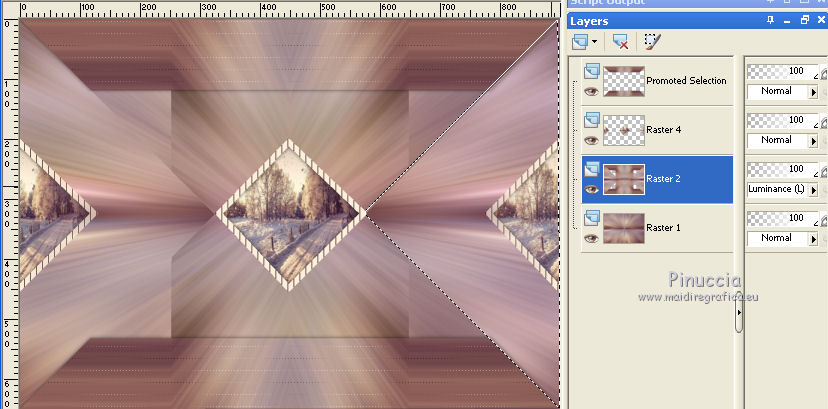
7. Our layers and our tag look like as below.
We stay on the layer Promoted Selection 1.
Selections>Load/Save Selection>Load Selection from Disk.
Look for and load the Selection sélection#4.
Activate the bottom Layer, Raster 1.
Layers>New Raster Layer.
Edit>Paste into Selection (your landscape is still in memory).
Effects>Art Media Effects>Brush Strokes

Selections>Invert.
Effects>3D Effects>Drop Shadow, color black.
Selections>Select None.
8. Activate the top layer (Promoted Selection).
Layers>Duplicate.
(for my second version I didn't duplicate: I made:
Effects>3D Effects>Drop shadow, color black.
)
Open the tube déco perso 2 and go to Edit>Copy.
Go back to your work and go to Edit>Paste as new layer.
Don't move it.
(For my 2nd version I change the Blend Mode to Luminance (L))
Open the tube déco perso 3 and go to Edit>Copy.
Go back to your work and go to Edit>Paste as new layer.
Don't move it.
Layers>Arrange>Move Down.
(for my 2nd version I made Luminance (L)
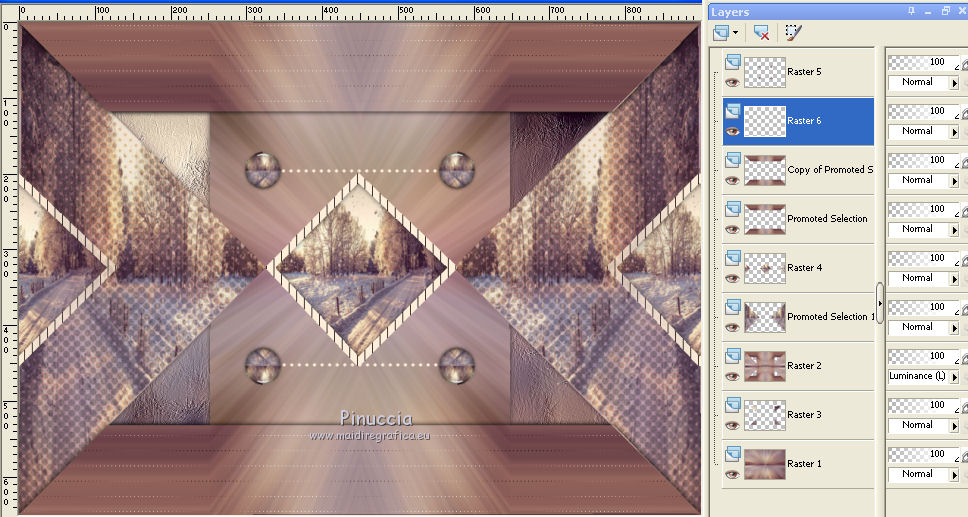
Our layers and tag look like as below
9. Activate the top layer (Raster 5).
Open a wordart of your choice and go to Edit>Copy.
Go back to your work and go to Edit>Paste as new layer.
Place  the wordart up to the center. the wordart up to the center.
Change the Blend Mode to Luminance (L) or other of your choice.
(for my first version I made Luminance (L)
Image>Add borders, 2 pixels, symmetric, background color.
10. Selections>Select All.
Image>Add borders, 40 pixels, symmetric, whatever color.
Edit>Copy.
Selections>Invert.
Edit>Paste into Selection.
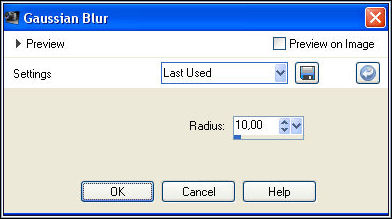
Adjust>Blur>Gaussian Blur, radius 10.
Effects>Artistic Effects>Halftone, same settings
Selections>Select None.
Open your person tube and go to Edit>Copy.
Go back to your work and go to Edit>Paste as new layer.
Copy/Paste as new layer your deco or animal.
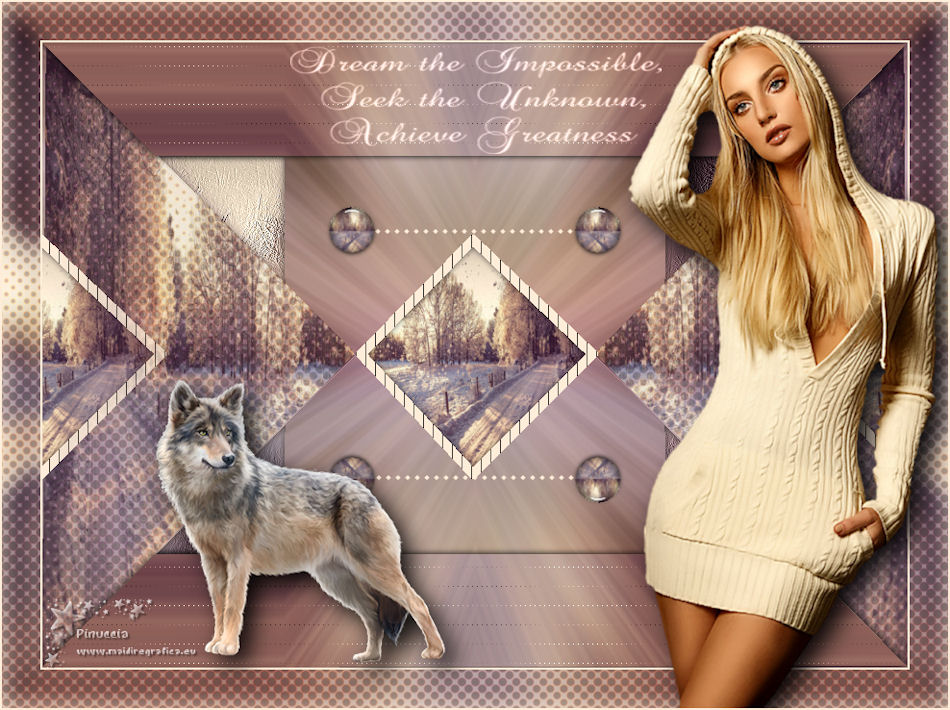
(for my second version the wolf is by Cal (received by sharing).
Resize, if necessary, and place rightly.
FINAL STEP
Image>Add borders, 2 pixels, symmetric, background color.
Sign your work.
Layers>Merge>Merge All.
Image>Resize, to 950 pixels width, resize all layers checked.
Save as jpg.
The tube of this version is by Tigre Blanc
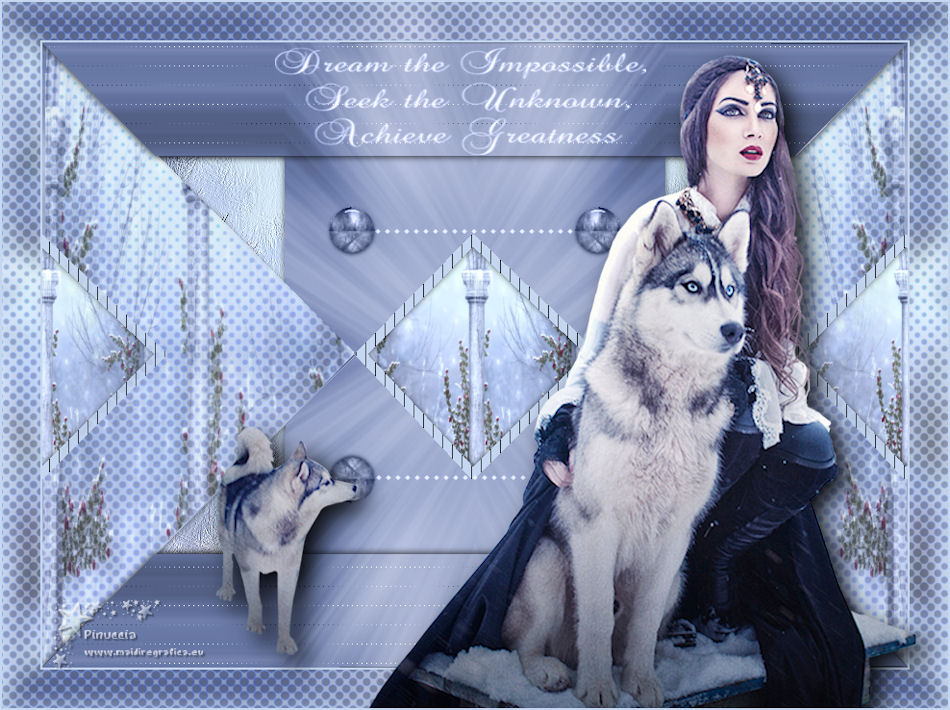

Your versions. Thanks
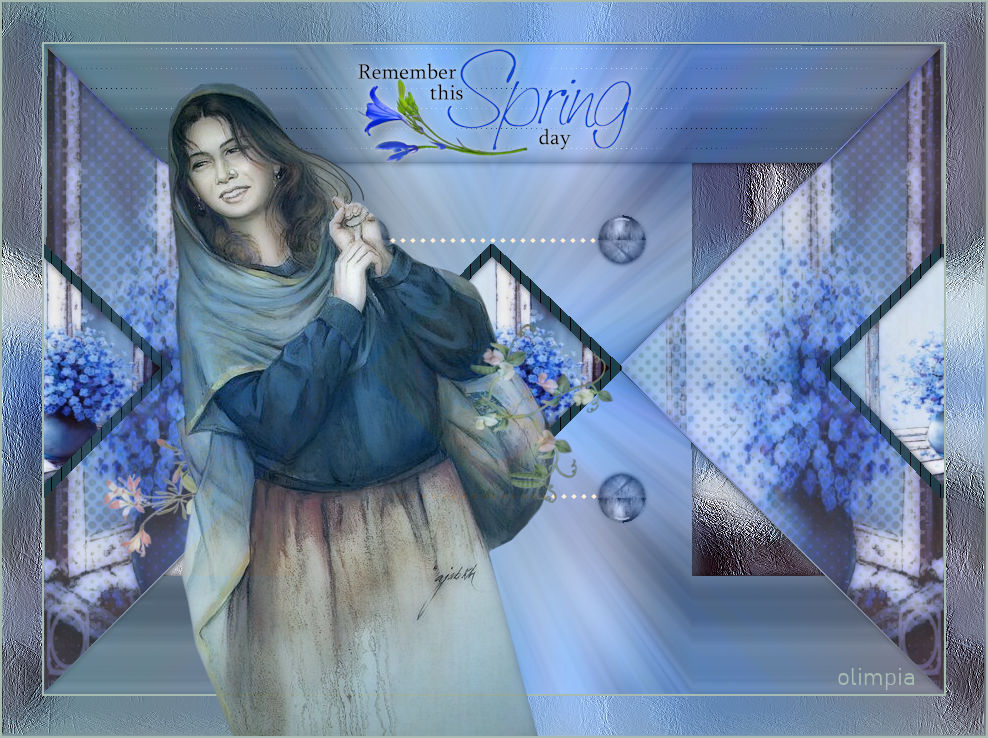
Olimpia
If you have problems or doubts, or you find a not worked link, or only for tell me that you enjoyed this tutorial, write to me.
25 February 2019
|