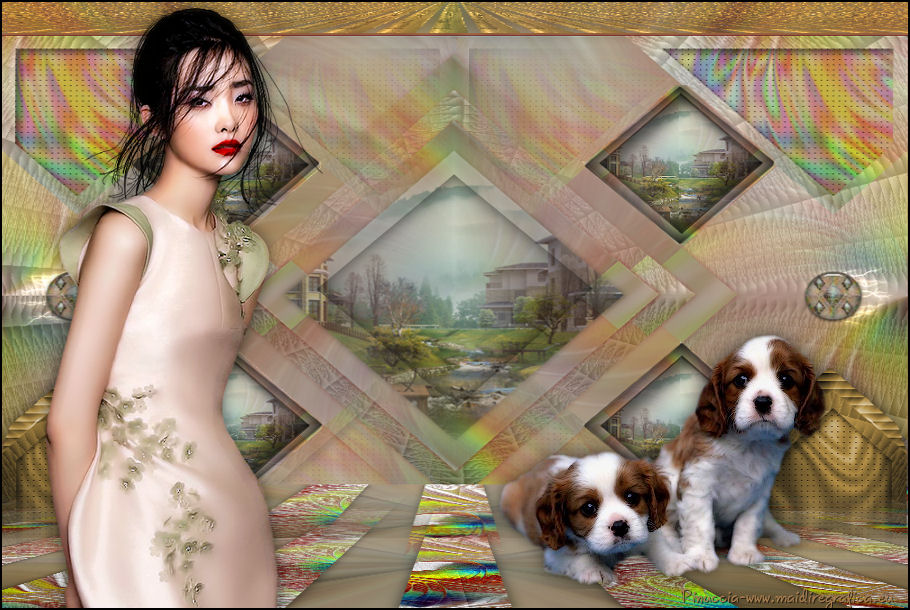
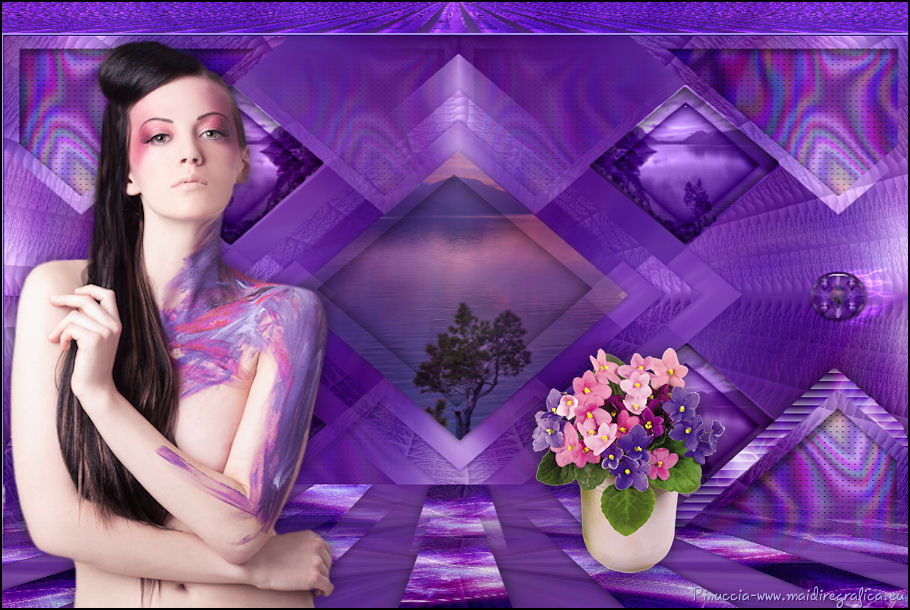
|
TUTORIAL 78
 english version english version
Thank you Sweety for your invite to translate your tutorial.
Here you find the original of this tutorial:
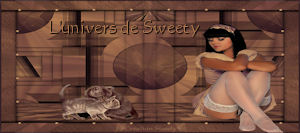
This tutorial is a personal creation of Sweety and it is prohibited to copy or distribute it on the net (forums, groupes.. etc), or to use it on commercials sites.
This tutorial was created and translated with Corel12, but can also be made using other versions of PSP.
Since version PSP X4, Image>Mirror was replaced with Image>Flip Horizontal,
and Image>Flip with Image>Flip Vertical, there are some variables.
In versions X5 and X6, the functions have been improved by making available the Objects menu.
In the latest version X7 command Image>Mirror and Image>Flip returned, but with new differences.
See my schedule here
For this tutorial, you will need:
An image type fractale, a landscape, a person and a deco.
The rest of material here
I used fractal 1204-jeux-de-lumière-WallFizz and image landscape 341095 (found on Google),
woman tube by Logane logane-felle1-07mai2012.
Plugins
consult, if necessary, my filter section here
Filters Unlimited 2.0 here
Simple - Diamonds here
Oliver's Filters - Toile d'araignée here
Xero - Iridium here
AP 01 [Innovations] - Lines SilverLining here
Mura's Seamless - Stripe here
Alien Skin Eye Candy 5 Impact - lass here
Mura's Meister - Perspective Tiling here
Alien Skin Xenofex 2 - Electrify here
Filters Simple, Olivers and Mura's Seamless can be used alone or imported into Filters Unlimited.
(How do, you see here)
If a plugin supplied appears with this icon  it must necessarily be imported into Unlimited it must necessarily be imported into Unlimited

You can change Blend Modes according to your colors.
Copy the mask in the Masks Folder.
Copy the selections in the Selections Folder.
1. Choose two colors from your first image (the fractal).
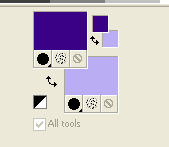
Set your foreground color to the dark color: #3a0186,
and your background color to the light color: #baadf2.
Open a new transparent image 900 x600 pixels.
Selections>Select All.
Activate your fractal and go to Edit>Copy.
Go back to your work and go to Edit>Paste into Selection.
Selections>Select None.
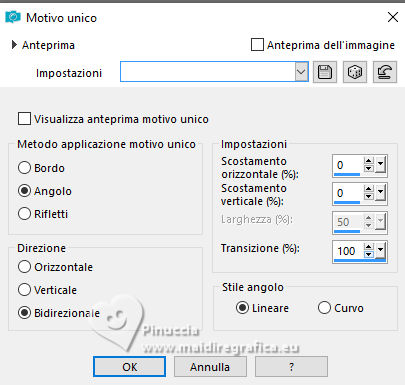
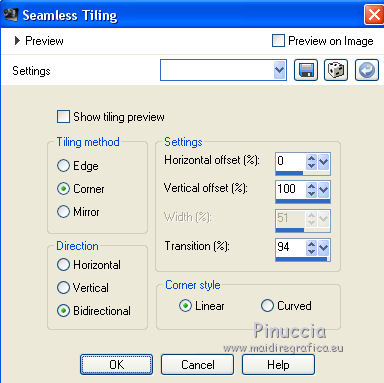
Effects>Image Effects>Seamless Tiling.
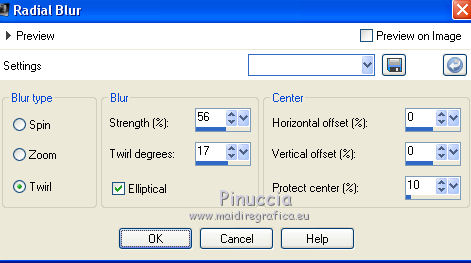
Adjust>Blur>Radial Blur.
Layers>Duplicate.
Image>Flip.
Image>Mirror.
Change the opacity of this layer to 50%.
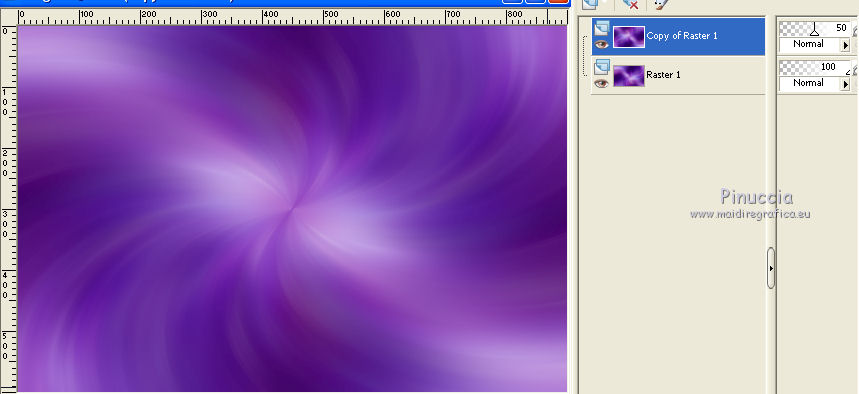
Layers>Merge>Merge All.
2. Layers>Duplicate.
Image>Resize - 75%, resize all layers not checked.
Effects>Plugins>Simple - Diamonds.
Selections>Load/Save Selection>Load Selection from disk.
Load the selection "78 Sweety 1".
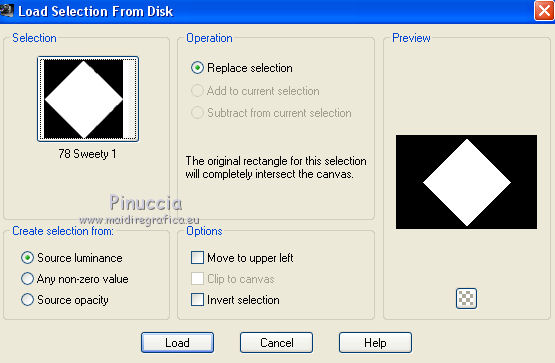
Edit>Cut (this cuts and keep in memory).
Keep selected.
Layers>New Raster Layer.
Edit>Paste into Selection (the cut image is in memory).
Selections>Select None.
Close this layer.
Activate the layer below (copy of background).
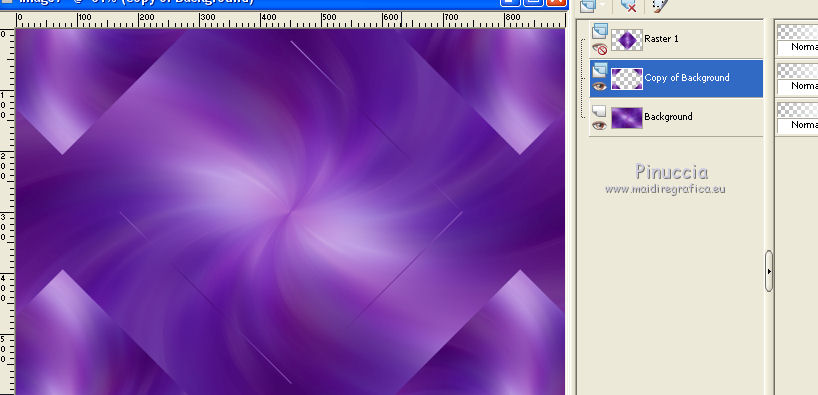
Activate the Eraser Tool 

and erase the little dark lines.
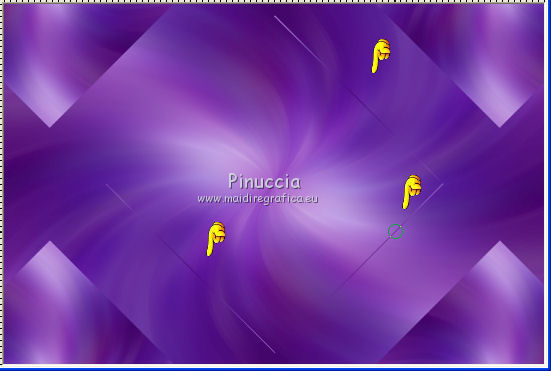
Open again and activate the top layer Raster 1.
Effects>Image Effects>Seamless Tiling.
Layers>Arrange>Move down.
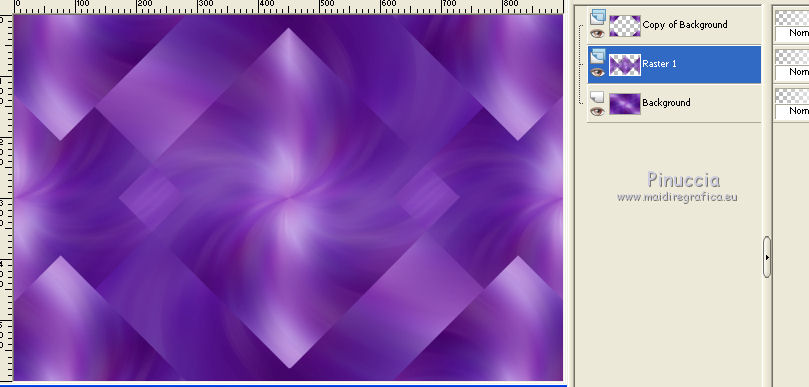
3. Keep this layer active.
Selections>Load/Save Selection>Load Selection from disk.
Load again the selection "78 Sweety 1".

Selections>Invert.
Effects>Plugins>Oliver's Filters - Toile d'araignée.
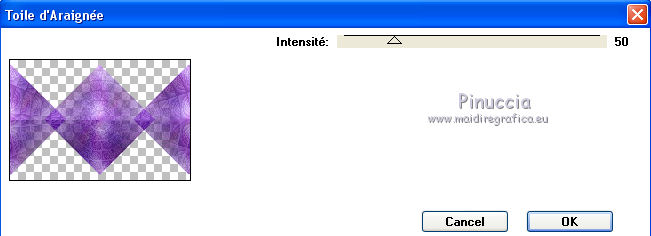
Again Selections>Invert.
Edit>Cut (again you cut to keep in memory).
Layers>New Raster Layer.
Edit>Paste into Selection (the cut image is in memory).
Selections>Select None.
4. Keep this layer active - raster 2.
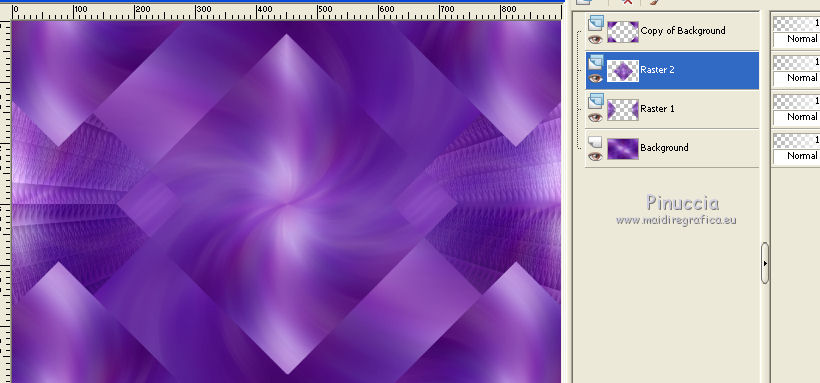
Effects>3D Effects>Drop Shadow, foreground color.
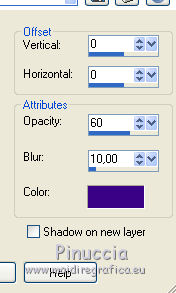
Layers>Duplicate.
Image>Resize, to 85%, resize all layers not checked.
Again Layers>Duplicate.
Image>Resize, to 85%, resize all layers not checked.
Activate the layer below (copy of Raster 2).
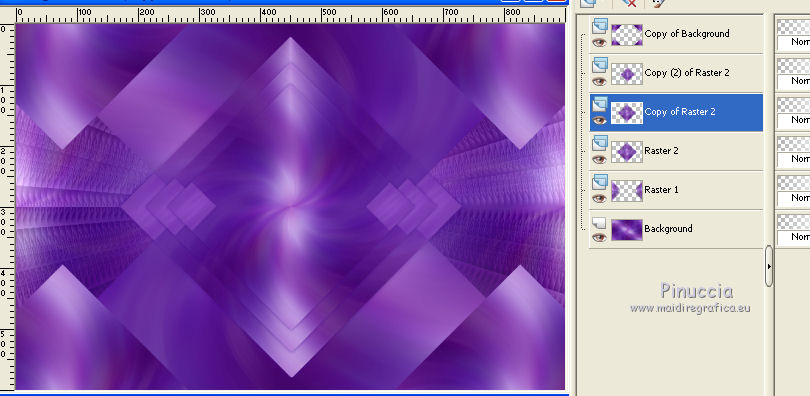
Effects>Plugins>Oliver's Filters - Toile d'araignée, same settings.
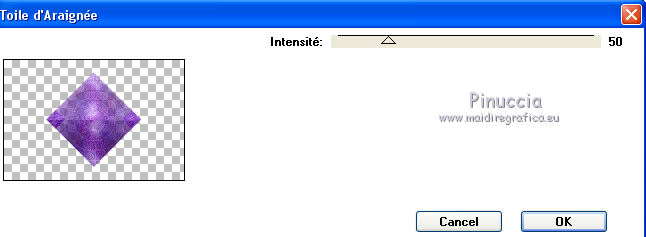
5. Activate the top layer (copy(2) of Raster 2).
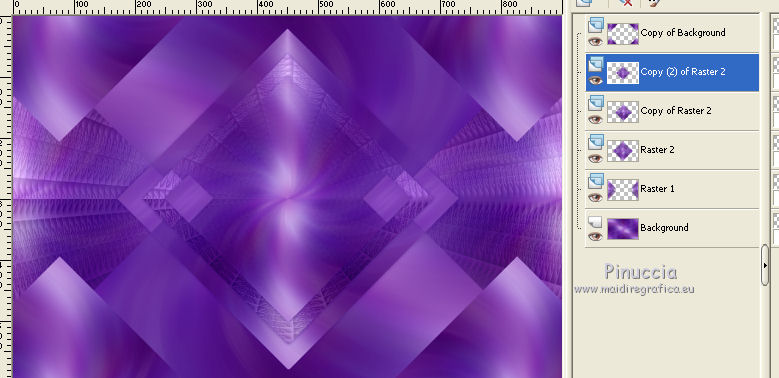
Layers>Duplicate.
Layers>Merge>Merge down.
Selections>Load/Save Selection>Load Selection from disk.
Load the selection "78 Sweety 3".

Open your landscape and go to Edit>Copy.
Go back to your work and go to Edit>Paste as new layer.
Image>Resize, if necessary, (for me 40%), resize all layers not checked.
Place the tube on the selection; for me
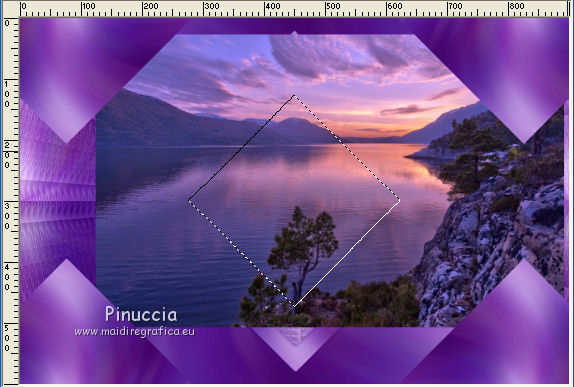
Selections>Invert.
Press CANC on the keyboard  . .
Selections>Select None.
If you want, change the blend mode of this layer to Luminance (legacy), or according to your tube.
finally I prefered to keep the blend mode of this layer to Normal
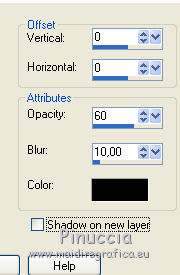
Effects>3D Effects>Drop Shadow, color black
6. You should have this.
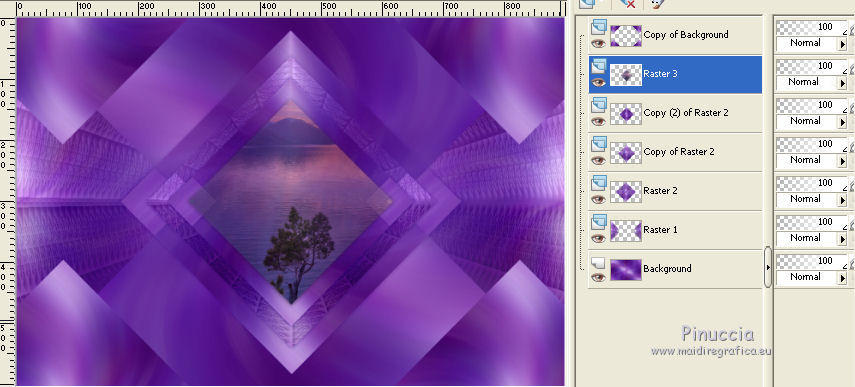
Activate the top layer Copy of Background.
Selections>Load/Save Selection>Load Selection from disk.
Load again the selection "78 Sweety 2".
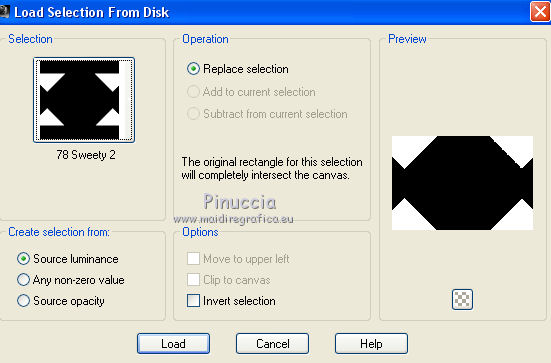
Selections>Modify>Contract - 15 pixels.
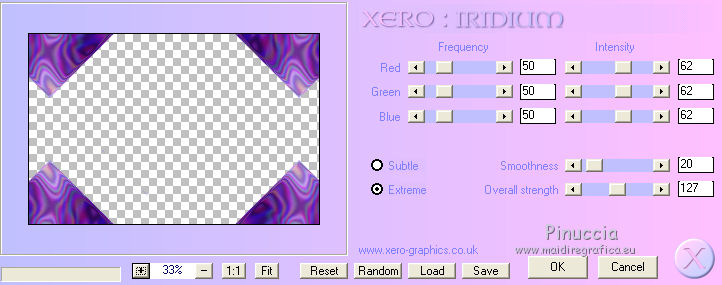
Effects>Plugins>Xero - Iridium.
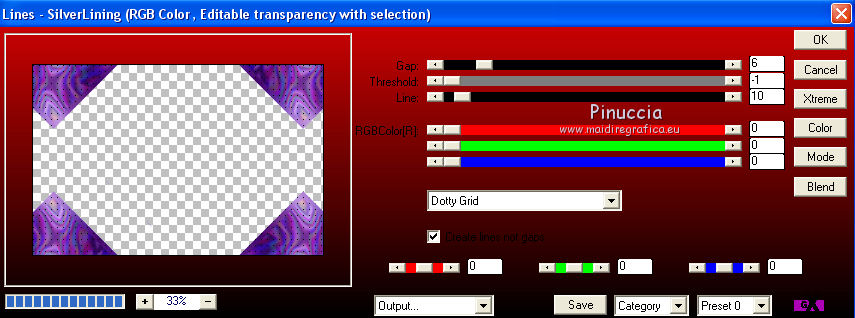
Effects>Plugins>AP 01 @Innovations] - Lines SilverLining.
Selections>Invert.
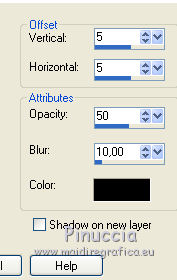
Effects>3D Effects>Drop Shadow, color black.
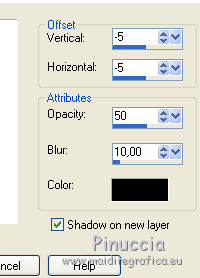
Repeat Drop Shadow, but horizontal et vertical -5, shadow on new layer checked.
Activate the top layer.
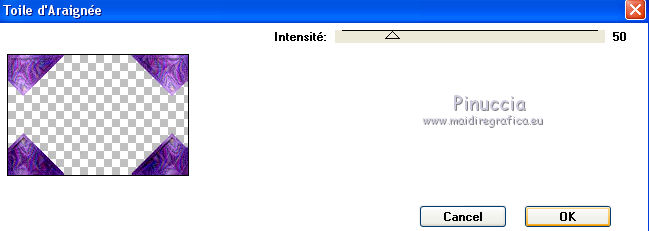
Effects>Plugins>Oliver's Filters - Toile d'Araignée, same setting.
Selections>Select None.
7. Keep this layer active.
Layers>Duplicate.
Effects>Image Effect>Seamless Tiling.

Edit>Repeat Seamless Tiling.
Layers>Merge>Merge down.
Close the bottom layer and keep the top layer active.
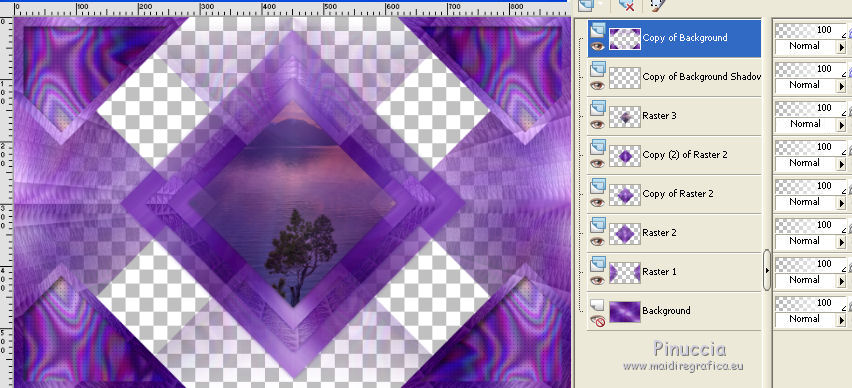
Layers>Merge>Merge visible.
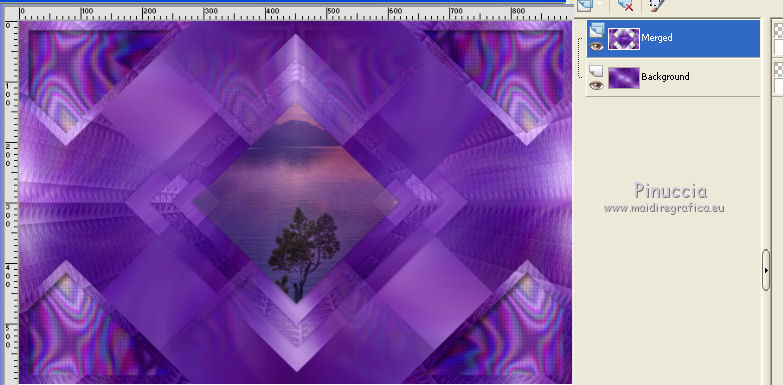
Open again the bottom layer and keep the top layer active.
8. Open the tube deco perso 1, Edit>Copy.
Go back to your work and go to Edit>Paste as new layer.
Layers>Arrange>Move down.
Don't move it. It is on his place.
Open the tube deco perso 2, Edit>Copy.
Go back to your work and go to Edit>Paste as new layer.
Layers>Arrange>Move down.
Dont' move it. It is on his place.
Change the blend mode of this layer to Luminance (legacy), or according to your colors.
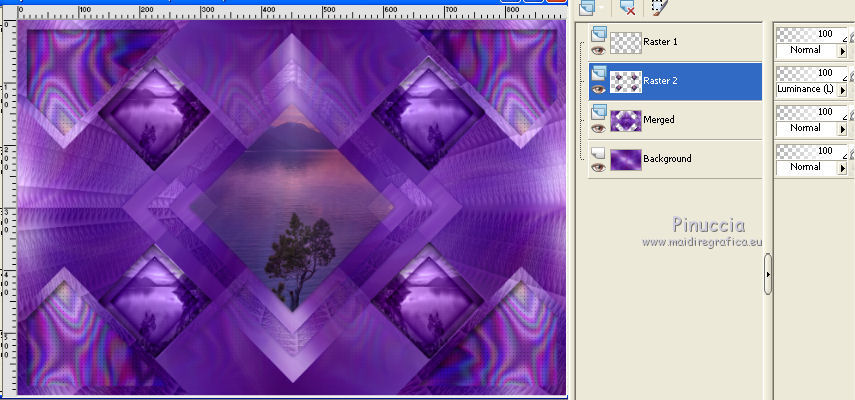
9. Edit>Copy Special>Copy Merged.
Activate the top layer.
Layers>New Raster Layer.
Selections>Load/Save Selection>Load Selection from disk.
Load the selection "78 Sweety 4".
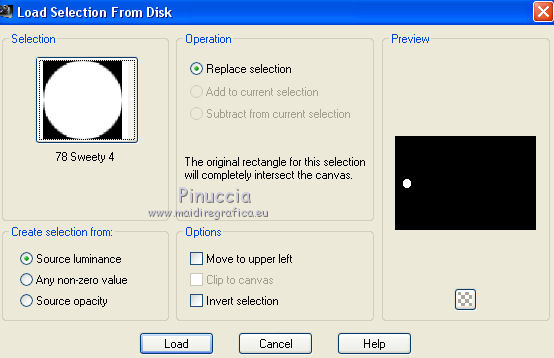
Edit>Paste into Selection.
Selections>Select None.
Effects>Plugins>Alien Skin Eye Candy 5 Impact - Glass.
Select the preset Clear and change Glass color with white.

Layers>Duplicate.
Image>Mirror.
Layers>Merge>Merge down.
Layers>Duplicate.
Layers>Arrange>Move down.
Effects>Plugins>Alien Skin Xenofex 2 - Electrify.
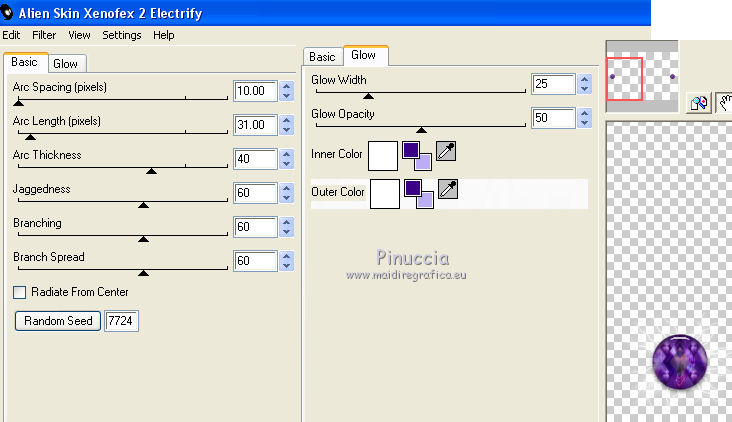
Selections>Load/Save Selection>Load Selection from disk.
Load the selection "78 Sweety 5".
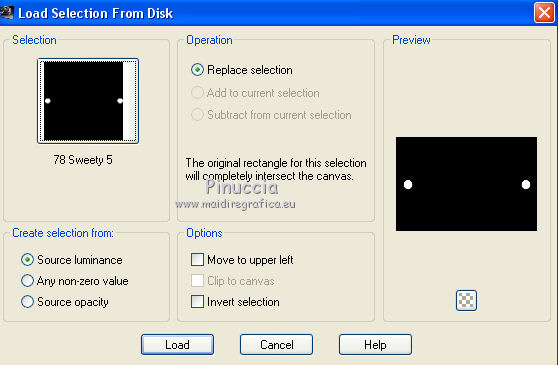
Press CANC on the keyboard.
Selections>Select None.
Change the blend mode of this layer to Dodge, opacity 55%.
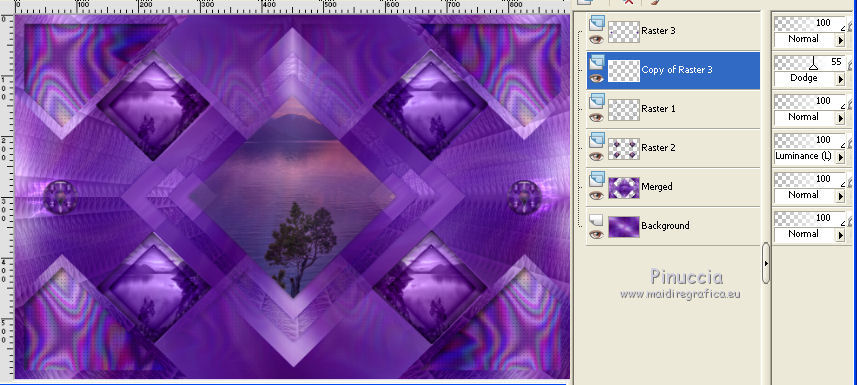
Image>Add borders, 1 pixel, symmetric, foreground color.
Layers>Promote Background layer.
Layers>Duplicate.
Adjust>Blur>Radial Blur.
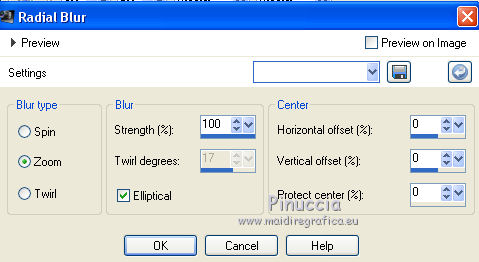
Effects>Plugins>Mura's Seamless - Stripe.
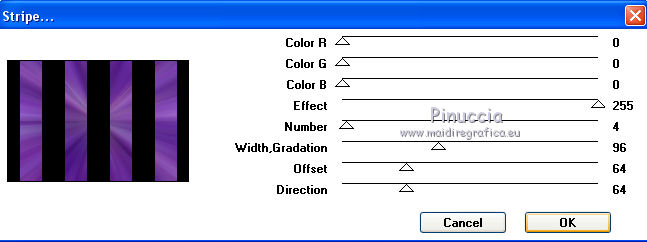
Activate the Magic Wand Tool 

clic on the black stripes to select them.
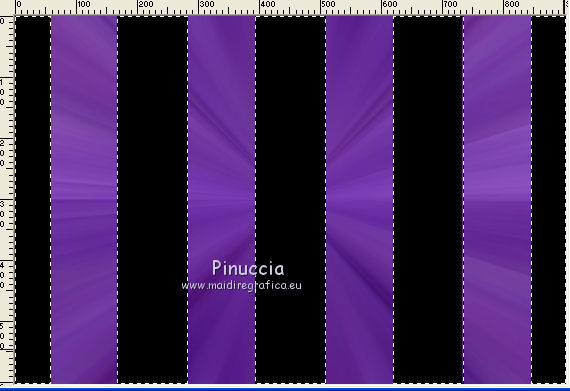
11. Open again you first image (the fractal).
Effects>Image Effects>Seamless Tiling.
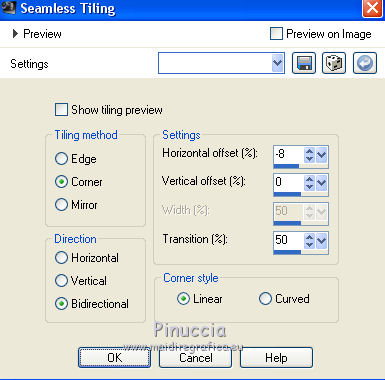
Edit>Copy, and minimize this image: you'll use it later.
Go back to your work and go to Edit>Paste into Selection.
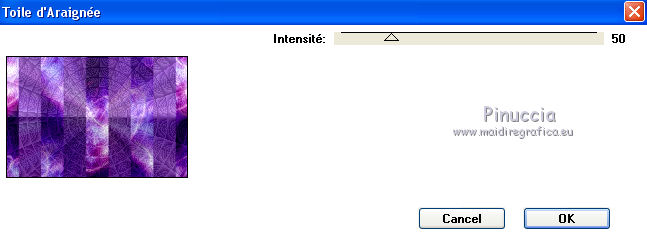
Effects>Plugins>Oliver's Filters - Toile d'araignée.
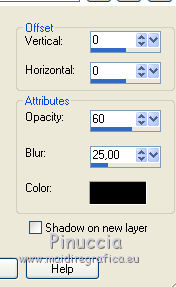
Effects>3D Effects>Drop Shadow, color black.
Selections>Select None.
12. Keep this layer active (copy of raster 1).
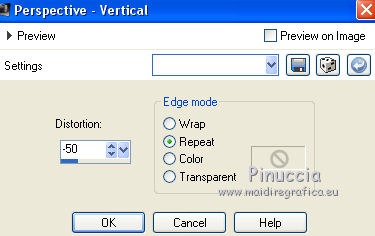
Effects>Geometric Effects>Perspective verticale.
K key to activate the Pick Tool 
with PSP 9 D key to activate Deformation Tool 
mode Scale  , ,
push the central node at the top, down to 500 pixels
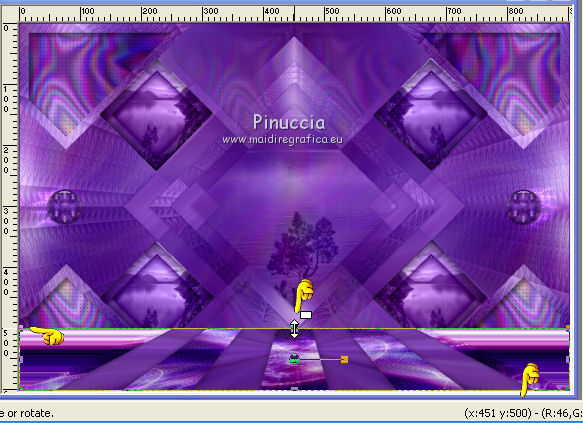
M key to deselect the tool.
Open the tube déco 3, Edit>Copy.
Go back to your work and go to Edit>Paste as new layer.
To move the tube K key to activate the Pick Tool 
with PSP 9 D key to activate Deformation Tool 
mode Scale  , ,
set your position X to 621,00 and position X to 371,00.
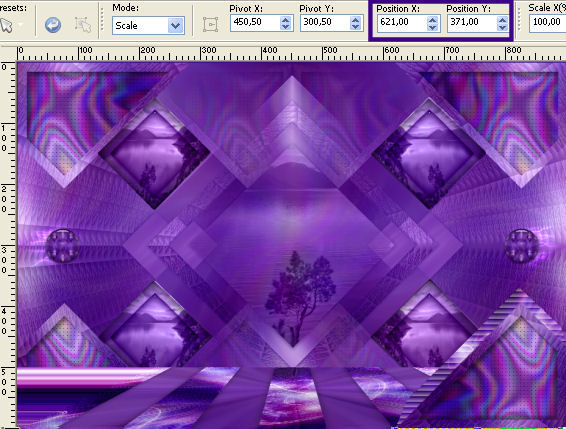
M key to deselect the tool.
Layers>Duplicate.
Image>Mirror.
Layers>Merge>Merge down.
You should have this.
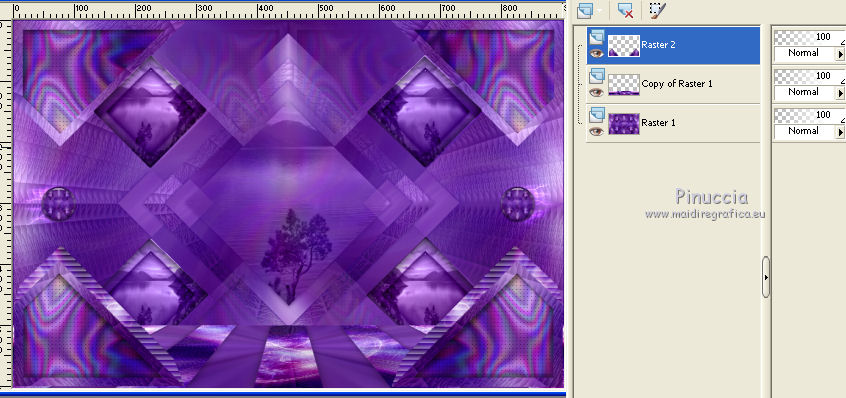
Activate the bottom layer Raster 1.
K key to activate the Pick Tool 
with PSP 9 D key to activate Deformation Tool 
mode Scale  , ,
push the central node at the bottom, up to 580 pixels
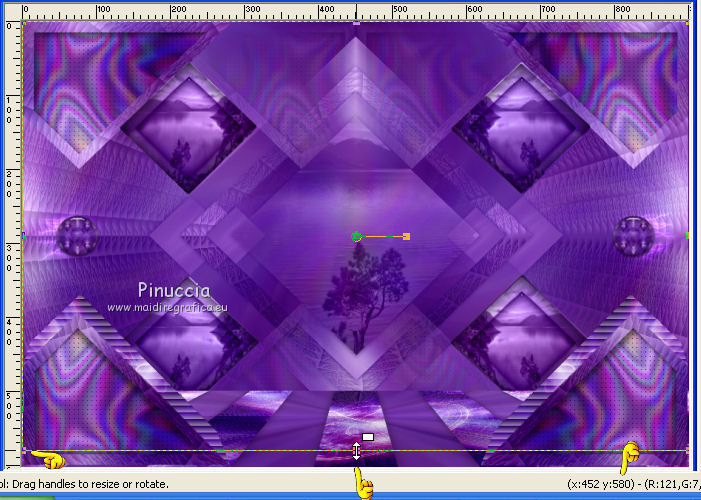
M key to deselect.
Again activate the top layer - Raster 2.
Effects>3D Effects>Drop Shadow, colore black.

14. Image>Add borders, 2 pixels, symmetric, background color.
Layers>Promote Background layer.
Layers>Duplicate - 2 times.
Keep the top layer active
Image>Resize, to 90%, resize all layers not checked.
Close this layer and activate the layer below (copy of raster 1).
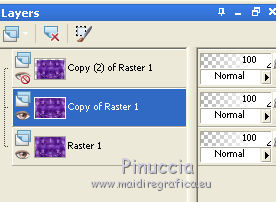
Adjust>Blur>Radial Blur, same settings still in memory.

Effects>Plugins>Mura's Seamless - Stripe, same settings.

Activate the Magic Wand tool 
and clic on the black stripes to select them
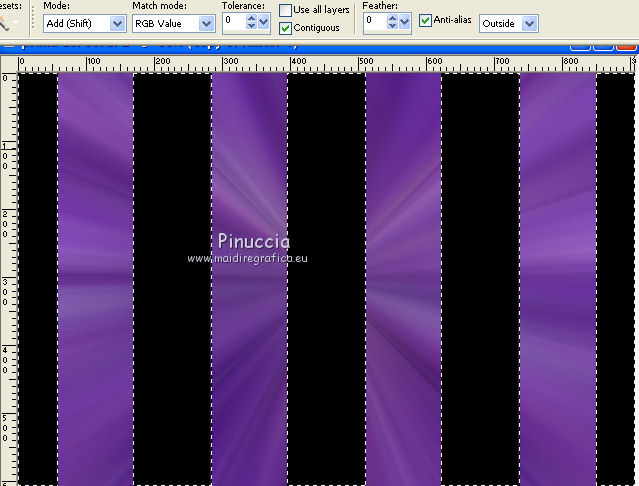
Activate the fractale minimized at step 12 - Edit>Copy.
Go back to your layer and go to Edit>Paste into selection.
Effects>Plugins>Oliver's Filters - Toile d'araignée, same settings step 12.

Effects>3D Effects>Drop Shadow, color black.

Selections>Select None.
15. Keep this layer active.
Effects>Plugins>Mura's Meister - Perspective Tiling.
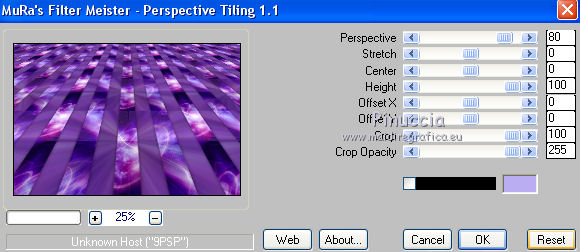
K key to activate the Pick Tool 
with PSP 9 D key to activate Deformation Tool 
mode Scale  , ,
push the central node at the top, down to 480 pixels.
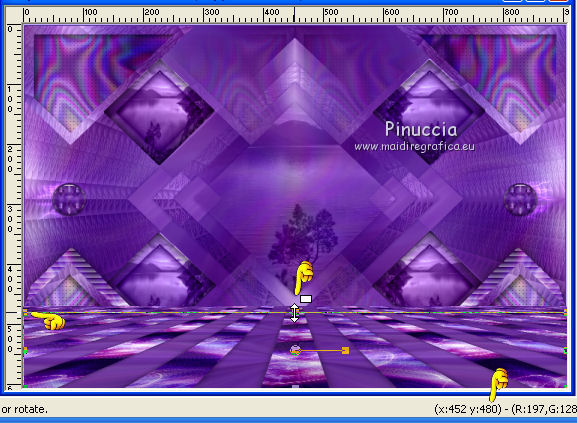
M key to deselect.
Activate the bottom layer (raster 1).
Adjust>Blur>Radial blur, same settings step 11, still in memory.

Re-open and activate the top layer (copy(2) of Raster 1).
K key to activate the Pick Tool 
with PSP 9 D key to activate Deformation Tool 
mode Scale  , ,
push the right and left nodes
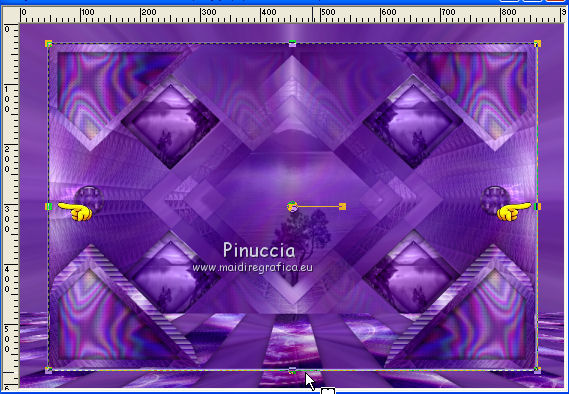
to the bords
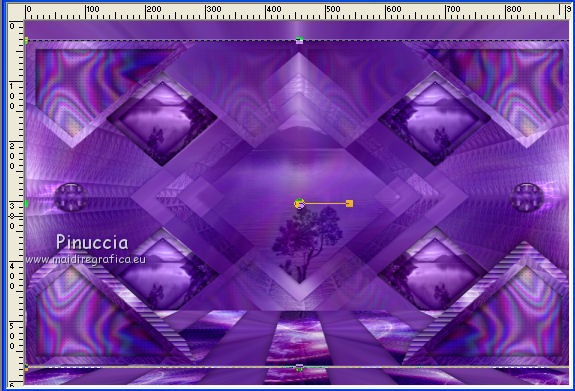
M key to select.
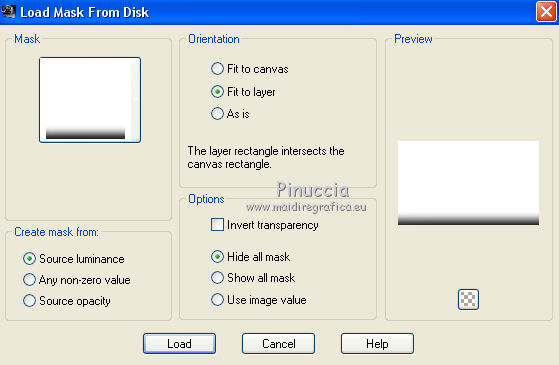
Layers>Load/Save Mask>Load Mask from disk.
Look for and load the mask "mask1-fade-suave".
Layers>Duplicate.
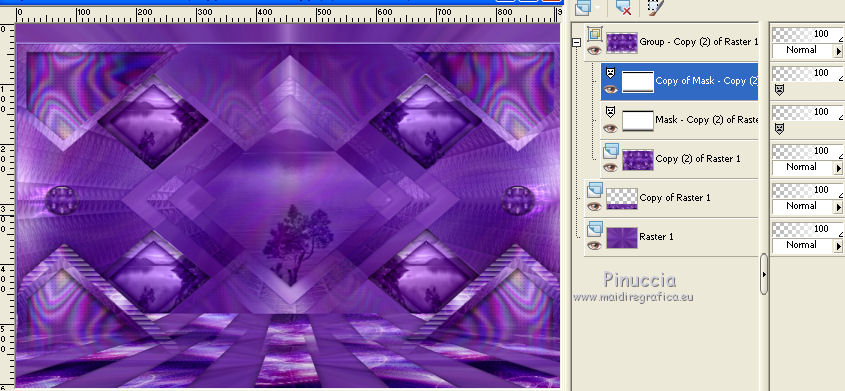
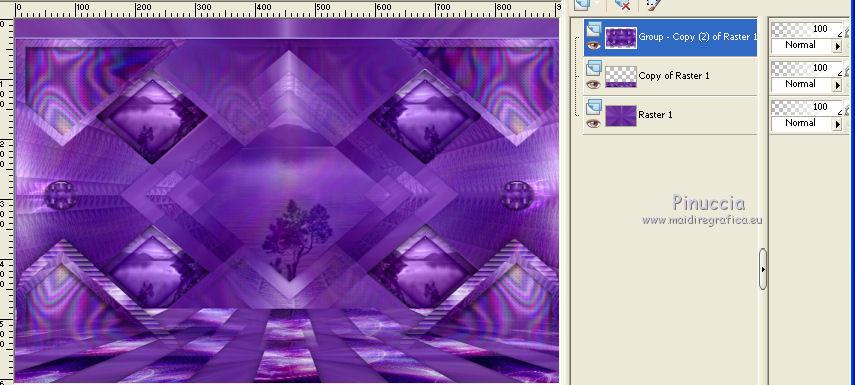
Layers>Merge>Merge group.
16. You should have this.
Activate the Magic Wand Tool 
clic on the top transparent space
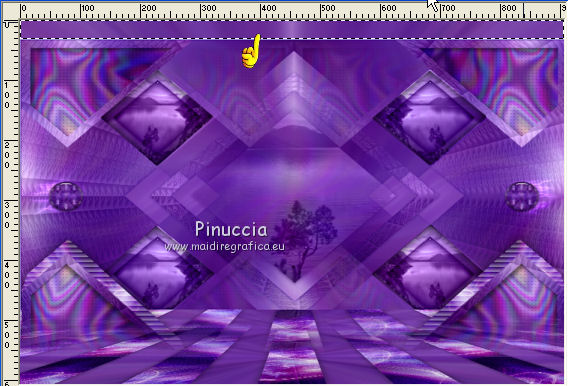
Layers>New Raster Layer.
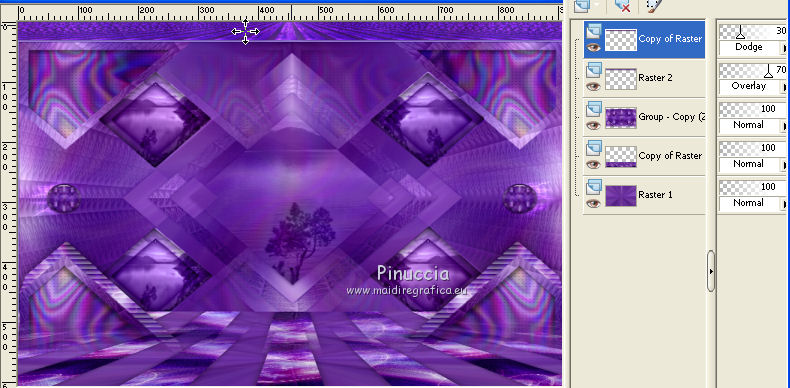
Open the tube déco 4, Edit>Copy.
Go back to your work and go to Edit>Paste into Selection.
Colorize according your colors, or change the blend mode, as you like.
(for my version, I choose Overlay, opacity 70).
Selections>Select None.
Effects>3D Effects>Drop Shadow, color black.

Layers>Duplicate.
Change the Blend Mode of this layer to Dodge, or according to your colors, opacity 30%.
17.
Open the tube déco 5 and go to Edit>Copy.
Go back to your work and go to Edit>Paste as new layer.
To place it: K/D keys to activate the Pick  /Deformation /Deformation  Tools. Tools.
set your position X to 314,00 and position X to 172,00.
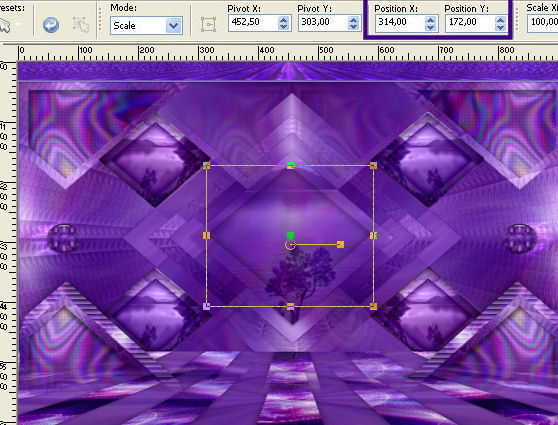
M key to deselect.
You can change the blend mode of this layer or keep it.
Open your tube and go to Edit>Copy.
Go back to your work and go to Edit>Paste as new layer.
Place  your tube where you like. your tube where you like.
Effects>3D Effects>Ombre portée, as you like.
18. Image>Add borders, 2 pixels, symmetric, color black.
Sign your work.
Layers>Merge>Merge all.
Image>Resize - 900 pixels width, resize all layers checked.
Save as jpg.
Open the tube déco4, Edit>Copy.
Go back to your work and go to Edit>Paste as new layer.
The tubes of this version are by Gabry, Azalée et Flores.


Your versions. Thank you very much

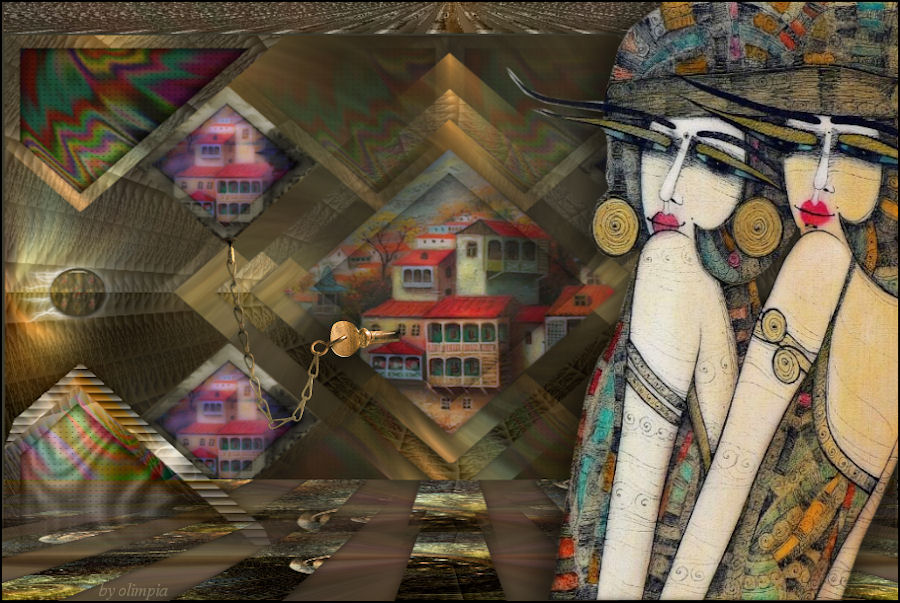
Olimpia

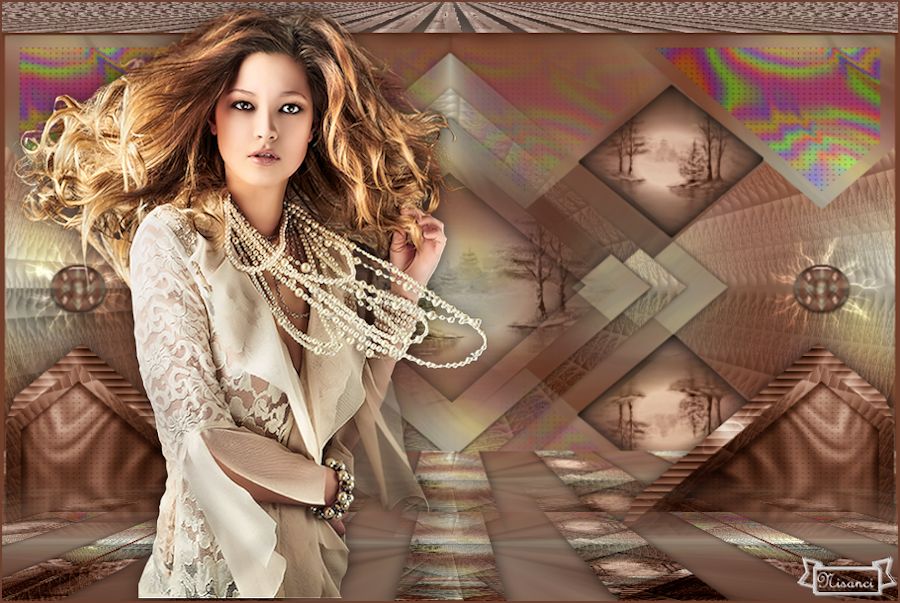
Nisanci

If you have problems or doubt, or you find a not worked link, or only for tell me that you enjoyed this tutorial, write to me.
4 November 2015
|
 english version


 .
.


 ,
,


 your tube where you like.