|
TUTORIAL 83
english version
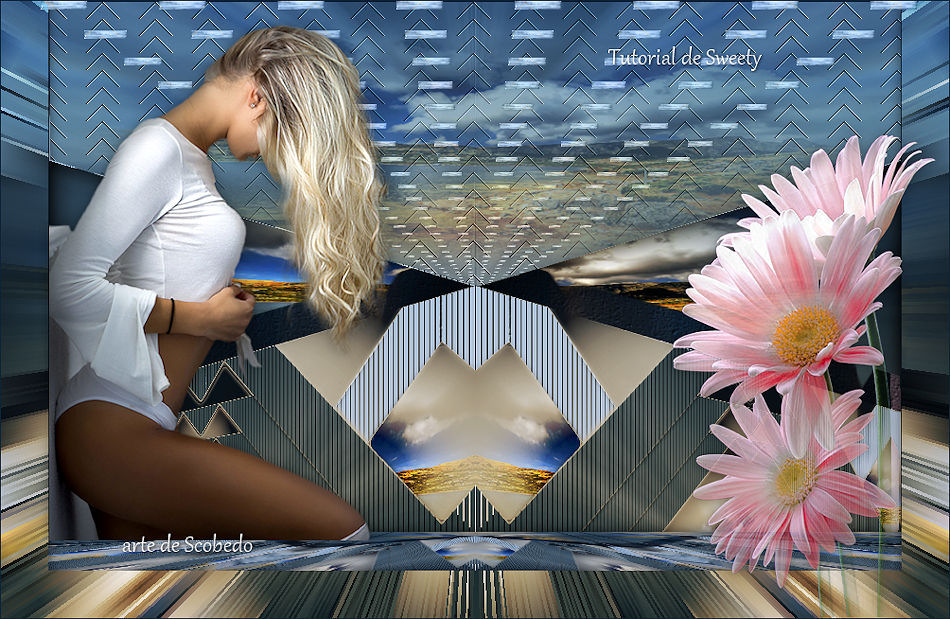
Thank you Sweety for your invitation to translate your tutorial.
Here you find the original of this tutorial:
This tutorial is a personal creation of Sweety and it is prohibited to copy or distribute it on the net (forums, groupes.. etc), or to use it on commercials sites.
This tutorial was created and translated with Corel12, but can also be made using other versions of PSP.
Since version PSP X4, Image>Mirror was replaced with Image>Flip Horizontal,
and Image>Flip with Image>Flip Vertical, there are some variables.
In versions X5 and X6, the functions have been improved by making available the Objects menu.
In the latest version X7 command Image>Mirror and Image>Flip returned, but with new differences.
See my schedule here
For this tutorial, you will need:
tubes and decos of yours: a landscape, a person and a deco.
The rest of material here
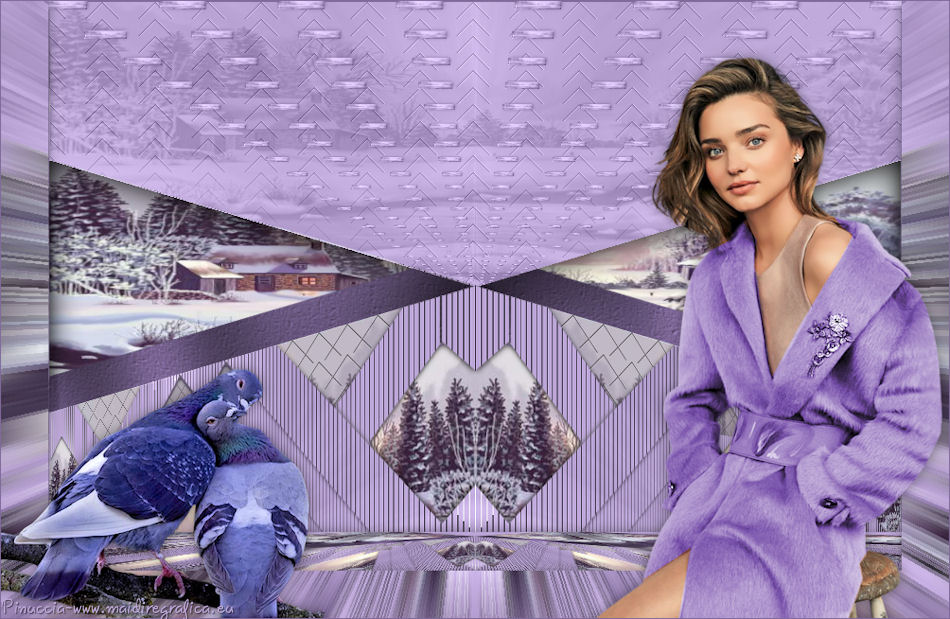
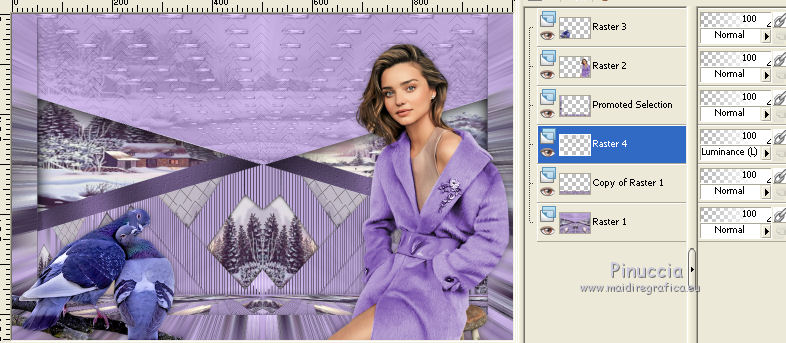
The tube of the woman is by Isa.
The tube of the parrots is by Gabry.
Plugins
consult, if necessary, my filter section here
Filters Unlimited 2.0 here
&<Bkg Designer sf10III> - Road Kill (to import in Unlimited) here
Simple - 4Way Average here
Tramages - Tow the line here
Plugin Galaxy - Instant Mirror here
Alien Skin Eye Candy 5 Impact - Extrude here
Graphics Plus - Cross Shadow here
VM Toolbox - Zoom Blur here
Mura's Meister - Perspective Tiling here
Filters Simple, Tramages, Graphics Plus et VM Toolbox can be used alone or imported into Filters Unlimited.
(How do, you see here)
If a plugin supplied appears with this icon  it must necessarily be imported into Unlimited it must necessarily be imported into Unlimited

You can change Blend Modes according to your colors.
Copy the preset  in the folder of the plugins Alien Skin Eye Candy 5 Impact>Settings>Extrude. in the folder of the plugins Alien Skin Eye Candy 5 Impact>Settings>Extrude.
One or two clic on the file (it depends by your settings), automatically the preset will be copied in the right folder.
why one or two clic see here
The texture Concrete or Corel_15_036 is standard in PSP. If you don't find it in your PSP,
copy the texture supplied in the Textures Folder.
Copy the selection in the Selections Folder.
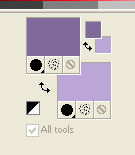
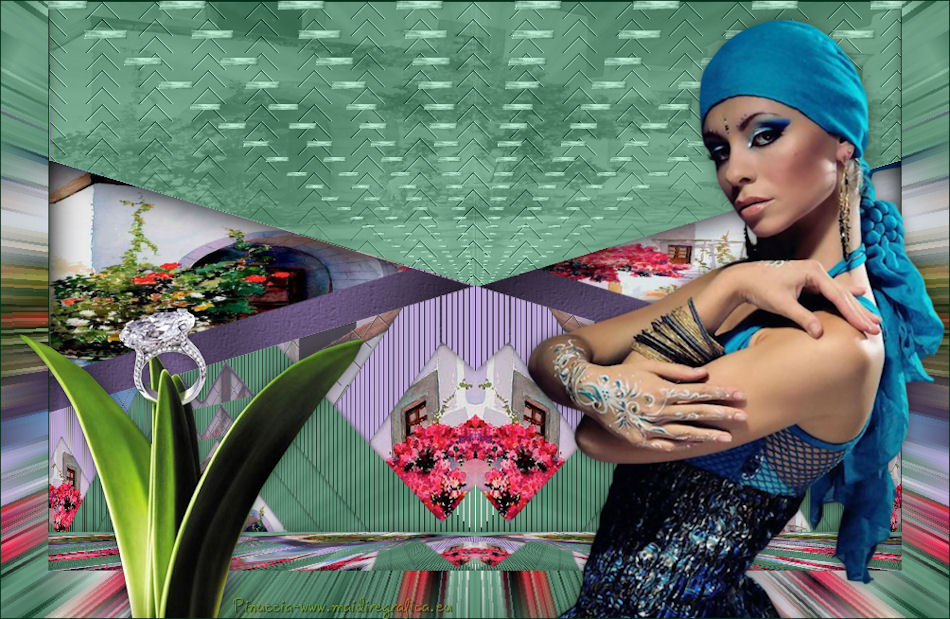
1. Choose two colors from your landscape.
Set your foreground color to the dark color; for me #806a9b,
and your background color to the light color; for me #bca6d7.
Open a new transparent image 900 x 600 pixels.
Flood Fill  the transparent image with your foreground color. the transparent image with your foreground color.
Layers>New Raster Layer.
Selections>Select All.
Activate your landscape and go to Edit>Copy.
Go back to your work and go to Edit>Paste into Selection.
Selections>Select None.
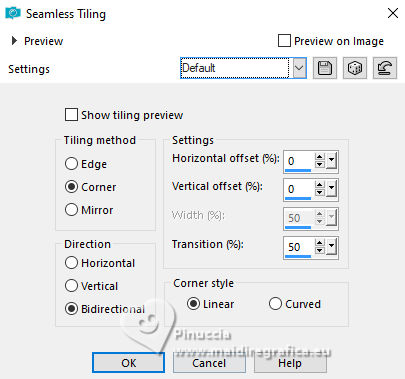
Effects>Image Effects>Seamless Tiling, default settings.
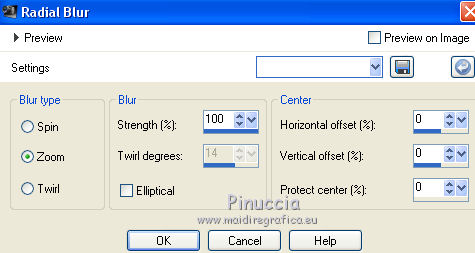
Adjust>Blur>Radial Blur.
Effects>Plugins>Simple - 4 Way Average.
Change the Blend Mode of this layer to Luminance (Legacy), or as you like.
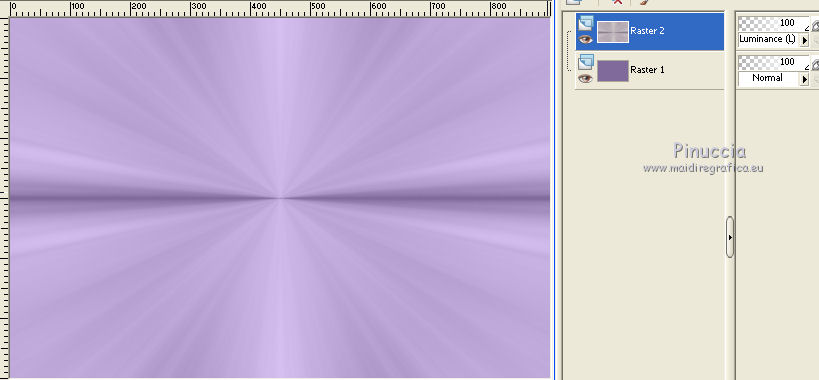
Layers>Merge>Merge visible.
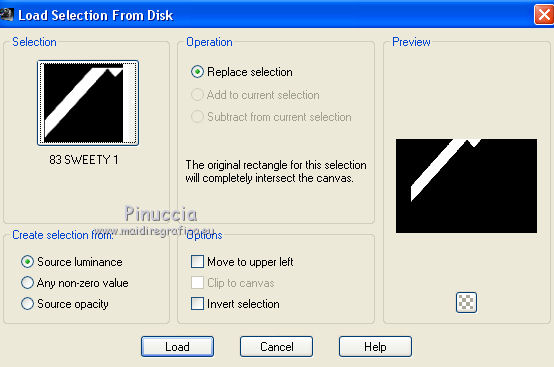
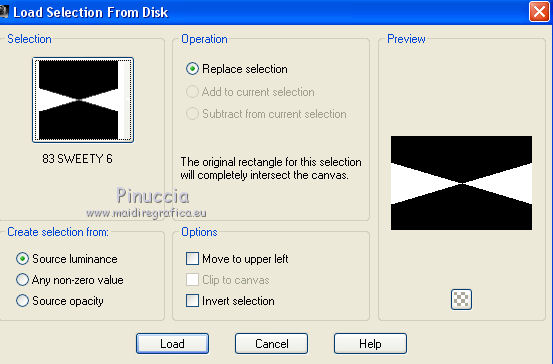
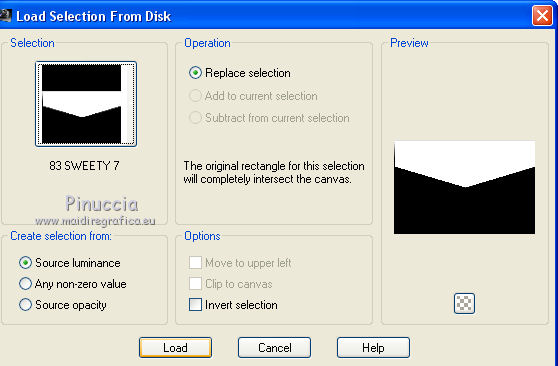
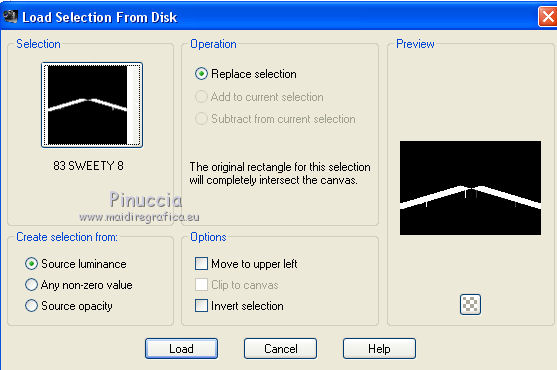
2. Selections>Load/Save Selection>Load Selection from Disk.
Look for and load the selection 83Sweety1.
Selections>Promote Selection to Layer.
Selections>Select None.
If you want, you can close the bottom layer.
Layers>Duplicate.
Image>Flip.
Layers>Merge>Merge down.
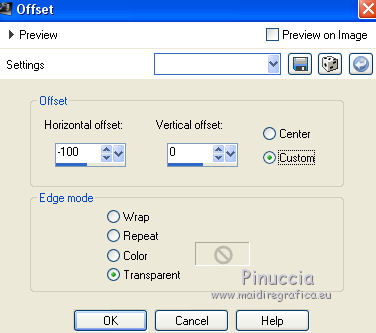
Effects>Image Effects>Offset.
K key to activate the Pick Tool 
with PSP 9 D key to activate Deformation Tool 
mode Scale 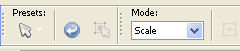 , ,
push the central node to the right
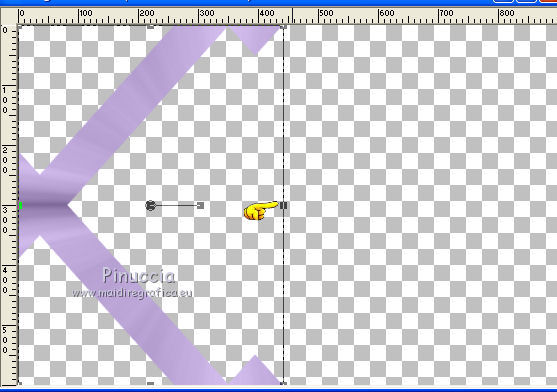
to 500 pixels
M key to deselect the Tool.
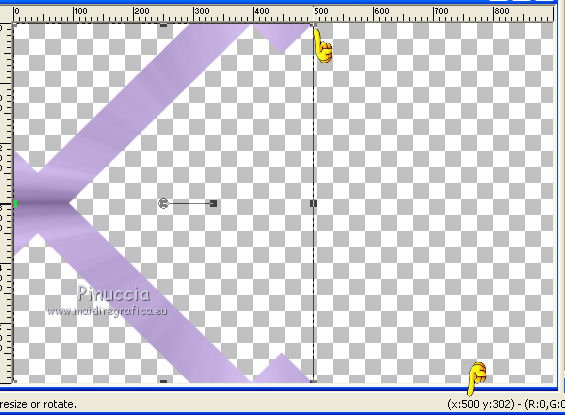
Layers>Duplicate.
Image>Mirror.
Layers>Merge>Merge down.
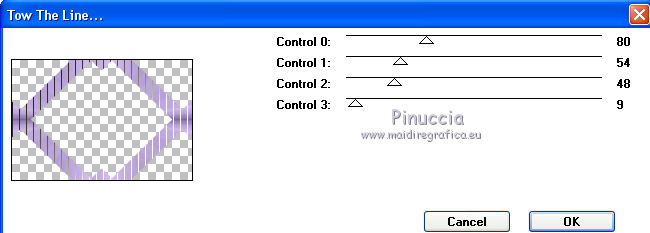
3. Effects>Plugins>Tramages - Tow the line, default settings.
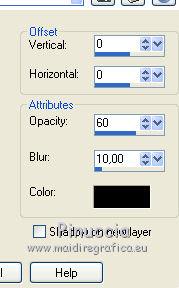
Effects>3D Effects>Drop Shadow, color black.
Open again the bottom layer and keep selected the layer Promoted Selection.
Layers>Duplicate.
Image>Resize, to 80%, resize all layers not checked.
Layers>Arrange>Move down.
Again Layers>Duplicate.
Image>Resize, to 80%, resize all layer not checked.
Layers>Arrange>Move down.
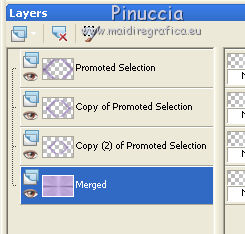
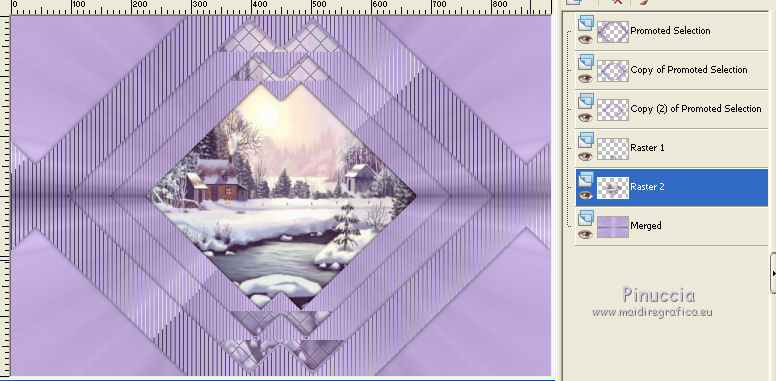
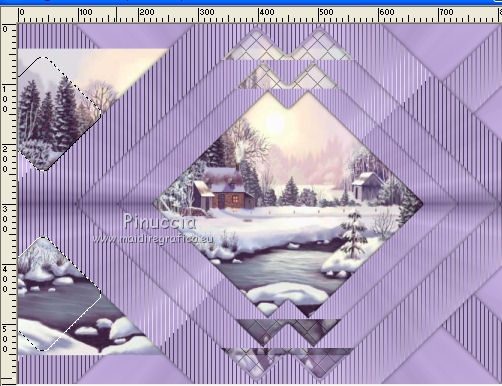
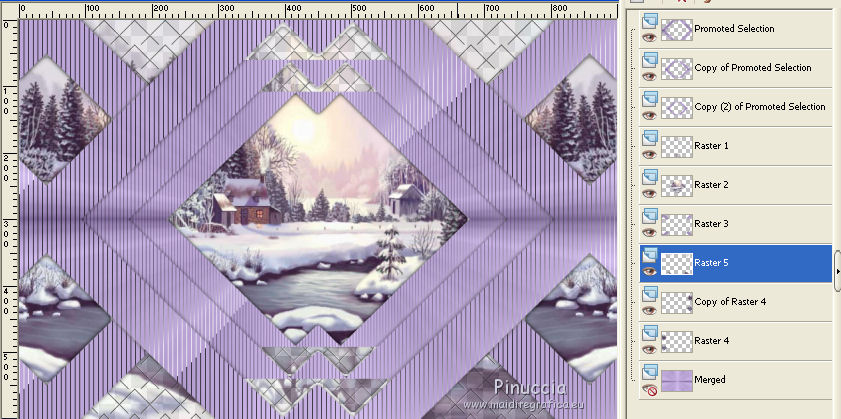
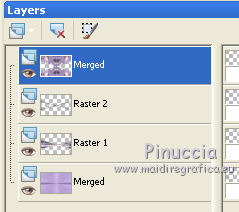
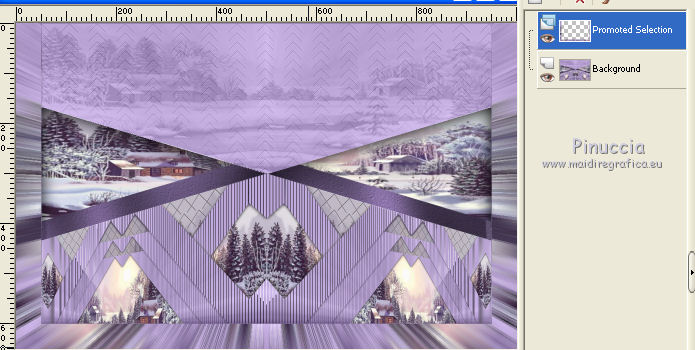
4. You should have this.
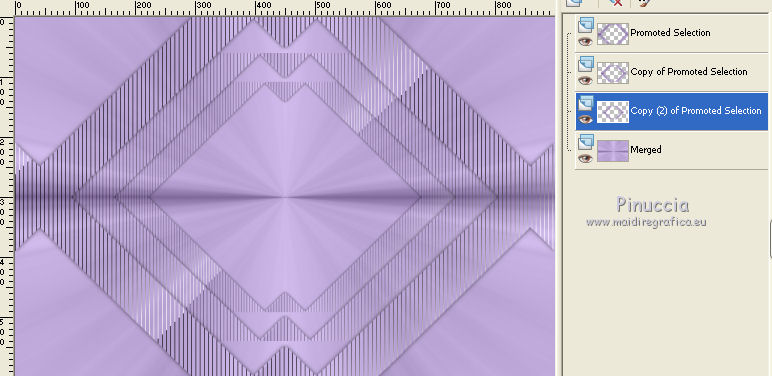
Activate the layer below (Merged)
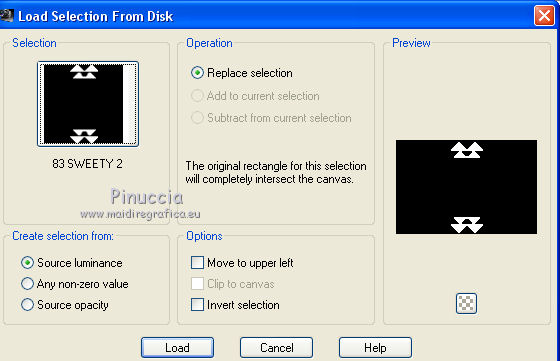
Selections>Load/Save Selection>Load Selection from Disk.
Look for and load the selection 83Sweety2.
Layers>New Raster Layer.
Activate your landscape and go to Edit>Copy.
Go back to your work and go to Edit>Paste into Selection.
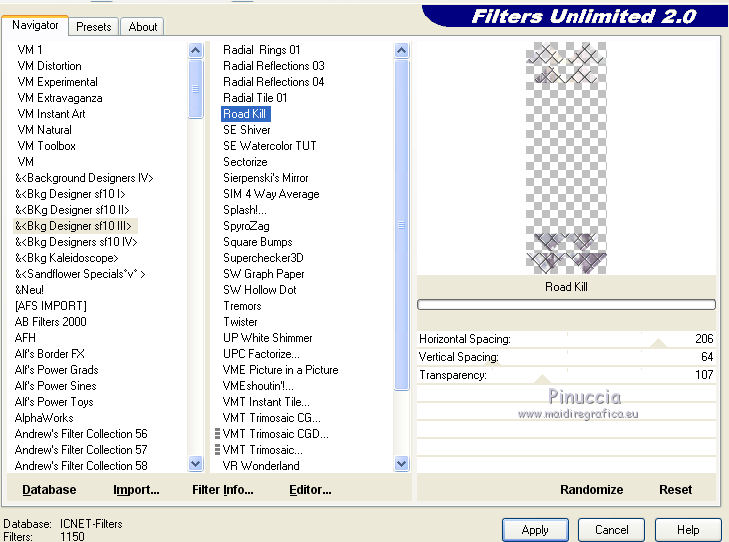
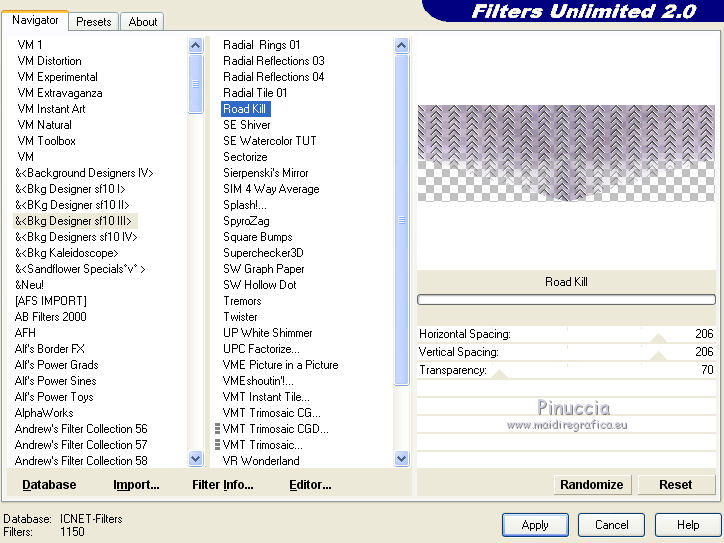
Effects>Plugins>Filters Unlimited 2.0 - &<Bkg Designer sf10III> - Road Kill
Selections>Invert.
Effects>3D Effects>Drop Shadow, color black.
Selections>Select None.
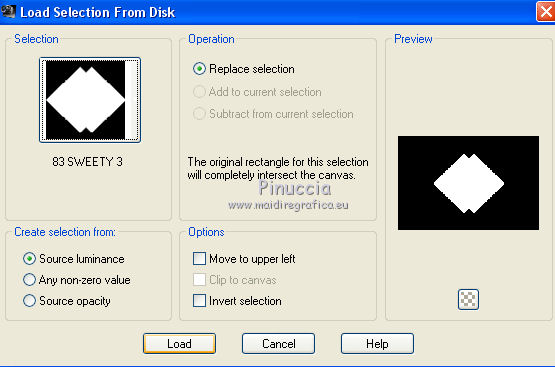
5. Selections>Load/Save Selection>Load Selection from Disk.
Look for and load the selection 83Sweety3.
Layers>New Raster Layer.
Edit>Paste into Selection (your landscape is still in memory).
Layers>Arrange>Move down.
Selections>Invert.
Effects>3D Effects>Drop Shadow, color black.
Selections>Select None.
6. The landscape layer (raster 2) is active.
Open the tube déco1 - Edit>Copy.
Go back to your work and go to Edit>Paste as new layer.
Layers>Arrange>Move down - don't move it: it is at its place.
Colorize the tube according your colors.
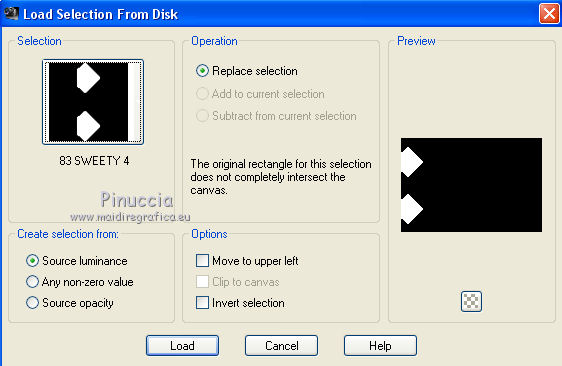
Selections>Load/Save Selection>Load Selection from Disk.
Look for and load the selection 83Sweety4.
Activate again your landscape and go to Edit>Copy.
Go back to your work and go to Edit>Paste as New Layer.
Resize, if it is necessary (for me, I resized to 85%, resize all layers not checked).
Place  in the selection the part you want to see. in the selection the part you want to see.
For me:
Layers>Arrange>Move down.
Selections>Invert.
Press CANC on the keyboard 
Effects>3D Effects>Drop Shadow, color black.
Selections>Select None.
Layers>Duplicate.
Image>Mirror.
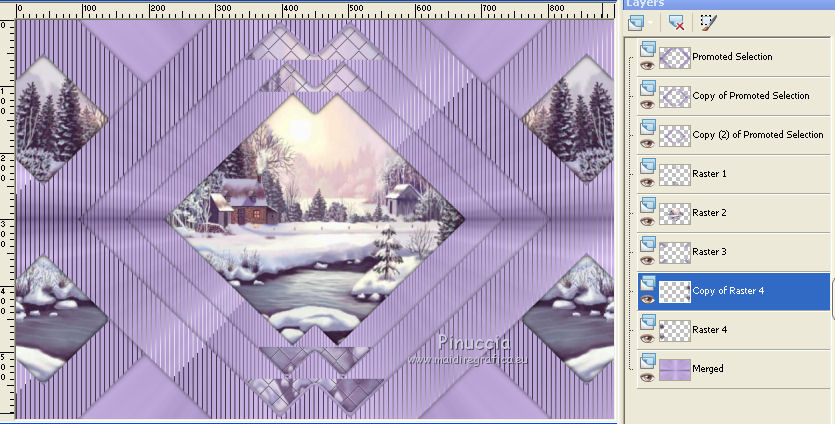
7. You should have this.
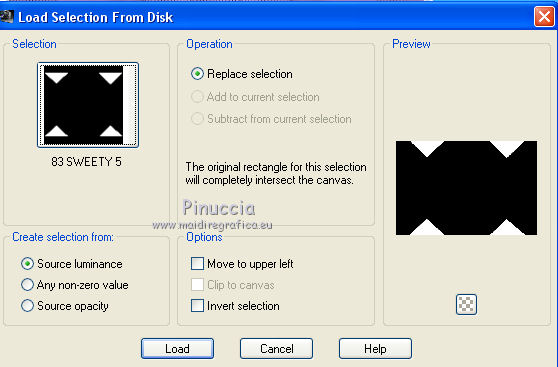
Selections>Load/Save Selection>Load Selection from Disk.
Look for and load the selection 83Sweety5.
Edit>Paste as a new layer (your landscape is still in memory).
Selections>Invert.
Press CANC on the keyboard.
Again Selections>Invert.
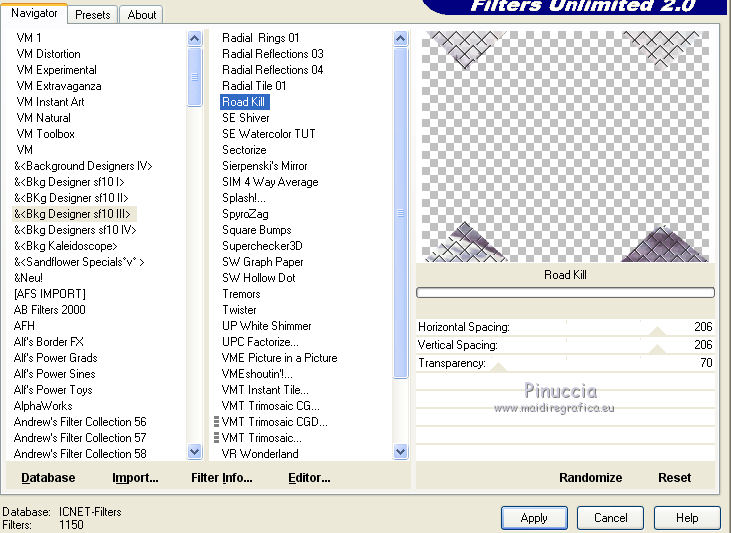
Effects>Plugins>Filters Unlimited 2.0 - &<Bkg Designer sf10III> - Road Kill
Selections>Invert.
Effects>3D Effects>Drop Shadow, color black.
Selections>Select None.
8. Close the bottom layer (Merged).
Layers>Merge>Merge visible.
Open again the bottom layer (Merged) and keep selected the top layer.
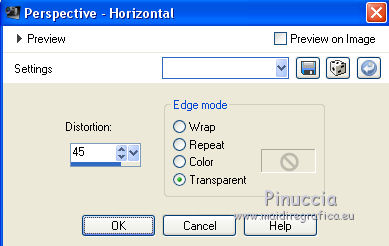
Effects>Geometric Effects>Perspective - horizontal.
K key to activate the Pick Tool
with PSP 9 D key to activate Deformation Tool
mode Scale ,
push the central right node
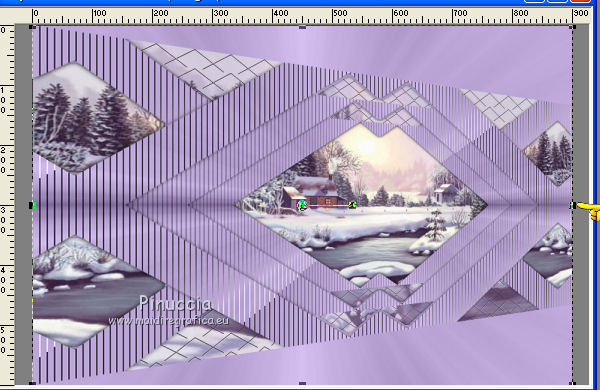
to the left, to 450 pixels.
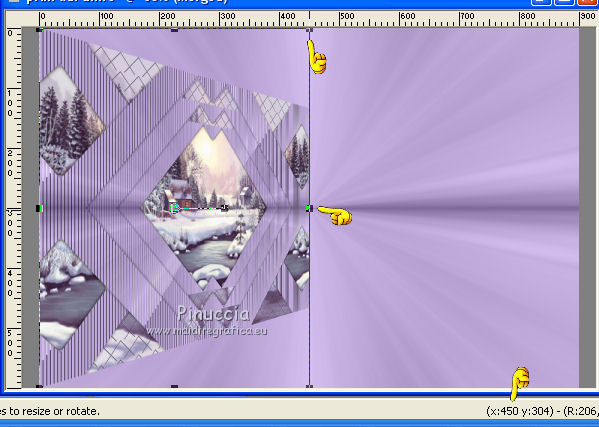
M key to deselect the Tool.
Layers>Duplicate.
Image>Mirror.
Layers>Merge>Merge down.
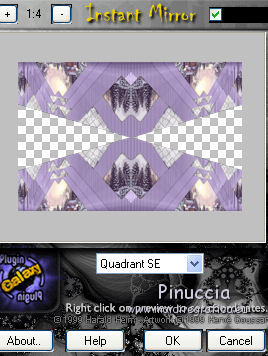
Effects>Plugins>Plugin Galaxy - Instant Mirror
In the Plugins list, you find it under The Plugin Site
Layers>New Raster Layer.
Layers>Arrange>Move down.
Selections>Load/Save Selection>Load Selection from Disk.
Look for and load the selection 83Sweety6.
Edit>Paste into Selection (your landscape is always in memory).
Layers>New Raster Layer.
Effects>3D Effects>Cutout.

Selections>Select None.
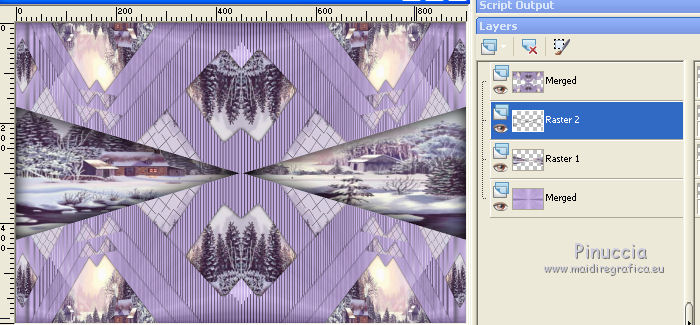
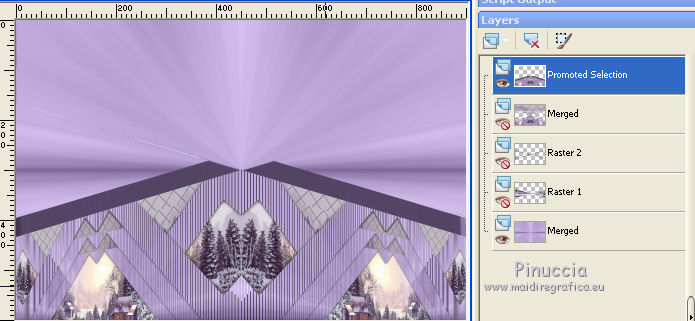
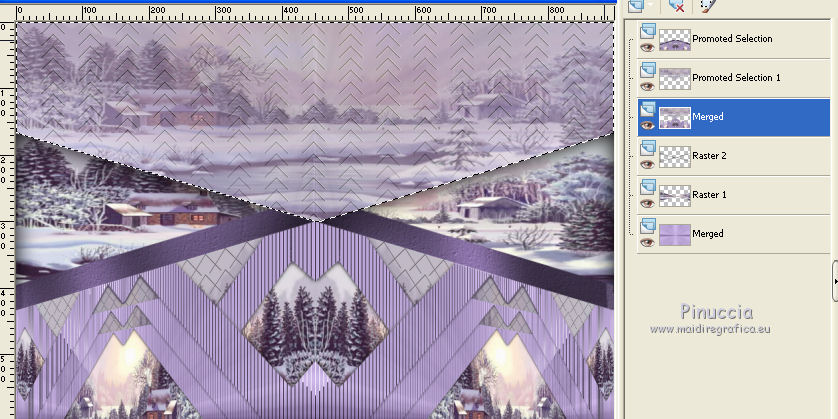
9. You should have this.
Activate the layer above (merged).
Selections>Load/Save Selection>Load Selection from Disk.
Look for and load the selection 83Sweety7.
Adjust>Blur>Radial Blur, same settings.
Effects>Plugins>Filters Unlimited 2.0 - &<Bkg Designers sf10III> - Road Kill.
Layers>New Raster Layer.
Edit>Paste into Selection (your landscape is always in memory).
Change the opacity of this layer to 30/35%, according to your landscape.
Layers>Merge>Merge down.
Keep this layer and the selection active.
10. Selections>Invert.
Selections>Promote Selection to Layer.
Effects>Plugins>Alien Skin Eye Candy 5 Impact - Extrude.
Select the preset Extrude Tutoriel 83 Sweety and ok.

Selections>Invert.
Press CANC on the keyboard.
Selections>Select None.
Close the three central layers and keep the top layer active.
Activate the Freehand Selection Tool  , point to point, , point to point,
and select the little white lines
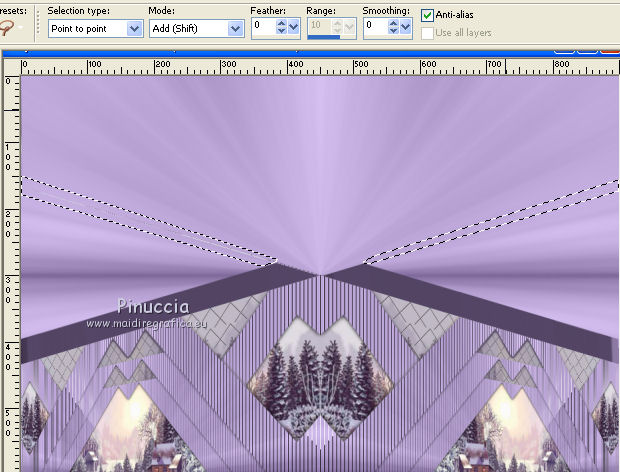
Press CANC on the keyboard.
Selections>Select None.
You can open again the three central layers.
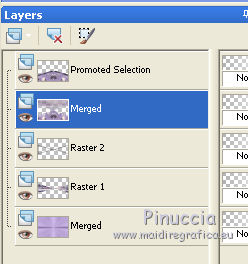
11. Keep the top layer active (Promoted selection).
Selections>Load/Save Selection>Load Selection from Disk.
Look for and load the selection 83Sweety8.
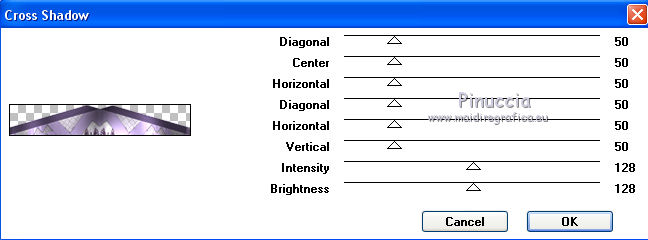
Effects>Plugins>Graphics plus - Cross Shadow, default settings.
Effects>Textures Effects>Texture - select the texture Concrete or Corel_15_036

Selections>Select None.
12. Activate the second layer from the top
Selections>Load/Save Selection>Load Selection from Disk.
Look for and load again the selection 83Sweety7.
Selections>Promote Selection to Layer.
Activate the layer below.
Press CANC on the keyboard.
Activate again the layer above,
and change the Blend Mode of this layer to Luminance (Legacy), or as you like,
opactity 60/65%.
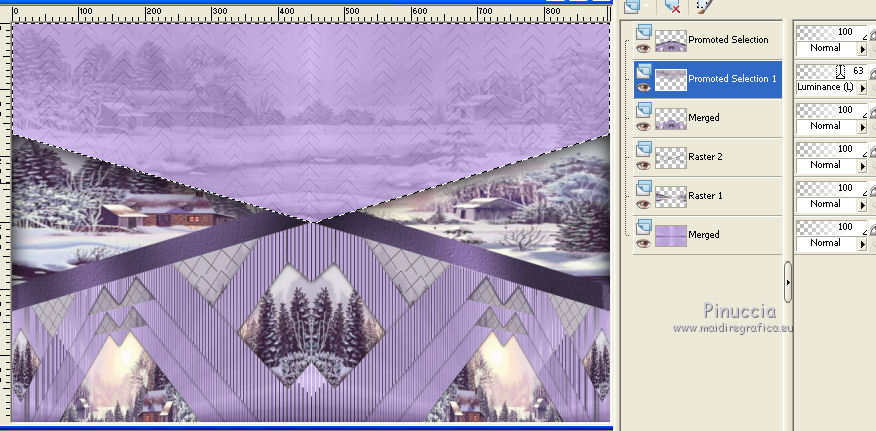
Selections>Select None.
Image>Add borders, 1 pixel, symmetric, foreground color.
13. Image>Add borders - don't worry for the color, symmetric not checked.
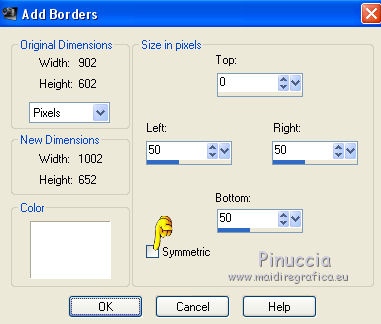
Activate the Magic Wand Tool 

and clic on the border to select it.
Selections>Invert.
Edit>Copy.
Again Selections>Invert.
Edit>Paste into Selection.
Effects>Plugins>VMToolbox - Zoom blur
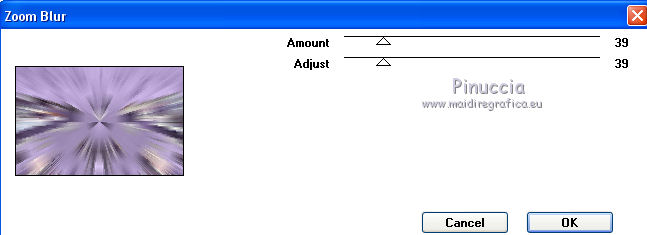
Selections>Promote Selection to Layer.
Image>Mirror.
Selections>Defloat.
Change the opacity of this layer to 50%.
Layers>Merge>Merge down.
Selections>Promote Selection to Layer.
Selections>Select None.
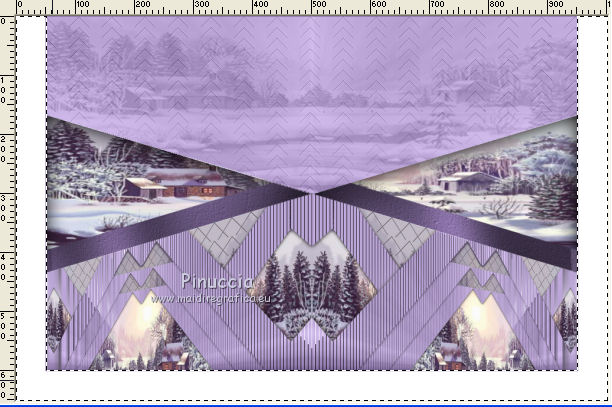
You should have this.
14. Activate the layer below (background).
Layers>Promote Background Layer.
Layers>Duplicate.
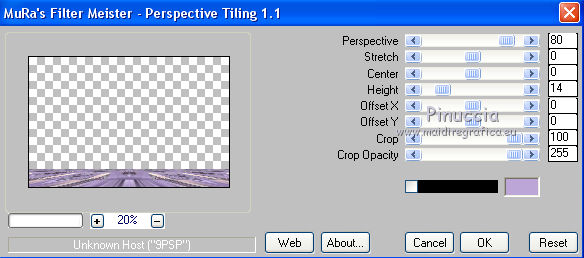
Effects>Plugins>MuRa’s Meister - Perspective Tiling.
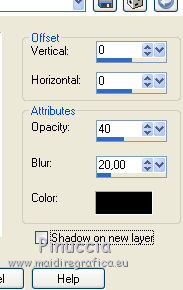
Effects>3D Effects>Drop Shadow, color black.
Activate the layer above (Promoted Selection).
Edit>Repeat Drop Shadow.
15. Open your person tube - Edit>Copy.
Go back to your work and go to Edit>Paste as new layer.
(for my example I used a tube by Isa (not supplied), resized to 75%, resize all layers not checked).
Effects>3D Effects>Drop Shadow, color black.
Move the tube to the right side.
Open your deco - Edit>Copy.
Go back to your work and go to Edit>Paste as new layer.
For my example I used a tube by Gabry, resized to 60%.
Move the tube to the left side.
Effects>3D Effects>Drop Shadow, same settings.
16. Open the tube déco 2 - Edit>Copy.
Go back to your work and go to Edit>Paste as new layer.
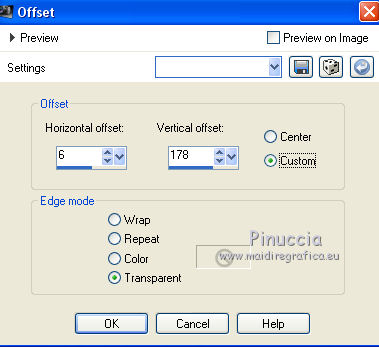
Effects>Image Effects>Offset.
Layers>Arrange>Move down - 3 times (under the layer Promoted Selection).
Change the Blend mode of this layer to Luminance (Legacy) or as you like.
Image>Add borders, 1 pixel, symmetric, foreground color.
Sign your work.
Layers>Merge>Merge All.
Image>Resize - to 950 pixels width, resize all layers checked.
Save as jpg.
The tubes of this version are by Syl and Guismo
Your versions. Thanks
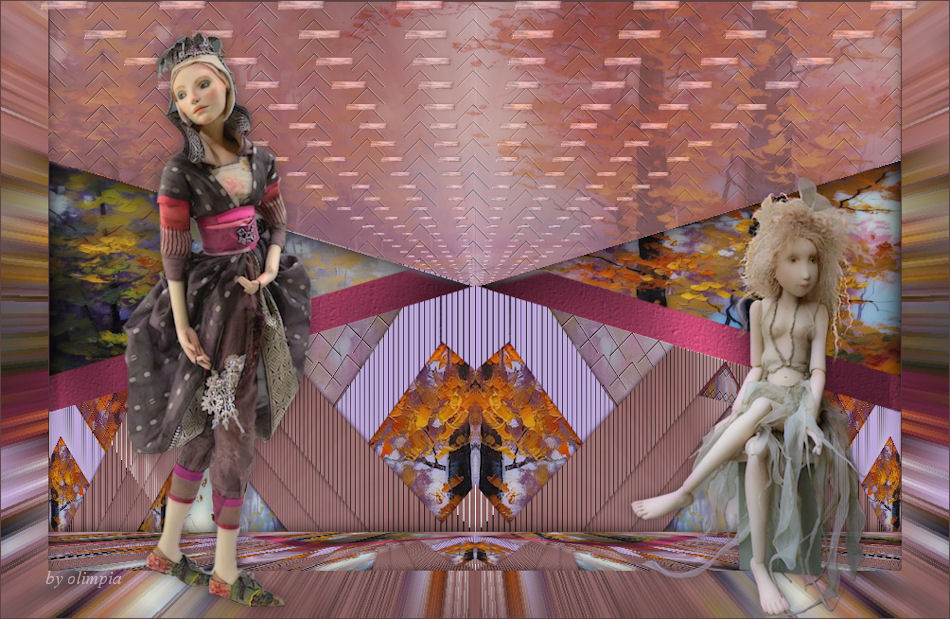
Olimpia
Sandra
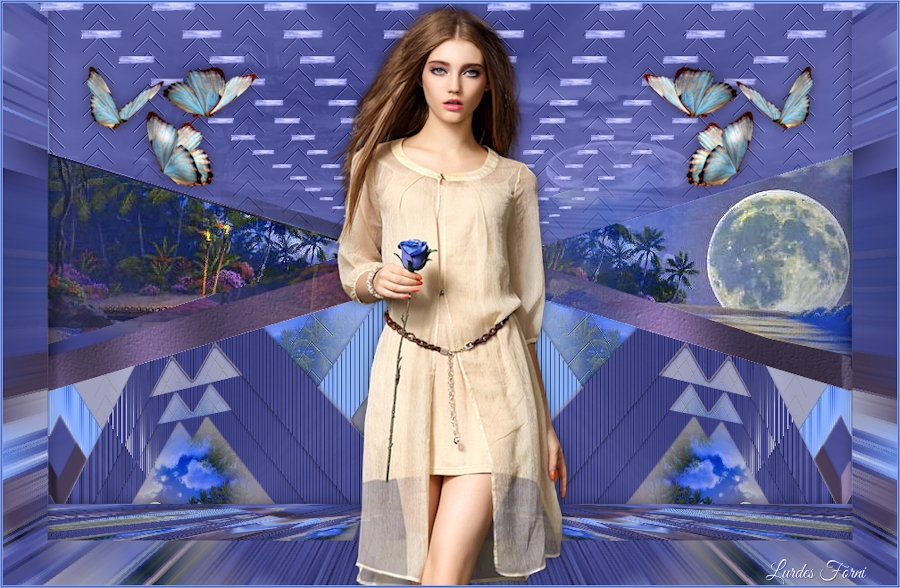
Lurdes
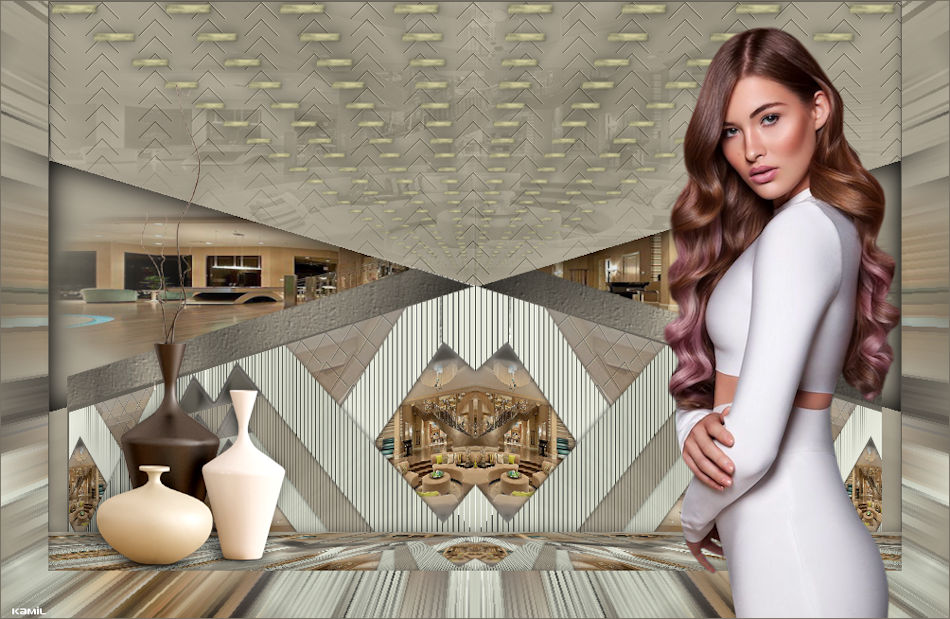
Kamil

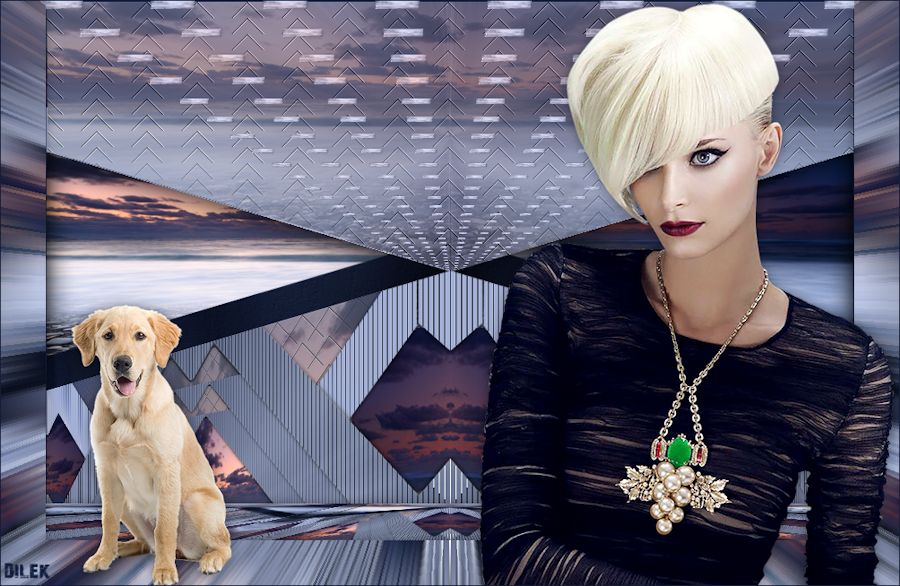
Dilek
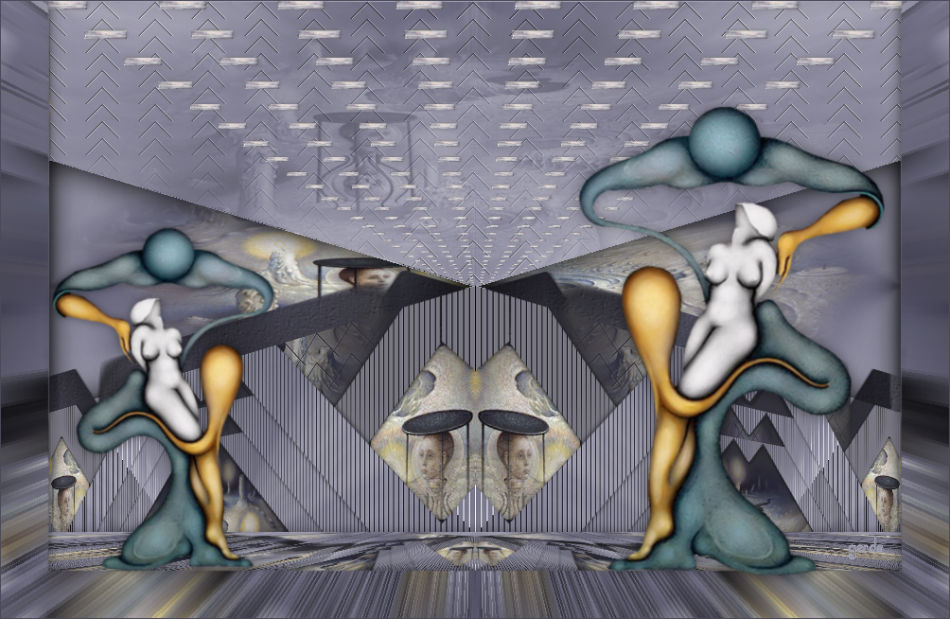
Gerda
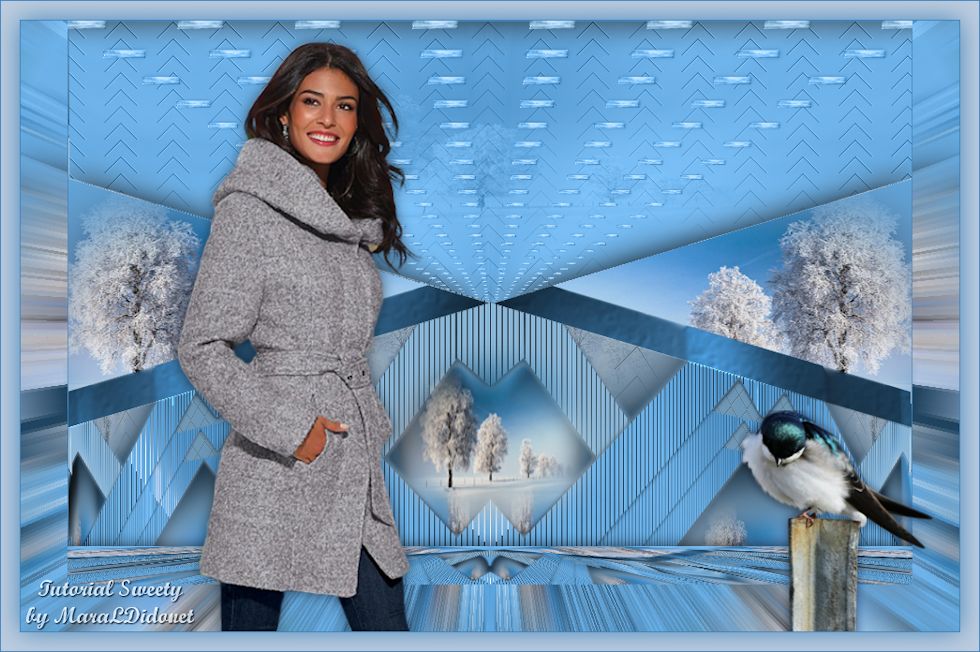
MaraL.
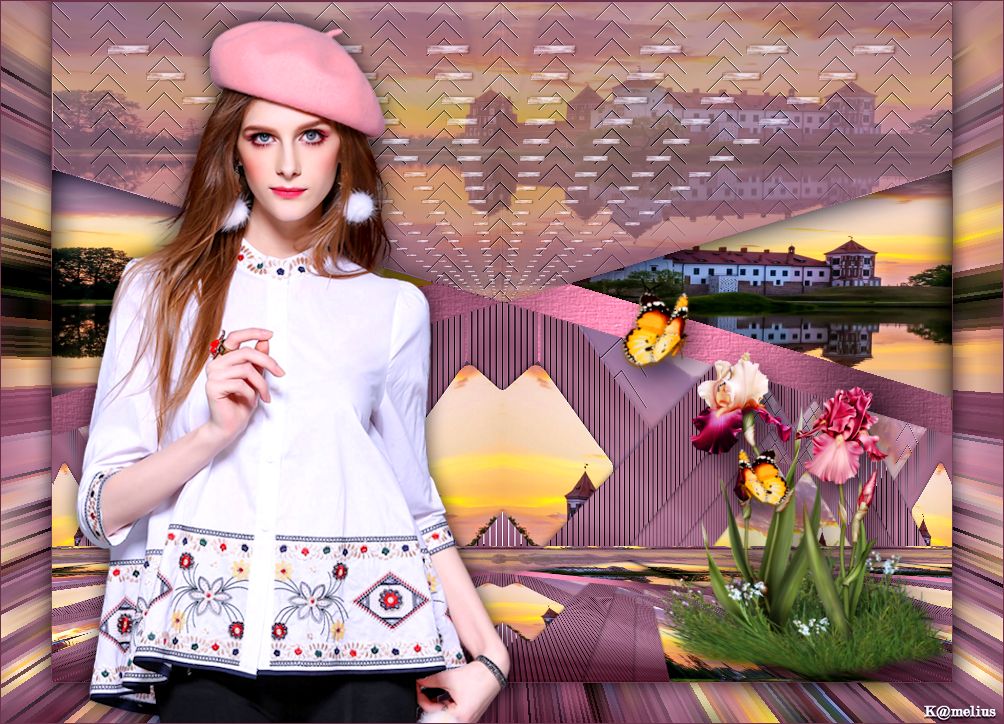

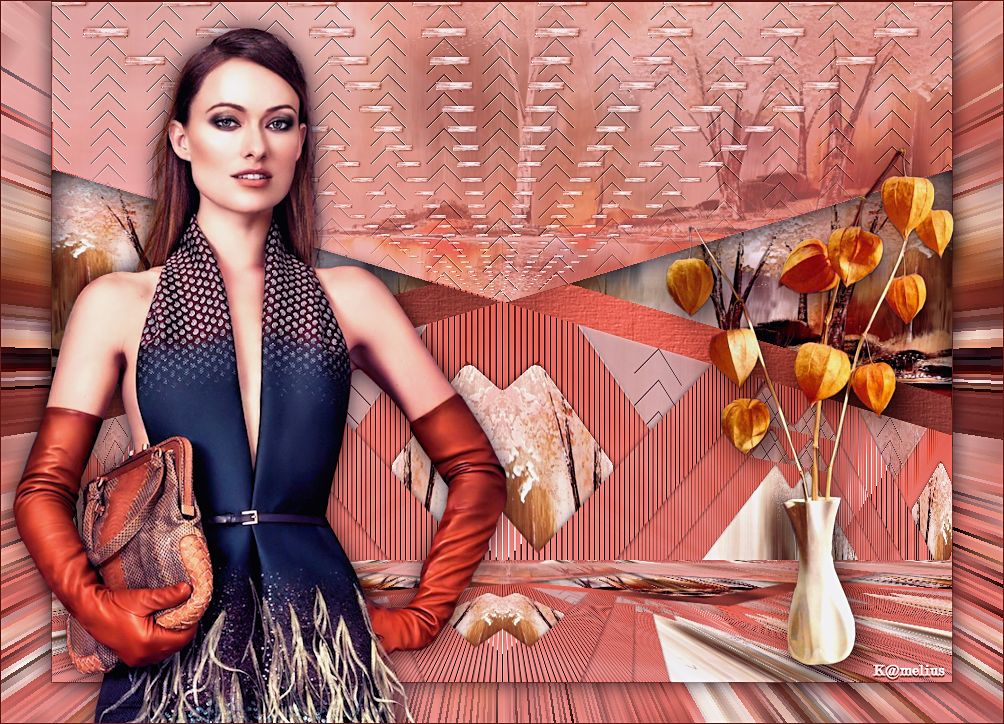
Kamelius
If you have problems or doubts, or you find a not worked link, or only for tell me that you enjoyed this tutorial, write to me.
24 January 2016
|