|
ARMONIA
english version

Here you find the original of this tutorial:

This tutorial was written with CorelX19 and translated with CorelX, Corel X3 and CorelX17, but it can also be made using other versions of PSP.
Since version PSP X4, Image>Mirror was replaced with Image>Flip Horizontal,
and Image>Flip with Image>Flip Vertical, there are some variables.
In versions X5 and X6, the functions have been improved by making available the Objects menu.
In the latest version X7 command Image>Mirror and Image>Flip returned, but with new differences.
See my schedule here
italian translation here
your versions qui/here
For this tutorial, you will need:
A tube of yours.
The rest of the material qui
The tube (not supplied) is by Luz Cristina (4221-luzcristina).
One of the decos is by Sissy.
The mask is by Mony C.
Thanks Luz Cristina, Mony C and Sissy for the material.
(The links of the tubemakers here).
Plugins:
consult, if necessary, my filter section here
Filters Unlimited 2.0 here
Mehdi - Wavy Lab here
Two Moon - Grinder here
Visual Manipulation - Transmission here
AAA Filters - Custom (facoltativo) here
Filters Two Moon and Visual Manipulation can be used alone or imported into Filters Unlimited.
(How do, you see here)
If a plugin supplied appears with this icon  it must necessarily be imported into Unlimited it must necessarily be imported into Unlimited

You can change Blend Modes according to your colors.
In the newest versions of PSP, you don't find the foreground/background gradient (Corel_06_029).
You can use the gradients of the older versions.
The Gradient of CorelX here
Place the brush ("pennello" folder) in Brush folder.
Attention, please, the brush is composed by two files, you must place both the files in the folder.
Copy the preset Preset_Pick_195-©Yedralina and the preset Emboss 4 in the Presets Folder.
Copy the Selection in the Selections Folder.
Open the mask in PSP and minimize it with the rest of the material.
1. Set your foreground color to dark color #d98268,
and your background color to light color #f5e285.
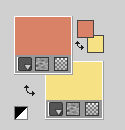
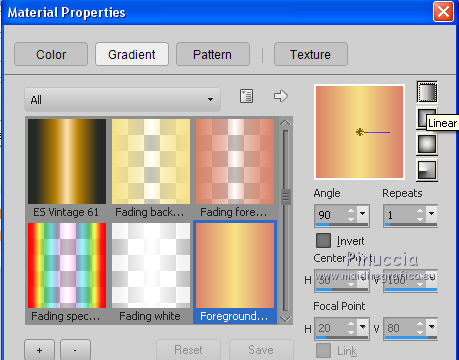
Set our Foreground color to a Foreground/Background Gradient, style Linear.
2. Open a new transparent image 950 x 650 pixels.
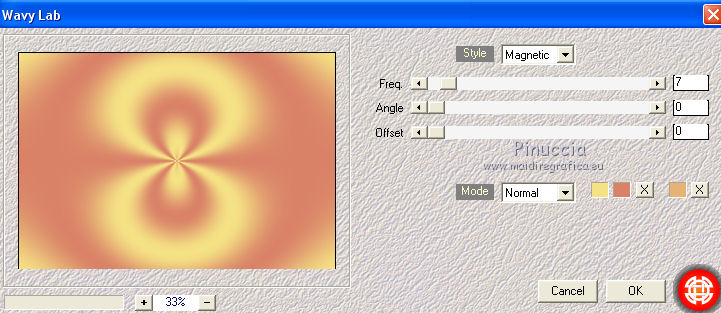
3. Effects>Plugins>Mehdi - Wavy Lab.
This plugin works with the colors of your materials.
The first is the background color, the second is the foreground color;
keep the third color created by the plugin.
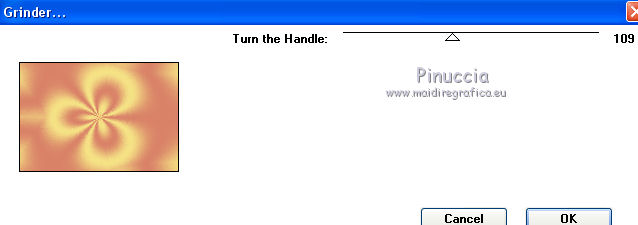
4. Effects>Plugins>Two moon - Grinder.
5. Effects>Reflections Effects>Rotating Mirror.

6. Effects>Edge Effects>Enhance More.
Adjust>Sharpness>Sharpen More.
7. Layers>New Raster Layer.
Selections>Load/Save Selection>Load Selection from Disk.
Look for and load the Selection ©Yedralina_Sel340.
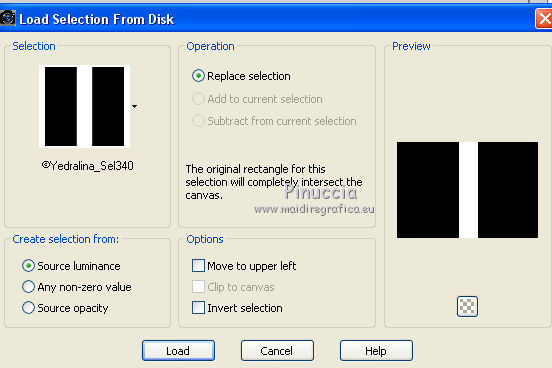
8. Flood Fill  the selection with your Gradient. the selection with your Gradient.
Selections>Select None.
9. Image>Rotate Right
or, on the Tools bar, click on

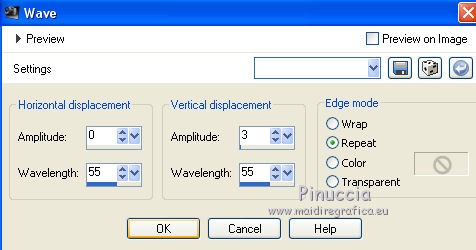
10. Effects>Distortion Effects>Wave.
11. Image>Rotate Left.
or, on the Tools bar, click on

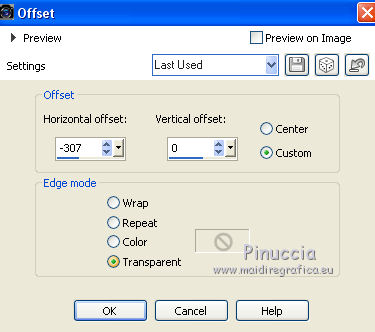
12. Effects>Image Effects>Offset.
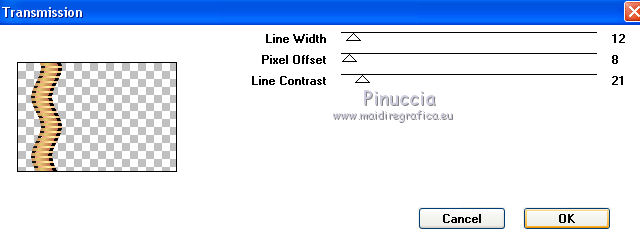
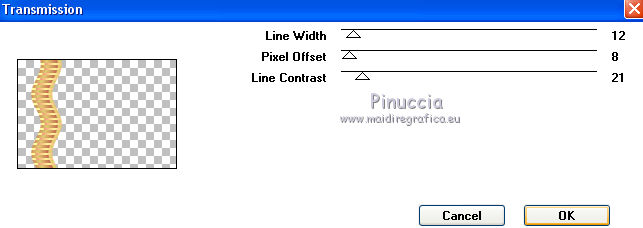
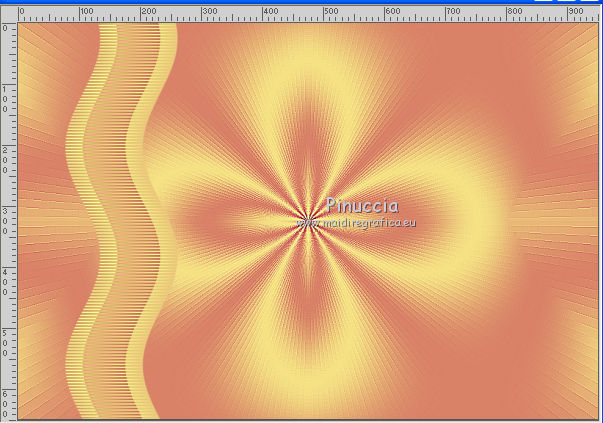
13. Effects>Plugins>Visual Manipulation - Transmission.
The window of this plugin - for different reasons, between these the used version of PSP - could be a different sight.
With Corel X
with Corel X17
Result of my example (Corel X17)
14. Layers>Duplicate.
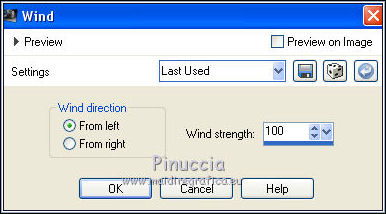
Effects>Distortion Effects>Wind - from the left - intensity 100.
15. Activate the layer below, Raster 2.

16. Effects>3D Effects>Drop Shadow, color black.
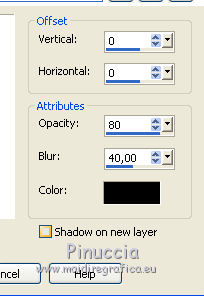
17. Selections>Load/Save Selection>Load Selection from Disk.
Load again the Selection ©Yedralina_Sel340.

18. Layers>New Raster Layer.
19. Activate the Brush Tool 
look for and select the brush texto_brush
For my example, I set the size to 650 pixels.

Apply the brush on the selection, to the left side, clicking with your right key of the mouse, to use the light background color.
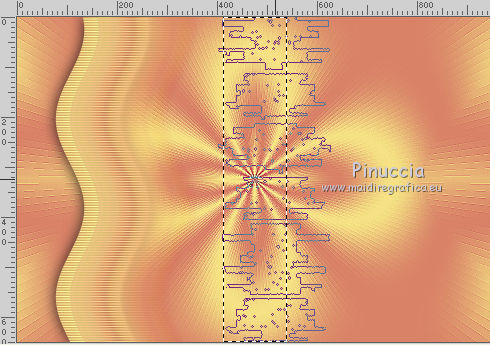
Selections>Select None.
20. Image>Rotate Right.
Effects>Distortion Effects>Wave, same settings.
21. Image>Rotate Left.
22. Objects>Align>Left
(in the previous versions: Move  the brush to the left side). the brush to the left side).
23. Layers>Arrange>Move down.
Change the Blend Mode of this layer to Screen.
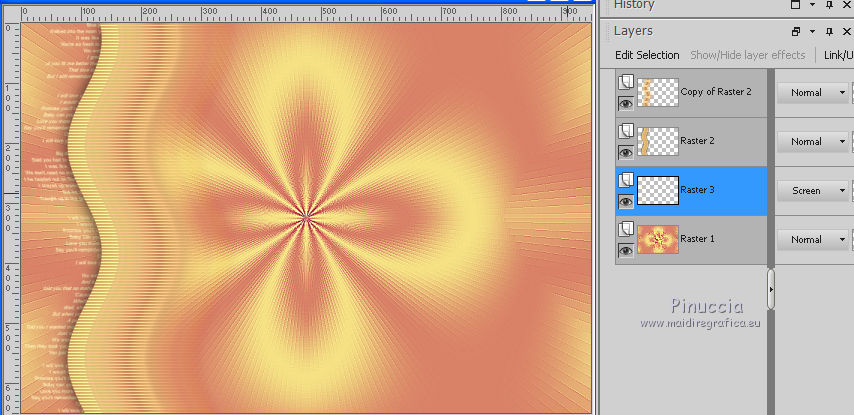
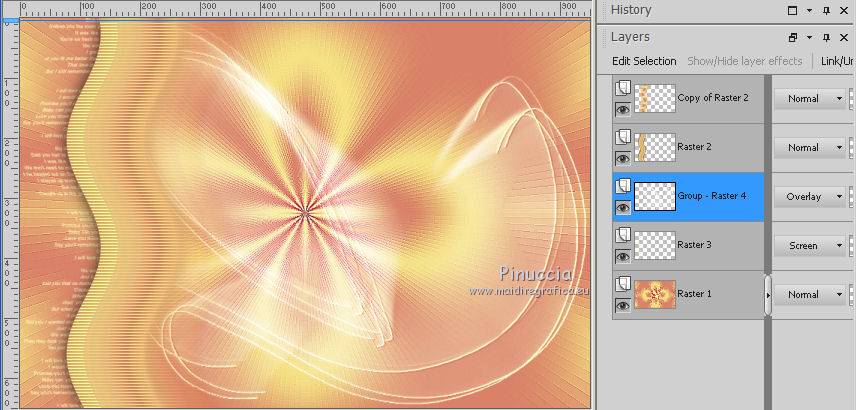
24. Layers>New Raster Layer.
Set your foreground color to color white.
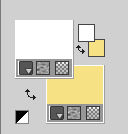
Flood Fill  the layer with color white. the layer with color white.
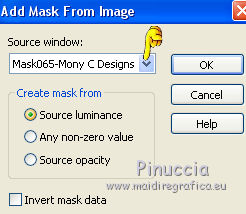
25. Layers>New Mask layer>From image
Open the menu under the source window and you'll see all the files open.
Select the mask Mask065-Mony C Designs:
Layers>Duplicate.

Layers>Merge>Merge group.
25. K key on the keyboard to activate the Pick tool 
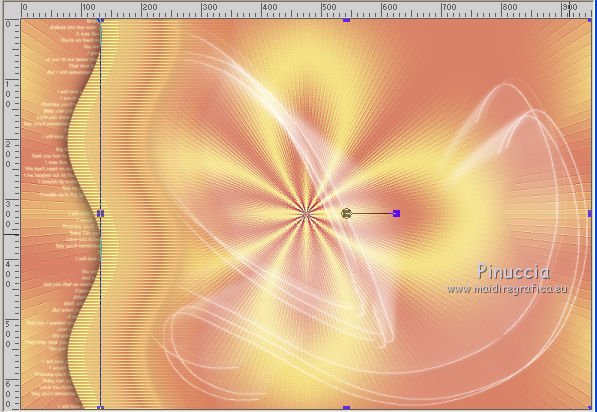
open the preset menu and select the preset 195-©Yedralina.
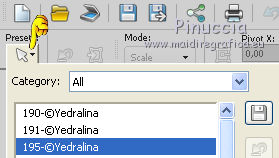
You'll have this:
M key to deselect the Tool.
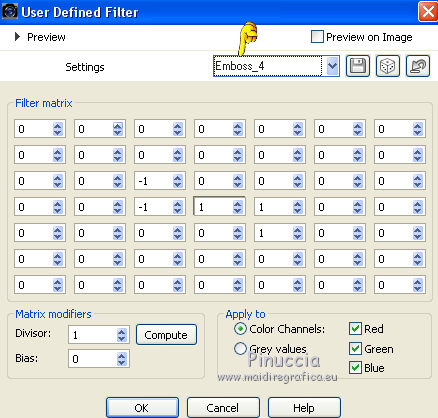
26. Effects>Filter User Defined, select the preset Emboss 4 and ok.
27. Change the Blend Mode of this layer to Overlay.
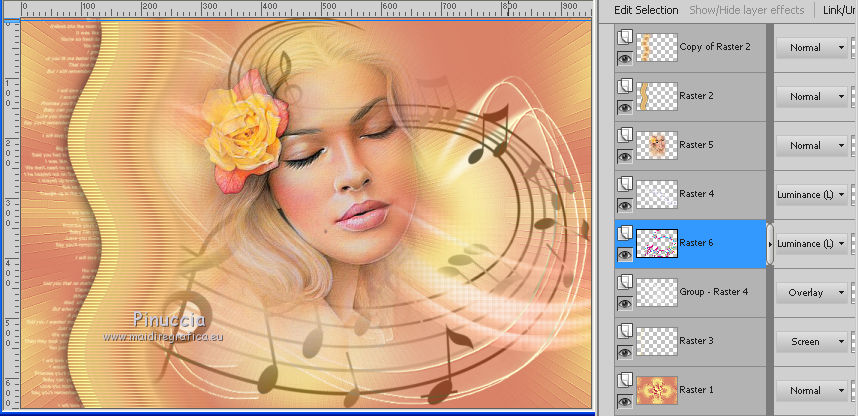
28. Open the tube Sissy_Brise - Edit>Copy.
Go back to your work and go to Edit>Paste as new layer.
29. Objects>Align>Right
(in the previous versions: Move  the tube to the right side). the tube to the right side).
30. Change the Blend Mode of this layer to Luminance (legacy).
31. Open your tube - Edit>Copy.
Go back to your work and go to Edit>Paste as new layer.
Place  the tube as you like the tube as you like
(for my example, I didn't move the tube).
32. Open the tube tube notas musicales 270, - Edit>Copy.
Go back to your work and go to Edit>Paste as new layer.
33. K key to activate the Pick Tool 
and select again the preset 195-©Yedralina
Change the Blend Mode of this layer to Luminance (legacy).
Layers>Arrange>Move Down - 2 times.
34. Activate the Selection Tool 
and select the top of the notes (this according to your tube)
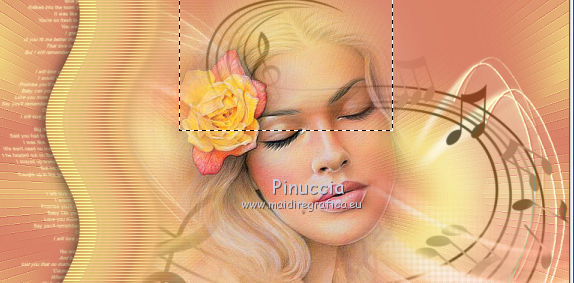
Press CANC on the keyboard 
Selections>Select None.
35. Image>Add borders, 1 pixel, symmetric, dark color.
Image>Add borders, 1 pixel, symmetric, light color.
Image>Add borders, 1 pixel, symmetric, dark color.
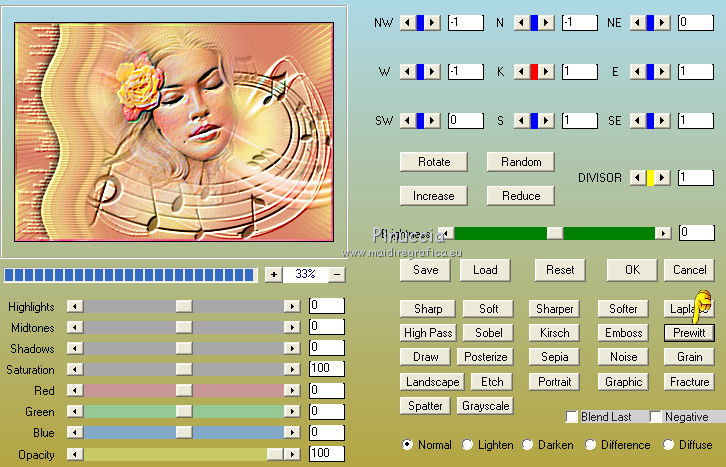
37. Optional: Effects>Plugins>AAA Filters - Custom - Prewitt
38. Sign your work.
Layers>Merge>Merge All and save as jpg.
The version without the plugin Custom.
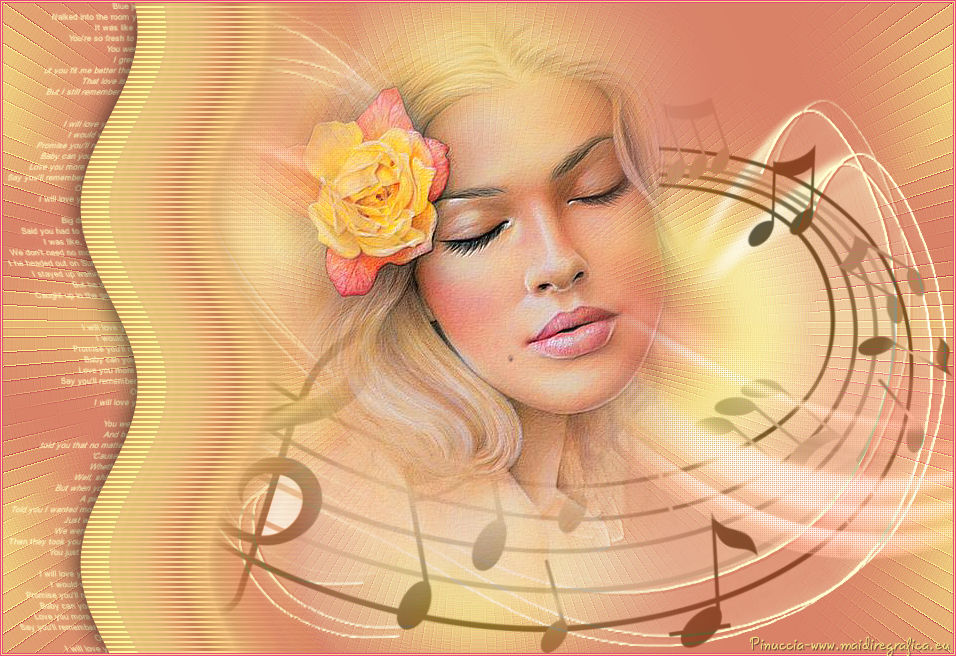
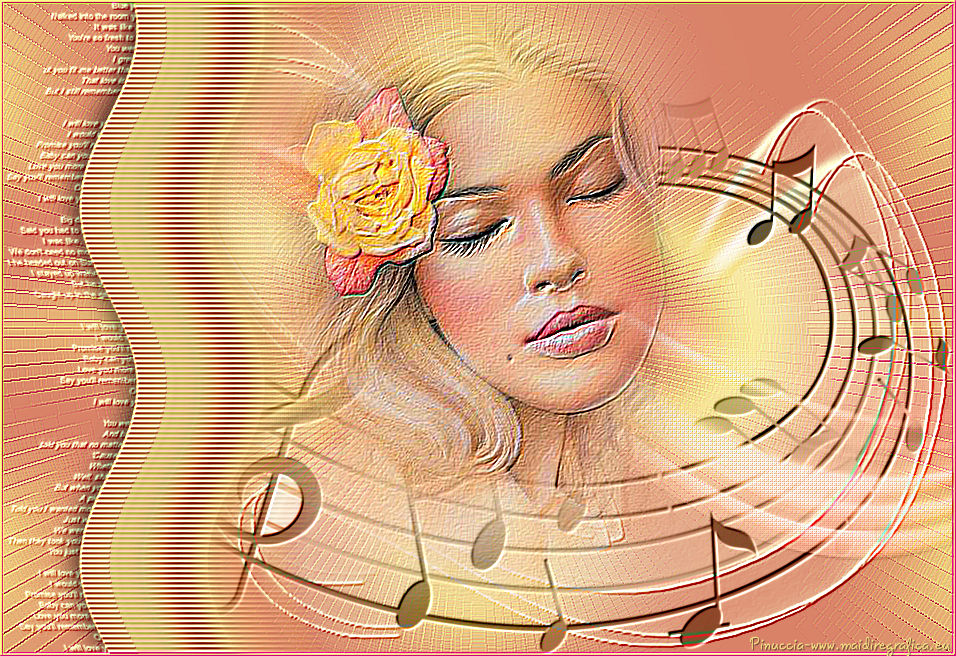
The tube of this version is by Gabry

If you have problems or doubts, or you find a not worked link, or only for tell me that you enjoyed this tutorial, write to me.
11 April 2017
|
