|
CONTIGO
 WITH YOU I GIVE THE FACE WITH YOU I GIVE THE FACE

Here you find the original of this tutorial:

This tutorial was written with CorelX19 and translated with CorelX17, but it can also be made using other versions of PSP.
Since version PSP X4, Image>Mirror was replaced with Image>Flip Horizontal,
and Image>Flip with Image>Flip Vertical, there are some variables.
In versions X5 and X6, the functions have been improved by making available the Objects menu.
In the latest version X7 command Image>Mirror and Image>Flip returned, but with new differences.
See my schedule here
italian translation here
french translation here
your versions here
For this tutorial, you will need:
Material here
The tubes are by Yedralina.
For the mask thanks Monajekie.
Flower tube from Internet.
(The links of the tubemakers here).
Plugins:
consult, if necessary, my filter section here
Filters Unlimited 2.0 zip
Toadies - Blast'em zip
Facoltativo: AAA Filters - Custom zip
Filters Toadies can be used alone or imported into Filters Unlimited.
(How do, you see here)
If a plugin supplied appears with this icon  it must necessarily be imported into Unlimited it must necessarily be imported into Unlimited

You can change Blend Modes according to your colors.
In the newest versions of PSP, you don't find the foreground/background gradient (Corel_06_029).
You can use the gradients of the older versions.
The Gradient of CorelX here
Copy the presets in the Presets Folder.
Copy the selection in the Selections Folder.
Open the mask in PSP and minimize it with the rest of the material.
Colors used
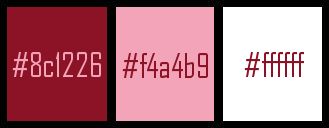
1. Set your foreground color to dark color #8c1226
and your background color to #ffffff,
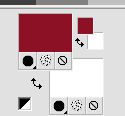
Open a new transparent image 950 x 650 pixels.
Flood Fill  with your foreground color Gradient. with your foreground color Gradient.
Selections>Select All.
Open your tube and go to Edit>Copy.
Go back to your work and go to Edit>Paste into Selection.
Selections>Select None.
Effects>Image Effects>Seamless Tiling.

Adjust>Blur>Gaussian Blur, radius 20.

Layers>Merge>Merge down.
2. Layers>New Raster Layer.
Flood Fill  with color white. with color white.
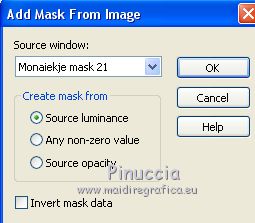
Layers>New Mask layer>From image
Open the menu under the source window and you'll see all the files open.
Select the mask Monajekie mask 21.
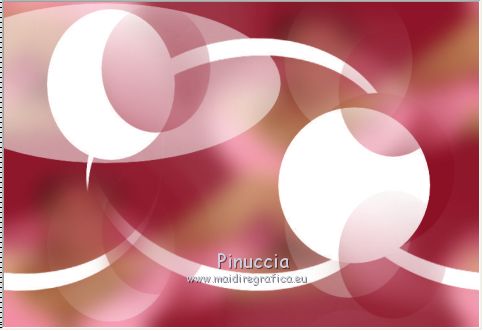
Layers>Duplicate.
Layers>Merge>Merge Group.
Image>Mirror.
Image>Flip.
3. Layers>New Raster Layer.
Selections>Select All.
Open the misted and go to Edit>Copy.
Go back to your work and go to Edit>Paste into Selection.
Selections>Select None.
K key on the keyboard to activate the Pick Tool 
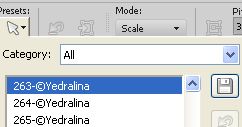
open the presets menu and select the preset 263-©Yedralina
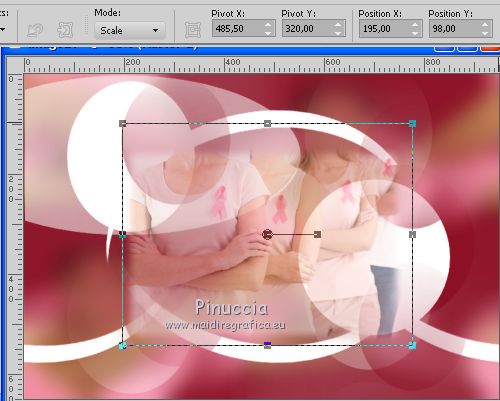
M key to deselect the Tool.
Reduce the opacity of this layer at your choice; for me 57%.
4. Set your background color to #f4a4b9
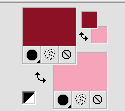
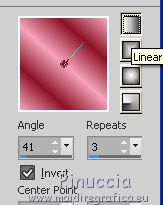
Set your Foreground color to Foreground/Background Gradient, style Linear.
Layers>New Raster Layer.
Flood Fill  the layer with your gradient. the layer with your gradient.
Layers>New Mask layer>From image
Open the menu under the source window
and select again the mask Monajekie mask 21.

Layers>Merge>Merge Group.
Effects>Edge Effects>Enhance.
5. Layers>New Raster Layer.
Selections>Load/Save Selection>Load Selection from Disk.
Look for and load the selection ©:Yedralina_Sel 606
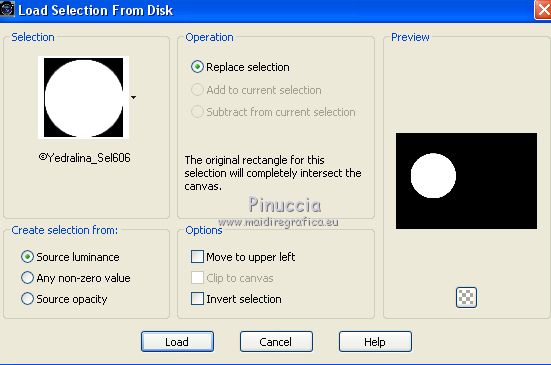
Open the flower tube (for me: "Marco") and go to Edit>Copy.
Go back to your work and go to Edit>Paste into Selection.
Selections>Select None.
6. Layers>Duplicate - 2 times.
Effects>Texture Effects>Mosaic Antique
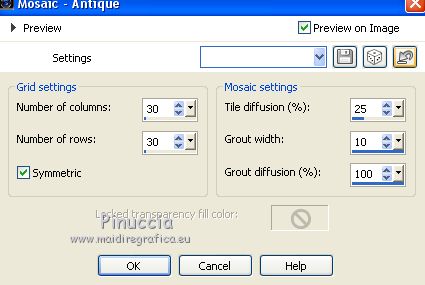
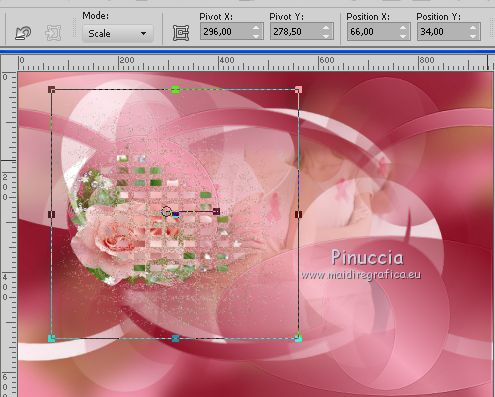
Move  the layer a bit upper, the layer a bit upper,
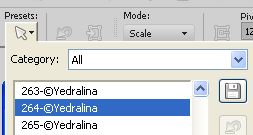
or activate the Pick Tool 
and select the preset 264-©Yedralina.
Layers>Arrange>Move Down.
7. Activate the top layer.
Effects>Plugins>Filters Unlimited 2.0 - Toadies - Blast'em
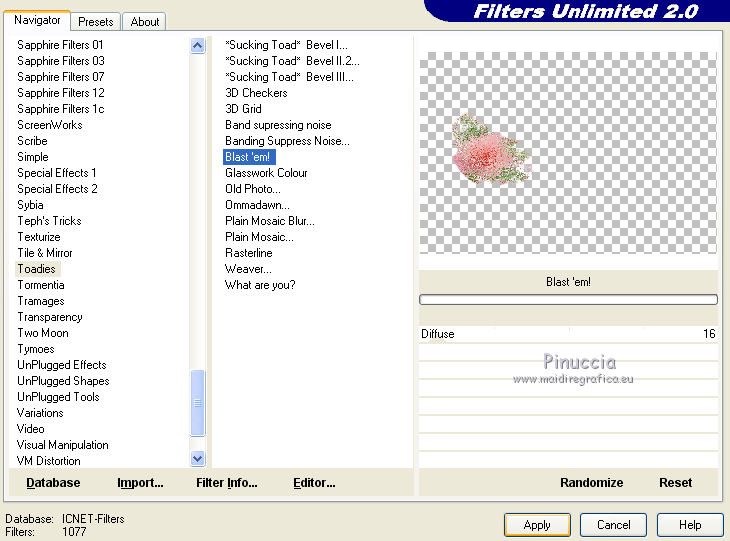
*****
Note: Several plugins over the years have been manipulated.
This is one of the cases.
The original effect of Toadies filter looks like this
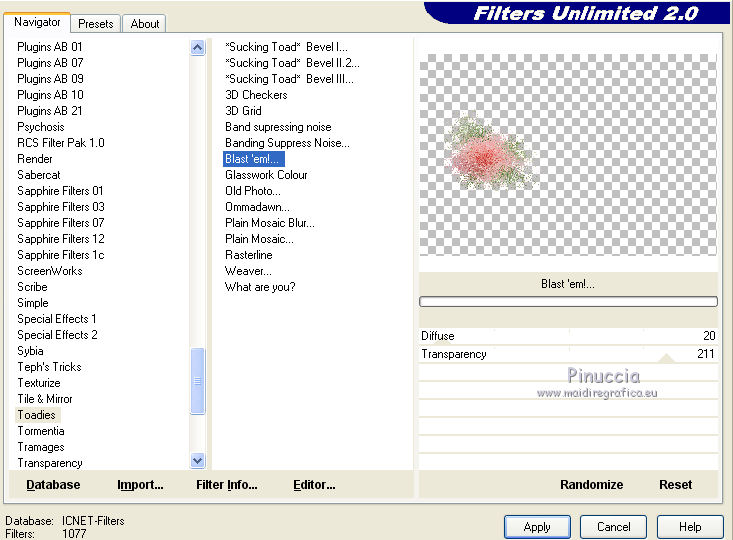
The effect used in this tutorial is part of a "manipulated" series.
it is sharing in ffx format (your find this effects here)
*****
K key 
and select the preset 265-©Yedralina.

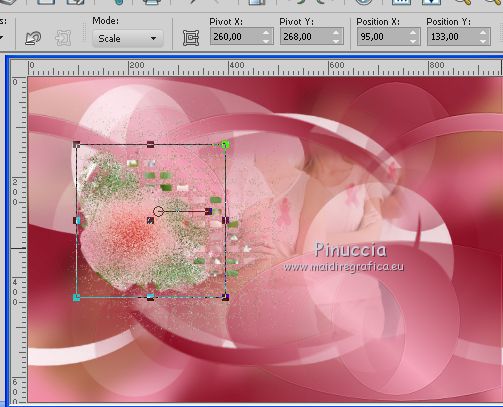
Layers>Merge>Merge down.
8. Activate the layer of the flower, Raster 3.
Image>Resize, to 95%, resize all layers not checked.
Effects>3D Effects>Drop Shadow, color black (or as you prefer)
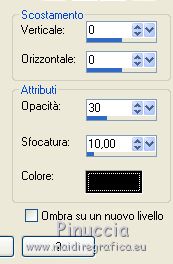
Layers>Arrange>Move Up.
Layers>Merge>Merge Down.
9. Activate again your main tube and go to Edit>Copy.
Go back to your work and go to Edit>Paste as new layer.
Move  the tube to the right side, see my example. the tube to the right side, see my example.
Effects>3D Effects>Drop Shadow, at your choice.
10. Open the Text_ContigoDLC©Yedralina and go to Edit>Copy.
Go back to your work and go to Edit>Paste as new layer.
Place  rightly the texte. rightly the texte.
If you prefer, you can write your texte; in the zip there is the font used for this text.
11. Image>Add borders, 1 pixel, symetric, light color.
Image>Add borders, 1 pixel, symetric, dark color.
Image>Add borders, 10 pixels, symetric, color white.
Image>Add borders, 1 pixel, symetric, dark color.
Image>Add borders, 2 pixel, symetric, light color.
Image>Add borders, 1 pixel, symetric, dark color.
Image>Add borders, 30 pixels, symetric, color white.
Image>Add borders, 1 pixel, symetric, dark color.
Image>Add borders, 2 pixel, symetric, light color.
Image>Add borders, 1 pixel, symetric, dark color.
Image>Resize, 950 pixels width, resize all layers checked.
Sign your work on a new layer.
Layers>Merge>Merge All.
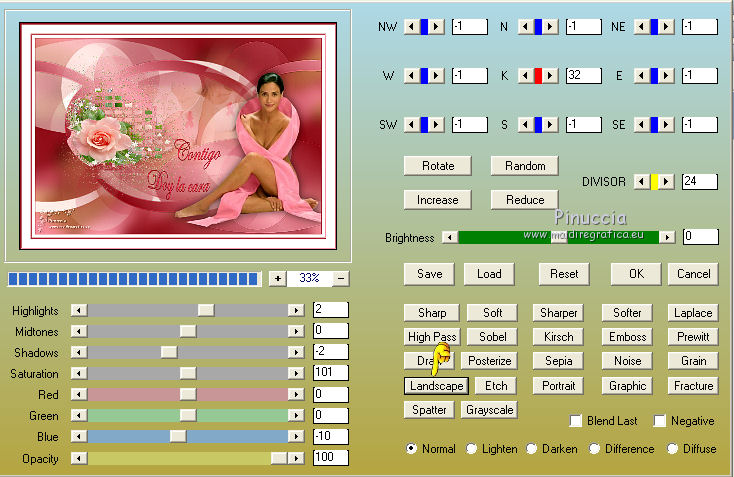
Optional: Effects>Plugins>AAA Filters - Custom - clic on Landscape and ok
Save as jpg.
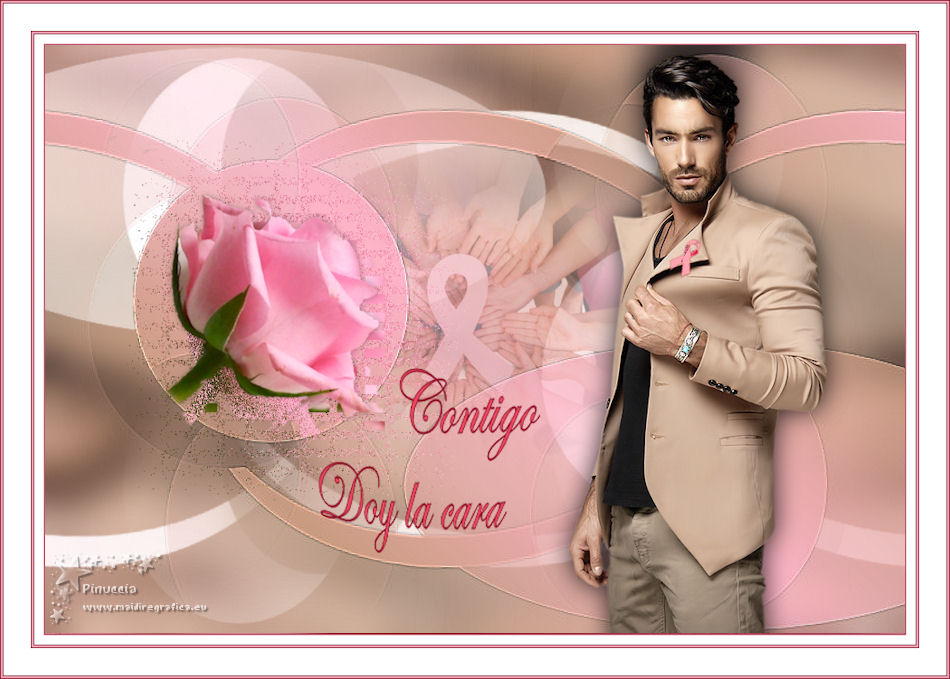
The tube of this version is by Beatriz

If you have problems or doubts, or you find a not worked link, or only for tell me that you enjoyed this tutorial, write to me.
19 Ottobre 2018
|
 WITH YOU I GIVE THE FACE

 WITH YOU I GIVE THE FACE
