|
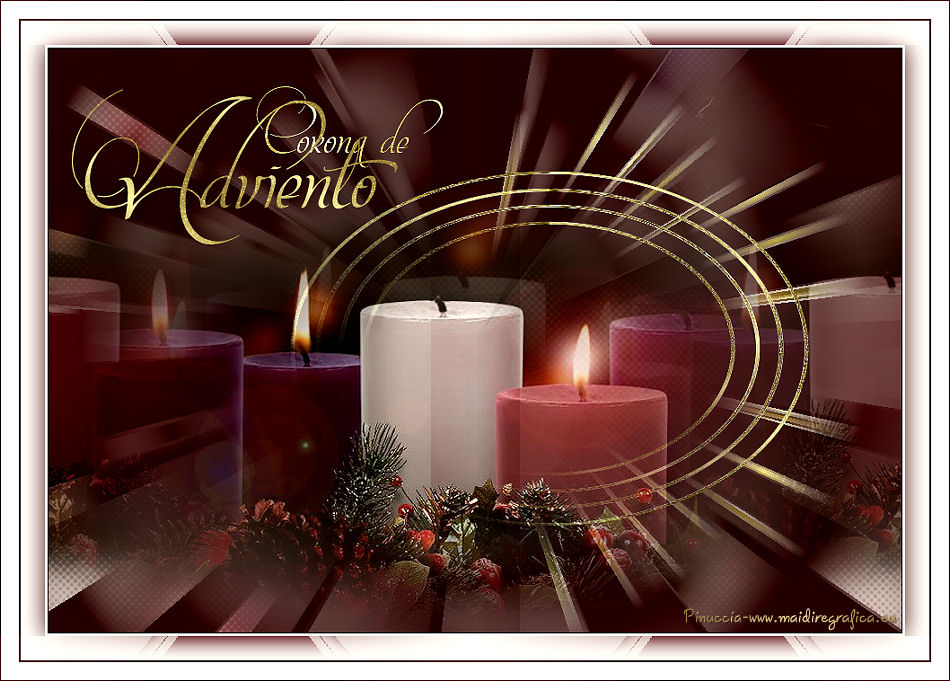
CORONA DE ADVIENTO

english version

Here you find the original of this tutorial:

This tutorial was written with CorelX19 and translated with CorelX17, but it can also be made using other versions of PSP.
Since version PSP X4, Image>Mirror was replaced with Image>Flip Horizontal,
and Image>Flip with Image>Flip Vertical, there are some variables.
In versions X5 and X6, the functions have been improved by making available the Objects menu.
In the latest version X7 command Image>Mirror and Image>Flip returned, but with new differences.
See my schedule here
italian translation here
your versions here
For this tutorial, you will need:
A misted tube of your choice
The rest of the material here
The tube is by Yedralina.
Plugins:
consult, if necessary, my filter section here
Filters Unlimited 2.0 here
VM Stylize - Zoom Blur here
°V°Kiwi's Oelfilter - Augenspiegel here
Optional: AAA Filters - Custom here
Filters VM Stylize and Kiwi can be used alone or imported into Filters Unlimited.
(How do, you see here)
If a plugin supplied appears with this icon  it must necessarily be imported into Unlimited it must necessarily be imported into Unlimited

You can change Blend Modes according to your colors.
Copy the Selection in the Selections Folder.
Copy the presets in the Presets Folder.
Open the mask and the golden pattern in PSP and minimize them with the rest of the material.
1. Set your foreground color to dark color #2b030c  , ,
and your background color with color white or a light color.
2. Open a new transparent image 950 x 650 pixels,
Flood Fill  with your dark foreground color. with your dark foreground color.
3. Layers>New Raster Layer.
Selections>Select All.
4. Open your misted and go to Edit>Copy.
Go back to your work and go to Edit>Paste into Selection.
Selections>Select None.
5. Effects>Image Effects>Seamless Tiling.

6. Adjust>Blur>Gaussian Blur - radius 20.

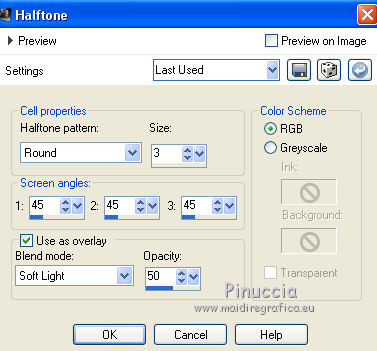
7. Effects>Artistic Effects>Halftone.
8. Layers>New Raster Layer.
Flood Fill  the layer with your dark color. the layer with your dark color.
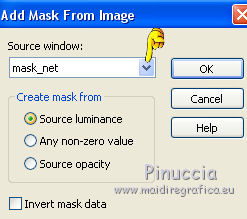
9. Layers>New Mask layer>From image
Open the menu under the source window and you'll see all the files open.
Select the mask mask_net.
Layers>Merge>Merge group.
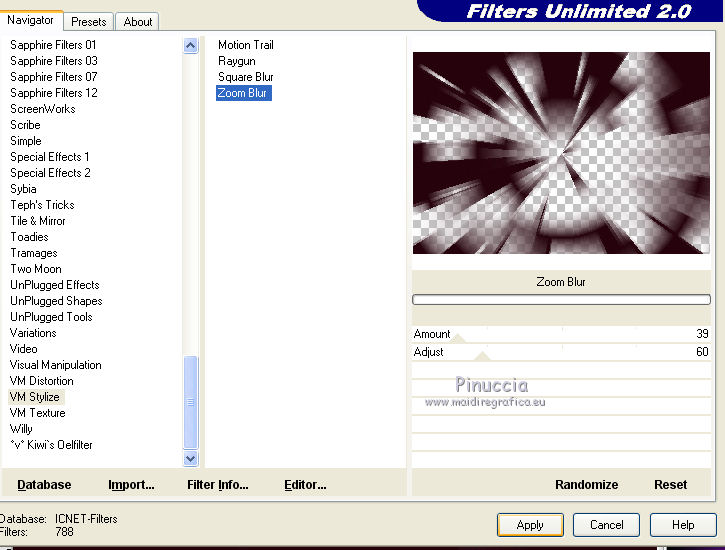
10. Effects>Plugins>Filters Unlimited 2.0 - VM Stylize - Zoom Blur, default settings.
11. Layers>New Raster Layer.
Selections>Load/Save Selection>Load Selection from Disk.
Look for and load the selection ©Yedralina_sel 332.
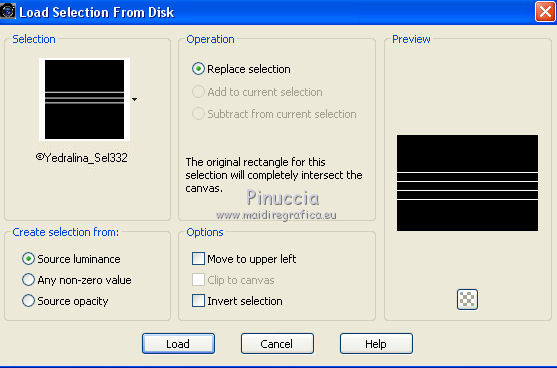
11. Set your background color to Pattern and, under the category Images Opened,
select the golden pattern 006_verloop7a_ca with these settings.
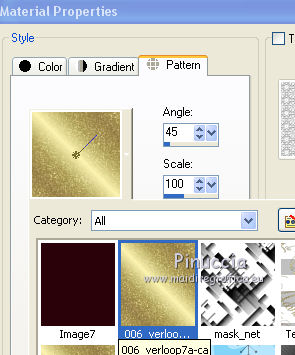
12. Flood Fill  the selection with the golden pattern. the selection with the golden pattern.
Effects>Edge Effects>Enhance More.
Selections>Select None.
13. Effects>Distortion Effects>Pinch.

14. Effects>Distortion Effects>Polar Coordinates
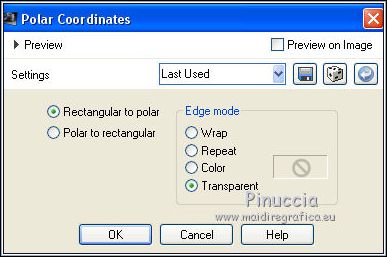
15. Place  the image as in the final tag, the image as in the final tag,
or press K key on the keyboard to activate the Pick Tool 
and select the preset 224-©Yedralina
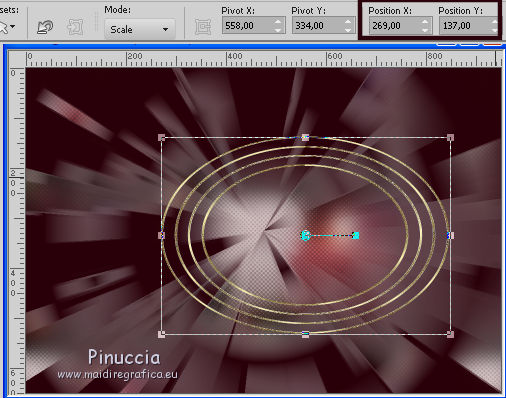
Press M key to deselect the Tool.
16. Layers>Duplicate.
Effects>Plugins>Filters Unlimited 2.0 - VM Stylize - Zoom blur, same settings.
Layers>Arrange>Move Down.
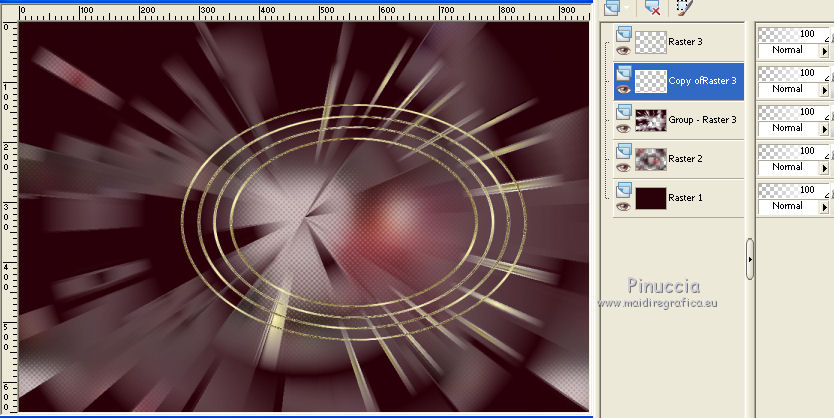
17. Activate the top layer.
Edit>Paste as new layer (your misted is still in memory).
18. You can use the preset 225-©Yedralina

or activate the Pick Tool  or Move Tool or Move Tool  to place your tube. to place your tube.
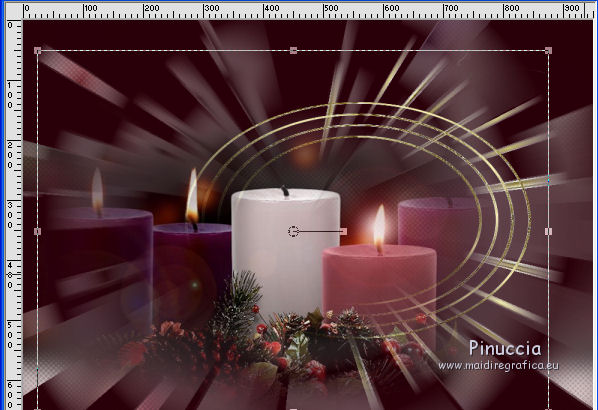
Adjust>Sharpness>Sharpen.
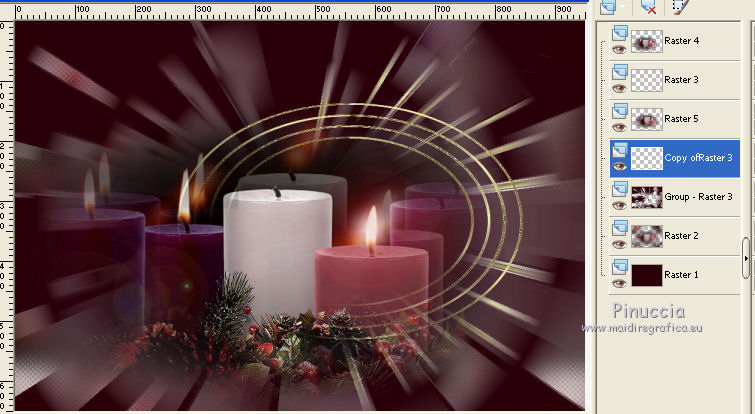
19. Layers>Duplicate.
Objects>Align>Center in Canvas.
if you are working with a previous version of PSP, that has not available the menu Objects,
indeed of Duplicate, you can do Edit>Paste as new layer,
and automatically the tube will be in the middle of your image
Layers>Arrange>Move down - 2 times.
20. Effects>Image Effects>Seamless Tiling.
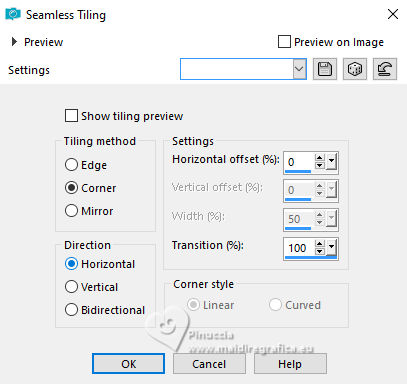
Change the Blend Mode of this layer to Soft Light, or as you like better.
21. Activate the top layer.
Open the text Text_CoronaAdviento©Yedralina - Edit>Copy.
Go back to your work and go to Edit>Paste as new layers.
Place  the text where you want, or see my example. the text where you want, or see my example.
(in the material, there is the font used for this text).
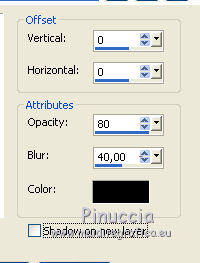
Effects>3D Effects>Drop Shadow, at your choice; for me
22. Your should have this
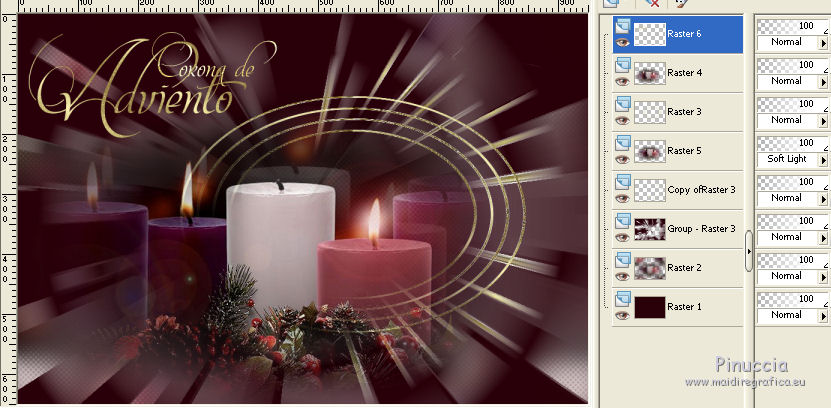
23. Image>Add borders, 1 pixel, symmetric, dark color.
Image>Add borders, 30 pixels, symmetric, color white.
Image>Add borders, 2 pixels, symmetric, dark color.
Image>Add borders, 20 pixels, symmetric, color white.
Image>Add borders, 1 pixel, symmetric, dark color.
24. Selections>Select All.
Selections>Modify>Contract - 50 pixels.
25. Effects>3D Effects>Drop Shadow, dark color.
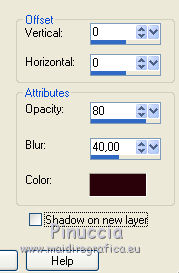
26. Selections>Invert.
Selections>Promote selection to layer.
27. Effects>Plugins>Filters Unlimited 2.0 - °V° Kiwi's Oelfilter - Augenspiegel, default settings.
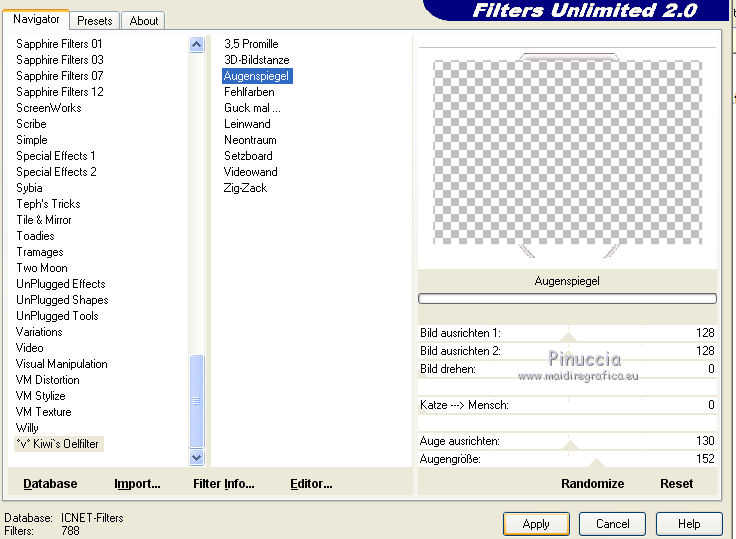
Selections>Select None.
28. Effects>Image Effects>Seamless Tiling.

Change the Blend Mode of this layer to Overlay.
29. Layers>Merge>Merge down.
30. Optional: Effects>Plugins>AAA Filters - Custom - click on Landscape and ok.
31. Image>Resize, 950 pixels width, resize all layers not checked.
32. Sign your work on a new layer.
Layers>Merge>Merge All and save as jpg.

If you have problems or doubts, or you find a not worked link, or only for tell me that you enjoyed this tutorial, write to me.
18 December 2017
|

