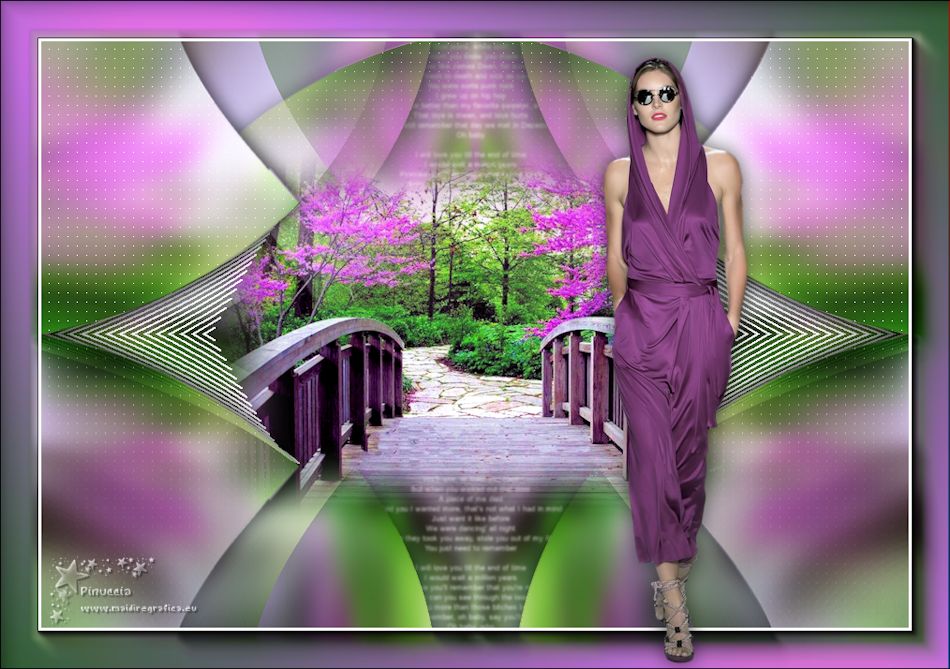
|
DIFICIL Y FACIL

english version


This tutorial was written with CorelX19 and translated with CorelX17, but it can also be made using other versions of PSP.
Since version PSP X4, Image>Mirror was replaced with Image>Flip Horizontal,
and Image>Flip with Image>Flip Vertical, there are some variables.
In versions X5 and X6, the functions have been improved by making available the Objects menu.
In the latest version X7 command Image>Mirror and Image>Flip returned, but with new differences.
See my schedule here
italian translation here
french tanslation here
your versions here
For this tutorial, you will need:
Tubes of yours.
The rest of the material here
For the tubes thanks
Verlaine (Verlaine A01-juillet 2018) - not supplied
Sonia (SoniaTubes_8014) - notsupplied.
The rest of the material is by Yedralina
(The links of the tubemakers here).
Plugins:
consult, if necessary, my filter section here
AAA Frames - Foto Frame here
Simple - Diamonds here
Filters Unlimited 2.0 here
AP Lines - Lines SilverLining here
Mura's Seamless - Tile Rotate here
Filters Mura's Seamless and Simple can be used alone or imported into Filters Unlimited.
(How do, you see here)
If a plugin supplied appears with this icon  it must necessarily be imported into Unlimited it must necessarily be imported into Unlimited

You can change Blend Modes according to your colors.
In the newest versions of PSP, you don't find the foreground/background gradient (Corel_06_029).
You can use the gradients of the older versions.
The Gradient of CorelX here
Copy the brush in Brush folder. Attention, please, the brush is composed by two files, you must place both the files in the folder.
See my notes about Brushes here
Preparation of the misted
For my version I used a tube by Sonia, who generally leave the background she uses as background, with a light blur.
If you prefer to use une image jpg, you can make the blur, following these steps:
Open your image.
Layers>Promote Background Layer.
Layers>Duplicate.
Layers>New Mask layer>From image
Open the menu under the source window and you'll see all the files open.
Select the mask 20-20.
Layers>Duplicate.
Layers>Merge>Merge group.
And you'll get your misted to work
2. Open Image Alpha dificilyfacil-©Yedralina.
Window>Duplicate, or on the keyboard shift+D, to make a copy.
Close the original.
The copy, that will be the basis of your work, is not empty, but contains the selections saved on the alpha channel.
Selections>Select All.
Open your image jpg
for my example I used the background layer of the Sonia's tube
Edit>Copy.
Go back to your work and goto Edit>Paste into Selection.
Selections>Select None.
Adjust>Blur>Gaussian Blur - radius 20.

Effects>Plugins>Filters Unlimited 20 - Mura's Seamless - Tile Rotate, default settings.

if you don't import the plugin, you'll have a different result.
This is the window of the plugin alone
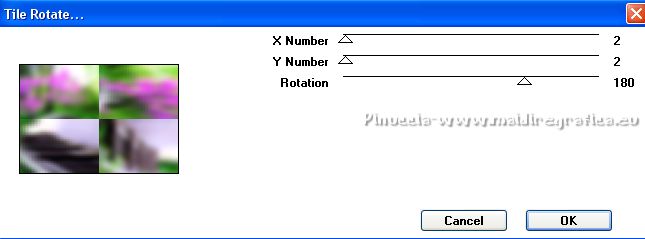
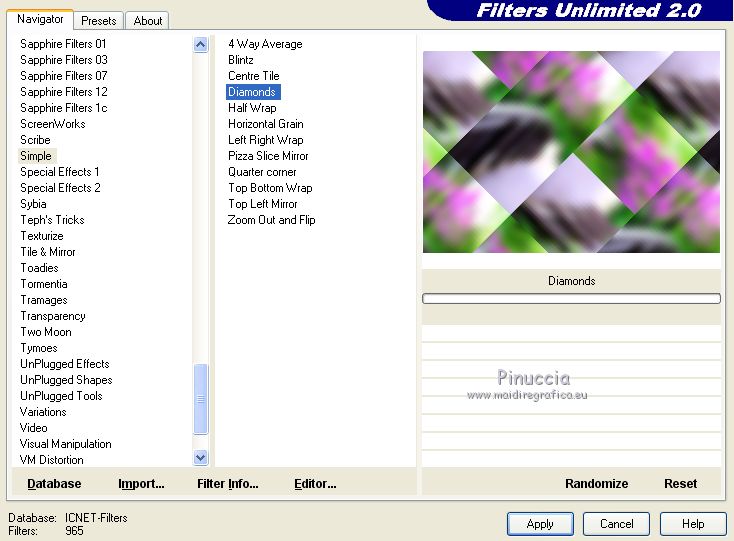
Effects>Plugins>Filters Unlimited 2.0 - Simple - Diamonds.
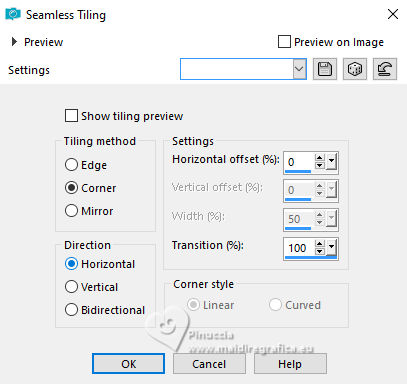
Effects>Image Effects>Seamless Tiling.
Effects>Distortion Effects>Pinch.

Effects>Reflection Effects>Rotating Mirror.

2. Selections>Load/Save Selection>Load Selection from Alpha Channel.
The selection #1 is immediately available. You just have to click Load.

Selections>Promote Selection to Layer.
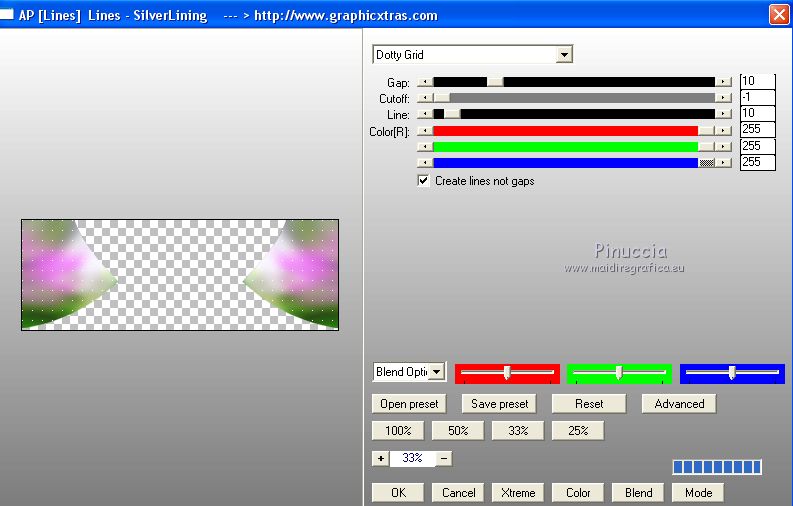
Effects>Plugins>AP [Lines] - Lines SilverLining.
Selections>Select None.
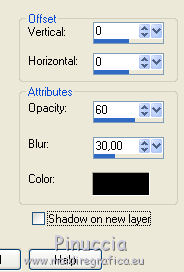
Effects>3D Effects>Drop Shadow, color black.
3. Layers>Duplicate.
Effects>Image Effects>Seamless Tiling.

Layers>Arrange>Move Down.
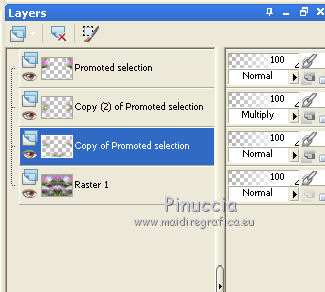
Layers>Duplicate.
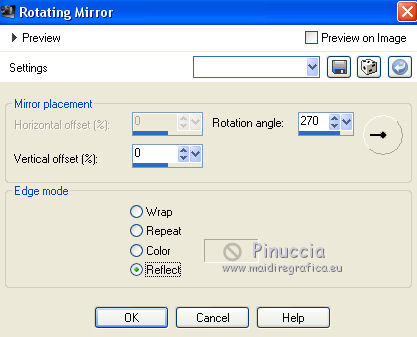
4. Effects>Reflection Effects>Rotating Mirror.
Change the Blend Mode of this layer to Multiply.
Activate again the layer below (copy of Promoted Selection).
Image>Flip.
5. Layers>New Raster Layer.
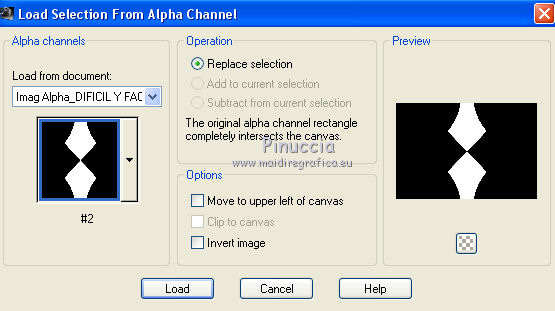
Selections>Load/Save Selection>Load Selection from Alpha Channel.
Open the selection menu and load the selection #2.
Activate the Brush Tool 
Look for and select the brush Texte_brush.

Set your foreground color to white #ffffff.
Apply the brush in the selection, clicking with left button,
to use your foreground color.
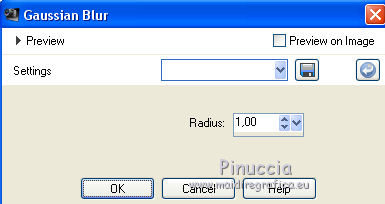
Adjust>Blur>Gaussian Blur, radius 1
Selections>Invert.
Effects>3D Effects>Drop Shadow, same settings.

Selections>Select None.
Layers>Arrange>Move Down.
6. Layers>New Raster Layer.
Selections>Select All.
Open your misted and go to Edit>Copy.
Go back to your layer and go to Edit>Paste into Selection.
Selections>Select None.
(if it is necessary: Image>Resize (for me 60%), resize all layers not checked.
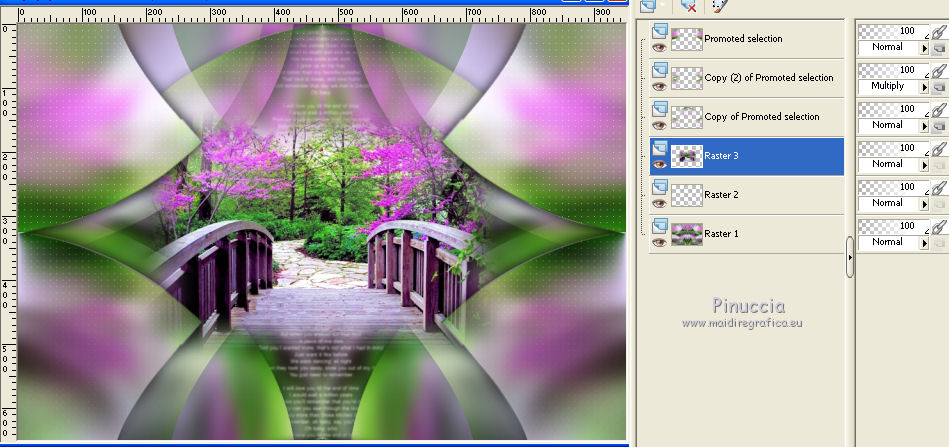
Result
7. Open the tube deco00203©Yedralina and go to Edit>Copy.
Go back to your work and go to Edit>Paste as new layer.
Don't move it.
Effects>3D Effects>Drop Shadow, same settings.
8. Set your foreground color to #2f5823
and your background color to #da71fd.
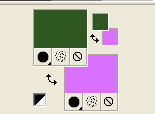
Set your foreground color to a Foreground/Background Gradient, style Linear.

Image>Add borders, 2 pixels, symmetric, dark foreground color.
Selections>Select All.
Image>Add borders, 30 pixels, symmetric, whatever color.
Selections>Invert.
Flood>Fill  the selection with your Gradient. the selection with your Gradient.
Selections>Select None.
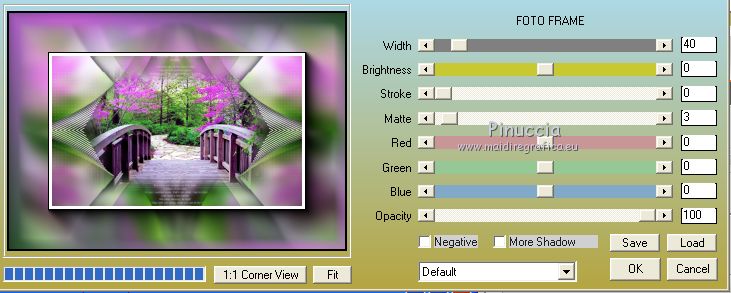
9. Effects>Plugins>AAA Frames - Foto Frame.
10. Open your main tube and go to Edit>Copy.
Go back to your work and go to Edit>Paste as new layer.
Image>Resize, if it is necessary (for me 60%), resize all layers not checked.
Move  the tube where you want. the tube where you want.
Effects>3D Effects>Drop Shadow, at your choice.
11. Image>Resize, 950 pixels width, resize all layers not checked.
Sign your work on a new layer.
Layers>Merge>Merge All and save as jpg.
Image from Internet.
Misted by Yedralina (1834©Yedralina.png)
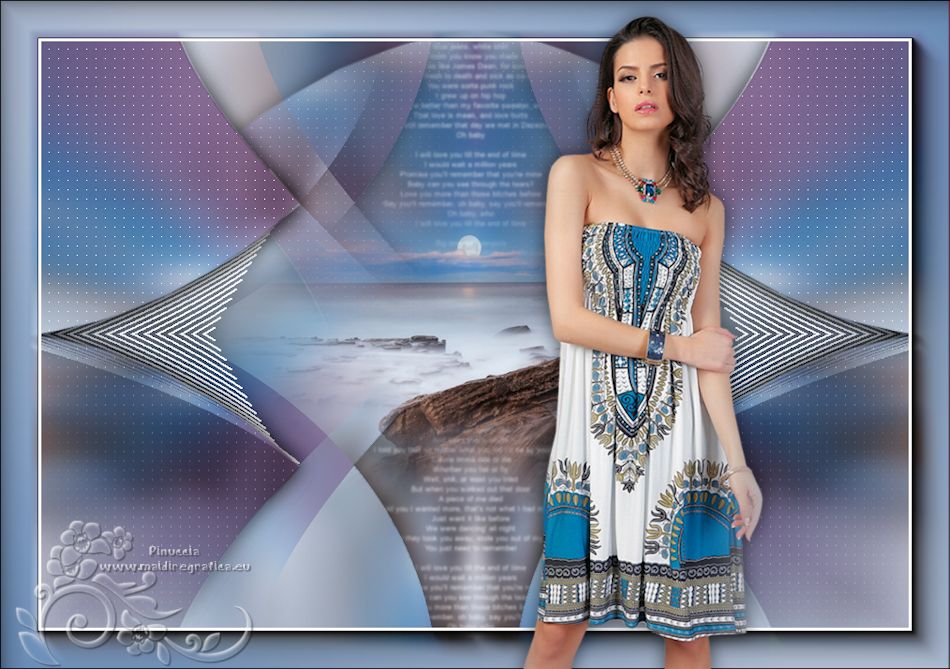
Woman tube by Maja Design (2761084-20180207-jcN2yv)

If you have problems or doubts, or you find a not worked link, or only for tell me that you enjoyed this tutorial, write to me.
5 August 2018
|

