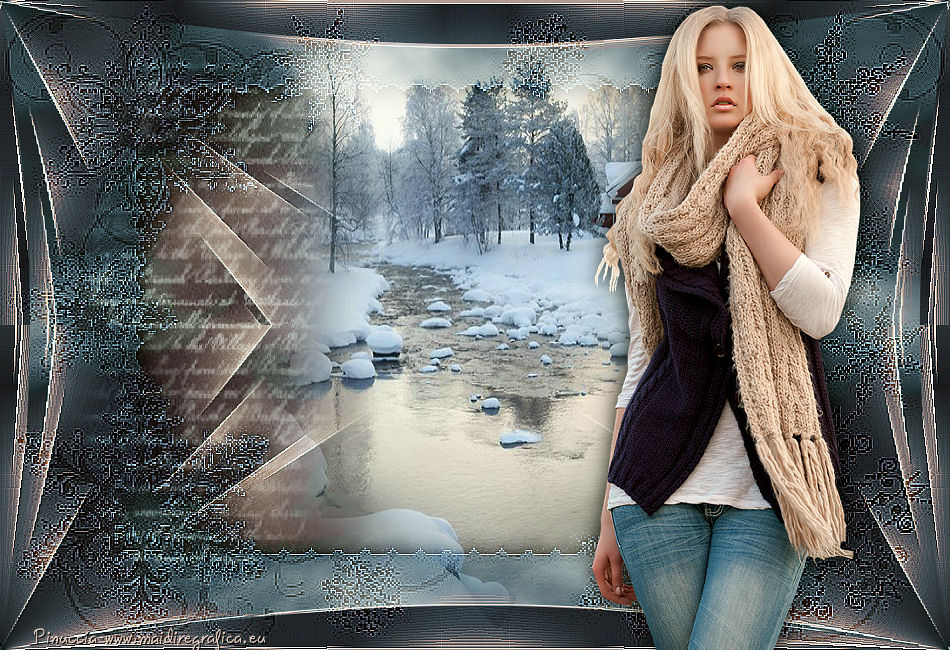
|
ENERO
english version: JANUARY

Here you find the original of this tutorial:

This tutorial was written with CorelX19 and translated with CorelX, Corel X3 and CorelX17, but it can also be made using other versions of PSP.
Since version PSP X4, Image>Mirror was replaced with Image>Flip Horizontal,
and Image>Flip with Image>Flip Vertical, there are some variables.
In versions X5 and X6, the functions have been improved by making available the Objects menu.
In the latest version X7 command Image>Mirror and Image>Flip returned, but with new differences.
See my schedule here
italian translation here
your versions qui/here
For this tutorial, you will need:
A tube and a landscape of yours
Material qui
Thanks for the tubes (not supplied):
Lecture33 (L33F128112016)
Jewel (Paysage hiver misted jewel 014).
Thanks: for the mask WKB (WLB_ChristmasSnowflakes9)
for the wordart Valery.
Plugins:
consult, if necessary, my filter section here
Filters Unlimited 2.0 here
VM Stylize - Zoom Blur here
AAA Filters - Custom here
Filters VM Stylize can be used alone or imported into Filters Unlimited.
(How do, you see here)
If a plugin supplied appears with this icon  it must necessarily be imported into Unlimited it must necessarily be imported into Unlimited

You can change Blend Modes according to your colors.
Open the mask in PSP and minimize it with the rest of the material.
Chose three colors from your tube.
For the example:
light color #e9d2c4,
dark color #2d2229,
intermediate color #495e6f.
Set your Foreground color to black light color #e9d2c4,
Set your Background color to dark color #2d2229.
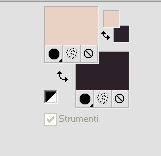
1. Open a new transparent image 950 x 650 pixels.
Flood Fill  the transparent image with your dark color #2d2229. the transparent image with your dark color #2d2229.
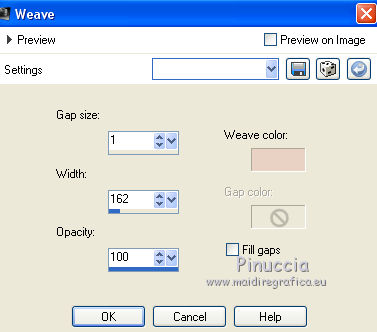
2. Effects>Texture Effects>Weave.
weave color: foreground color #e9d2c4.
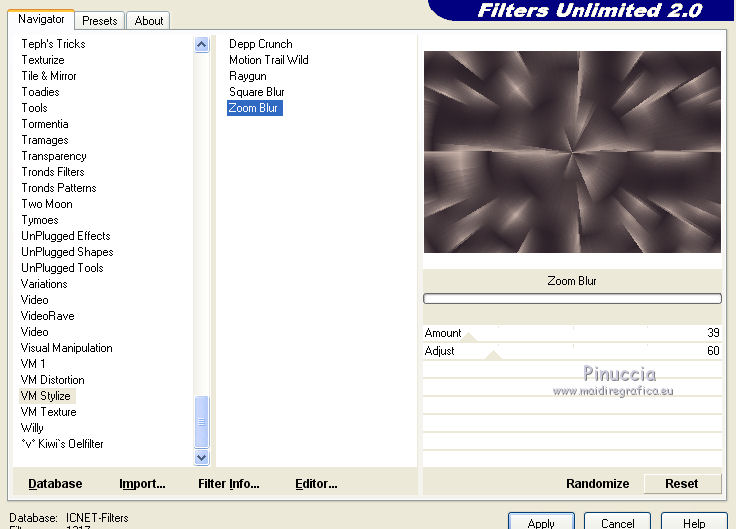
3. Effects>Plugins>Filters Unlimited 2.0 - VM Stylize - Zoom Blur, default settings.
4. Effects>Edge Effects>Enhance More.
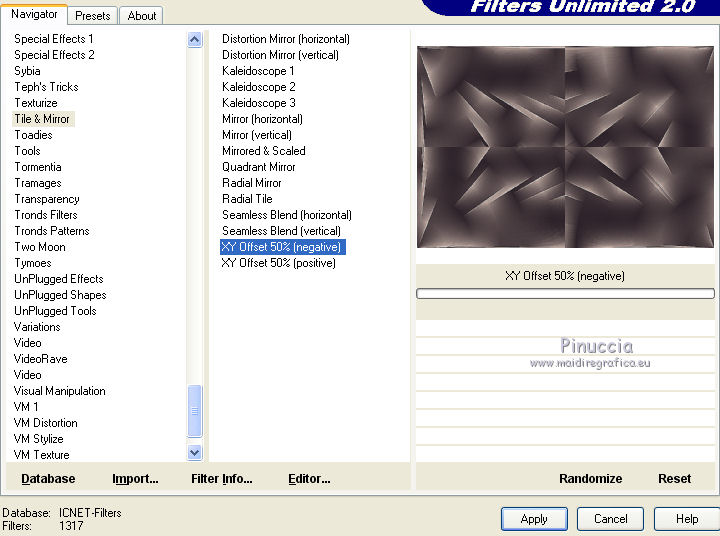
5. Effects>Plugins>Filters Unlimited 2.0 - Tile & Mirror - XY Offset 50% (negative).
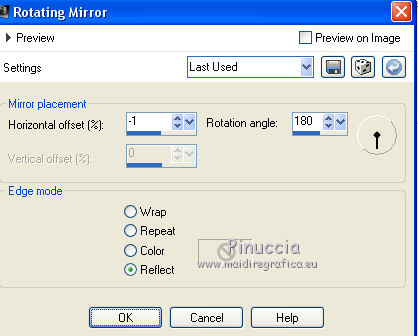
6. Effects>Reflections Effects>Rotating Mirror.
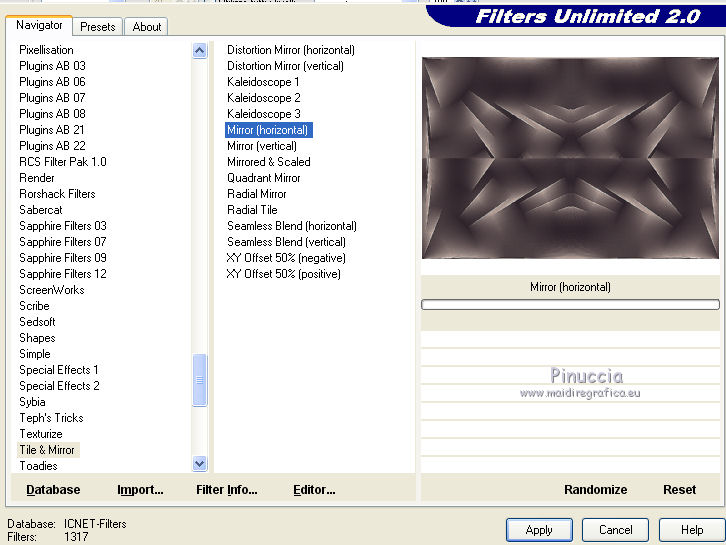
7. Effects>Plugins>Filters Unlimited 2.0 - Tile &Mirror - Mirror (horizontal).
8. Layers>Duplicate.
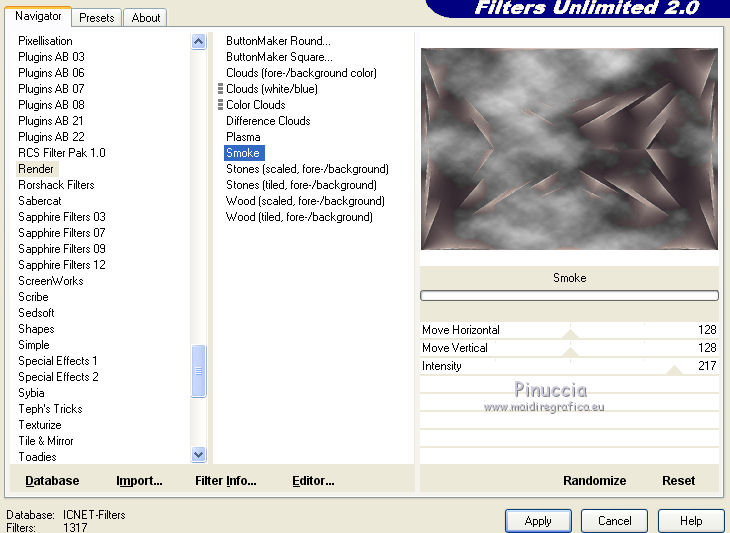
9. Effects>Plugins>Filters unlimited 2.0 - Render - Smoke, default settings.
10. Effects>Distortion Effects>Lens Distortion.
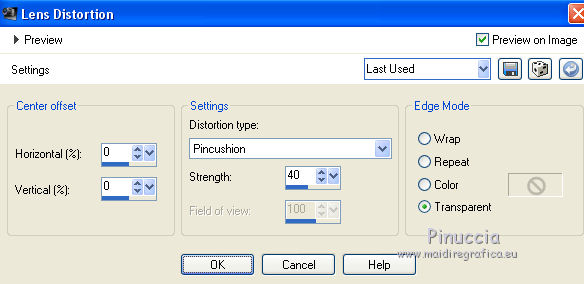
11. Image>Mirror.
12. Open your landscape misted - Edit>Copy.
Go back to your work and go to Edit>Paste as new layer.
Image>Resize, if it is necessary (for me to 85%), resize all layers not cheched.
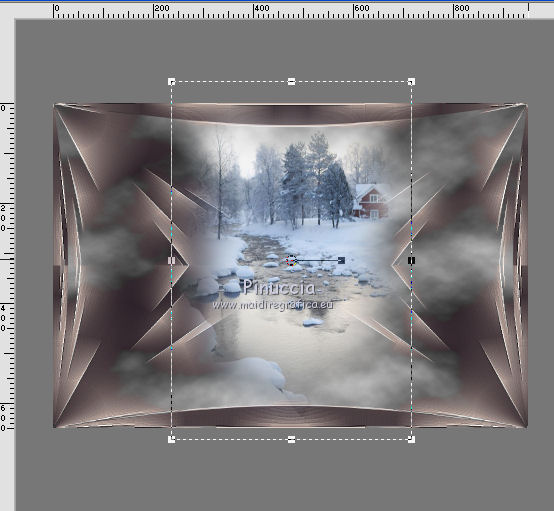
Adjust>Sharpness>Sharpen.
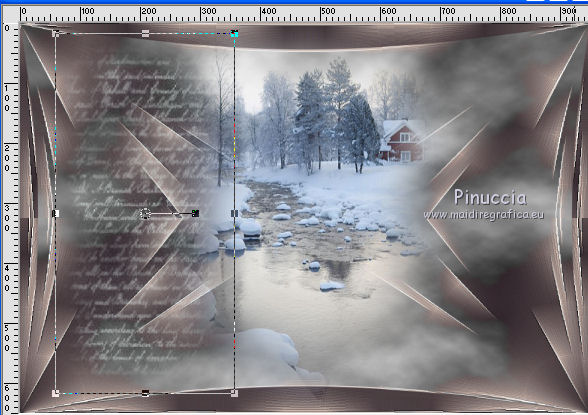
13. Open the wordart - Edit>Copy.
Go back to your work and go to Edit>Paste as new layer.
Move  it to the left side. it to the left side.
14. Layers>New Raster Layer.
Set your foreground color to the intermediate color #495e6f.
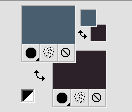
Flood Fill  the layer with this color. the layer with this color.
15. Layers>New Mask layer>From image
Open the menu under the source window and you'll see all the files open.
Select the mask WLB_ChristmasSnowflakes9:
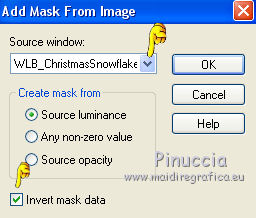
Layers>Merge>Merge group.
16. Change the Blend Mode of this layer to Overlay.
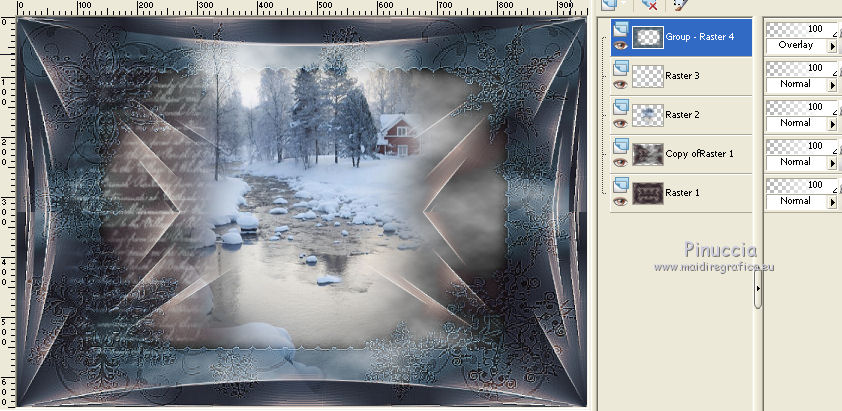
Effects>Edge Effects>Enhance.
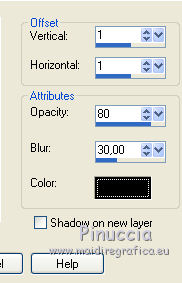
17. Effects>3D Effects>Drop Shadow, color black.
Again Effects>Edge Effects>Enhance More.
18. Open your main tube - Edit>Copy.
Go back to your work and go to Edit>Paste as new layer.
Move  it to the right side. it to the right side.
Effects>3D Effects>Drop Shadow, as you like.
Layers>Merge>Merge visible.
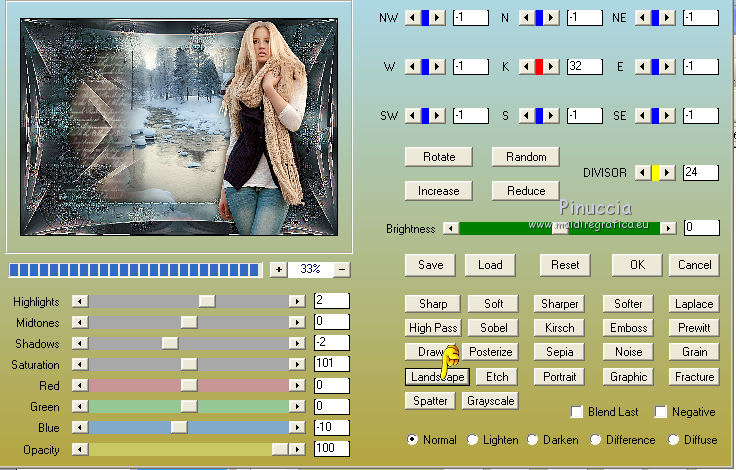
19. Effects>Plugins>AAA Filters - Custom, clic 2 times on Landscape and ok.
20. Sign your work on a new layer.
21. Layers>Merge>Merge all and save as jpg.
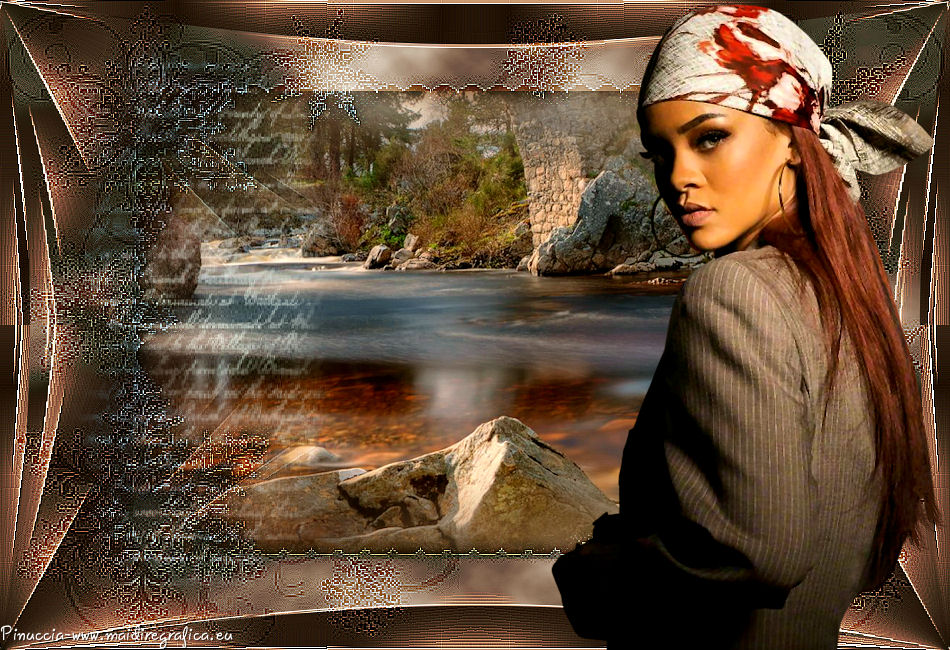
The tube of this version is by Rooske

If you have problems or doubts, or you find a not worked link, or only for tell me that you enjoyed this tutorial, write to me.
18 January 2017
|
