|
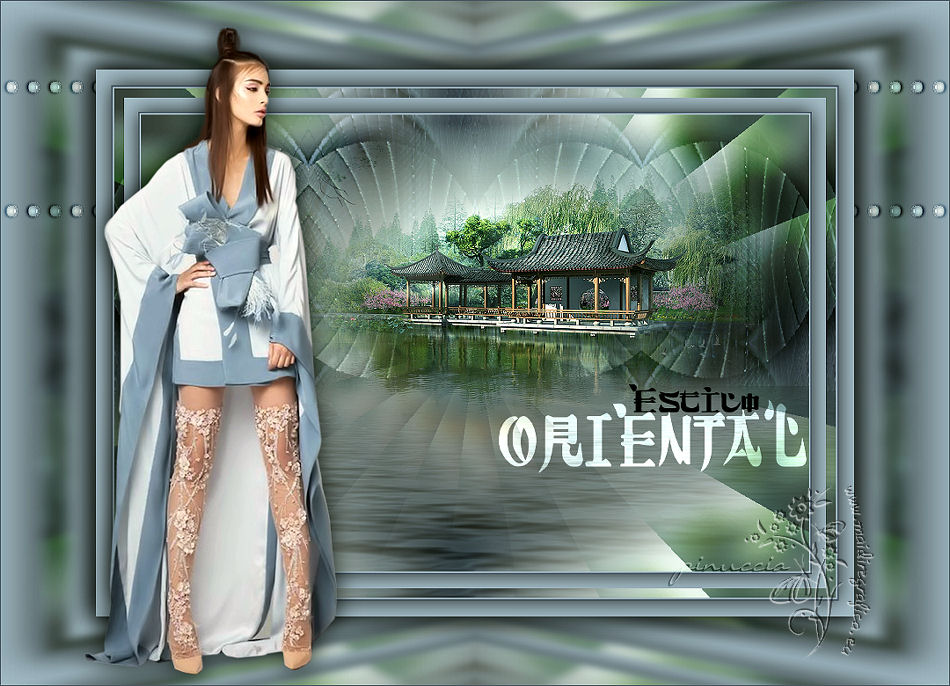
ESTILO ORIENTAL
english version

Here you find the original of this tutorial:

This tutorial was written with CorelX19 and translated with CorelX, Corel X3 and CorelX17, but it can also be made using other versions of PSP.
Since version PSP X4, Image>Mirror was replaced with Image>Flip Horizontal,
and Image>Flip with Image>Flip Vertical, there are some variables.
In versions X5 and X6, the functions have been improved by making available the Objects menu.
In the latest version X7 command Image>Mirror and Image>Flip returned, but with new differences.
See my schedule here
italian translation here
your versions qui/here
For this tutorial, you will need:
Tubes of yours (woman and landscape).
The rest of the material qui
Tubes not supplied:
woman by A PSP Devil (Fashion Model with Kimono - 5 - tubed by A PSP Devil)
Landscape misted by Azalee (pays-225-Azalee).
The rest of the material is by Yedralina
(The links of the tubemakers here).
Plugins:
consult, if necessary, my filter section here
Filters Unlimited 2.0 here
AP Lines - Lines SilverLining here
VanDerLee - Unplugged-X here
Simple - Left Right Wrap, Top Left Mirror here
&<Bkg Kaleidoscope> - Kaleidoscope Flower, Radial Replicate (to import in Unlimited) here
Flaming Pear - Flood here
(optional) AAA Filters - Custom here
Filters Simple can be used alone or imported into Filters Unlimited.
(How do, you see here)
If a plugin supplied appears with this icon  it must necessarily be imported into Unlimited it must necessarily be imported into Unlimited

You can change Blend Modes according to your colors.
1. Chose two color from your tubes.
For my example:
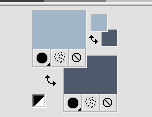
Set your foreground color to light color #a2b6c9,
and your background color to dark color #4f596c.
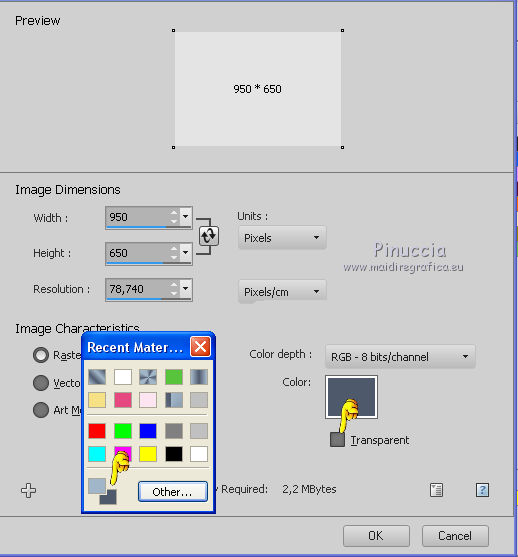
2. Open a new image 950 x 650 pixels, background dark color.
deselect Transparent and right-click on the color palette.
Will have the table of the recent colors: at the bottom left you find your Materials palette.
The last two color of the table are always the black and the white.
Click on the color to set it as background color.
3. Layers>New Raster Layer - Raster 1.
Selections>Select All
Open the landscape misted - Edit>Copy.
Go back to your work and go to Edit>Paste into Selection.
Selections>Select None.
4. Effects>Image Effects>Seamless Tiling.

5. Adjust>Blur>Gaussian Blur - radius 15.

6. Layers>Duplicate (copy of Raster 1).
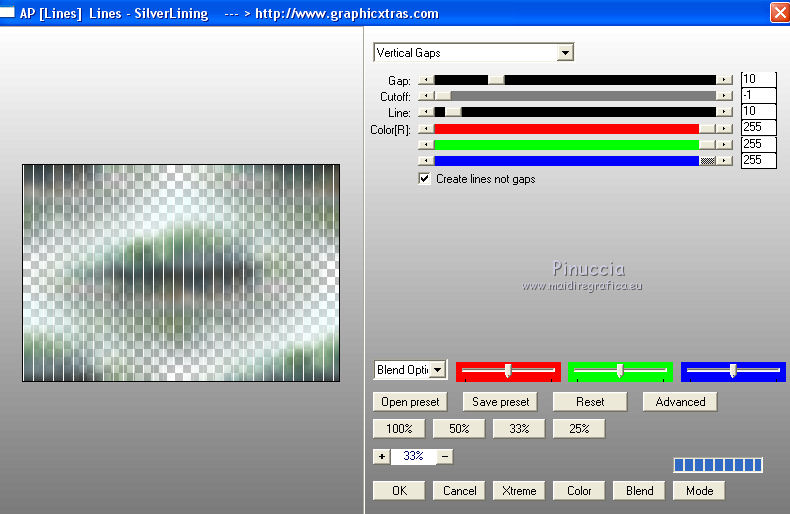
7. Effects>Plugins>AP Lines - Lines SilverLining - Vertical gaps.
8. Effects>Plugins>VanDerLee - Unplugged-X - Tan Deform.
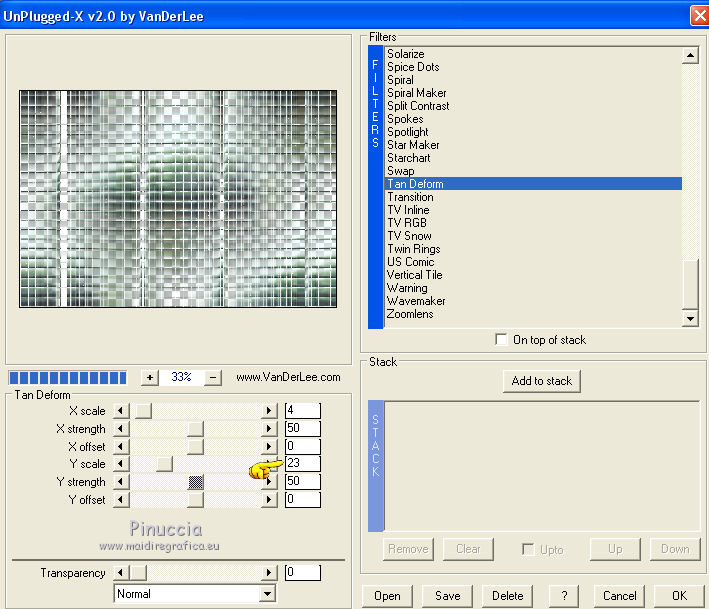
9. Image>Resize, to 80%, resize all layers not checked.
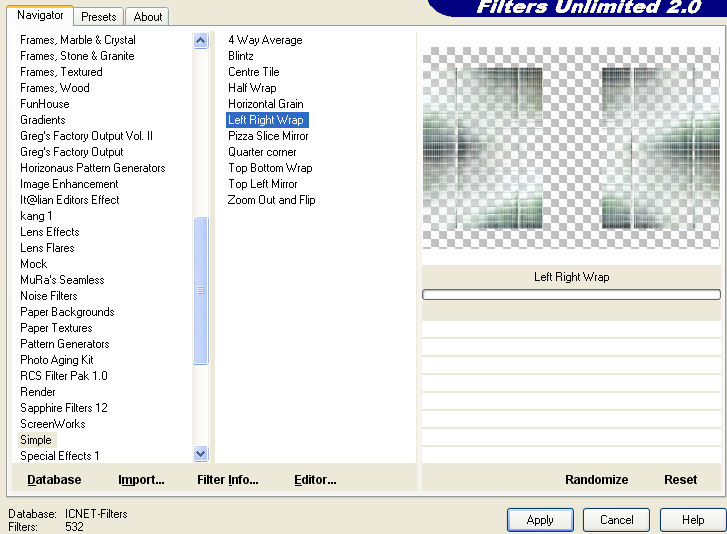
10. Effects>Plugins>Filters Unlimited 2.0 - Simple - Left Right Wrap
this plugin, if used alone, doesn't give window;
I import it in Unlimited to show the result
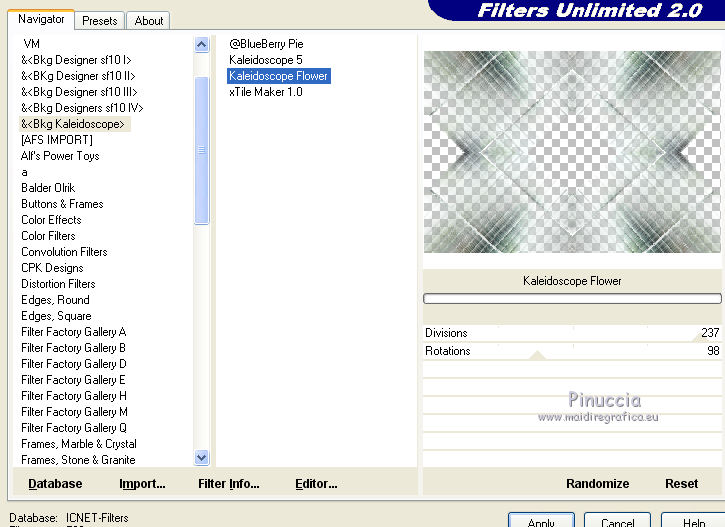
11. Effects>Plugins>Filters Unlimited 2.0 - &<Bkg Kaleidoscope> - Kaleidoscope Flower
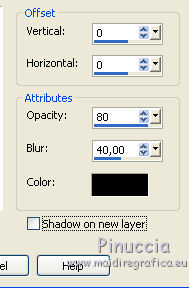
12. Effects>3D Effects>Drop Shadow, color black.
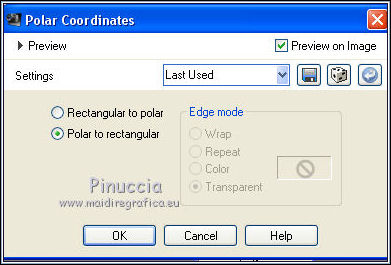
13. Effects>Distortion Effects>Polar Coordinates.
14. Image>Flip.
15. Layers>Duplicate.
Effects>Reflection Effects>Rotating Mirror.
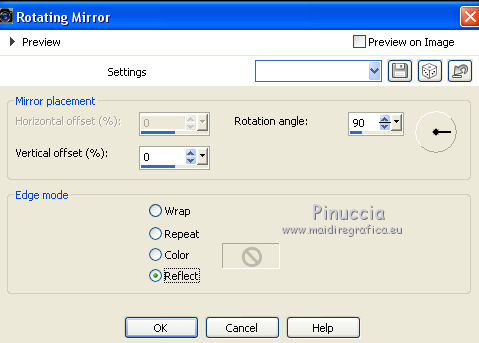
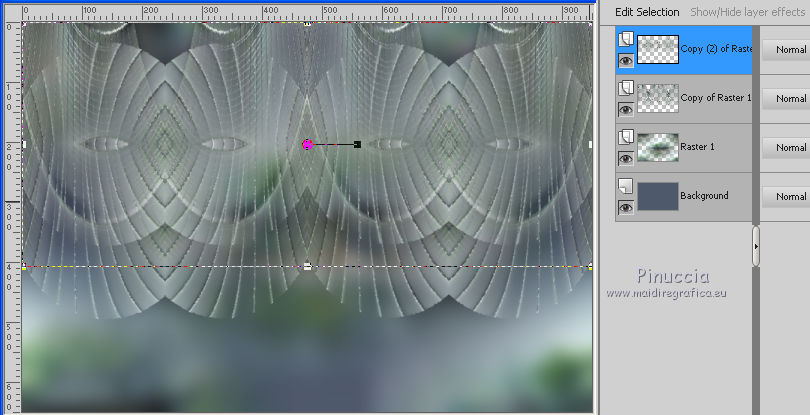
16. Objects>Align>Top
is you are using a previous version without the menu Objects disponible,
use the Move tool 
17. Effects>3D Effects>Drop Shadow, same settings.

Edit>Repeat Drop Shadow.
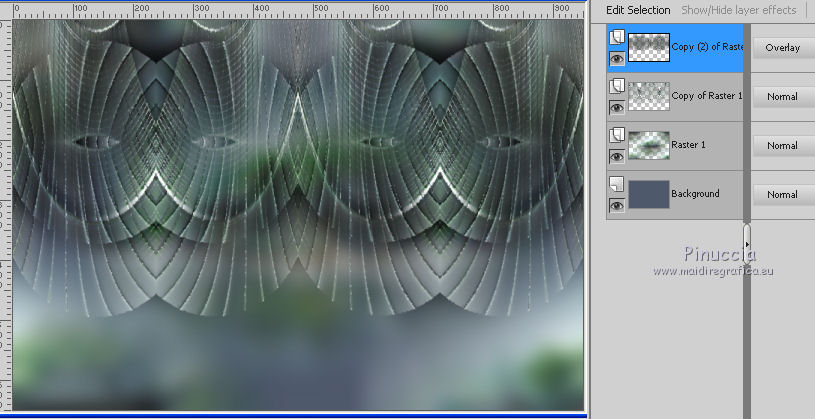
18. Change the Blend Mode of this layer to Overlay.
19. Activate the layer below, copy of Raster 1.
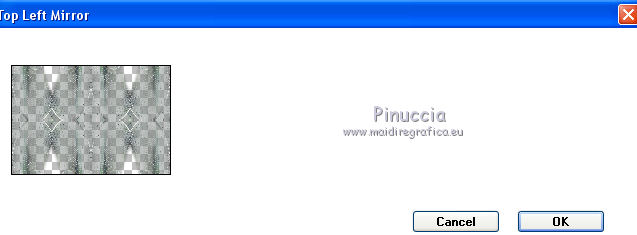
Effects>Plugins>Simple - Top Left Mirror.
20. Effects>Image Effects>Seamless Tiling, same settings.

21. Effects>3D Effects>Drop Shadow, same settings.

22. Change the Blend Mode of this layer to Overlay.
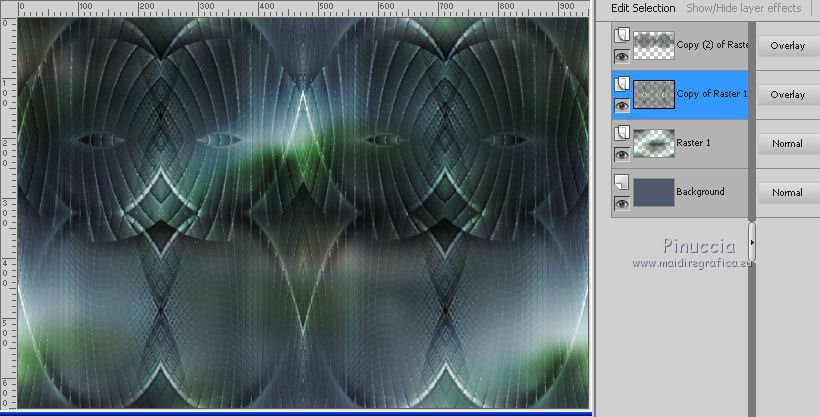
23. Activate the layer Raster 1 (the second from the bottom).
Effects>Plugins>Filters Unlimited 2.0 - &<Bkg Kaleidoscope> - Radial Replicate, default settings

24. Layers>Arrange>Move Up.
Activate the top layer, copy 2 of Raster 1.
25. Edit>Paste as new layer (your landscape misted is still in memory).
Image>Resize, according to your tube, resize all layers not checked.
Place  rightly the tube. rightly the tube.
Adjust>Sharpness>Sharpen.
26. Activate the layer Copy of Raster 1.
Effects>Plugins>Flaming Pear - Flood.
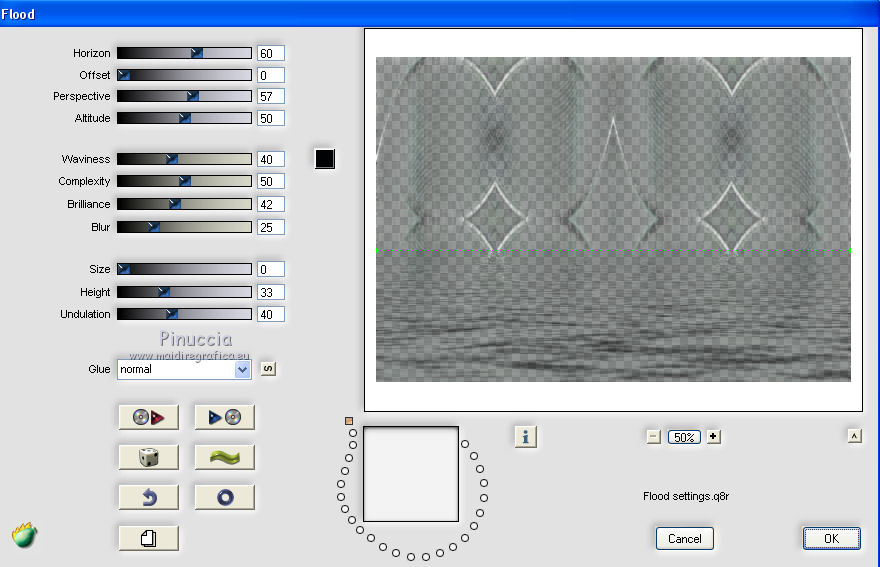
(keep the Blend Mode to Overlay)
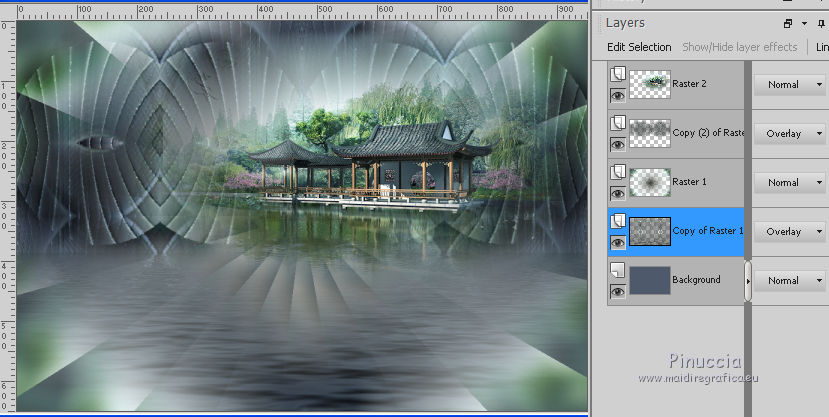
27. Image>Add borders, 2 pixels, symmetriche, light color.
Image>Add borders, 2 pixels, symmetric, dark color.
28. Selections>Select All.
Image>Add borders, 20 pixels, symmetric, light color.
29. Effects>3D Effects>Drop Shadow, same settings.

30. Selections>Select All.
Edit>Copy.
31. Image>Add borders, 40 pixels, symmetric, color white.
Selections>Invert.
Edit>Paste into Selection.
Selections>Select None.
32. Layers>Duplicate.
Image>Resize, 80%, resize all layers not checked.
33. Effects>3D Effects>Drop Shadow, same settings, 2 times.
34. Activate the bottom layer.
Layers>Promote Background layer.
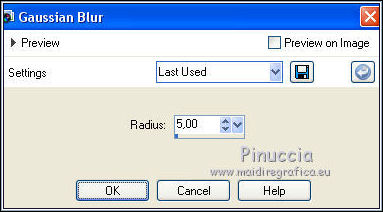
Adjust>Blur>Gaussian Blur - radius 5.
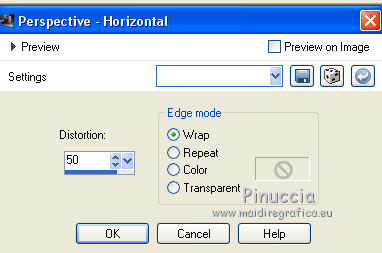
35. Effects>Geometric Effects>Perspective horizontal.
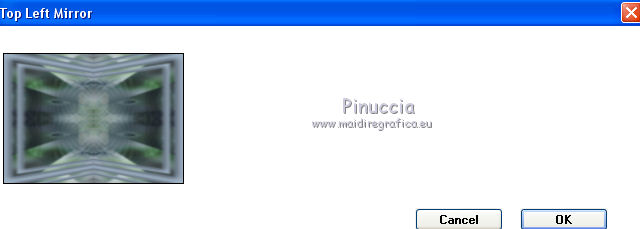
36. Effects>Plugins>Simple - Top Left Mirror.
37. Open the tube Deco00156 - Edit>Copy.
Go back to your work and go to Edit>Paste as new layer.
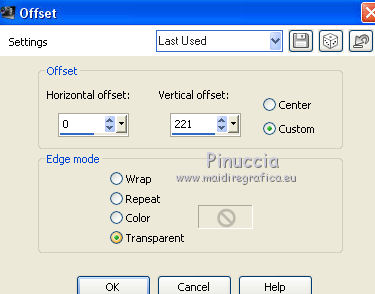
38. Effects>Image Effects>Offset.
39. Change the Blend Mode of this layer to Overlay.
40. Activate the top layer.
Open your principal tube - Edit>Copy.
Go back to your work and go to Edit>Paste as new layer.
Image>Resize, according to your tube, resize all layers not checked.
Placer  the tube where you like. the tube where you like.
Effects>3D Effects>Drop Shadow, to your choice.
41. Open the tube text_EstiloOriental - Edit>Copy.
Go back to your work and go to Edit>Paste as new layer.
Move  the text at the bottom right. the text at the bottom right.
Effects>3D Effects>Drop Shadow, to your choice.
Change the Blend Mode of this layer to Overlay.
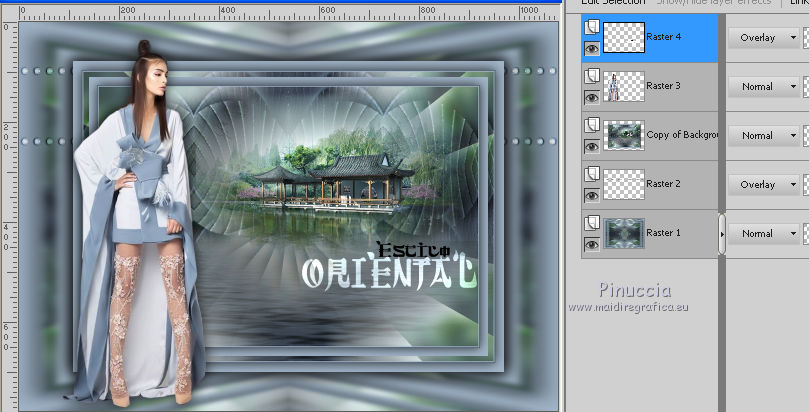
42. Image>Add borders, 1 pixel, symmetriche, dark color.
43. OPTIONAL:
Effects>Plugins>AAA Filters - Custom - click on Landscape and ok.
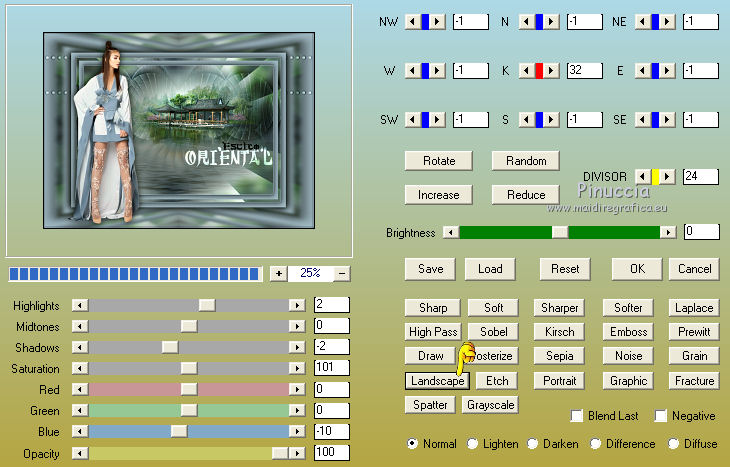
44. Image>Resize, 950 pixels width, resize all layers checked.
Sign your work on a new layer.
Layers>Merge>Merge All and save as jpg.

If you have problems or doubts, or you find a not worked link, or only for tell me that you enjoyed this tutorial, write to me.
26 April 2017
|
