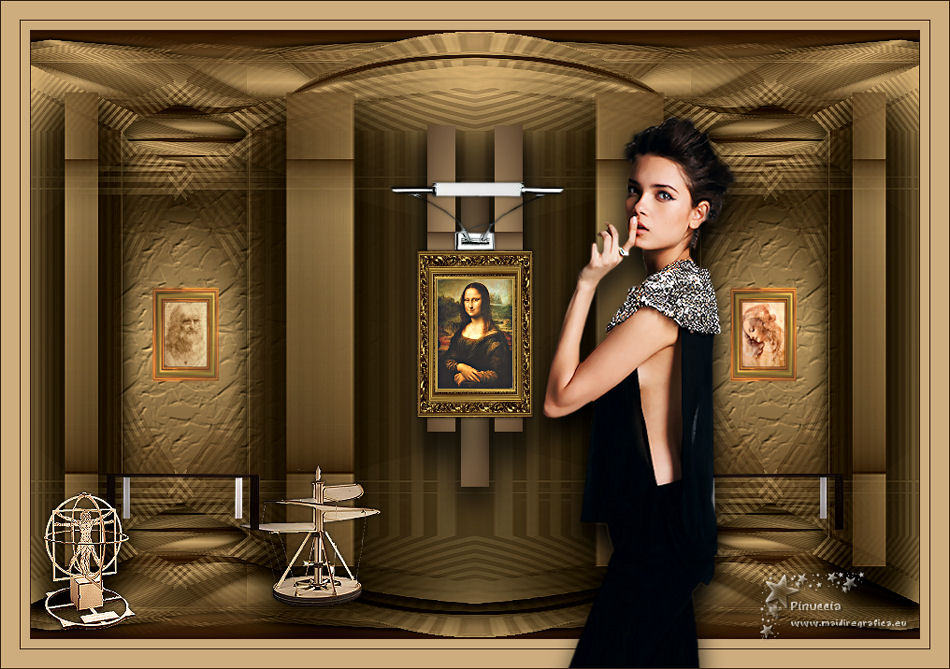
|
GALERIA DE ARTE

english version

Here you find the original of this tutorial:

This tutorial was written with CorelX19 and translated with CorelX17, but it can also be made using other versions of PSP.
Since version PSP X4, Image>Mirror was replaced with Image>Flip Horizontal,
and Image>Flip with Image>Flip Vertical, there are some variables.
In versions X5 and X6, the functions have been improved by making available the Objects menu.
In the latest version X7 command Image>Mirror and Image>Flip returned, but with new differences.
See my schedule here
italian translation here
french tanslation here
your versions here
For this tutorial, you will need:
Tubes of yours.
The rest of the material here
For the tubes thanks
Clo (womanbyClo622) - not supplied,
Kad (KaD_Deco11) - not supplied
and Guismo (calguistable27092011).
The rest of the material is by Yedralina
(The links of the tubemakers here).
Plugins:
consult, if necessary, my filter section here
VanDerLee - Unplugged-X here
AAA Filters - Custom here
Simple - Diamonds, Top Left Mirror here
Filters Unlimited 2.0 here
Visual Manipulation - Transmission here
Mura's Meister - Perspective Tiling here
Filters VM Manipulation and Simple can be used alone or imported into Filters Unlimited.
(How do, you see here)
If a plugin supplied appears with this icon  it must necessarily be imported into Unlimited it must necessarily be imported into Unlimited

You can change Blend Modes according to your colors.
In the newest versions of PSP, you don't find the foreground/background gradient (Corel_06_029).
You can use the gradients of the older versions.
The Gradient of CorelX here
Copy the presets in the Presets Folder.
The texture Corel_15_038 is standard in PSP and it correspond to of the previous versions.
If you don't find it in your PSP, copy the texture supplied in the Texture Folder.
1. Set your foreground color to #301b0f,
and your background color to #cdad7e.
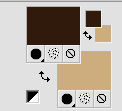
Set your foreground color to a Foreground/Background Gradient, style Linear.
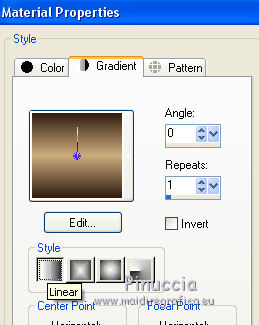
2. Open Image Alpha GaleriArt-©Yedralina.
Window>Duplicate, or on the keyboard shift+D, to make a copy.
Close the original.
The copy, that will be the basis of your work, is not empty, but contains the selections saved on the alpha channel.
Flood Fill  the transparent image with your gradient. the transparent image with your gradient.
3. Layers>Duplicate.
Image>Resize, to 80%, resize all layer not checked.
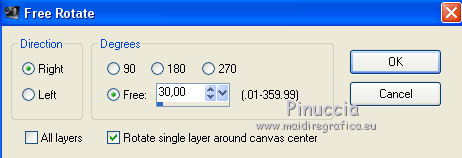
Image>Free rotate - 30 degrees to right
4. Activate the bottom layer, Raster 1.
Selections>Select All.
Image>Crop to selection.
5. Activate again the top layer.
Effects>Plugins>Filters Unlimited 2.0 - Tile &Mirror - XY-Offset 50% (negative)
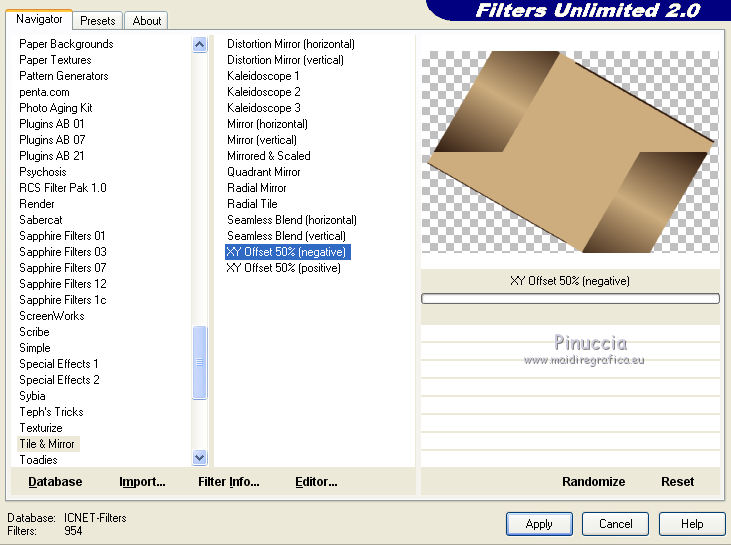
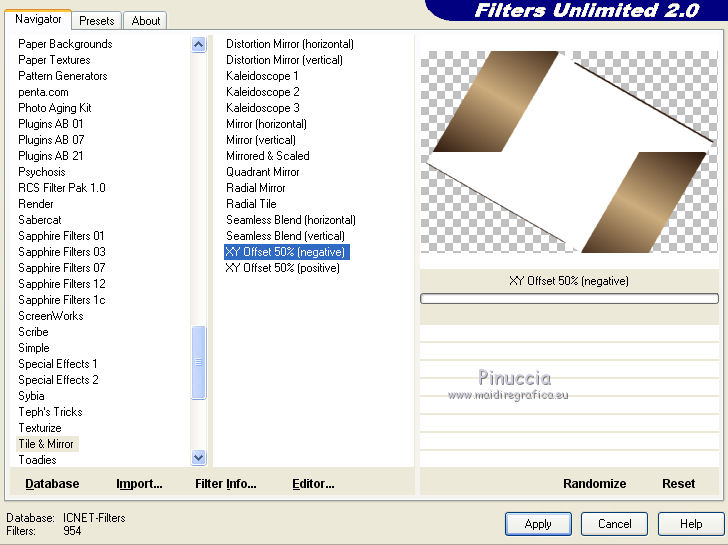
if you are using the version of Unlimited composed by files 8bf,
you'll get this (but, in this tutorial, the difference doesn't matter)
5. Selections>Load/Save Selection>Load Selection from Alpha Channel.
The selection #1 is immediately available. You just have to click Load.
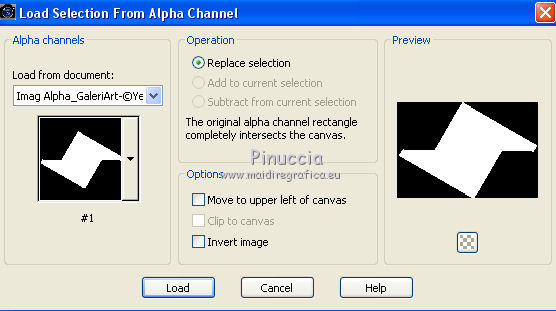
Press CANC on the keyboard 
Selections>Select None.
6. Effects>Plugins>VM Manipulation - Transmission.
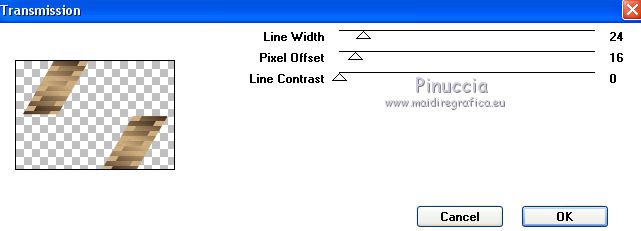
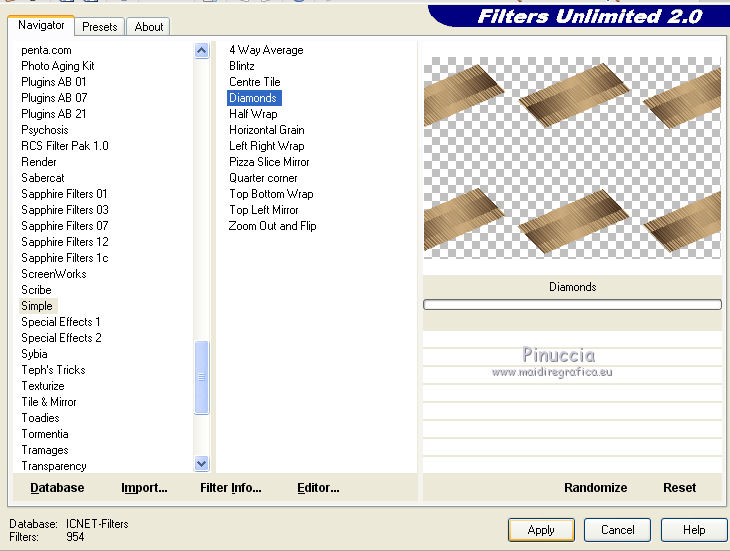
7. Effects>Plugins>Filters Unlimited 2.0 - Simple - Diamonds.
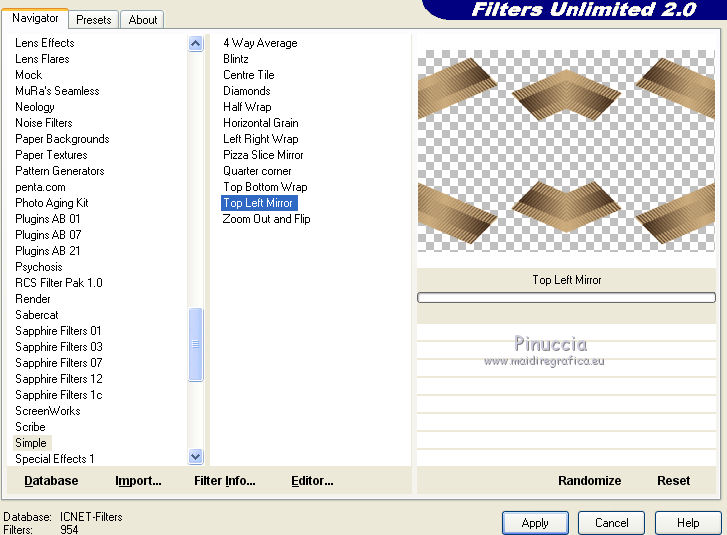
8. Effects>Plugins>Filters Unlimited 2.0 - Simple - Top Left Mirror.
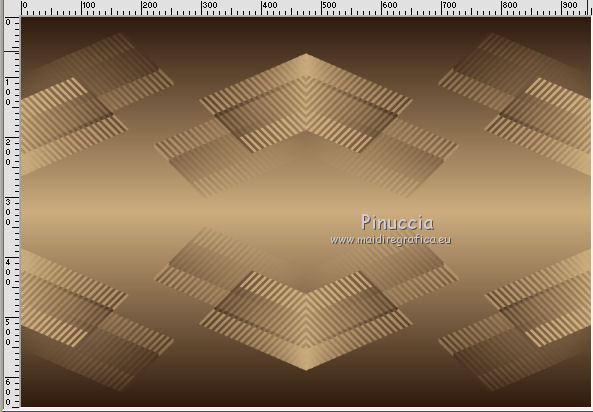
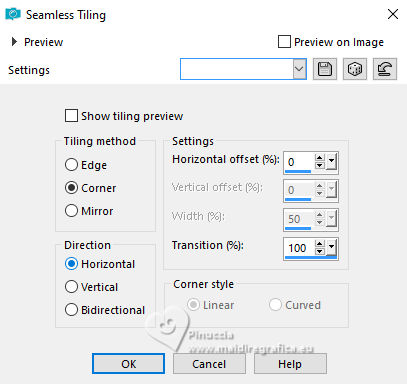
9. Effects>Image Effects>Seamless Tiling.

You'll get this
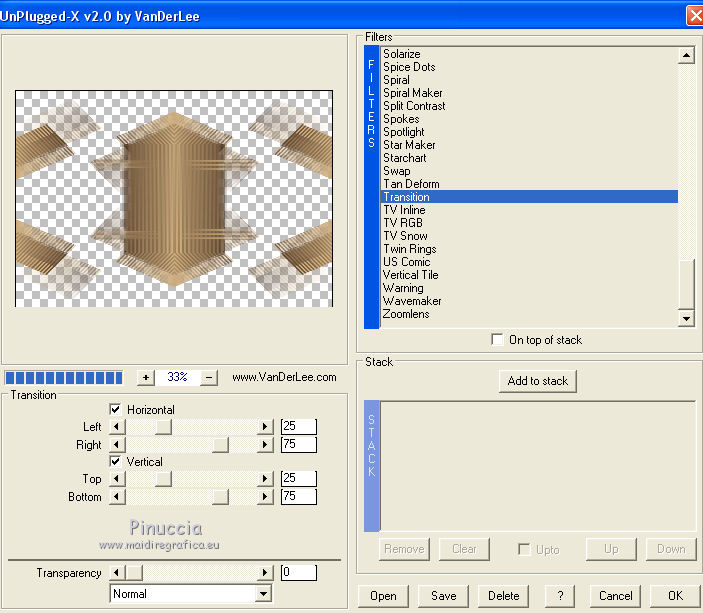
10. Effects>Plugins>VanDerLee - Unplugged-X - Transition, default settings
11. Effects>Image Effects>Seamless Tiling.
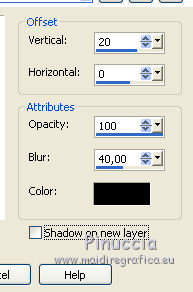
12. Effects>3D Effects>Drop Shadow, color black.
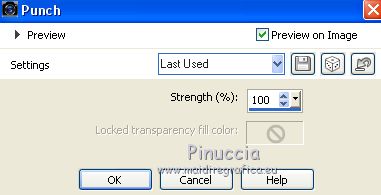
13. Effects>Distortion Effects>Punch .
14. Edit>Copy Special>Copy Merged.
Edit>Paste as new layer.
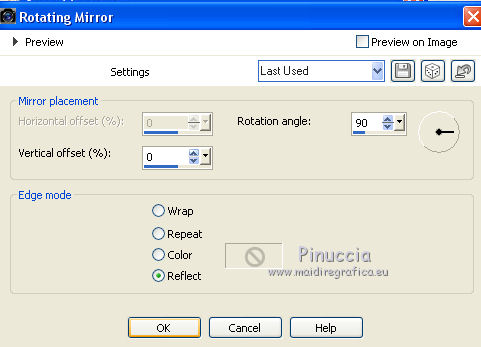
15. Effects>Reflection Effects>Rotating Mirror.
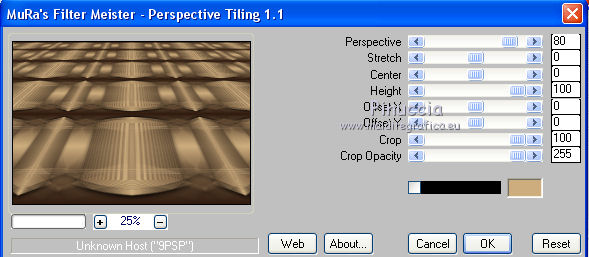
16. Effects>Plugins>Mura's Meister - Perspective Tiling, default settings.
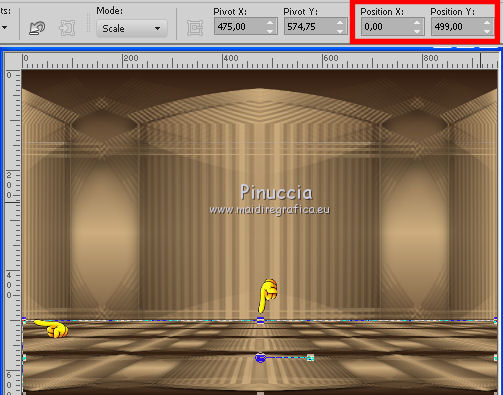
17. K key on the keyboard to activate the Pick Tool 
mode Scale 
push the top central node down, until about 500 pixels.
(if you don't see the Rules, go to View>Rules)
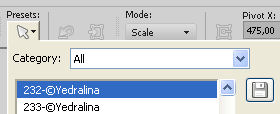
If you prefer: activate the Pick Tool 
and select the preset 232-©Yedralina
Push M key to deselect the Tool.
18. Effects>Reflection Effects>Rotating Mirror, same settings.

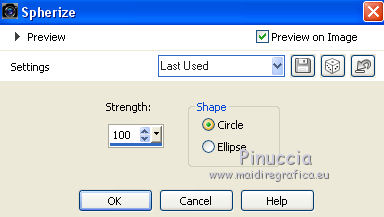
19. Effects>Geometric Effects>Spherize
Layers>Arrange>Move Down.
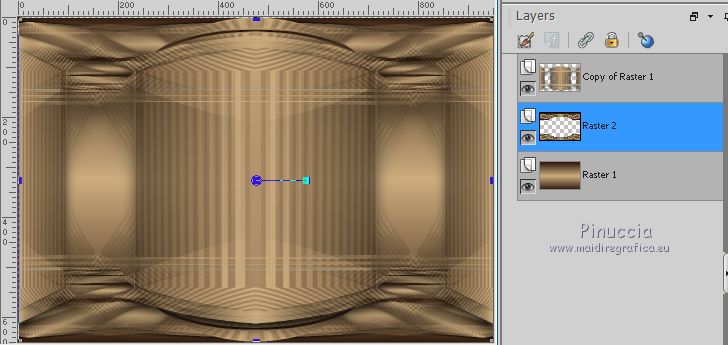
20. Activate the bottom layer, Raster 1.
Selections>Load/Save Selection>Load Selection from Alpha Channel.
Open the selection menu and load the selection #2.
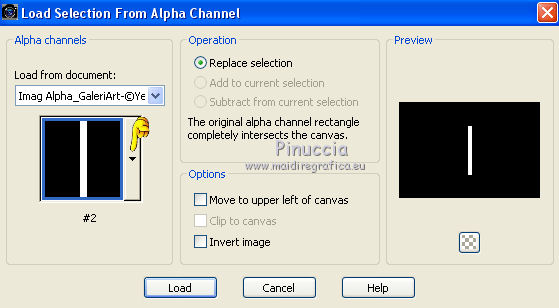
Selections>Promote Selection to layer.
Layers>Arrange>Bring to Top.
21. Effects>Texture Effects>Weave
weave color: black
gap color: background color.

22. Effects>3D Effects>Drop Shadow, color black.
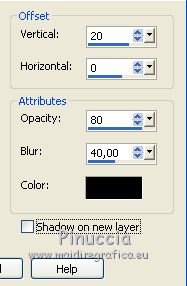
Selections>Select None.
23. Layers>Duplicate.
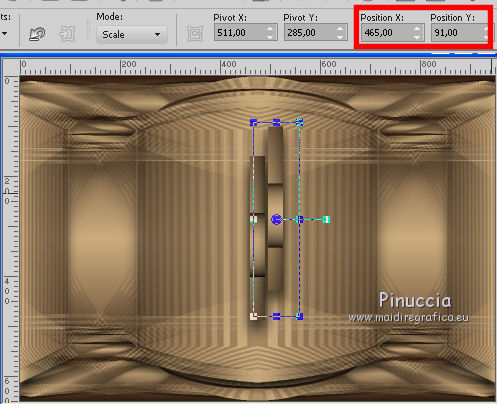
K key to activate the Pick Tool 
and set as below
or select the preset 233-©Yedralina.
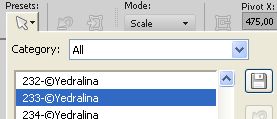
M key to deselect the Tool.
24. Layers>Duplicate.
Image>Mirror.
Layers>Merge>Merge Down (copy of Promoted selection)
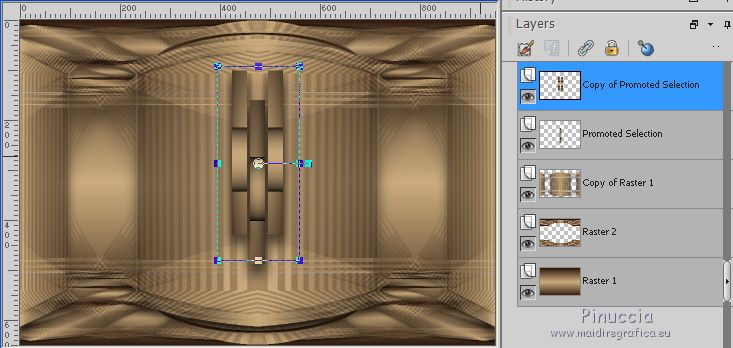
Effects>3D Effects>Drop Shadow, same settings.

25. Layers>Duplicate.
Layers>Arrange>Move Down - 2 times.
Effects>Distortion Effects>Punch

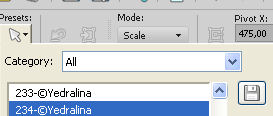
K key to activate the Pick Tool 
and set as below
or select the preset 234-©Yedralina.

M key to deselect the Tool.
26. Effects>Image Effects>Seamless Tiling, same settings.
Effects>Distortion Effects>Punch, same settings.
Effects>3D Effects>Drop Shadow, color black.
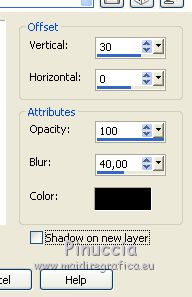
Edit>Repeat Drop Shadow.
27. Activate the layer Copy of Raster 1.
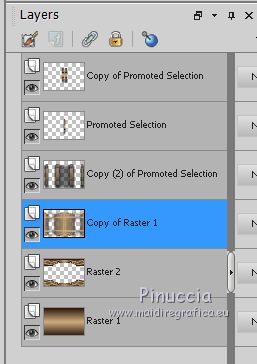
Selections>Load/Save Selection>Load Selection from Alpha Channel.
Open the selection menu and load the selection #3.
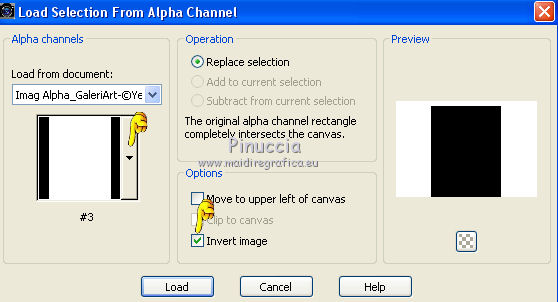
Selections>Promote selection to layer.
Selections>Select None.
28. Activate the bottom layer.
Effects>Texture Effects>Texture, select the texture Crumpled paper or Corel_15_038)
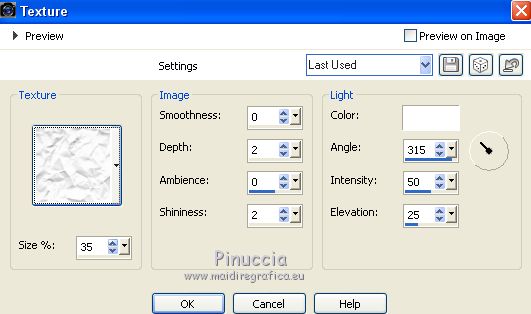
You'll get this
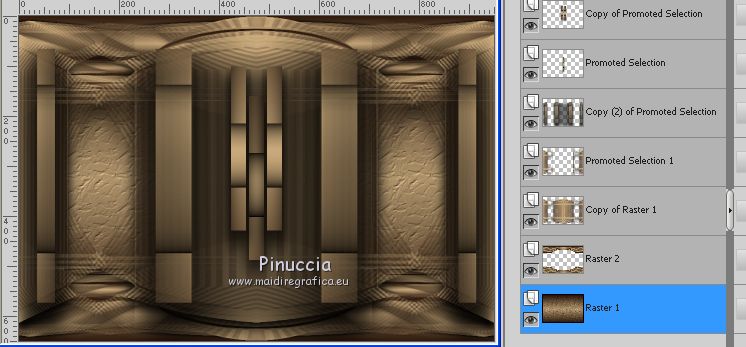
29. Keep this layer selected.
Close the two top layers (Promoted selection and Copy of Promoted selection)
Layers>Merge>Merge visible.
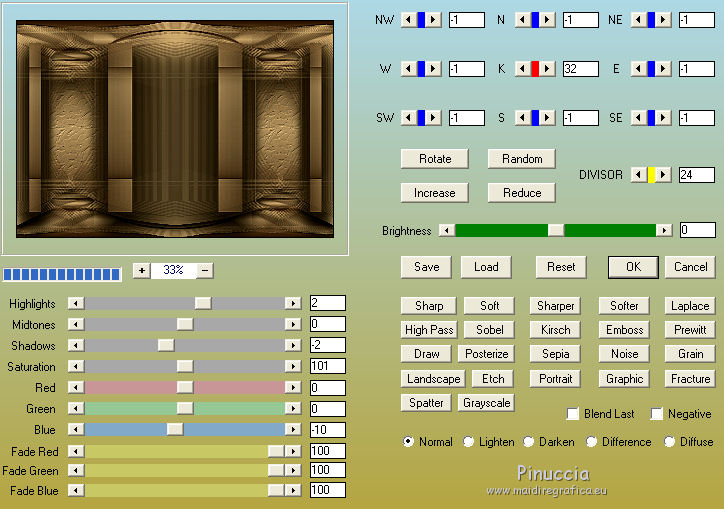
Effects>Plugins>AAA Filters - Custom, click on Landscape and ok.
Open again the two top layers and keep the top layer selected.
30. In the next step (31), we will make the small paintings on the right and on the left.
We have two options:
first option:
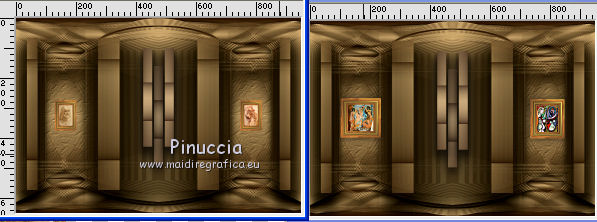
use the two panels already prepared and included in the material:
(1820©Yedralina/1824©Yedralina)
In this case, just do:
Edit>Copy and Edit>Paste as new layer.
and go to step 32.
Second option:
you can create your paintings, with the images and frames you prefer
I did this:
I chose three different paintings by Leonardo (three painting by Picasso for the second version),
and I added a frame (in the material you find 3 frames)
Image>Picture frame...
When your paintings are ready:
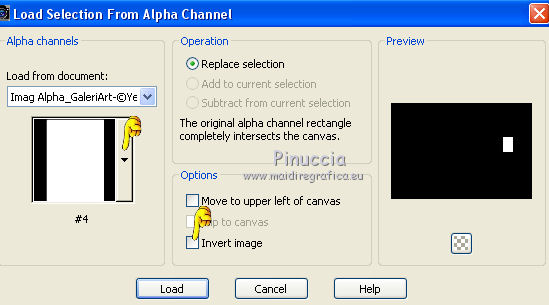
Selections>Load/Save Selection>Load Selection from Alpha Channel.
Open the selection menu and load the selection #4.
Don't forget to deselect Invert image
Open one of your painting and go to Edit>Copy.
Go back to your work and go to Edit>Paste into Selection.
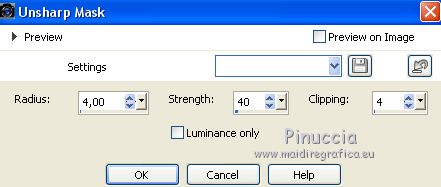
Adjust>Sharpness>Unsharp mask.
Effects>3D Effects>Drop Shadow, color black.
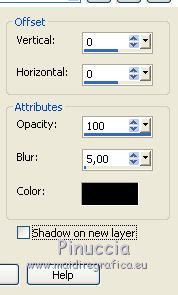
31. Layers>New Raster Layer.
Selections>Load/Save Selection>Load Selection from Alpha Channel.
Open the selection menu and load the selection #5.
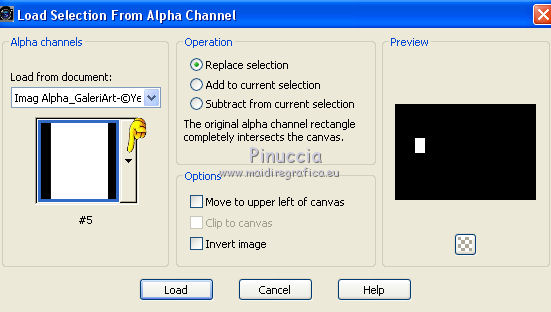
Open your second painting and go to Edit>Copy.
Go back to your work and go to Edit>Paste into Selection.
Adjust>Sharpness>Unsharp mask, same settings.
Effects>3D Effects>Drop Shadow, same settings.

Layers>Merge>Merge down.
32. Layers>New raster layer.
Selections>Load/Save Selection>Load Selection from Alpha Channel.
Open the selection menu and load the selection #6.
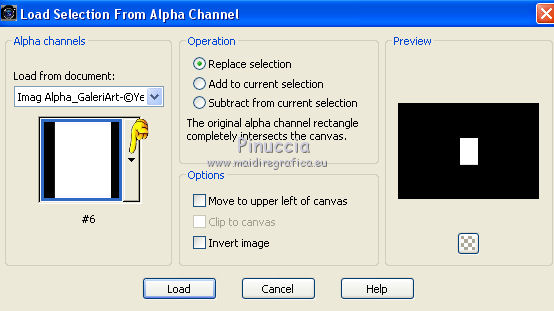
Open your third painting and go to Edit>Copy.
Go back to your work and go to Edit>Paste into Selection.
Adjust>Sharpness>Unsharp Mask, same settings.
Effects>3D Effects>Drop Shadow, same settings.
Layers>Merge>Merge down.
Selections>Select None.
33. Copy/Paste as new layer the decorative elements:
lamp (KaD_Deco11)
small table (calguistable27092011)
Man of Vitruvio (1734©Yedralina)
Place  rightly the tubes. rightly the tubes.
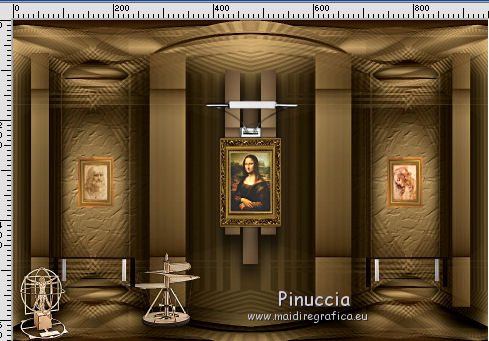
34. Optionnel:
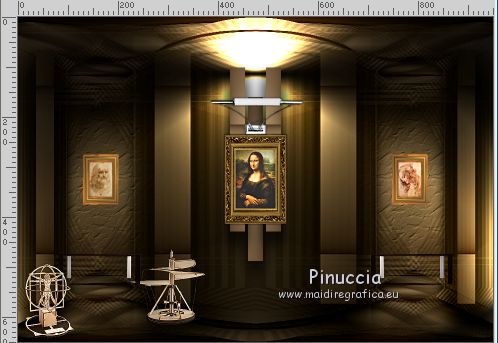
If you prefer a more "nocturnal" appearance, activate the background layer:
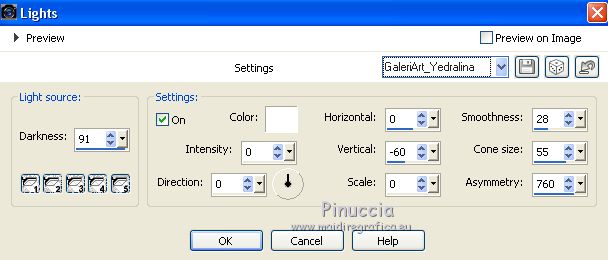
Effects>Illumination Effects>Light
select the preset Preset_Lights_GaleriArt_Yedralina and ok.
35. Image>Add borders, 1 pixel, symmetric, dark color.
Image>Add borders, 10 pixels, symmetric, light color.
Image>Add borders, 1 pixel, symmetric, dark color.
Image>Add borders, 20 pixels, symmetric, light color.
36. Open your main tube and go to Edit>Copy.
Go back to your work and go to Edit>Paste as new layer.
Move  the tube to the right side. the tube to the right side.
Effects>3D Effects>Drop Shadow, of your choice.
37. Sign your work on a new layer.
Image>Add borders, 1 pixel, symmetric, dark color.
Image>Resize, 950 pixels width, resize all layers checked.
Save as jpg.
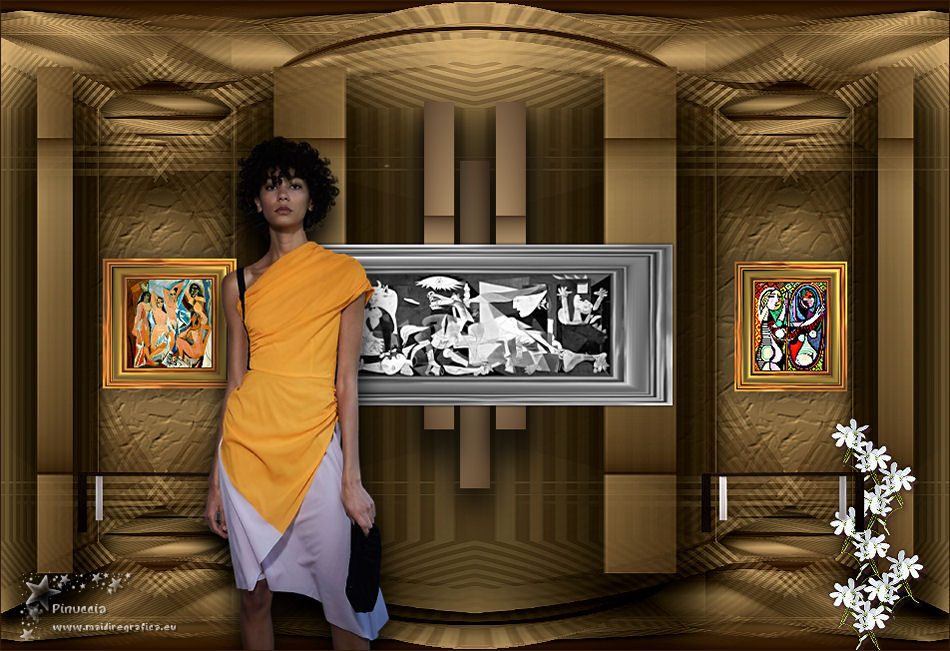
The tube of this version is by Roosketube (roosketubedesign-dame-198)

If you have problems or doubts, or you find a not worked link, or only for tell me that you enjoyed this tutorial, write to me.
22 July 2018
|

