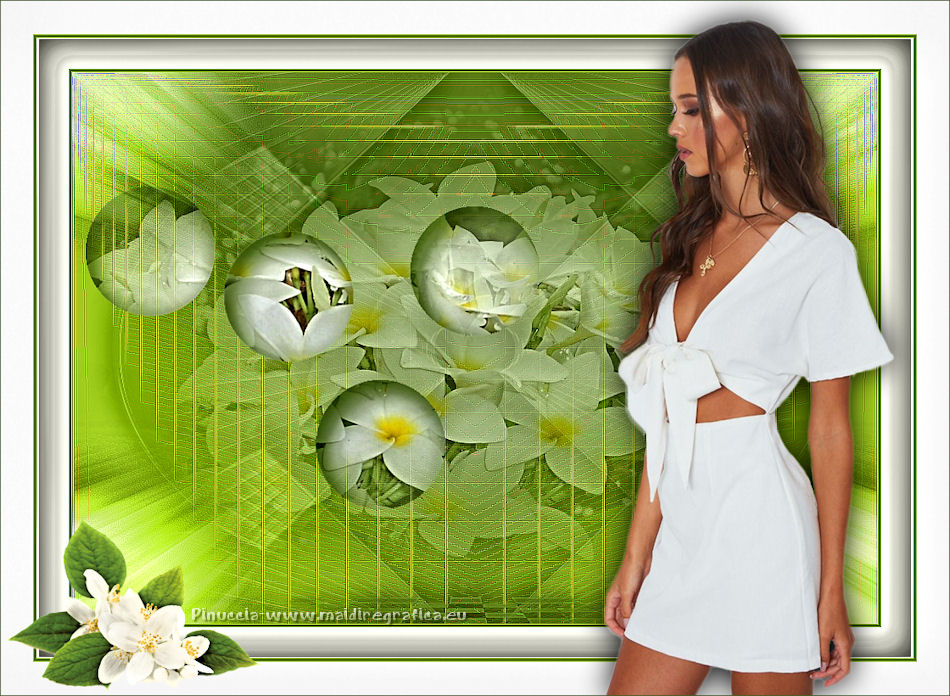
|
JAZMIN

english version

Here you find the original of this tutorial:

This tutorial was written with CorelX19 and translated with CorelX17, but it can also be made using other versions of PSP.
Since version PSP X4, Image>Mirror was replaced with Image>Flip Horizontal,
and Image>Flip with Image>Flip Vertical, there are some variables.
In versions X5 and X6, the functions have been improved by making available the Objects menu.
In the latest version X7 command Image>Mirror and Image>Flip returned, but with new differences.
See my schedule here
italian translation here
french tanslation here
your versions here
For this tutorial, you will need:
A tube of yours.
The rest of the material here
For the tube not supplied thanks Malacka (malackatube fashion076)
The rest of the material is by Yedralina
(The links of the tubemakers here).
Plugins:
consult, if necessary, my filter section here
Mehdi - Wavy Lab 1.1 here
Simple - Centre Tile here
Graphics Plus - Vertical Mirror here
Funhouse - Facet Offset here
Filters Unlimited 2.0 here
Nik Software - Color Efex Pro here
AAA Filters - Custom here
Filters Simple, Graphics Plus and Funhouse can be used alone or imported into Filters Unlimited.
(How do, you see here)
If a plugin supplied appears with this icon  it must necessarily be imported into Unlimited it must necessarily be imported into Unlimited

You can change Blend Modes according to your colors.
Copy the preset Pick-250-©Yedralina and Pick-251-©Yedralina in the Presets Folder.
Open the mask in PSP and minimize them with the rest of your material.
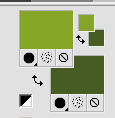
1. Set your foreground color to the light color #85a528,
and your background color to the dark color #475c23.
Open Alpha_jazmin-©Yedralina.
This image, that will be the basis of your work, is not empty,
but contains the selections saved on the alpha channel.
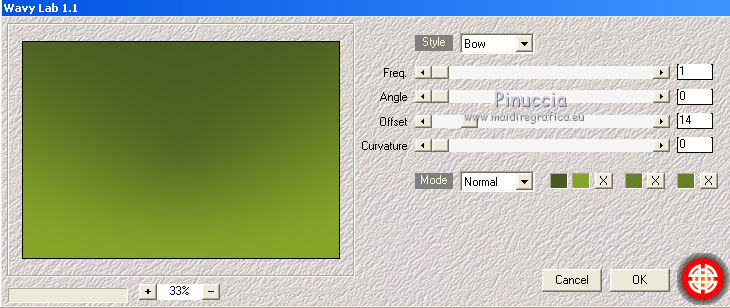
Effects>Plugins>Mehdi - Wavy Lab 1.1.
This filter create gradients with your materials palette.
The first is your background color, the second your foreground color.
Keep the other two colors created by the filter.
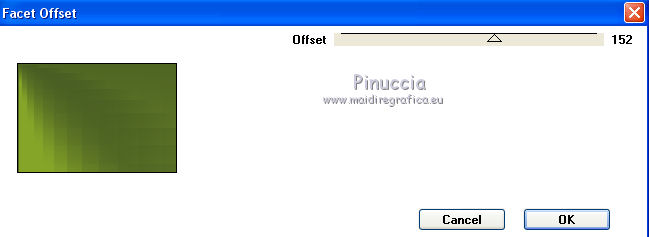
Effects>Plugins>Funhouse - Facet Offset, default settings.
Effects>Edge Effects>Enhance More.
Effects>Reflection Effects>Rotating Mirror.

Again Effects>Edge Effects>Enhance More.
2. Layers>Duplicate.
Effects>Reflection Effects>Rotating Mirror.
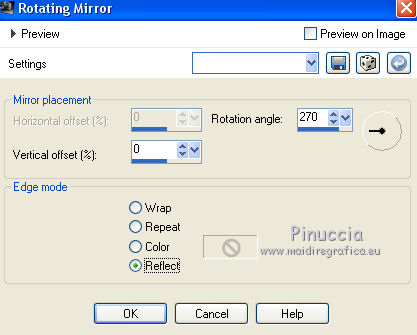
Image>Resize, to 80%, resize all layers not checked.
Effects>Distortion Effects>Polar Coordinates.
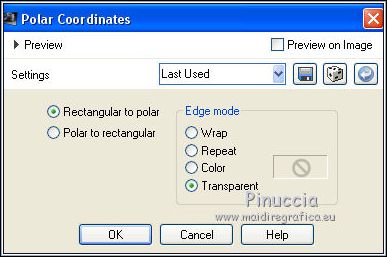
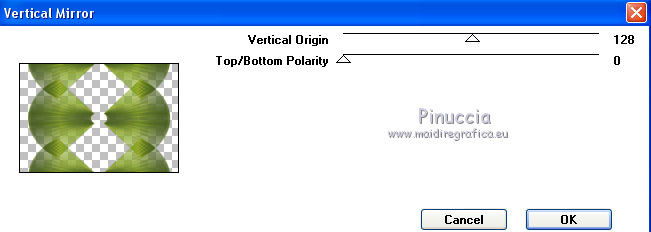
Effects>Plugins>Graphics Plus - Vertical Mirror, default settings.
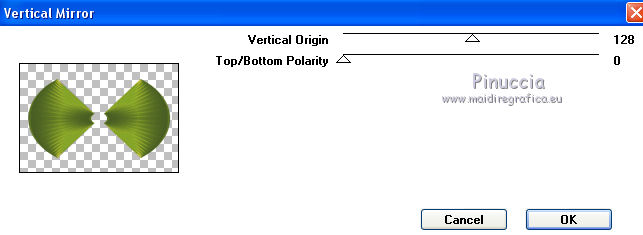
Effects>Image Effects>Seamless Tiling.
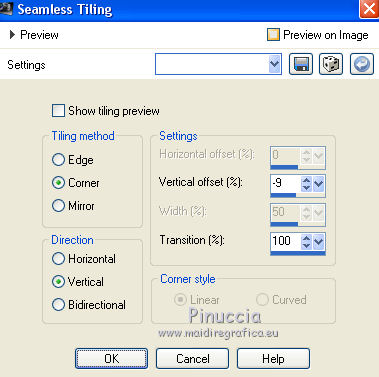
Again Effects>Plugins>Graphics Plus - Vertical Mirror, default settings.
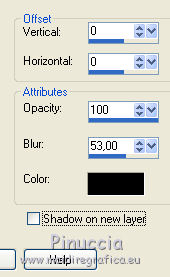
Effects>3D Effects>Drop Shadow, color black.
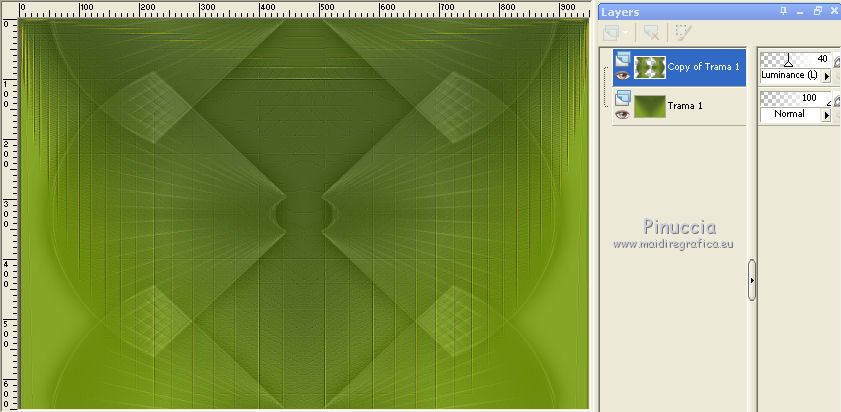
Change the Blend Mode of this layer to Luminance (legacy).
et reduce the opacity to 40%.
3. Layers>New Raster Layer.
Selections>Select All.
Open the misted and go to Edit>Copy.
Go back to your work and go to Edit>Paste into Selection.
Selections>Select None.
Reduce the opacity of this layer to 50%.
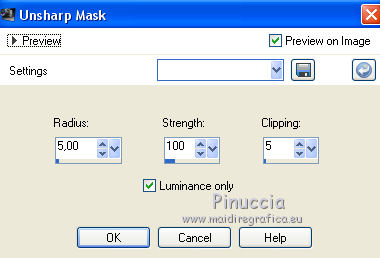
Adjust>Sharpness>Unsharp Mask.
4. Activate the background layer, Trama 1.
Layers>Duplicate.
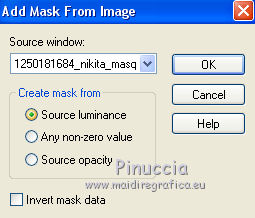
Layers>New Mask layer>From image
Open the menu under the source window and you'll see all the files open.
Select the mask 1250181684_nikita_masques.
Layers>Merge>Merge Group.
Layers>Arrange>Bring to Top.
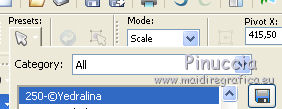
15. Press K key on the keyboard to activate the Pick Tool 
open the preset menu and select the preset 250-©Yedralina
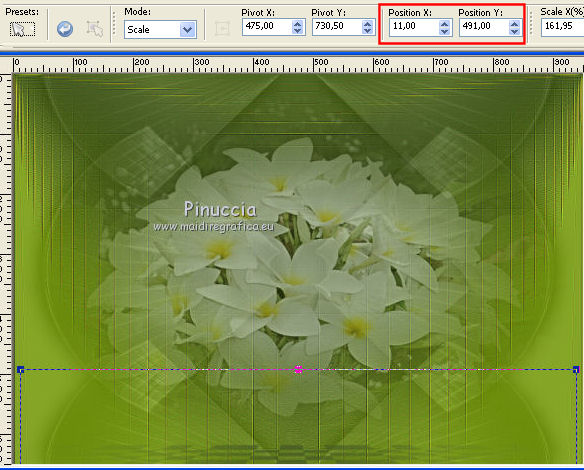
M key to deselect the Tool.
Effects>3D Effects>Drop Shadow, same settings.

Adjust>Sharpness>Sharpen More.
Layers>Arrange>Move Down.
5. Activate the top layer, Raster 1.
Layers>New Raster Layer.
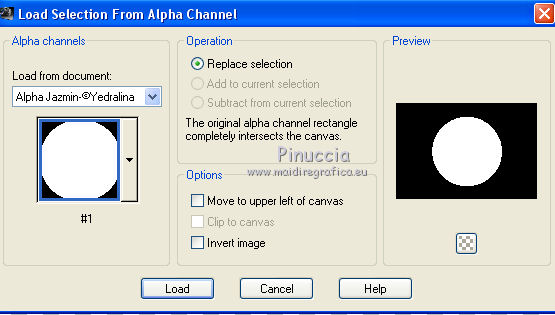
Selections>Load/Save Selection>Load Selection from Alpha Channel.
The selection #1 is immediately available.
You have only to click Load.
Edit>Paste into Selection (your misted is always in memory).
Selections>Select None.
Effects>Plugins>Simple - Half Wrap.
Adjust>Blur>Radial Blur.
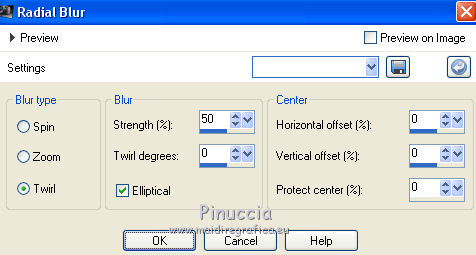
if you prefer, you can use the deco tube created for this step, and joined to the material
Effects>Edge Effects>Enhance More.
Change the Blend Mode of this layer to Luminance.
6. Activate the layer of the misted, Raster 1.
Selections>Load/Save Selection>Load Selection from Alpha Channel.
Open the Selections menu and load the selection #2.
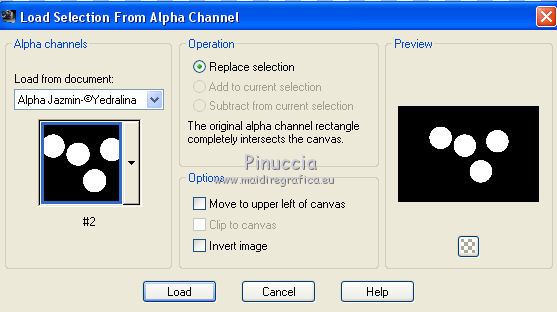
Selections>Promote Selection to Layer.
Layers>New Raster Layer.
Effects>3D Effects>Cutout, dark background color.
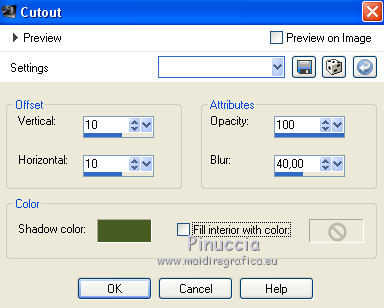
Selections>Select None.
Change the Blend Mode of this layer to Multiply.
Layers>Merge>Merge Down.
K key to activate the Pick Tool 
select the preset 251-©Yedralina
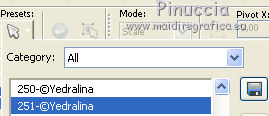
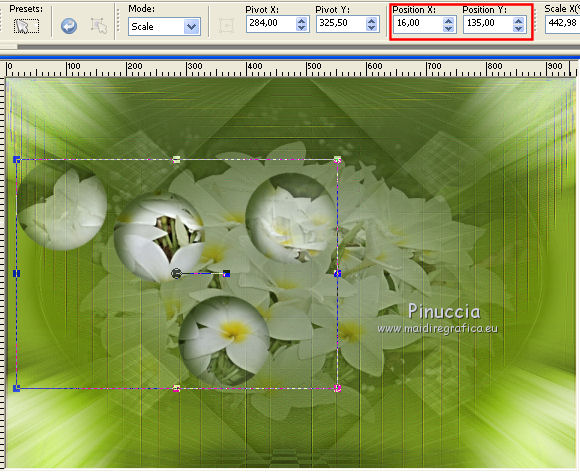
7. You should have this
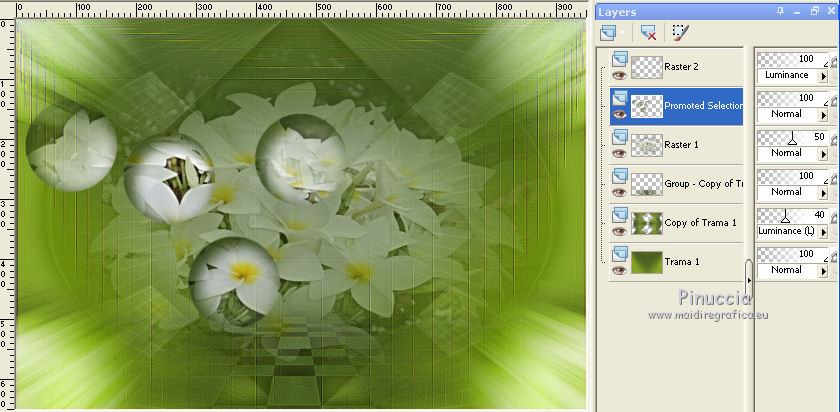
8. Selections>Select All.
Image>Add borders, 1 pixel, symmetric, light color.
Image>Add borders, 2 pixels, symmetric, dark color.
Image>Add borders, 1 pixel, symmetric, light color.
Image>Add borders, 35 pixels, symmetric, color white.
Selections>Invert.
Edit>Copy.
Selections>Select All.
Image>Add borders, 45 pixels, symmetric, color white.
Selections>Invert.
Edit>Paste into Selection.
Effects>3D Effects>Drop Shadow, color black.

Selections>Select None.
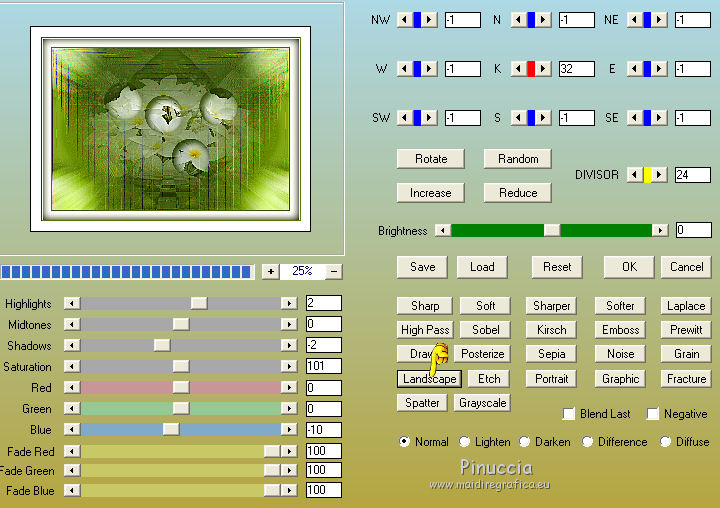
Effects>Plugins>AAA Filters - Custom - click on Landscape and ok.
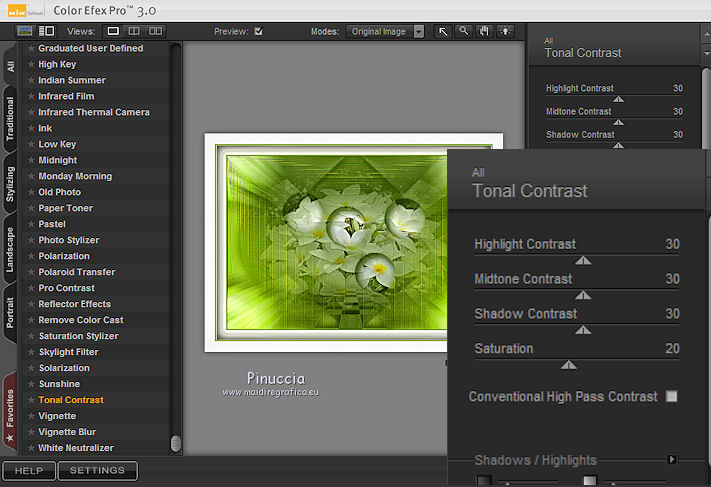
Effett>Plugins>Nik Software - Color Efex Pro - Tonal Contrast, default settings.
9. Open your tube and go to Edit>Copy.
Go back to your work and go to Edit>Paste as new layer.
Move  the tube to the right side. the tube to the right side.
Effects>3D Effects>Drop Shadow, at your choice.
10. Open your deco tube and go to Edit>Copy.
Go back to your work and go to Edit>Paste as new layer.
Image>Resize, if it is necessary, for me 50%, resize all layers not checked.
Optionel: Adjust>Sharpness>Unsharp Mask, same settings.
Move  where you like where you like
Effects>3D Effects>Drop Shadow, same settings of your tube.
11. Image>Add borders, 1 pixel, symmetric, dark background color.
Image>Resize, 950 pixels width, resize all layers checked.
Sign your work on a new layer.
Layers>Merge>Merge All and save as jpg.
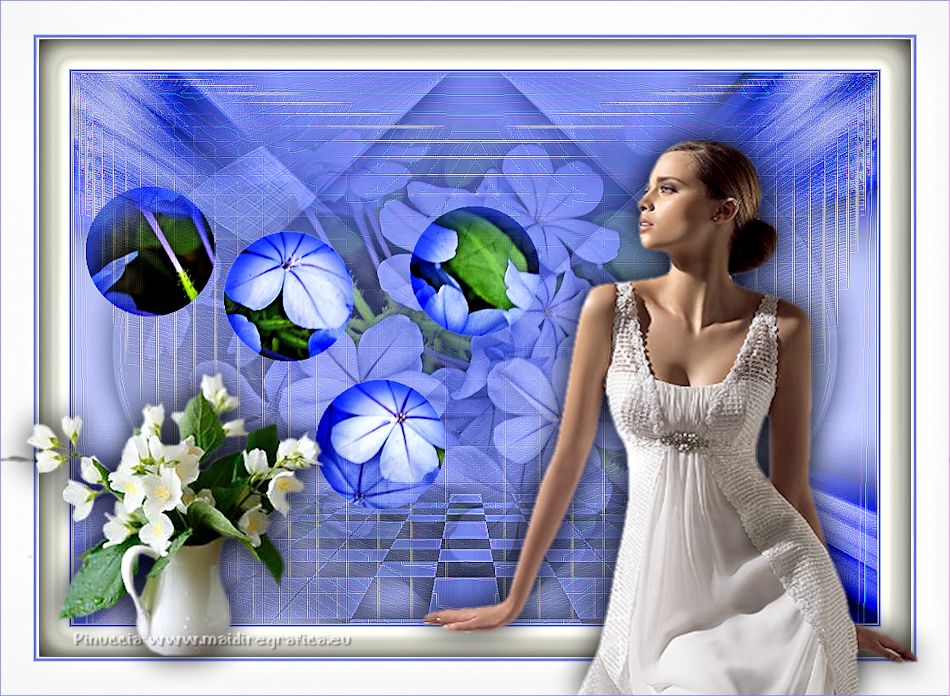
The tubes of this version are by Valerie and Yedralina.

If you have problems or doubts, or you find a not worked link, or only for tell me that you enjoyed this tutorial, write to me.
26 June 2018
|

