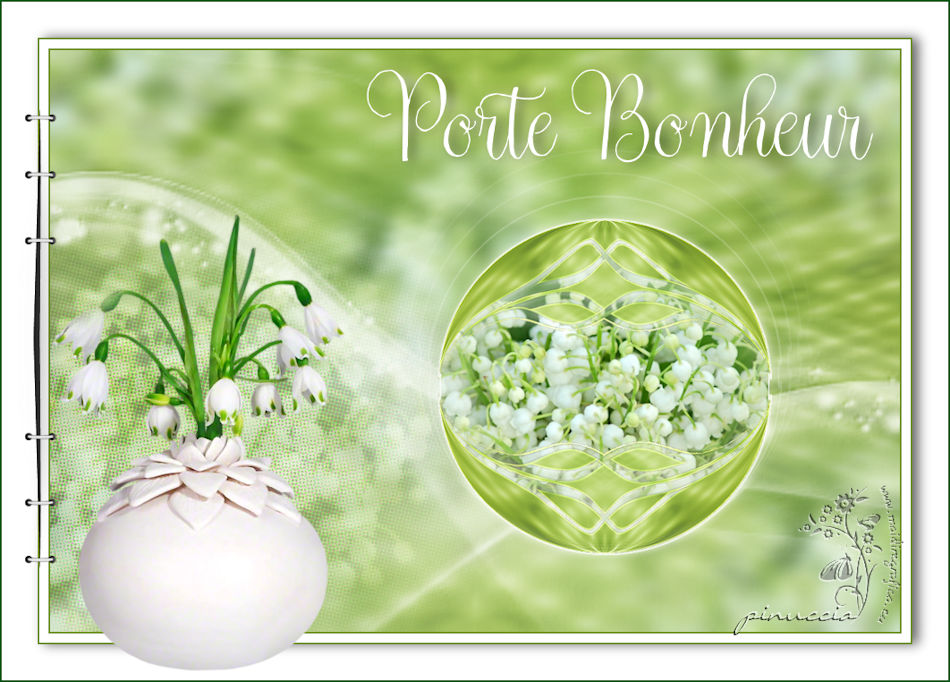
|
MUGUET
english version


This tutorial was written with CorelX19 and translated with CorelX and CorelX17, but it can also be made using other versions of PSP.
Since version PSP X4, Image>Mirror was replaced with Image>Flip Horizontal,
and Image>Flip with Image>Flip Vertical, there are some variables.
In versions X5 and X6, the functions have been improved by making available the Objects menu.
In the latest version X7 command Image>Mirror and Image>Flip returned, but with new differences.
See my schedule here
italian translation here
french translation here
your versions qui/here
For this tutorial, you will need:
A tube of yours
The rest of the material qui
The tube not supplied is by Syl (SvB Vaasje met sneeuwvlokjes).
The mask are by Occhiblu and Verinha (OBG_MASK_146/ SN1_Verinha.msk)
The rest of the material is by Yedralina
(The links of the tubemakers here).
Plugins:
consult, if necessary, my filter section here
Filters Unlimited 2.0 here
Redfield - Ripples Magic here
Alien Skin Eye Candy 5 Impact - Backlight here
Simple - 4Way Average here
Filters Simple can be used alone or imported into Filters Unlimited.
(How do, you see here)
If a plugin supplied appears with this icon  it must necessarily be imported into Unlimited it must necessarily be imported into Unlimited

You can change Blend Modes according to your colors.
Copy the preset  in the folder of the plugin Alien Skin Eye Candy 5 Impact>Settings>Backlight. in the folder of the plugin Alien Skin Eye Candy 5 Impact>Settings>Backlight.
One or two clic on the file (it depends by your settings), automatically the preset will be copied in the right folder.
why one or two clic see here
Copy the presets Preset_Pick_196 and Emboss 3 in the Presets Folder.
Copy the selection in the Selection Folder.
Open the masks in PSP and minimize them with the rest of the material.
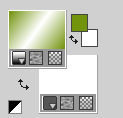
1. Set your foreground color to #72930e,
and your background color to #bbdb6e.
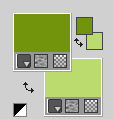
Set your foreground color to a Foreground/Background Gradient, style Linear.
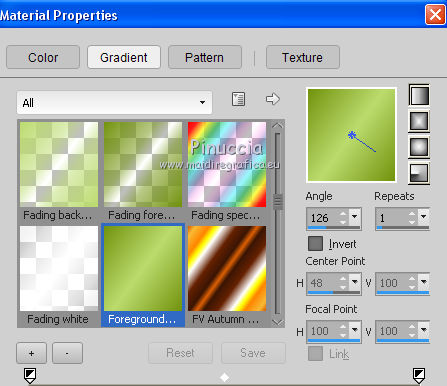
2. Open a new image transparent image 950 x 650 pixels.
Flood Fill  the transparent image with the Gradient. the transparent image with the Gradient.
3. Effects>Plugins>Redfield - Ripples Magic
select the preset Dance floor and change Refraction to -50
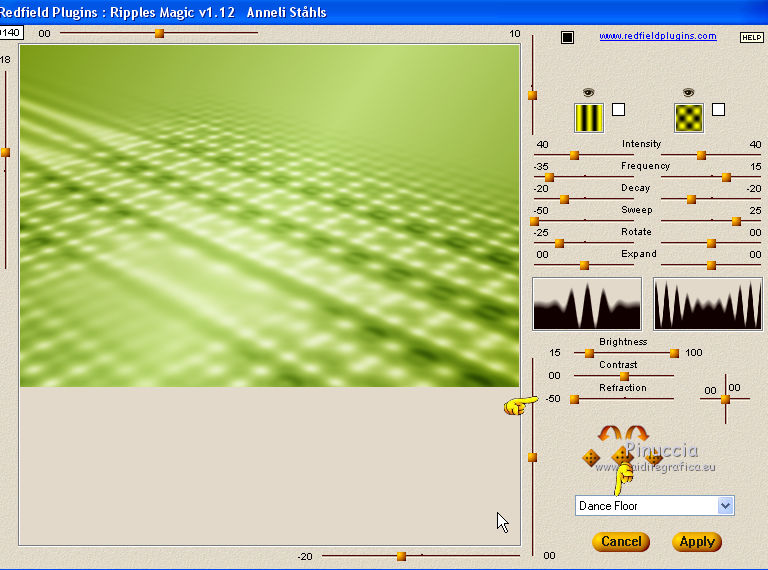
You should have this
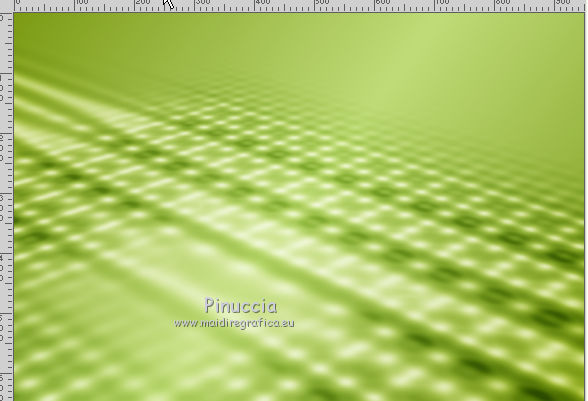
if your have problems with the plugis, in the material you find "file_redfield".
Begin the tutorial from this file
4. Effects>Reflection Effects>Rotating Mirror, default settings

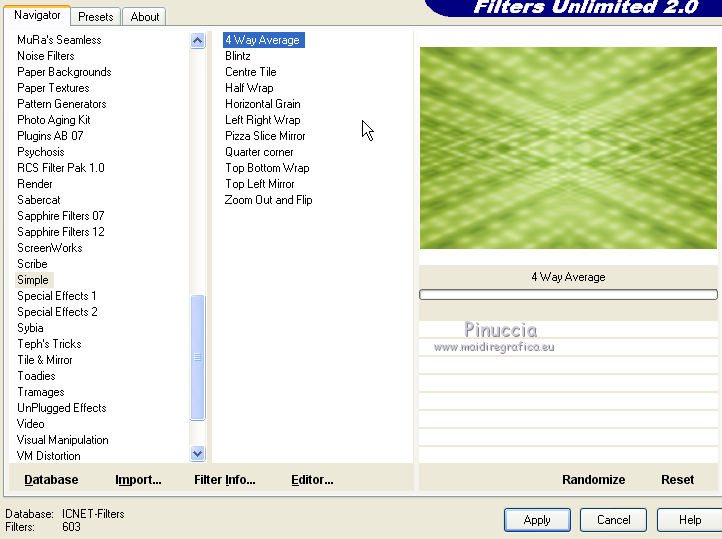
5. Effects>Plugins>Filters Unlimited 2.0 - Simple - 4 Way Average.
6. Layers>New Raster Layer.
Selections>Select All.
7. Open the misted 1518©Yedralina, Edit>Copy.
Go back to your work and go to Edit>Paste into Selection.
Selections>Select None.
8. Layers>Duplicate.
9. Effects>Image Effects>Seamless Tiling.

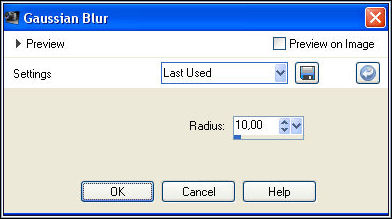
10. Adjust>Blur>Gaussian Blur - radius 10.
11. Layers>Arrange>Move down.
12. Layers>New Raster Layer.
Layers>Arrange>Bring to top.
13. Set your background color to white #ffffff.
14. Reduce the opacity of the Flood Fill Tool to 60%.
Flood Fill  the layer with the white color. the layer with the white color.
(don't forget to place again the opacity to 100)
15. Layers>New Mask layer>From image
Open the menu under the source window and you'll see all the files open.
Select the mask OBG_MASK_146.
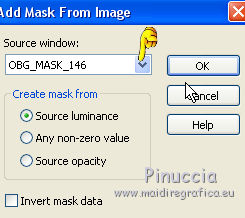
Layers>Merge>Merge Group.
16. Image>Flip.
Image>Mirror.
17. Effects>User Defined Filter, select the preset Emboss 3 and ok.

18. Change the Blend Mode of this layer to Luminance, or as you like.
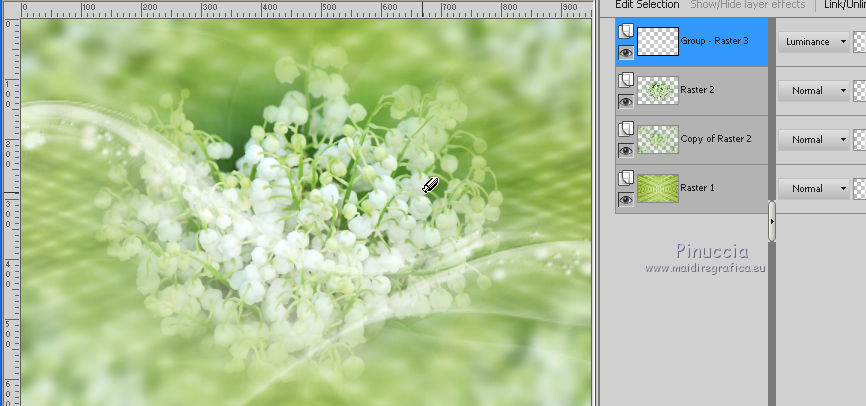
19. Activate the background layer (Raster 1).
Layers>Duplicate.
Layers>Arrange>Bring to Top.
20. Layers>New Mask layer>From image
Open the menu under the source window and select the mask maschera SN1_Verinha.
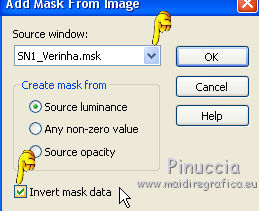
Layers>Merge>Merge Group.
21. Effects>Reflection Effects>Rotating Mirror.
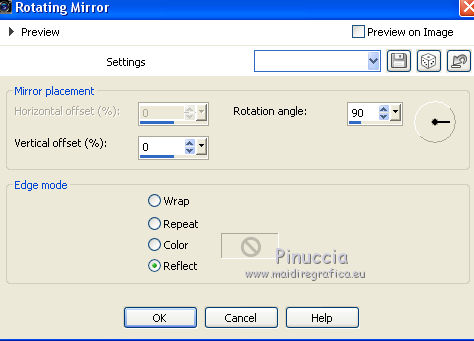
22. Effests>Geometric Effects>Circle

23. Image>Resize, to 80%, resize all layers not checked.
24. Select>Load/Save Selection>Load Selection from Disk.
Look for and load the selection ©Yedralina_sel354
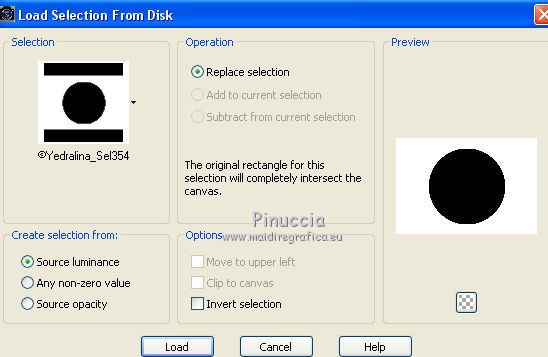
25. Activate the layer of the misted, Raster 2.
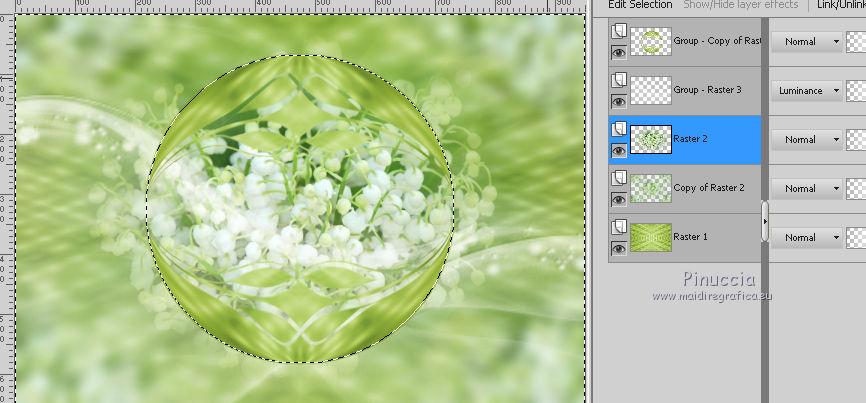
26. Layers>Duplicate.
Layers>Arrange>Move up.
27. Press CANC on the keyboard 
Selections>Select None
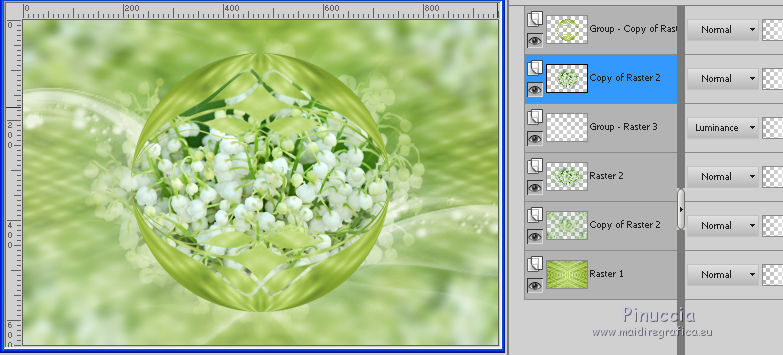
28. Activate again the top layer (Group Layer 1)
Effects>Edge Effects>Enhance.
29. Effects>3D Effects>Drop Shadow, color white.
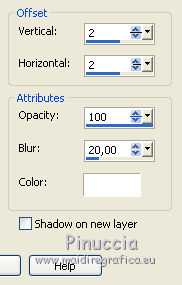
30. Layers>Merge>Merge down.
31. Image>Resize, to 80%, resize all layers not checked.
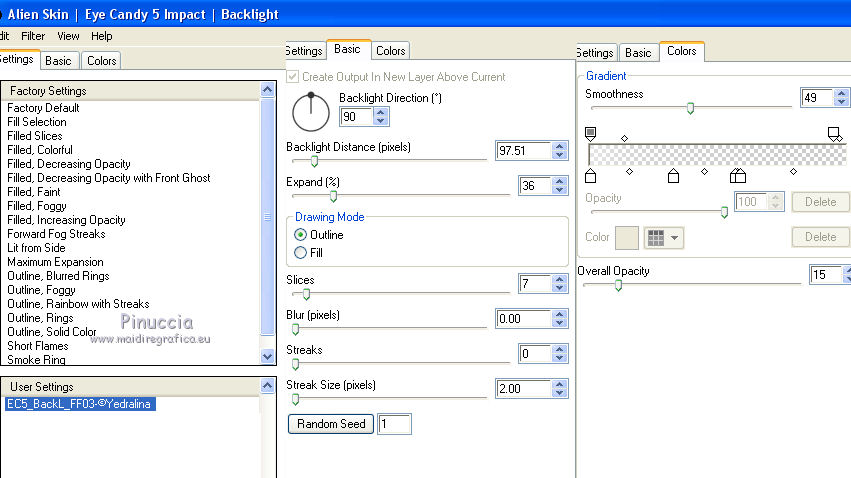
32. Effects>Plugins>Alien skin Eye Candy 5 Impact - Backlight.
Select the preset EC5_BackL_FF03-©Yedralina and ok.
Here the settings, in case of problems with the preset
33. Activate again the layer of the tube (Raster 2).
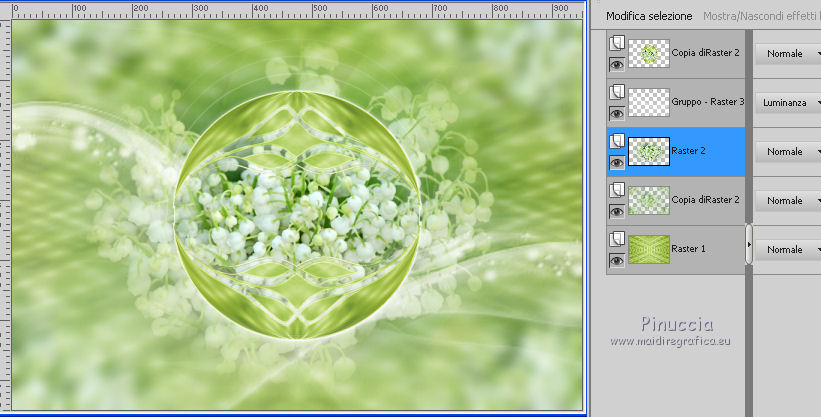
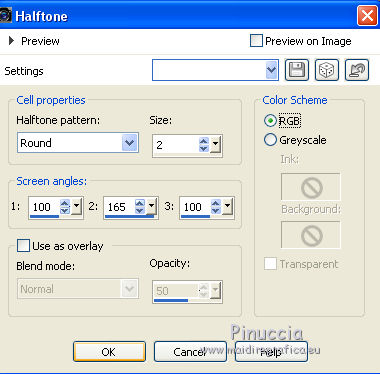
34. Effects>Artistic Effects>Halftone.
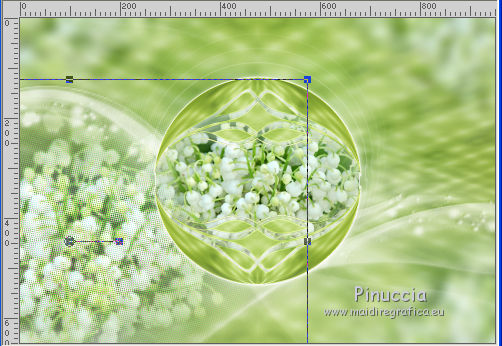
35. Activate the Pick Tool  (K key on the keyboard). (K key on the keyboard).
Open the menu of the presets and select the preset 196-©Yedralina

You'll get this
M key pour deselect the tool.
36. Activate the top layer.
Image>Resize, to 90%, resize all layers not checked.
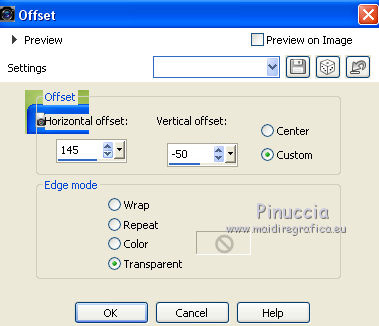
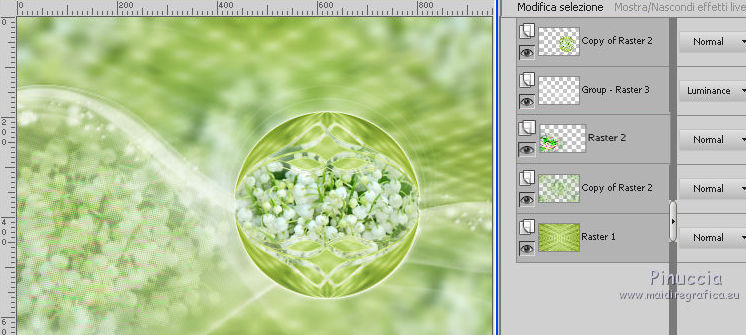
Effects>Image Effects>Offset.
36. Image>Add borders, 2 pixel, symmetric, dark foreground color.
Image>Add borders, 10 pixels, symmetric, color white.
Image>Add borders, 2 pixel, symmetric, dark foreground color.
Image>Add borders, 40 pixels, symmetric, color white.
37. Activate the Magic wand tool 
and clic on the white 40 pixel bord to select it
38. Selections>Invert.
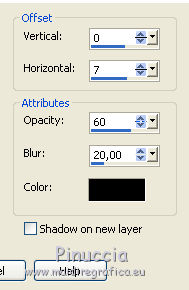
Effects>3D Effects>Drop Shadow, color black.
Selections>Select None.
39. Open the tube Deco00157©Yedralina - Edit>Copy.
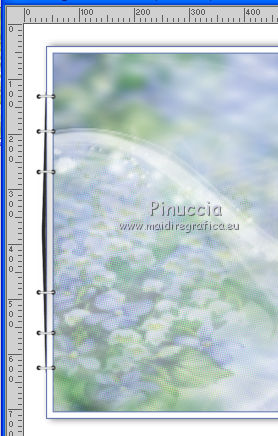
Go back to your work and go to Edit>Paste as new layer.
Move  to the left side. to the left side.
Objects>Align>Vertical Center.
if your are using a previous version of CorelX7 this menu is not available.
Use the Move Tool 
40. Open the text Text_Muguet©Yedralina.png - Edit>Copy.
Go back to your work and go to Edit>Paste as new layer.
Move  the text at the top, see my example. the text at the top, see my example.
(in the material you find the font used for this text).
41. Effects>3D Effects>Drop Shadow, same settings.
42. Open the main tube - - Edit>Copy.
Go back to your work and go to Edit>Paste as new layer.
Image>Resize, if it is necessary, resize all layers not checked.
Move  the tube at the bottom left. the tube at the bottom left.
43. Effects>3D Effects>Drop Shadow, same settings.
44. Image>Add borders, 2 pixels, symmetric, dark foreground color.
45. Image>Resize, 950 pixels width, resize all layers checked.
46. Sign your work on a new layer.
Layers>Merge>Merge All and save as jpg.
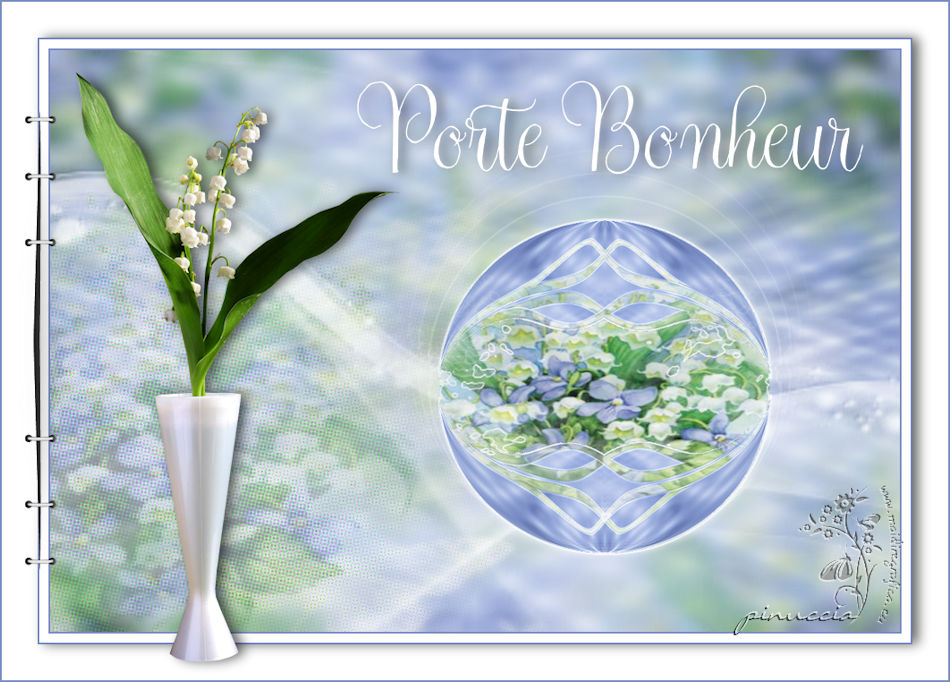
The tubes of this version are by Chouchounette and Krys
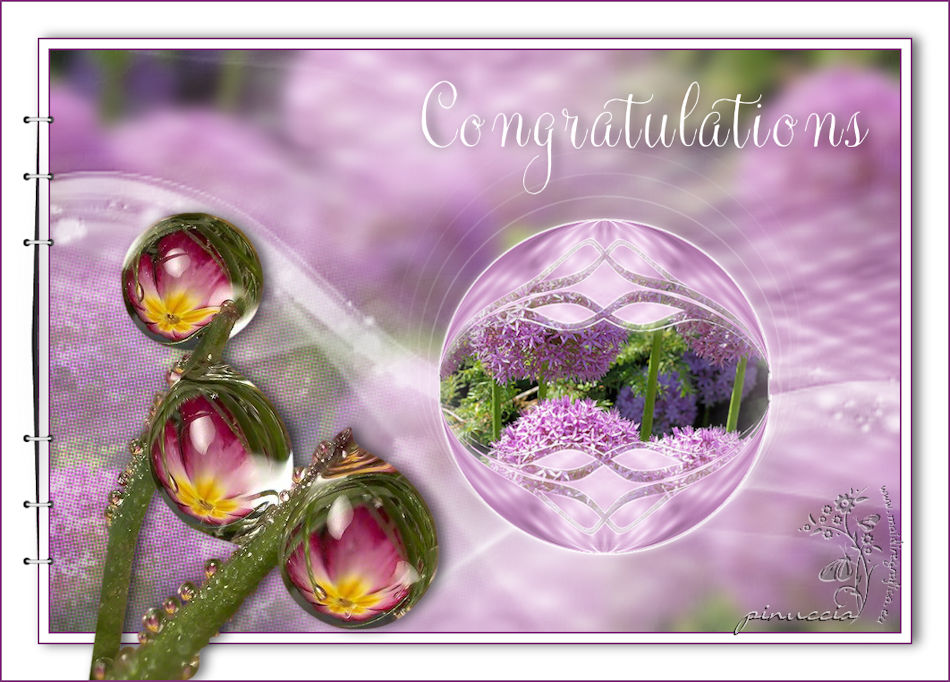
The tubes of this version are by Mina and Syl

If you have problems or doubts, or you find a not worked link, or only for tell me that you enjoyed this tutorial, write to me.
24 May 2017
|
