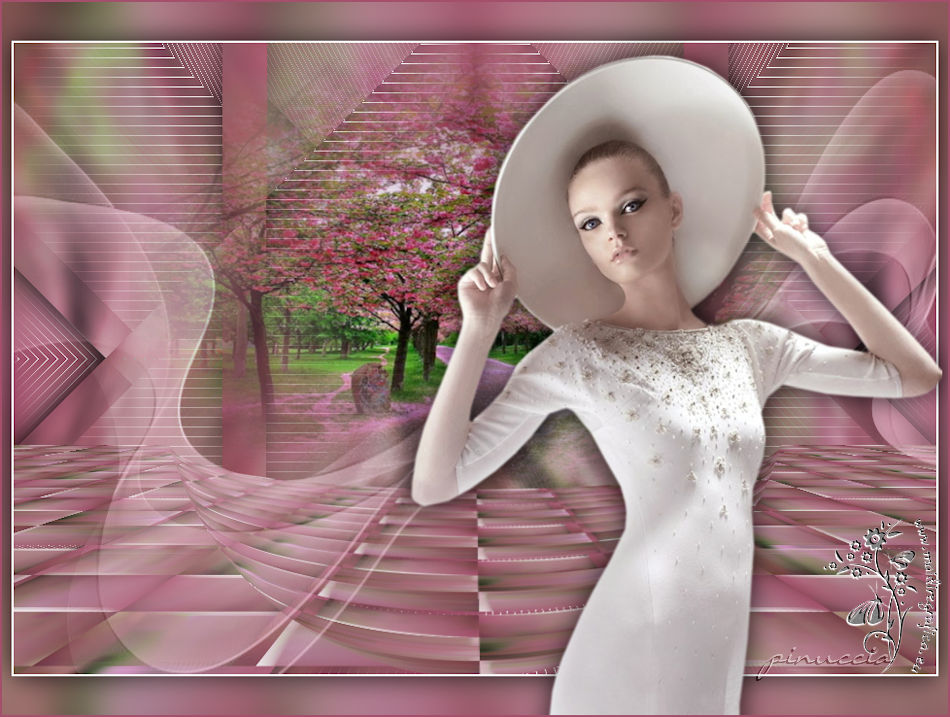
|
NO DUDES
english version NO DOUBTS

Here you find the original of this tutorial:

This tutorial was written with CorelX19 and translated with CorelX and CorelX17, but it can also be made using other versions of PSP.
Since version PSP X4, Image>Mirror was replaced with Image>Flip Horizontal,
and Image>Flip with Image>Flip Vertical, there are some variables.
In versions X5 and X6, the functions have been improved by making available the Objects menu.
In the latest version X7 command Image>Mirror and Image>Flip returned, but with new differences.
See my schedule here
italian translation here
your versions qui/here
For this tutorial, you will need:
A landscape misted and a woman tube
The rest of the material qui
Tubes not supplied:
woman by Occhi Blu (OBG_2239)
landscape by Kad (KaD_Scenery_Lente2)
The mask is by Ildiko (ildiko_create_0041free_mask)
(The links of the tubemakers here).
Plugins:
consult, if necessary, my filter section here
Mehdi - Sorting Tiles here
AP Lines - Lines SilverLining here
Mura's Meister - Perspective Tiling here
AAA Filters - Custom (facoltativo) here

You can change Blend Modes according to your colors.
In the newest versions of PSP, you don't find the foreground/background gradient (Corel_06_029).
You can use the gradients of the older versions.
The Gradient of CorelX here
Copy the presets Preset_Pick_197 and Emboss 3 in the Presets Folder.
Open the mask in PSP and minimize it with the rest of the material.
1. Set your foreground color to #a44f6c,
and your background color to #cd9bad.
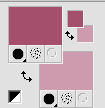
Set your foreground color to a Foreground/Background Gradient, style Linear.
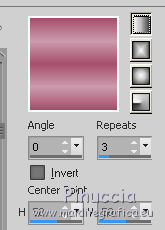
2. Open a new image transparent image 950 x 650 pixels.
Flood Fill  the transparent image with the Gradient. the transparent image with the Gradient.
3. Layers>New Raster Layer.
4. Selections>Select All.
5. Open the landscape misted - Edit>Copy.
Go back to your work and go to Edit>Paste into Selection.
Selections>Select None.
6. Effects>Image Effects>Seamless Tiling.

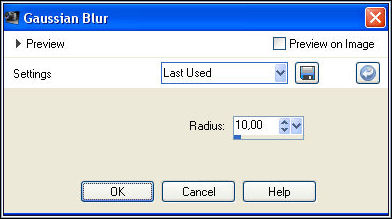
7. Adjust>Blur>Gaussian Blur, radius 10.
8. Layers>Merge>Merge down.
9. Layers>Duplicate.
Activate the background layer (raster 1).
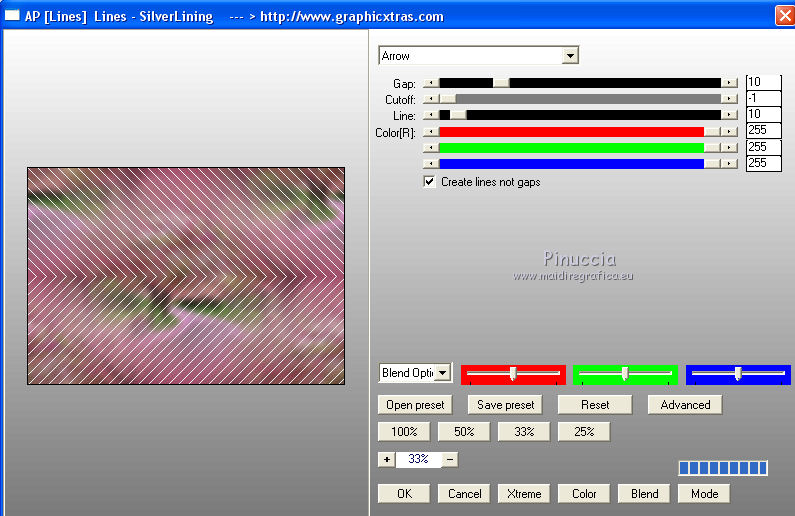
10. Effects>Plugins>AP [Lines] - Lines SilverLining.
11. Effects>Reflection Effects>Rotating Mirror.

12. Activate again the top layer.
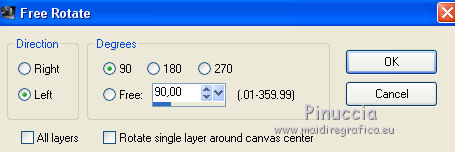
Image>Free Rotate - 90 degrees to left.
13. Image>Resize, to 80%, resize all layers not checked.
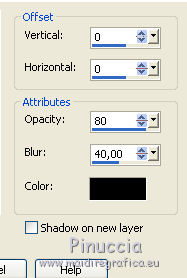
14. Effects>3D Effects>Drop Shadow, dark color or black.
15. Layers>Merge>Merge down.
16. Effects>Image Effects>Seamless Tiling, same settings

17. Layers>Duplicate.
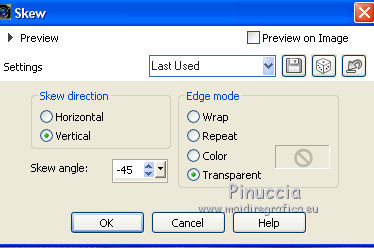
Effects>Geometric Effects>Skew.
18. Layers>Duplicate.
Image>Mirror.
Layers>Merge>Merge down.
19. Effects>3D Effects>Drop Shadow, color black.
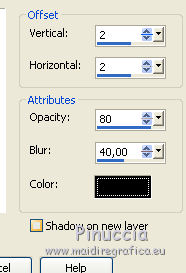
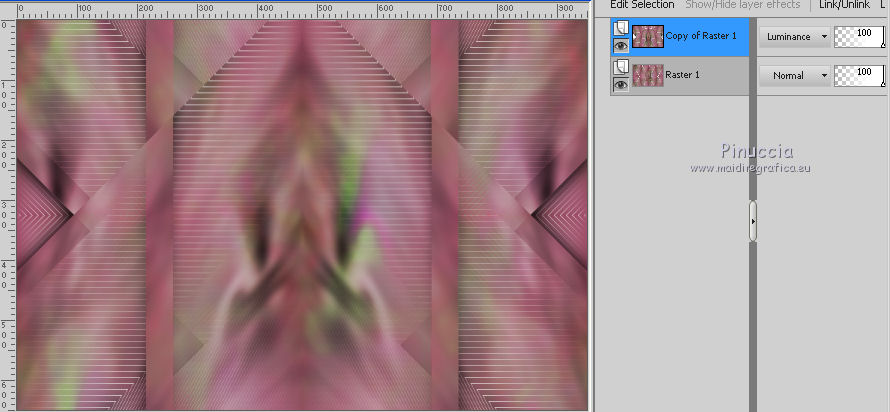
20. Effects>Reflection Effects>Rotating Mirror, same settings.

21. Change the Blend mode of this layer to Luminance or Luminance (legacy)
for me Luminance
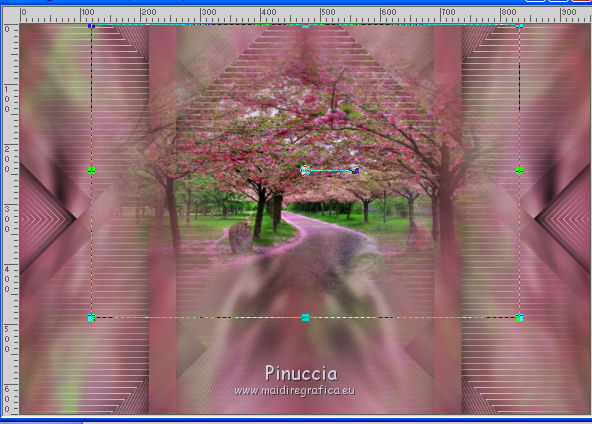
22. Layers>New Raster Layer.
Selections>Select All.
Edit>Paste into Selection (your landscape is still in memory).
Selections>Select None.
23. Image>Resize, according to your tube, for me 75% (the second version to 60%), resize all layers not checked.
Adjust>Sharpness>Sharpen.
24. Objects>Align>Top
if your work with a previous version that has not available the menu Objects,
use the Move Tool 
25. Activate the bottom layer, Raster 1.
Layers>Duplicate.
Layers>Arrange>Bring to top.
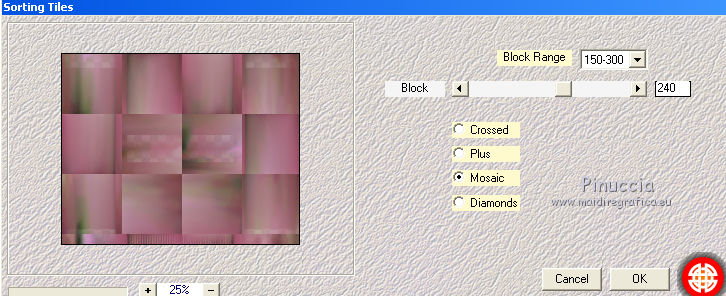
26. Effects>Plugins>Mehdi - Sorting Tiles.
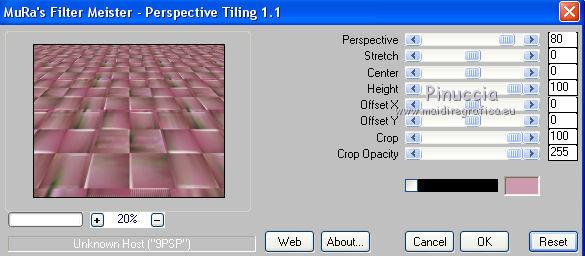
27. Effects>Plugins>Mura's Meister - Perspective Tiling, default settings.
28. K key to activate the Pick tool 
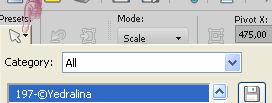
open the preset menu and select the preset 197-©Yedralina
if you have problem with the preset, pull the top middle node down until the bord under the triangles
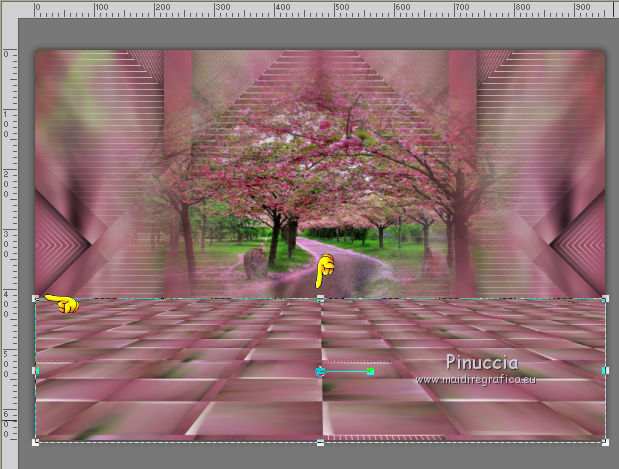
M key to deselect the tool.
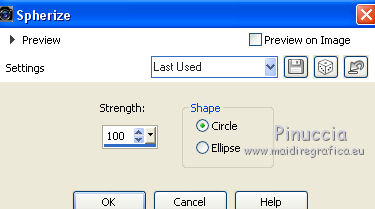
29. Effects>Geometric Effects>Spherize.
30. Layers>New Raster Layer.
Flood Fill  with your light background color. with your light background color.
31. Layers>New Mask layer>From image
Open the menu under the source window and you'll see all the files open.
Select the mask ildiko_create_0041free_mask.
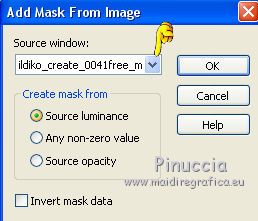
Layers>Merge>Merge Group.
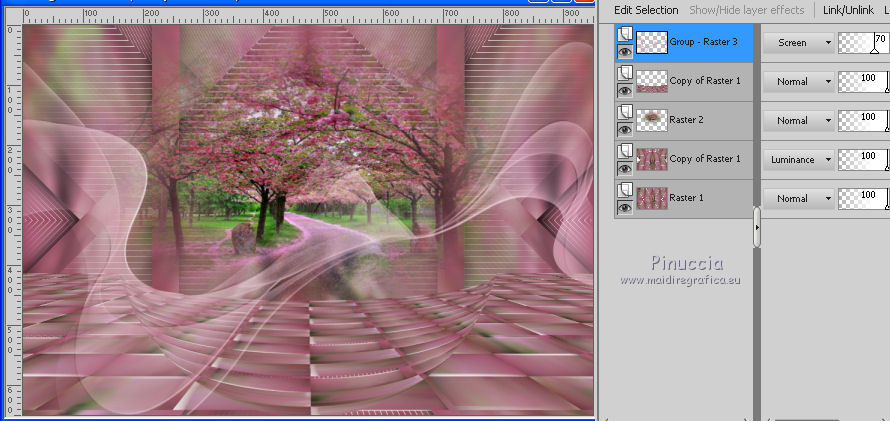
32. Effects>User Defined Filter, select the preset Emboss 3 and ok.

33. Change the Blend Mode of this layer to Screen and reduce the opacity to 70%.
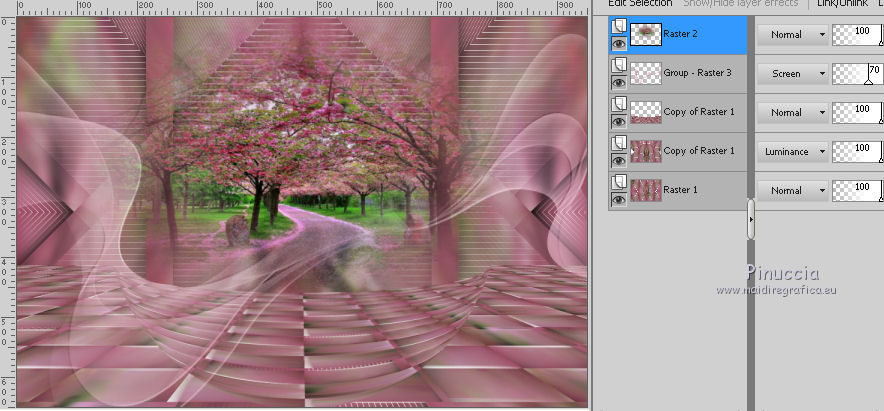
34. Activate the landscape layer (Raster 2).
Layers>Arrange>Bring to Top.
35. Activate the bottom layer.
Edit>Copy.
if you want, for prudence, Edit>Paste as new image
36. Selections>Select All.
Image>Add borders, 2 pixels, symmetric, color white.
37. Again>Selections>Select All.
Image>Add borders, symmetric not checked, color white.
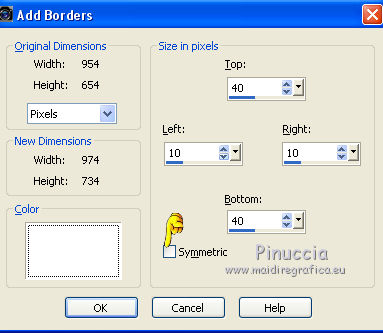
38. Selections>Invert.
Edit>Paste into Selection (the image of step 35).
39. Adjust>Blur>Gaussian Blur, radius 20.

40. Selections>Invert.
Effects>3D Effects>Drop Shadow, color black.

Selections>Select None.
41. Open your main tube - Edit>Copy.
Go back to your work and go to Edit>Paste as new layer.
Image>Resize, if it is necessary (for me 80%), resize all layers not checked.
Move  the tube to the right side. the tube to the right side.
Effects>3D Effects>Drop Shadow, to your choice.
42. Image>Add borders, 2 pixels, symmetric, dark color.
43. Image>Resize, 950 pixels width, resize all layer checked.
44. Sign your work on a new layer.
Layers>Merge>Merge All.
45. Optional: Effects>Plugins>AAA Filters - Custom - click on Landscape and ok.
Save as jpg.
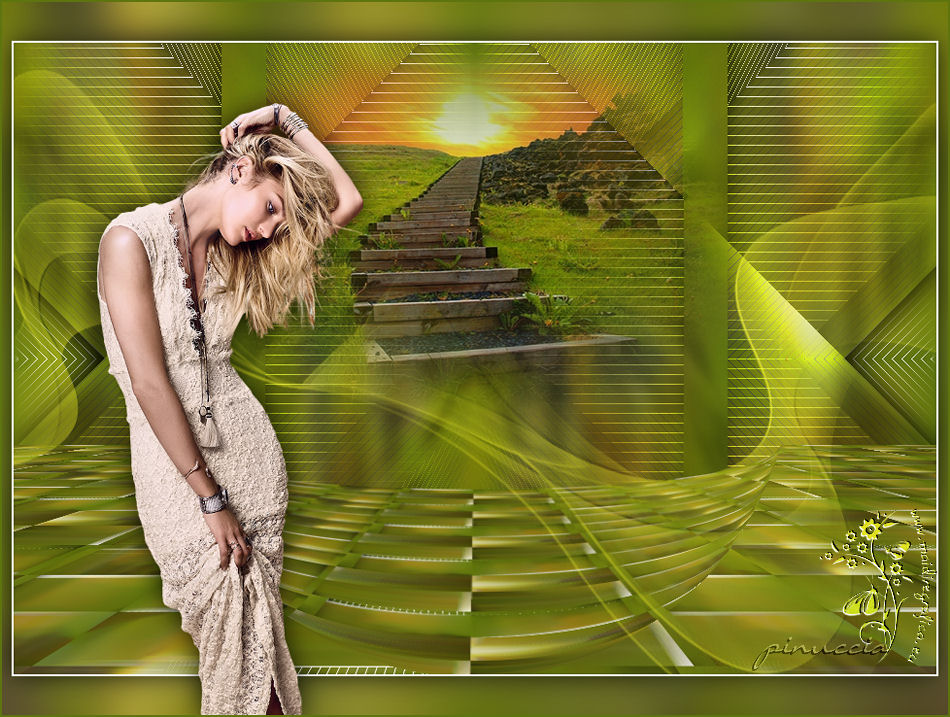
The tubes of this version are by Azalee (Femme-1617-Azalee), and unknown author of the misted (Tubespng_005).

If you have problems or doubts, or you find a not worked link, or only for tell me that you enjoyed this tutorial, write to me.
1 June 2017
|
