|
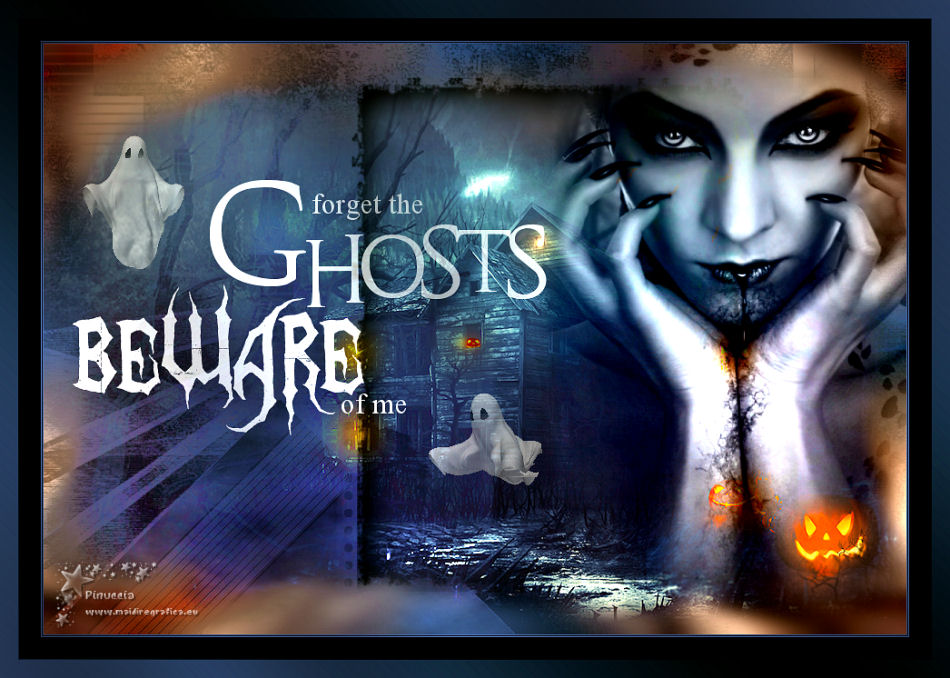
OLVIDATE DE LOS FANTASMAS


Here you find the original of this tutorial:

This tutorial was written with CorelX19 and translated with CorelX17, but it can also be made using other versions of PSP.
Since version PSP X4, Image>Mirror was replaced with Image>Flip Horizontal,
and Image>Flip with Image>Flip Vertical, there are some variables.
In versions X5 and X6, the functions have been improved by making available the Objects menu.
In the latest version X7 command Image>Mirror and Image>Flip returned, but with new differences.
See my schedule here
italian translation here
french translation here
your versions here
For this tutorial, you will need:
Tubes ŕ choix
Material here
For the tubes used and not supplied thanks to
Linda Gatita (Criss 2838)
Tatie (tubtatie_is_misthalloweenku
MD (MD-Gost/MD-Gost2)
The rest of the material is by Yedralina.
(The links of the tubemakers here).
Plugins:
consult, if necessary, my filter section here
Filters Unlimited 2.0 zip
Graphics Plus - Cross Shadow zip
Facoltativo: AAA Filters - Custom zip
Filters Graphics Plus can be used alone or imported into Filters Unlimited.
(How do, you see here)
If a plugin supplied appears with this icon  it must necessarily be imported into Unlimited it must necessarily be imported into Unlimited

You can change Blend Modes according to your colors.
In the newest versions of PSP, you don't find the foreground/background gradient (Corel_06_029).
You can use the gradients of the older versions.
The Gradient of CorelX here
Copy the selection in the Selections Folder.
Open the mask in PSP and minimize it with the rest of the material.
1. Set your foreground color to #32416a
and your background color to #000509,
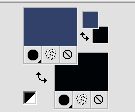
Set your foreground color to a Foreground/Background Gradient, style Linear.
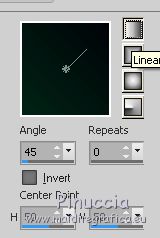
Open a new transparent image 950 x 650 pixels.
Flood Fill  with your Gradient. with your Gradient.
2. Layers>New Raster Layer.
Selections>Select All.
Open your main tube and go to Edit>Copy.
Go back to your work and go to Edit>Paste into Selection.
Selections>Select None.
Effects>Image Effects>Seamless Tiling, default settings.

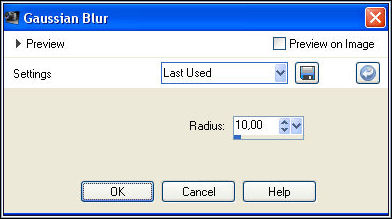
Adjust>Blur>Gaussian Blur, radius 10.
3. Open your landscape misted and go to Edit>Copy.
Go back to your work and go to Edit>Paste as new layer.
Place  the tube in the middle of the image. the tube in the middle of the image.
Change the Blend Mode of this layer to Multiply, or according to your colors.
(for my example I keep Normal).
Layers>Duplicate.
Layers>Merge>Merge Down.
4. Layers>New Raster Layer.
Set your foreground color to Color.
Flood Fill  with your light foreground color. with your light foreground color.
Layers>New Mask layer>From image
Open the menu under the source window
and select again the mask Masc122©Yedralina.
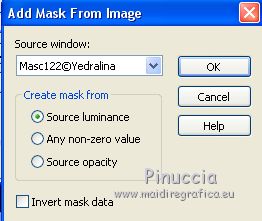
Layers>Duplicate.
Layers>Merge>Merge Group.
Change the Blend Mode of this layer to Luminance, or as you like.
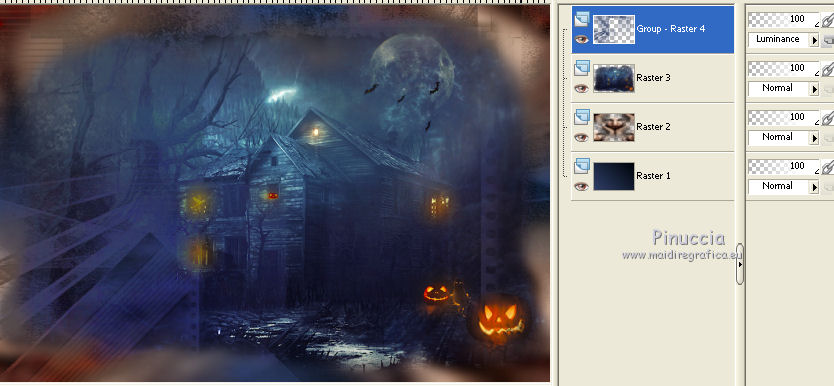
5. Layers>New Raster Layer.
Selections>Load/Save Selection>Load Selection from Disk.
Look for and load the selection ©:Yedralina_Sel 616, Invert checked
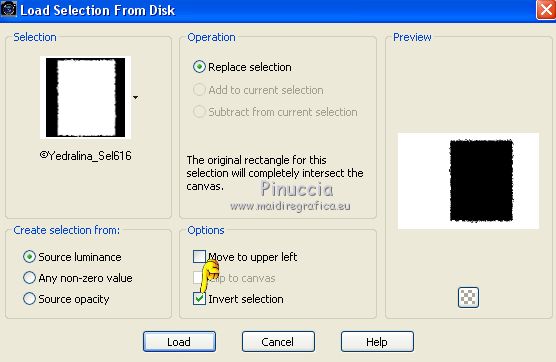
Effects>3D Effects>Drop Shadow, color black.
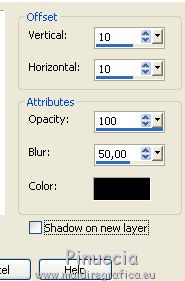
Layer>Merge>Merge Down.
6. Activate again your main tube and go to Edit>Copy.
Go back to your work and go to Edit>Paste as new layer.
Image>Resize, if necessary, resize all layers not checked.
Move  the tube at the upper right. the tube at the upper right.
Change the Blend Mode of this layer to Luminance, or as you like.
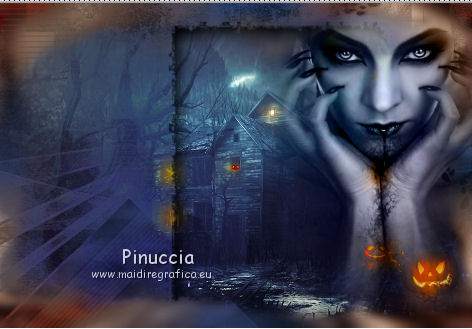
7. Open the wordart HalloweenWordartOne, composed by several texts on different layers.
Activate the layer "Forget the Ghosts" and go to Edit>Copy.
Go back to your work and go to Edit>Paste as new layer.
Image>Image negative.
Effects>3D Effects>Drop Shadow, same settings.

Reduce the opacity of this layer about 56%.
Move  the text to the left side. the text to the left side.
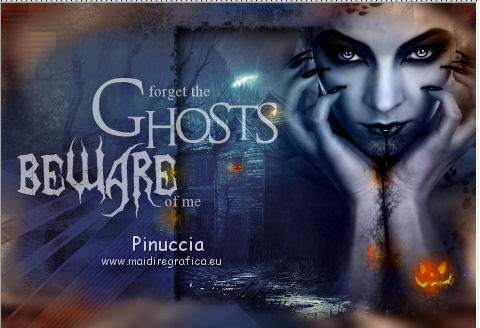
8. Copy/Paste as new layer the little ghosts,
place  and reduce the opacity at your choice. and reduce the opacity at your choice.
9. Image>Add borders, 1 pixel, symmetric, light color.
Image>Add borders, 1 pixel, symmetric, dark color.
Image>Add borders, 1 pixel, symmetric, light color.
Image>Add borders, 45 pixels, symmetric, dark color.
Selections>Select All.
Selections>Modify>Select Selection Borders.
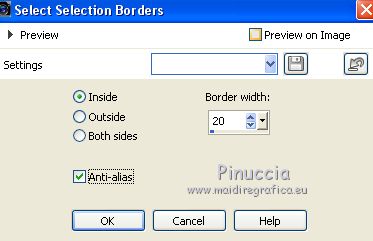
Set your foreground color to Gradient and set Repeats to 1.

Flood Fill  the selection with your Gradient. the selection with your Gradient.
Effects>Plugins>AAA Filters - Custom - click on Landscape and ok.
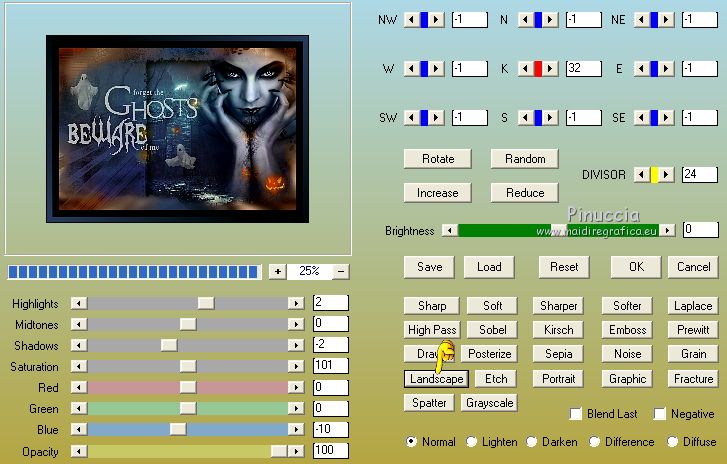
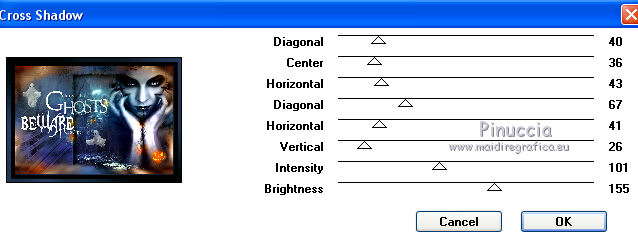
Effects>Plugins>Graphics Plus - Cross Shadow.
Sign your work on a new layer.
Layers>Merge>Merge All.
Image>Resize, to 950 pixels width, resize all layers checked.
Save as jpg.

If you have problems or doubts, or you find a not worked link, or only for tell me that you enjoyed this tutorial, write to me.
31 Ottobre 2018
|

