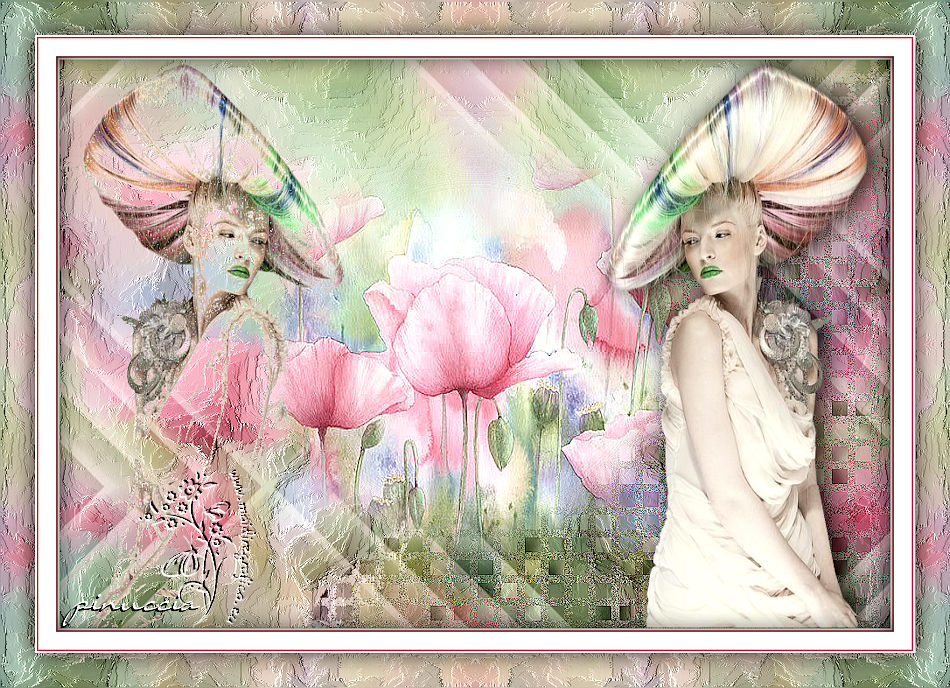
|
PINCELADAS
english version

Here you find the original of this tutorial:

This tutorial was written with CorelX19 and translated with CorelX and CorelX17, but it can also be made using other versions of PSP.
Since version PSP X4, Image>Mirror was replaced with Image>Flip Horizontal,
and Image>Flip with Image>Flip Vertical, there are some variables.
In versions X5 and X6, the functions have been improved by making available the Objects menu.
In the latest version X7 command Image>Mirror and Image>Flip returned, but with new differences.
See my schedule here
italian translation here
your versions qui/here
For this tutorial, you will need:
A jpg image and a woman tube.
The rest of the material qui
Material not supplied:
image jpg: flower-01, received by share
woman tube: by Guismo: calguisbeauty24022014).
The rest of the material is by Yedralina
(The links of the tubemakers here).
Plugins:
consult, if necessary, my filter section here
Filters Unlimited 2.0 here
Visual Manipulation - Hue Transparency here
Alien Skin Eye Candy 5 Impact - Backlight here
Simple - Centre Tile here
AAA Filters - Custom here
Filters Simple and Visual Manipulation can be used alone or imported into Filters Unlimited.
(How do, you see here)
If a plugin supplied appears with this icon  it must necessarily be imported into Unlimited it must necessarily be imported into Unlimited

You can change Blend Modes according to your colors.
Copy the preset  in the folder of the plugin Alien Skin Eye Candy 5 Impact>Settings>Backlight. in the folder of the plugin Alien Skin Eye Candy 5 Impact>Settings>Backlight.
One or two clic on the file (it depends by your settings), automatically the preset will be copied in the right folder.
why one or two clic see here
Copy the selections in the Selection Folder.
1. Chose two color from your jpg image.
For my example:
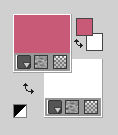
Set your foreground color to #c85a77,
and your background color to white #ffffff.
2. Open a new image transparent image 950 x 650 pixels.
Selections>Select All.
Open your jpg image - Edit>Copy.
Go back to your work and go to Edit>Paste into Selection.
Selections>Select None.
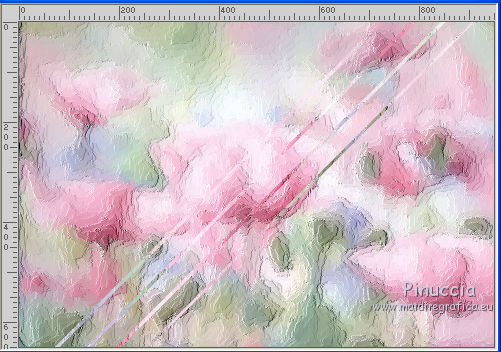
2. Effects>Art Media Effects>Brush Strokes.

3. Select>Load/Save Selection>Load Selection from Disk.
Look for and load the selection ©Yedralina_sel332
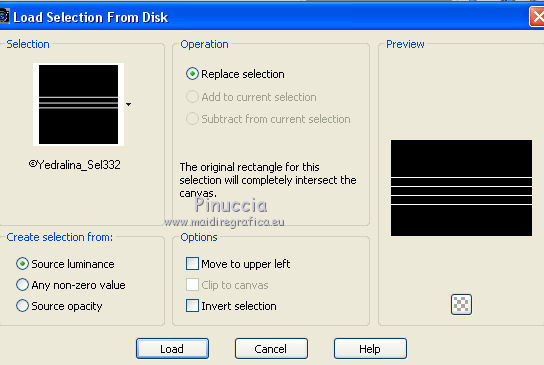
Selections>Promote Selection to Layer.
Selections>Select None.
Effects>Geometric Effects>Skew.
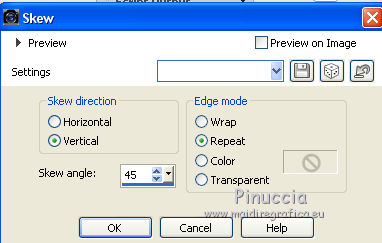
You'll get this
4. Open your tube - Edit>Copy.
Go back to your work and go to Edit>Paste as new layer.
K Key to activate the Pick Tool 
and pull the central top and bottom nodes
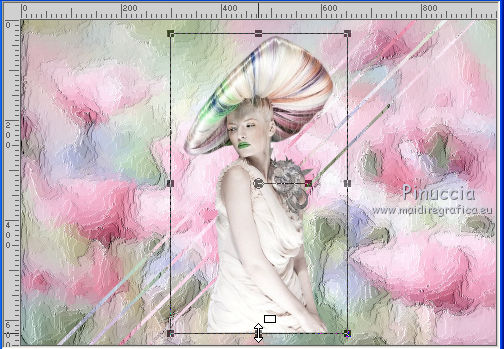
until the bords
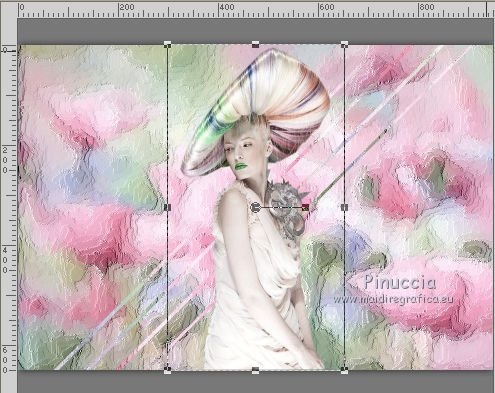
M Key to deselect the Tool.
5. Layers>Duplicate.
Objects>Align>Right
if you are using a previous version of Corel X17, the menu Objects>Align it is not available;
use the Move Tool 
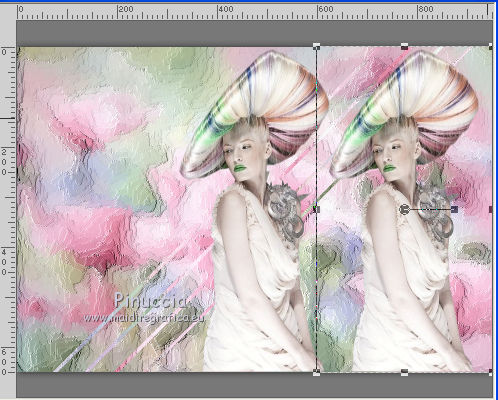
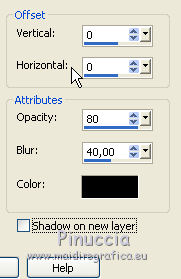
Effects>3D Effects>Drop Shadow, color black.
6. Activate the layer below of the original.
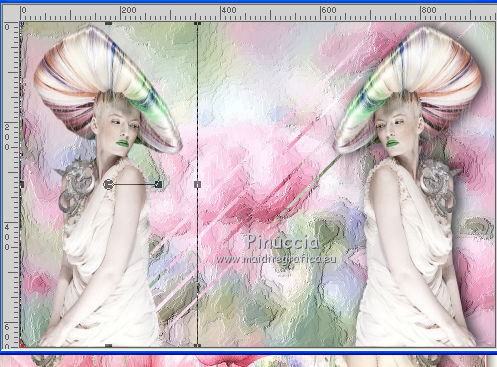
Image>Flip>Flip horizontal.
If you are using a previous version: Image>Mirror.
Objects>Align>Left - or use the Mode Tool 
At this point, you can play with the options, according to your tube or as you prefer:
Black Pencil or Pencil
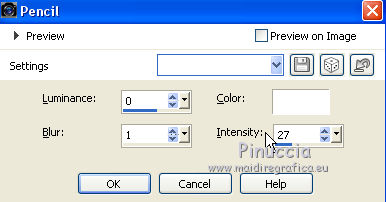
For my tube, I used:
Effects>Art Media Effects>Pencil
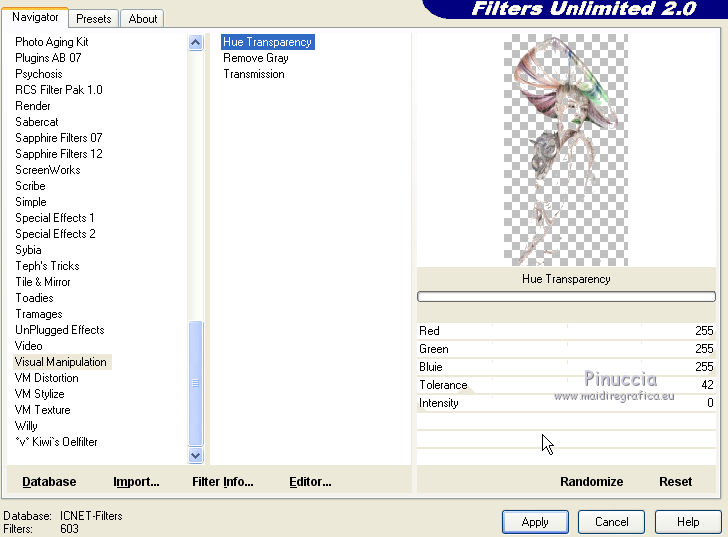
Effects>Plugins>Filters Unlimited 2.0 - Visual Manipulation - Hue Transparency
Blend Mode: Normal.
For my 2nd example, I used Effects>Art Media Effects>Black Pencil.
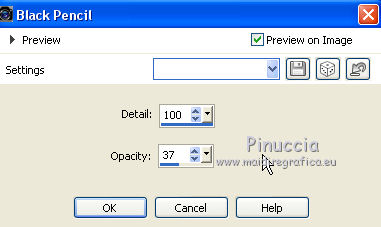
Effects>Plugins>Filters Unlimited 2.0 - Visual Manipulation - Hue transparency
change Tolerance as your like or according to your tube
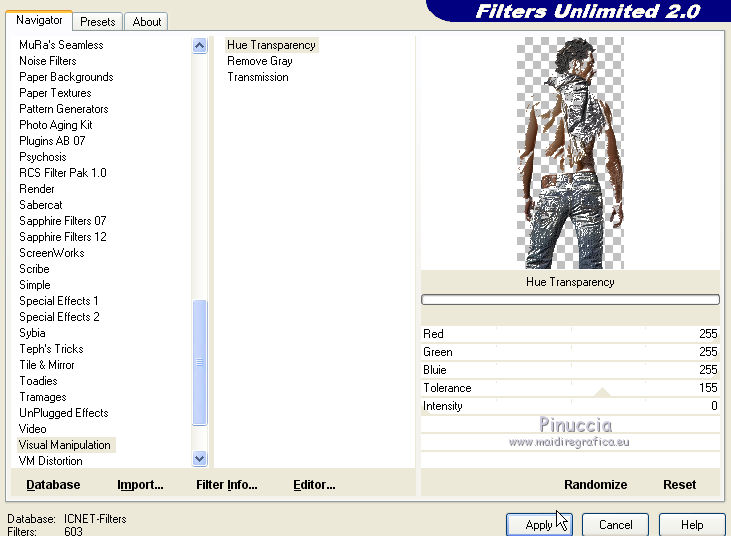
Bland Mode: Luminance
7. Activate the bottom layer.
Select>Load/Save Selection>Load Selection from Disk.
Look for and load the selection ©Yedralina_sel364
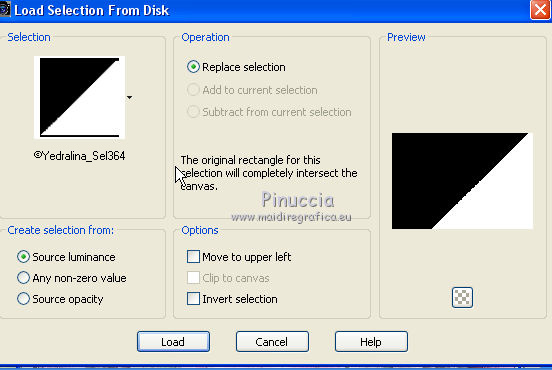
Selections>Promote Selection to Layer.
Effects>Textures Effects>Mosaique Antique.
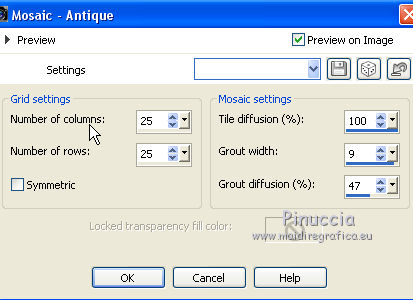
Selections>Select None.
Effects>Edge Effects>Enhance.
Change the Blend Mode of this layer to Multiply.
Activate the layer above (promoted selection)
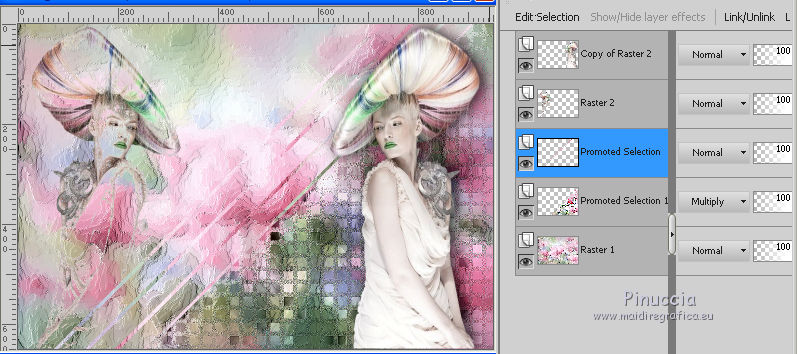
8. Layers>New Raster Layer.
Select>Load/Save Selection>Load Selection from Disk.
Look for and load the selection ©Yedralina_sel363
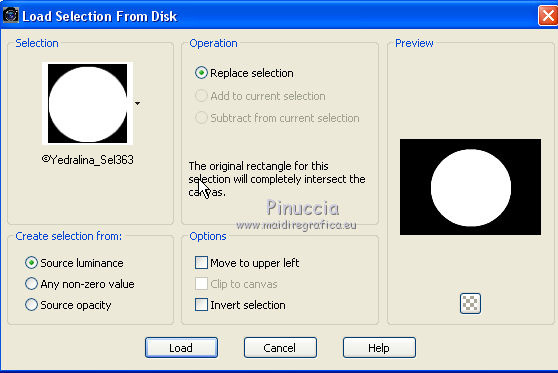
Activate again the jpg image - Edit>Copy.
Go back to your work and go to Edit>Paste into Selection.
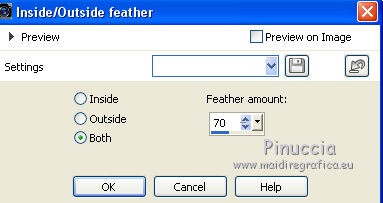
Selections>Modify>Inside/Outside Feather.
Selections>Invert.
Press 3-5 times CANC on the keyboard 
to feather the image with the background.
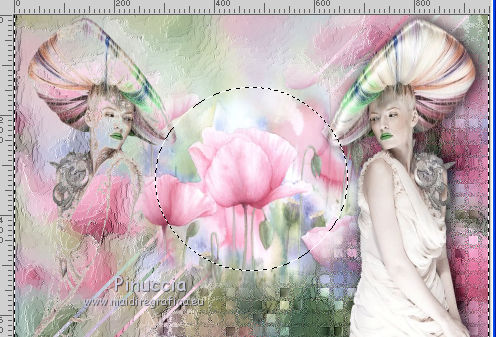
Selections>Select None.
Effects>Edge Effects>Enhance.
9. Again activate the layer Promoted Selection.
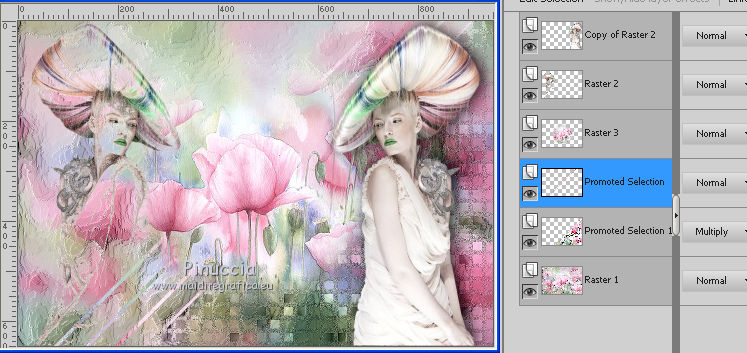
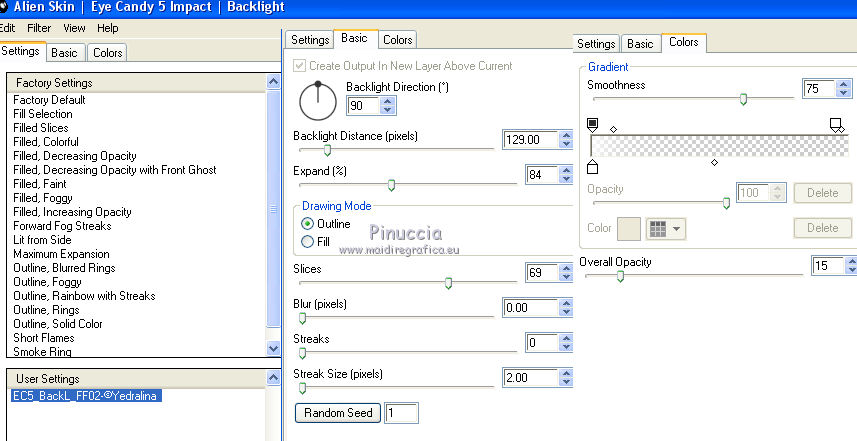
Effects>Plugins>Alien Skin Eye Candy 5 Impact - Backlight.
select the preset EC5_BackL_FF02-©Yedralina and ok
Here the settings, in case of problems with the preset.
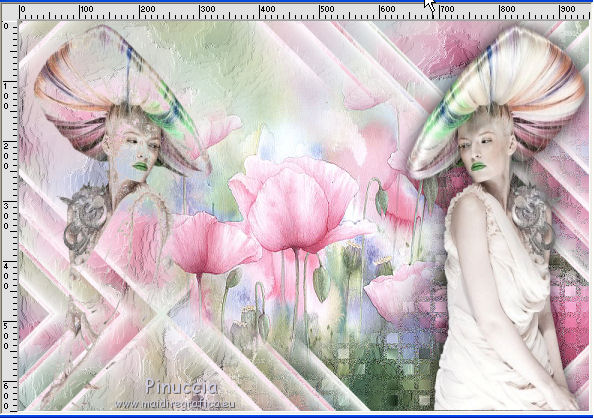
10. Effects>Plugins>Simple - Centre Tile.
this plugin works without window; this is the result
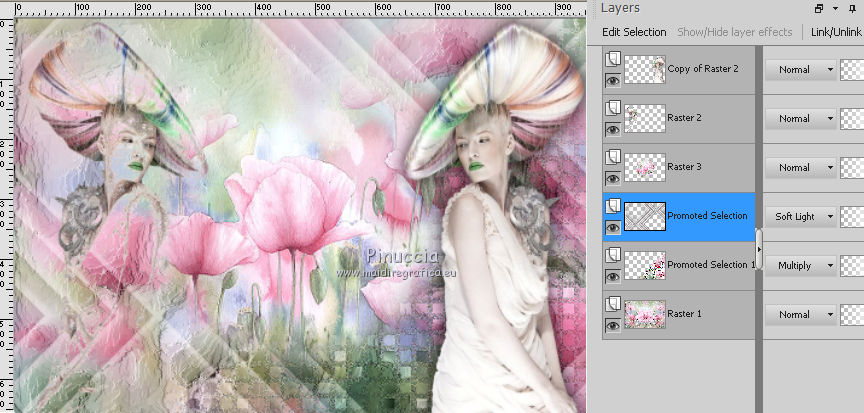
Effects>3D Effects>Drop Shadow, color black.

Change the Blend Mode of this layer to Soft Light.
11. Activate the background layer, Raster 1.
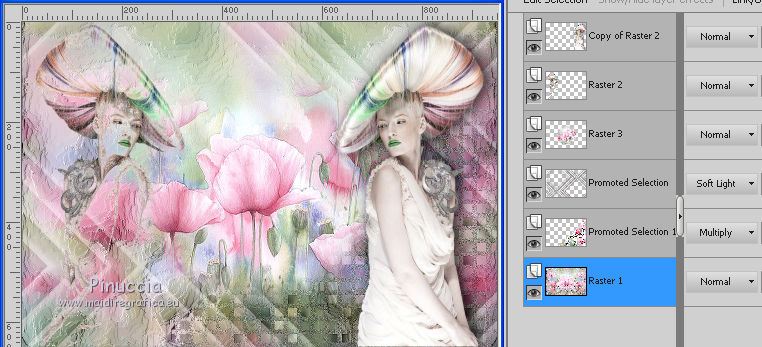
Effects>Reflection Effects>Rotating Mirror.

12. You should have this
13. Image>Add borders, 2 pixels, symmetric, color white.
Image>Add borders, 2 pixels, symmetric, foreground color.
Selections>Select All.
14. Image>Add borders, 20 pixels, symmetric, color white.
Selections>Invert.
Effects>3D Effects>Drop Shadow, color black.

15. Image>Add borders, 2 pixels, symmetric, foreground color.
Image>Add borders, 2 pixels, symmetric, color white.
Selections>Select All.
16. Image>Add borders, 40 pixels, symmetric, color white.
Selections>Invert.
Edit>Paste into Selection (your jpg image is still in memory).
17. Effects>Art Media Effects>Brush Strokes, same settings.

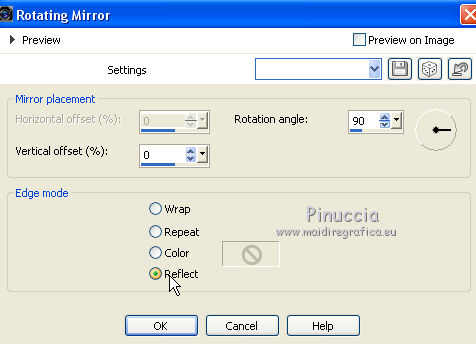
18. Effects>Reflection Effects>Rotating Mirror, same settings.

19. Again Effects>Reflection Effects>Rotating Mirror.
20. Selections>Invert.
Effects>3D Effects>Drop Shadow, color black.

Selections>Select None.
21. Image>Resize, 950 pixels width, resize all layers checked.
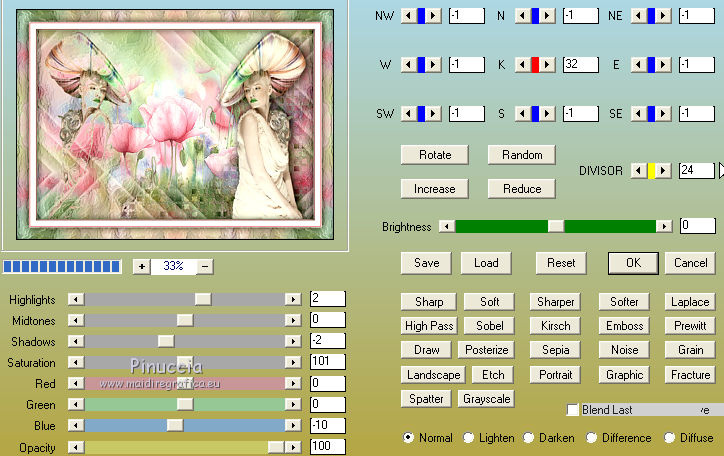
22. Effects>Plugins>AAA Filters - Custom - Landscape x 3 times
23. Sign your work on a new layer.
Layers>Merge>Merge All and save as jpg.
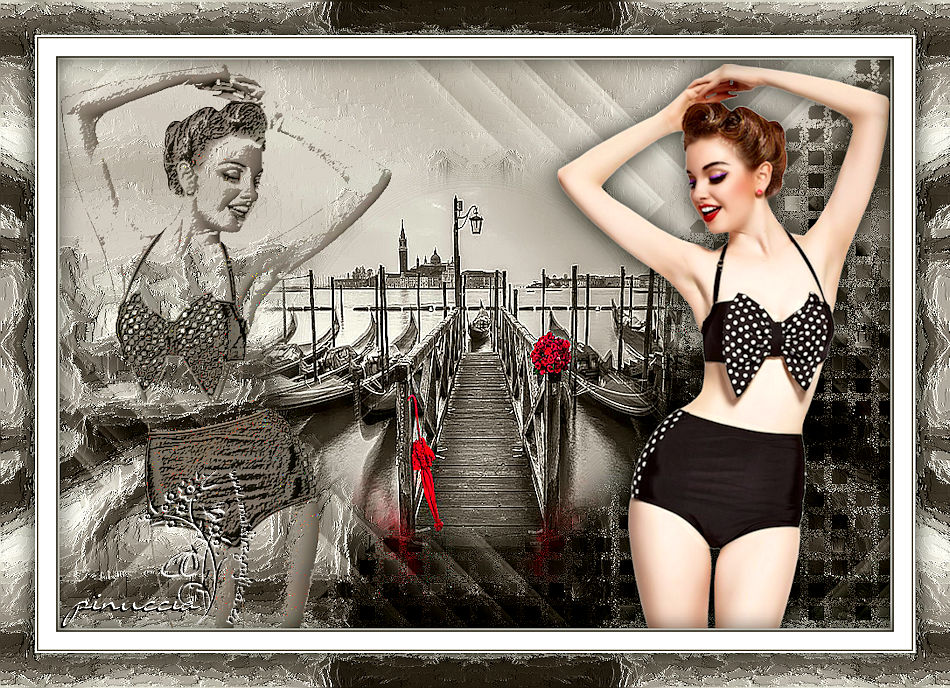
The tube of this version is by Grisi
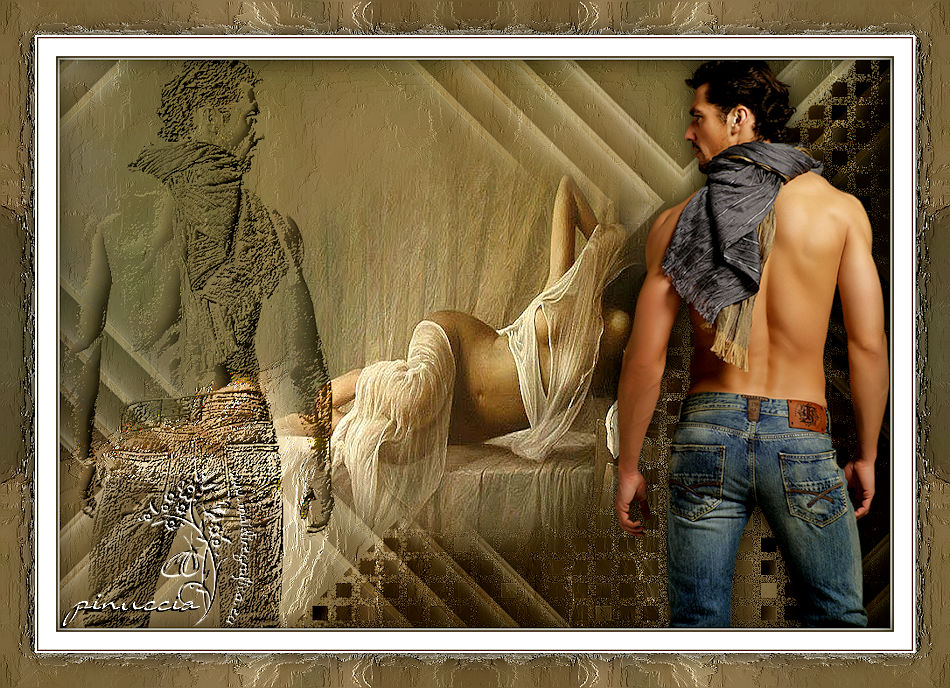
The tube of this version is by Mina

If you have problems or doubts, or you find a not worked link, or only for tell me that you enjoyed this tutorial, write to me.
24 May 2017
|
