|
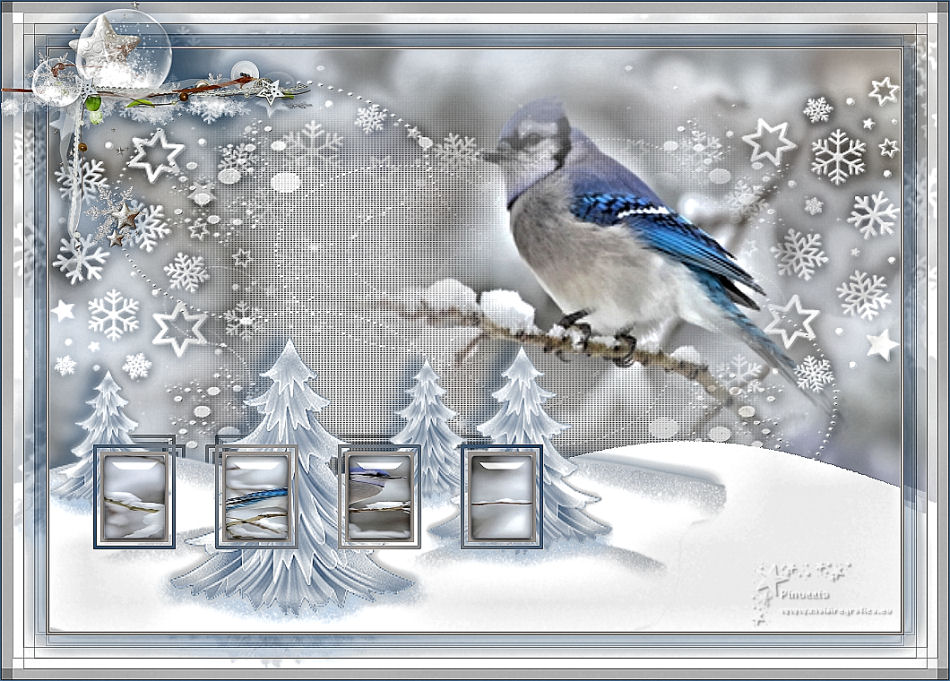
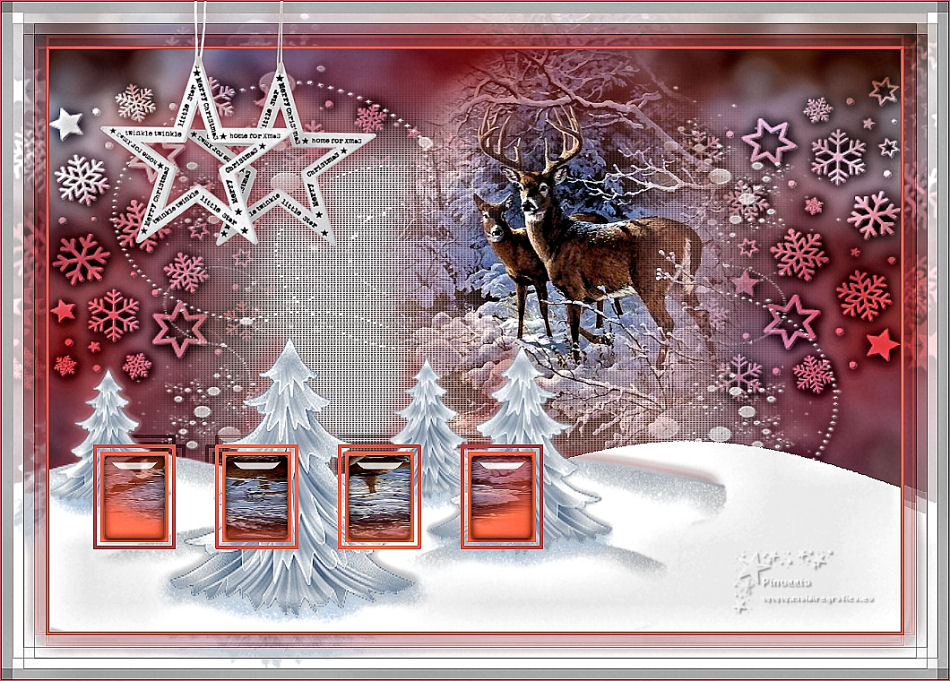
SOLSTICIO DE INVIERNO


This tutorial was written with CorelX19 and translated with CorelX17, but it can also be made using other versions of PSP.
Since version PSP X4, Image>Mirror was replaced with Image>Flip Horizontal,
and Image>Flip with Image>Flip Vertical, there are some variables.
In versions X5 and X6, the functions have been improved by making available the Objects menu.
In the latest version X7 command Image>Mirror and Image>Flip returned, but with new differences.
See my schedule here
italian translation here
french translation here
your versions here
For this tutorial, you will need:
Material here
Image Jpg (nature snow birds blue jay 2560x1600 wallpaper_www.animalhi.com_23)
(optional a misted tube)
deco (White Forest)
decoration (xmas2019).
Masks: BabesDesignz:Mask16 e bbandas-copos-nieve.
The rest of the material is by Yedralina.
Plugins:
consult, if necessary, my filter section here
Filters Unlimited 2.0 here
AAA Filters - Framer here
VM Distortion - Smallpox here
Alien Skin Eye Candy 5 Impact - Glass here
Mura's Seamless - Emboss at Alpha here
VanDerLee - Unplugged-X here
Filters VM Distortion and Mura's Seamless can be used alone or imported into Filters Unlimited.
(How do, you see here)
If a plugin supplied appears with this icon  it must necessarily be imported into Unlimited it must necessarily be imported into Unlimited

You can change Blend Modes according to your colors.
In the newest versions of PSP, you don't find the foreground/background gradient (Corel_06_029).
You can use the gradients of the older versions.
The Gradient of CorelX here
Copy the preset  in the folder of the plugins Alien Skin Eye Candy 5 Impact>Settings>Glass. in the folder of the plugins Alien Skin Eye Candy 5 Impact>Settings>Glass.
One or two clic on the file (it depends by your settings), automatically the preset will be copied in the right folder.
why one or two clic see here
Copy the Selection in the Selections Folder.
Copy the mask 20-20 in the Masks Folder.
Open the masks in PSP minimize them with the rest of the material.
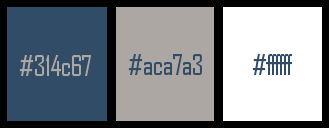
Used colors
1. Open a new transparent image 950 x 650 pixels.
Selections>Select All.
Open your image jpg and go to Edit>Copy.
Go back to your work and go to Edit>Paste into Selection.
Selections>Select None.
If you choose a misted, go to step 3
2. Layers>Duplicate.
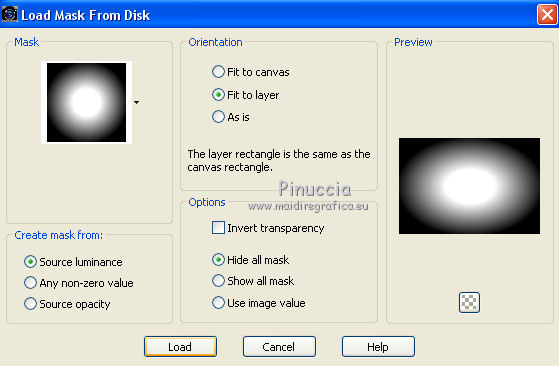
Layers>Load/Save Mask>Load Mask from Disk.
Look for and load the mask 20-20.
Layers>Duplicate
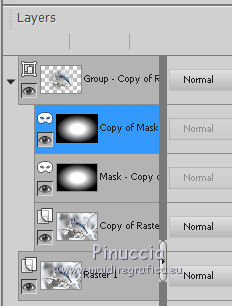
Layers>Merge>Merge Group.
Close this layer and activate the layer below (Raster 1).
3. Effects>Image Effects>Seamless Tiling.

Adjust>Blur>Radial Blur - radius 20

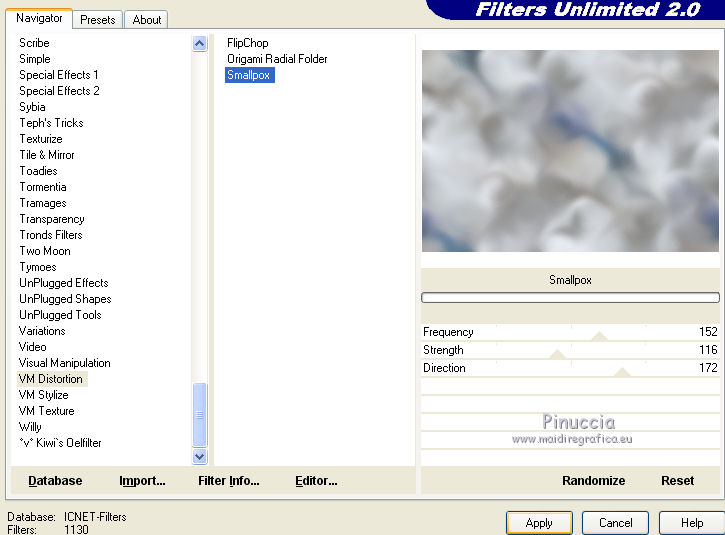
Effects>Plugins>Filters Unlimited 2.0 - VM Distortion - Smallpox, default settings.
4. Set your foreground color to white #ffffff.
Layers>New Raster Layer.
Flood Fill  the layer with color white. the layer with color white.
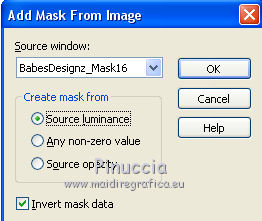
Layers>New Mask layer>From image
Open the menu under the source window and you'll see all the files open.
Select the mask BabesDesignz_Mask16.
Layers>Duplicate.
Layers>Merge>Merge Group.
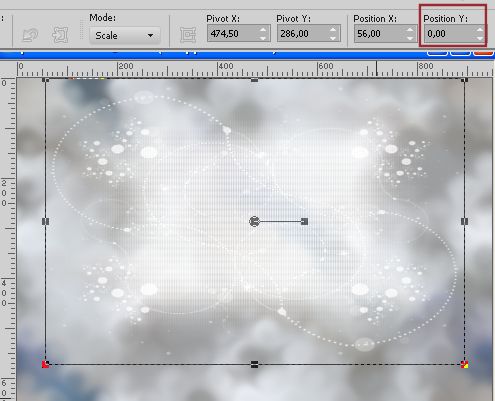
Objects>Align>Top
or, is your PSP doesn't make available the menu Objects,
K key on the keyboard to activate the Pick Tool 
and set Position Y a 0,00.
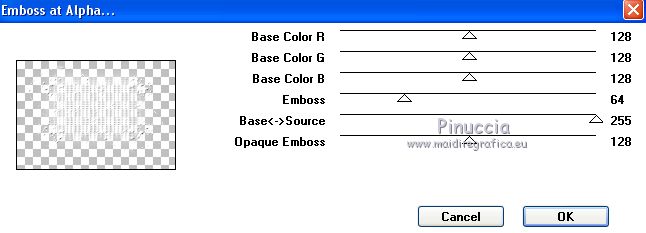
Effects>Plugins>Mura's Seamless - Emboss at Alpha, default settings.
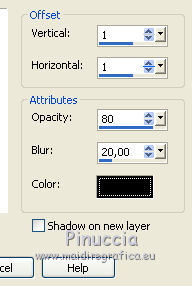
Effects>3D Effects>Drop Shadow, color black.
5. Layers>New Raster Layer.
Flood Fill  the layer with color white. the layer with color white.
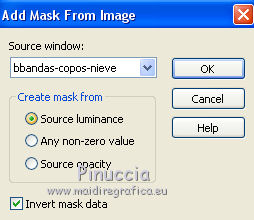
Layers>New Mask layer>From image
Open the menu under the source window and select the mask bbandas-copos-nieve.
Layers>Merge>Merge Group.
Effects>Plugins>Mura's Seamless - Emboss at Alpha, default settings.
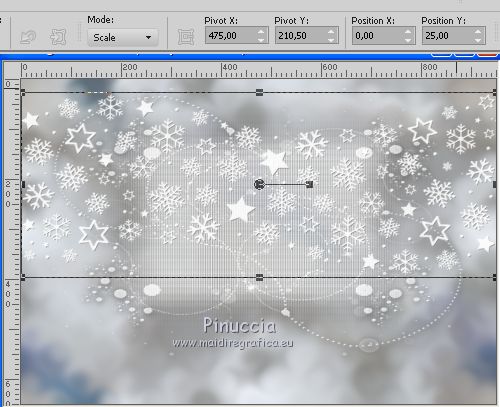
Activate the Pick tool 
and move the mask a bit higher
Effects>3D Effects>Drop Shadow, same settings.

Layers>Arrange>Move down.
**OPTIONAL**. Change the Blend Mode of this layer to Overlay.
6. Activate the layer above Gruppo-Raster 2.
Layers>New Raster Layer.
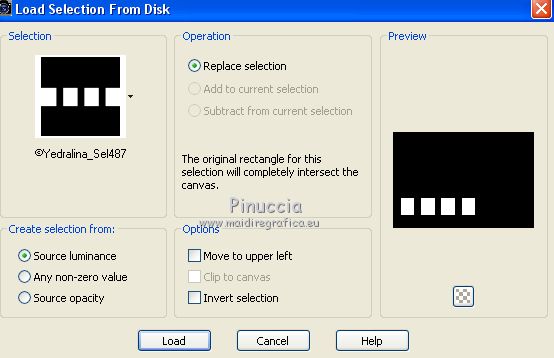
Selections>Load/Save Selection>Load Selection from Disk
Look for and load the selection ©Yedralina_Sel487.
Set your foreground color to dark color #314c67,
and your background color to light color #aca7a3
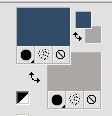
Set your foreground color to a Foreground/Background Gradient, style Linear.
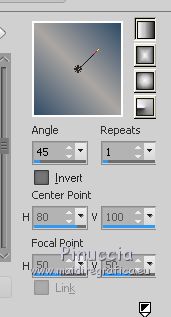
Flood Fill  the selection with your Gradient. the selection with your Gradient.
Selections>Modify>Contract - 4 pixels.
Press CANC on the keyboard 
Selections>Modify>Contract - 4 pixels.
Flood Fill  with your light background color. with your light background color.
Selections>Modify>Contract - 4 pixels.
Activate your image jpg
Image>Mirror.
Edit>Copy.
Go back to your work and go to Edit>Paste into Selection.
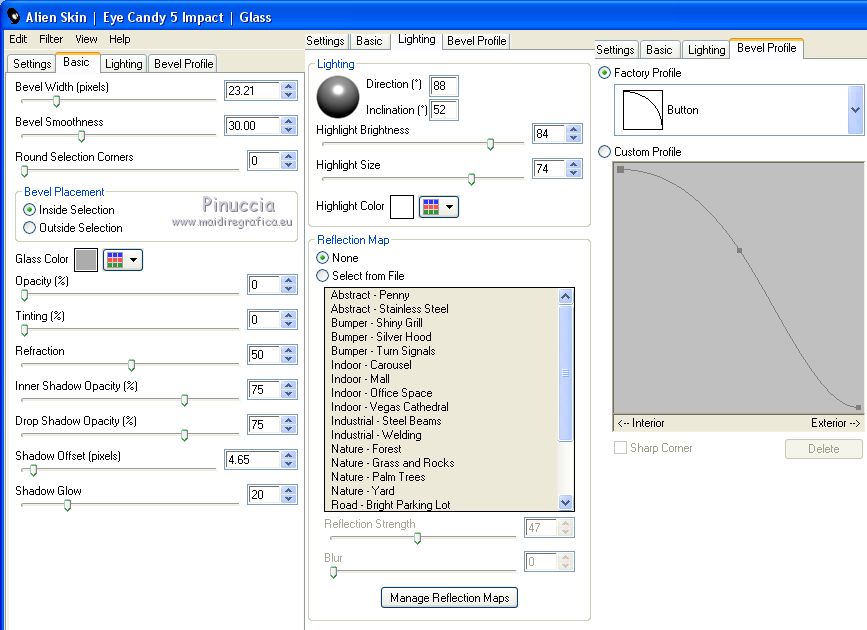
Effects>Plugins>Alien Skin Eye Candy 5 Impact - Glass
select the preset ©Yedralina_Glass4 and ok
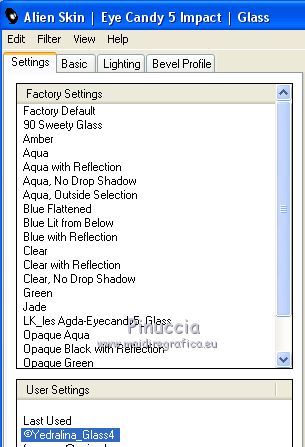
Here below the settings, in case of problems with the preset
Selections>Select None.
Layers>Duplicate.
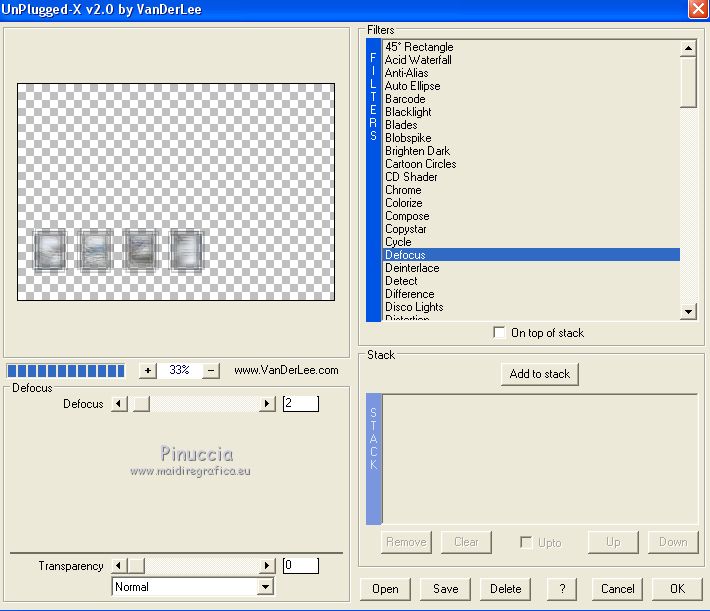
Effects>Plugins>VanDerLee - Unplugged-X - Defocus, default settings.
Change the Blend Mode of this layer to Multiply (or at your choice)
or keep it in mode Normal.
Layers>Arrange>Move Down.
7. Open again and activate the top layer Group Copy of Raster 2.
** If you use a different misted, do this:
Activate the top layer.
Copy/Paste as new layer your tude
Image>Resize, if necessary.
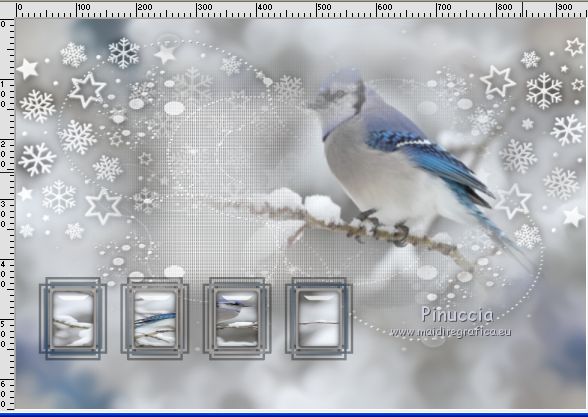
Place  / / rightly the tube, see my example. rightly the tube, see my example.
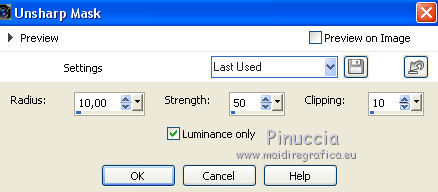
Adjust>Sharpness>Unsharp Mask
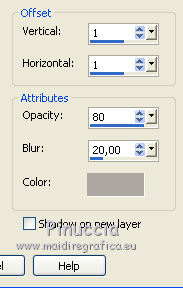
Effects>3D Effects>Drop Shadow, light color #aca7a3.
Layers>Arrange>Move Down - 2 times.
8. Open the tube Deco00231©Yedralina and go to Edit>Copy.
Go back to your work and go to Edit>Paste as new layer.
Objects>Align>Bottom
or, with your Pick Tool 
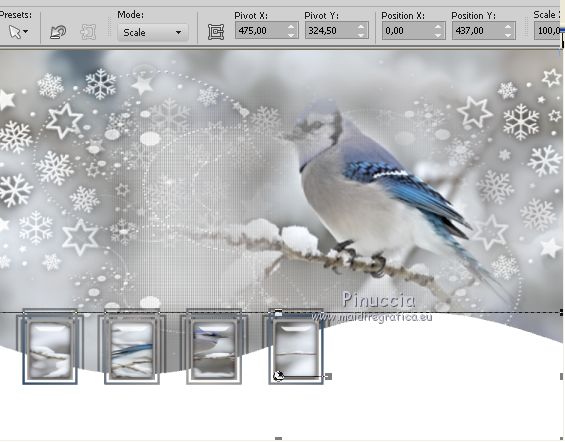
Change the Blend Mode of this layer to Dissolve.
Layers>Arrange>Move Up.
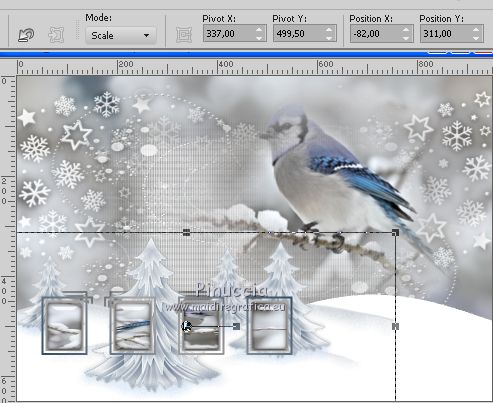
9. Open the tube VWhiteForest and go to Edit>Copy.
Go back to your work and go to Edit>Paste as new layer.
Move  the tube at the bottom left, the tube at the bottom left,
or open the presets menu and select the preset 279-©Yedralina

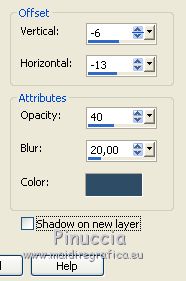
Effects>3D Effects>Drop Shadow, dark foreground color
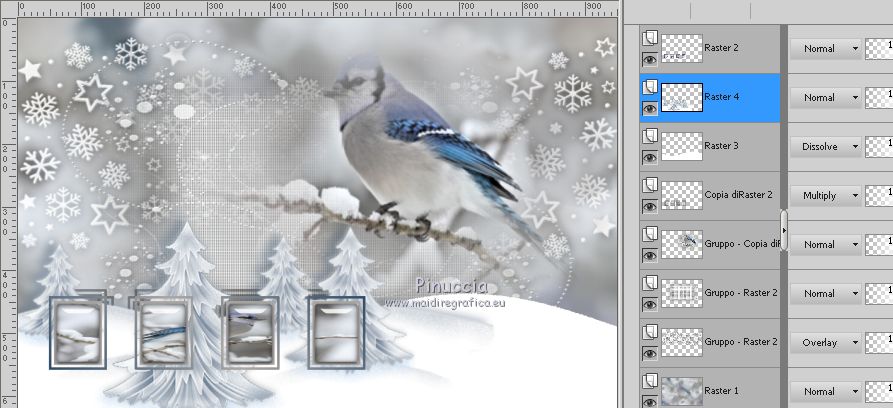
10. You should have this
11. Image>Add borders, 1 pixel, symmetric, dark color.
Image>Add borders, 2 pixels, symmetric, light color.
Image>Add borders, 1 pixel, symmetric, dark color.
Selections>Select All.
Edit>Copy.
Image>Add borders, 50 pixels, symmetric, whatever color.
Selections>Invert.
Edit>Paste into Selection.
Effects>Plugins>AAA Filters - AAA Framer.
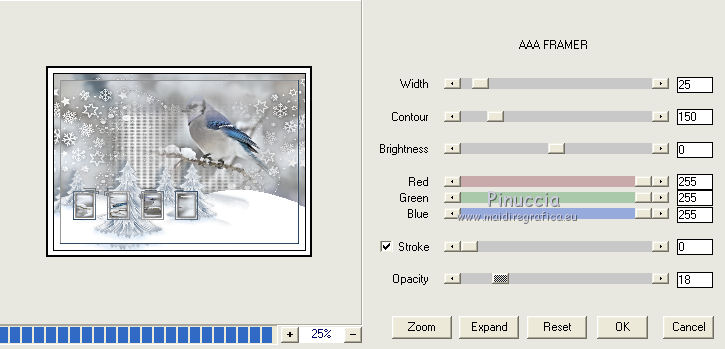
Effects>Plugins>VanDerLee - Unplugged-X, Defocus, same settings.
Selections>Invert.
Effects>3D Effects>Drop Shadow, dark foreground color
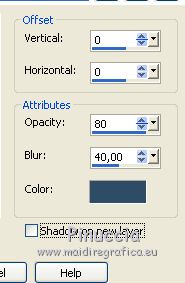
Selections>Select None.
12. Open the deco xmas 2010 (129) and go to Edit>Copy.
Go back to your work and go to Edit>Paste as new layer.
Move  the tube at the upper left. the tube at the upper left.
Effects>3D Effects>Drop Shadow, same settings.
13. Image>Add borders, 1 pixel, simmetriche, dark color.
Effects>Plugins>Nik Software - Color Efex Pro - tonal Contrast, default settings.
Apply one or two times, according to your image
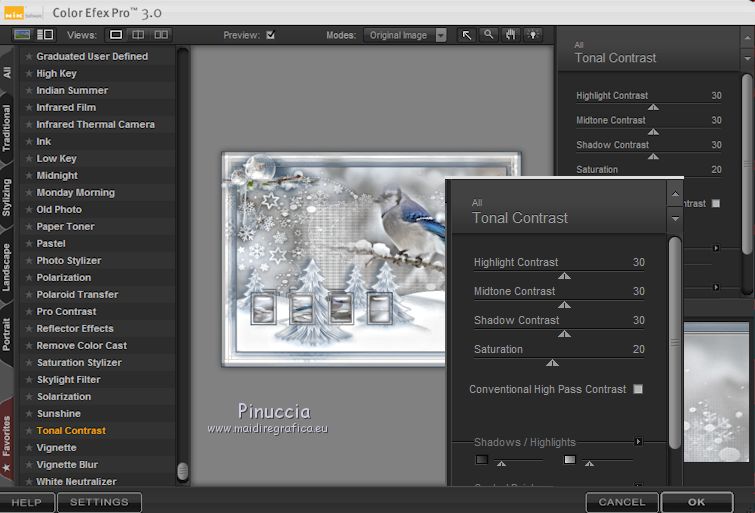
14. Image>Resize, 1000 pixels width, resize all layers checked.
Sign your work on a new layer.
Layers>Merge>Merge All and save as jpg.
Version with another image jpg
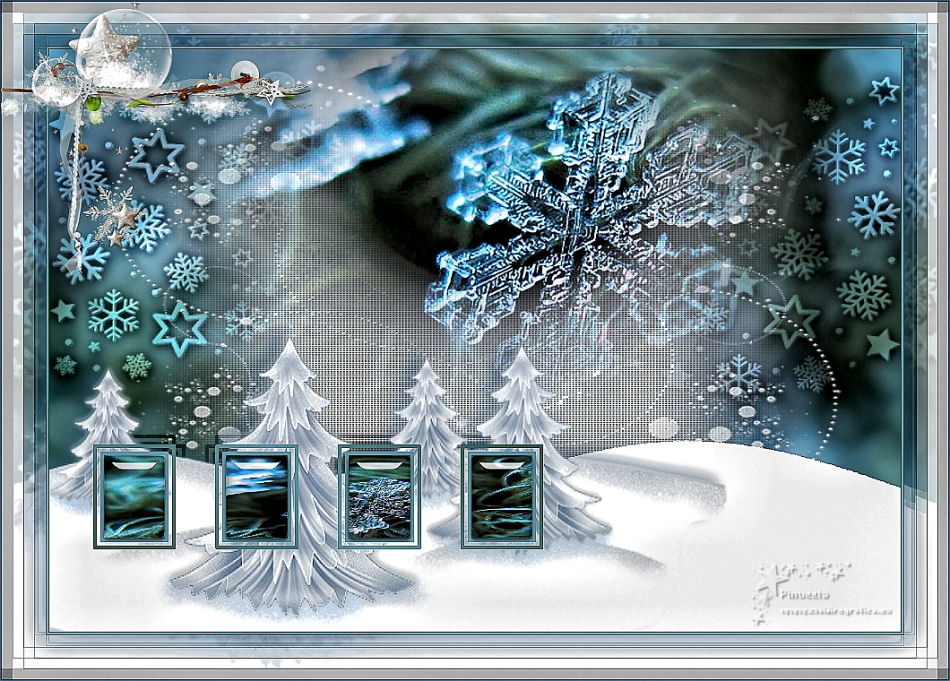
Version with a tube by Criss

If you have problems or doubts, or you find a not worked link, or only for tell me that you enjoyed this tutorial, write to me.
25 November 2018
|

