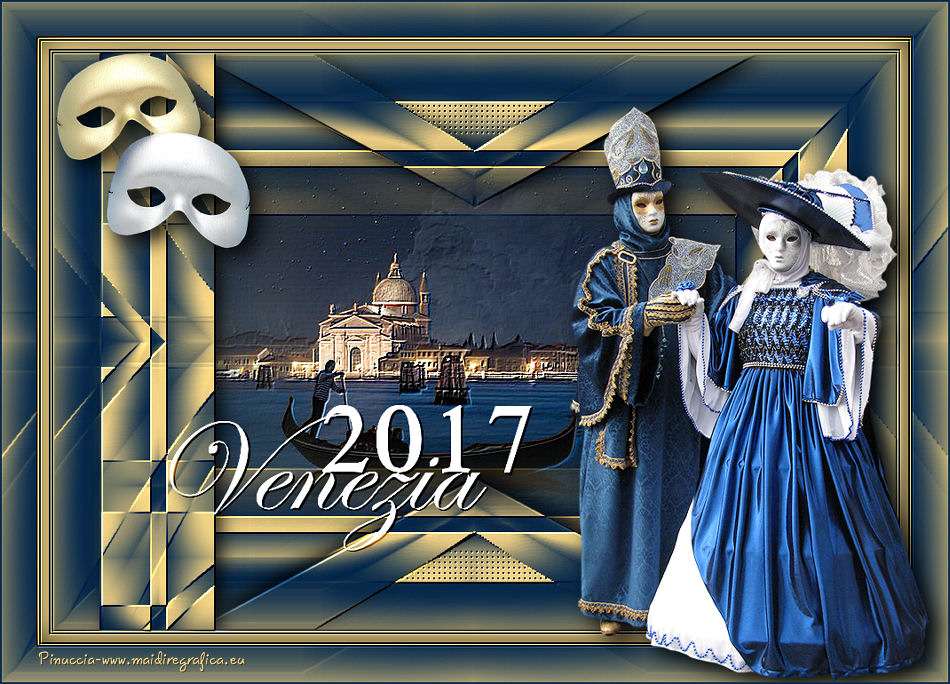
|
VENEZIA 2017
english version

Here you find the original of this tutorial:

This tutorial was written with CorelX19 and translated with CorelX, Corel X3 and CorelX17, but it can also be made using other versions of PSP.
Since version PSP X4, Image>Mirror was replaced with Image>Flip Horizontal,
and Image>Flip with Image>Flip Vertical, there are some variables.
In versions X5 and X6, the functions have been improved by making available the Objects menu.
In the latest version X7 command Image>Mirror and Image>Flip returned, but with new differences.
See my schedule here
italian translation here
your versions qui/here
For this tutorial, you will need:
A landscape misted, the main tube and a deco tube.
The rest of the material qui
For the tubes used and not supplied, thanks
CAL (CAL-1620-012817)
Beatriz (1764 - misted venecia - LB TUBES)
Raffaele (masks).
The rest of the material (text and selections) are by Yedralina.
Plugins:
consult, if necessary, my filter section here
Filters Unlimited 2.0 here
Sybia - QUANTUMT here
Simple - Top Bottom Wrap (bonus) here
Simple - Pizza Slice Mirror, Top Left Mirror here
Mehdi - Sorting Tile here
Mehdi Wavy Lab 1.1 here
Alien Skin Eye Candy 5 Impact - Perspective Shadow here
AAA Filters - Custom here
AP Lines - Lines SilverLining here
Filters Sybia and Simple can be used alone or imported into Filters Unlimited.
(How do, you see here)
If a plugin supplied appears with this icon  it must necessarily be imported into Unlimited it must necessarily be imported into Unlimited

You can change Blend Modes according to your colors.
Copy the Selections in the Selections Folder.
1. Set your foreground color to dark color #082a4b
and your background color to light color #f4d485.
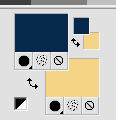
2. Open a new transparent image 950 x 650 pixels.
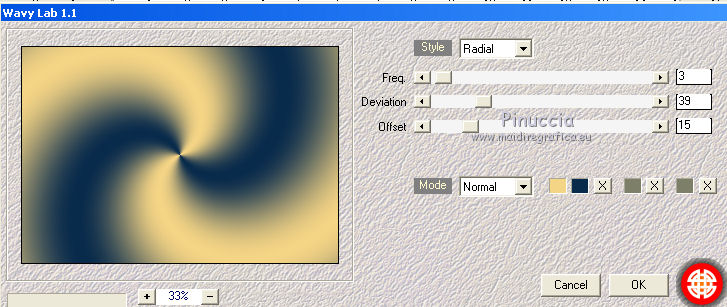
Effects>Plugins>Mehdi - Wavy Lab 1.1.
This Filter works with the colors of your Materials Palette.
The first is the background color, the second is the foreground color.
Keep the other two colors created by the plugin.
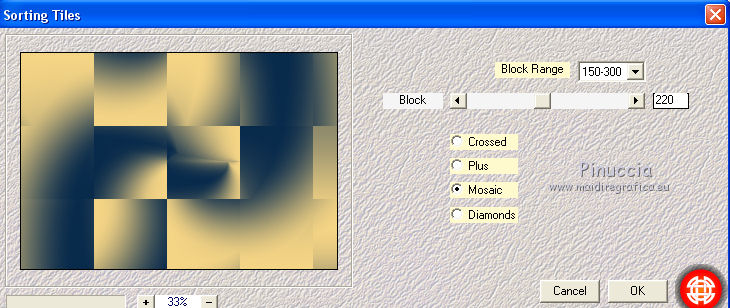
3. Effects>Plugins>Mehdi - Sorting Tiles.
4. Effects>Plugins>Filters Unlimited 2.0 - Simple - Top Bottom wrap
usually I use the Filters Simple alone,
but, as the Plugin work without windows,
for this tutorial I used it in Unlimited, to show the preview of the result
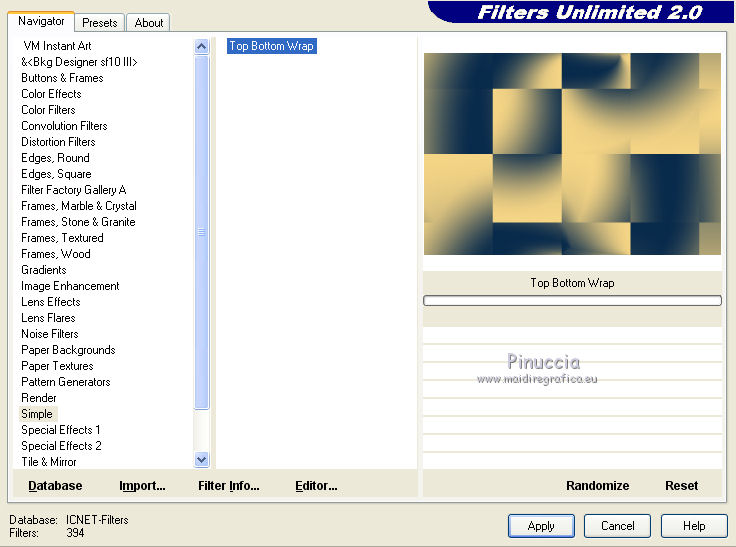
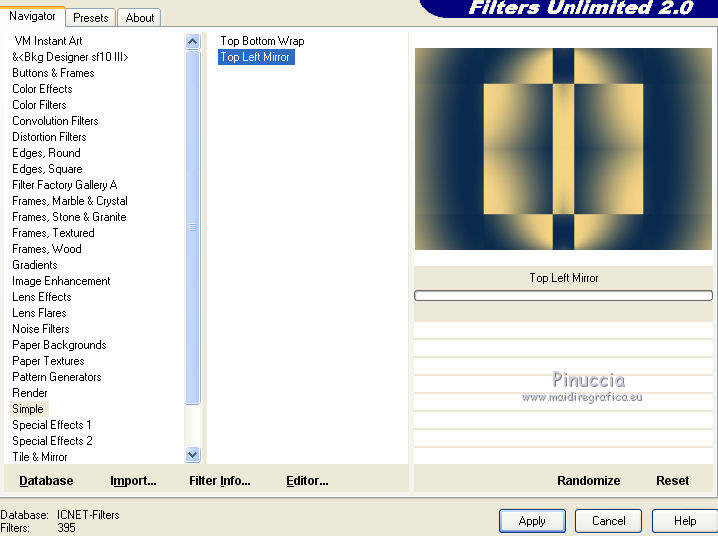
5. Effects>Plugins>Filters Unlimited 2.0 - Simple - Top Left Mirror.
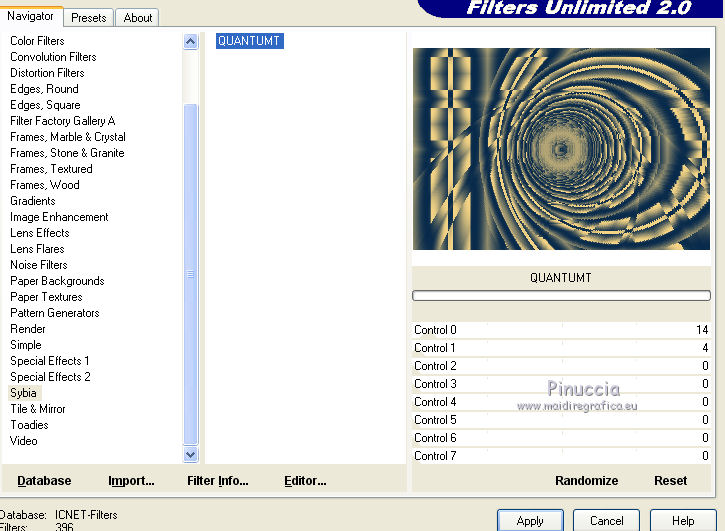
6. Effects>Plugins>Filters Unlimited 2.0 - Sybia - QUANTMT, default settings.
7. Effects>Reflection Effects>Rotating Mirror.

8. Selections>Load/Save Selection>Load Selection from Disk.
Look for and load the selection ©Yedralina_Sel292.
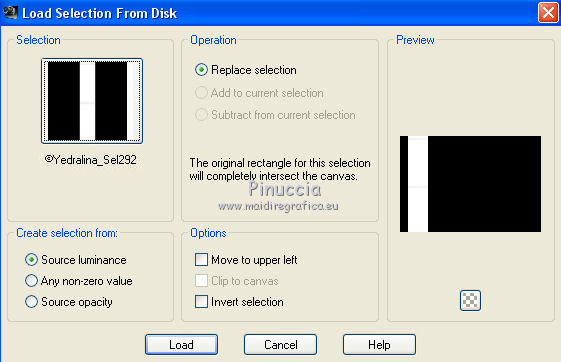
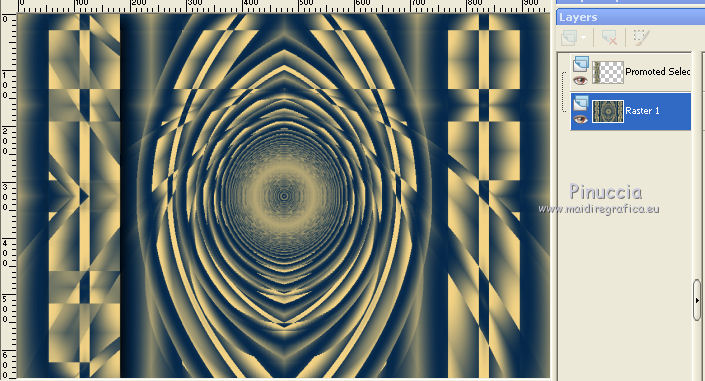
9. Selections>Promote Selection to Layer.
Selections>Select None.
10. Effects>Image Effects>Seamless Tiling.
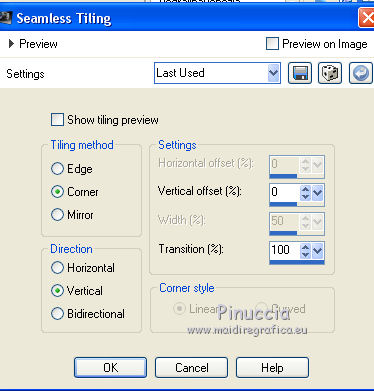
11. Effects>Reflection Effects>Rotating Mirror.
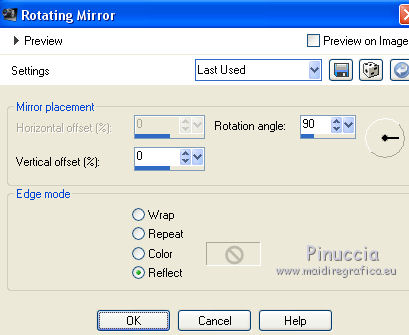
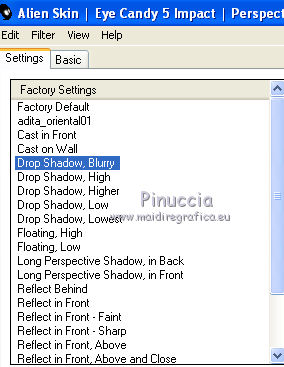
12. Effects>Plugins>Alien Skin Eye Candy 5 Impact - Perspective Shadow.
Select the preset Drop Shadow Blurry and ok.
13. Activate the background layer Raster 1.
14. Selections>Load/Save Selection>Load Selection from Disk.
Look for and load the selection ©Yedralina_Sel298.
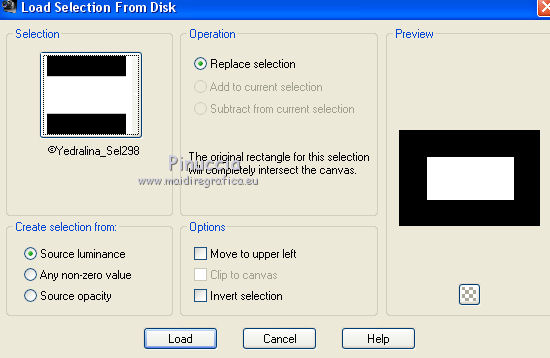
15. Selections>Promote Selection to Layer.
16. Adjust>Blur>Gaussian Blur - radius 25.
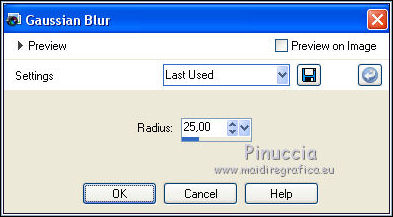
Selections>Select None.
17. Open the landscape misted.
Image>Resize, 720 x 480 pixels.
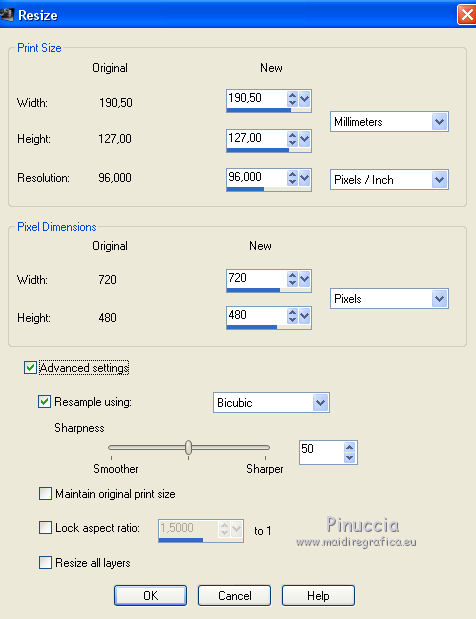
18. Edit>Copy.
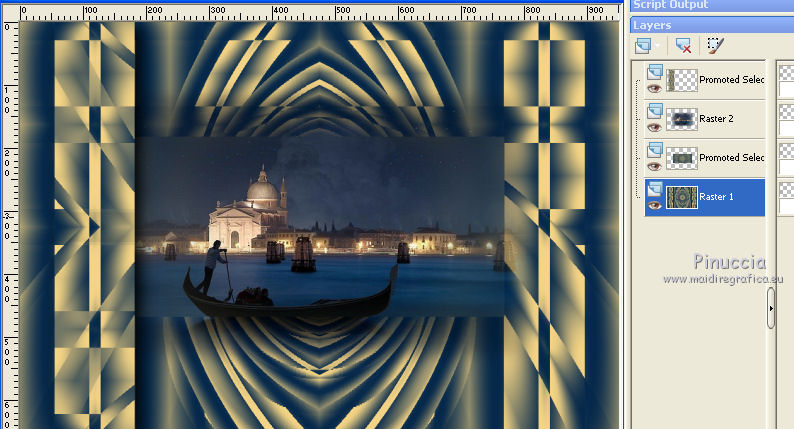
Go back to your work and go to Edit>Paste as new layer.
Don't move it (for me: Image>Mirror).
Adjust>Sharpness>Sharpen.
19. Again activate the background layer Raster 1.
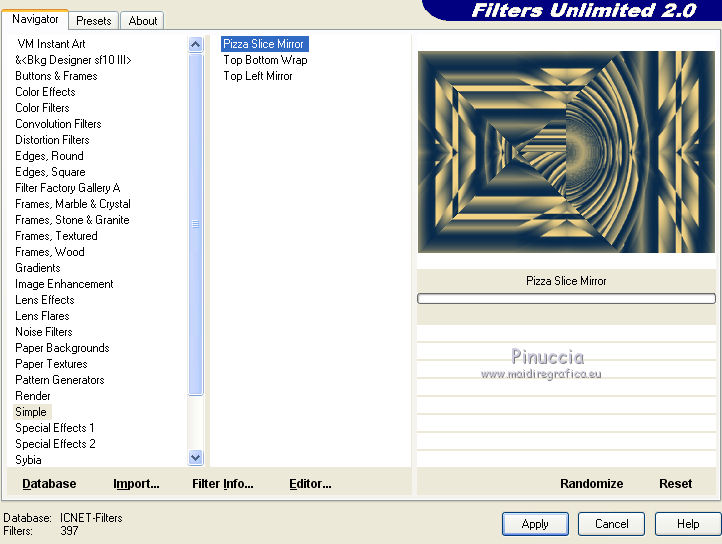
20. Effects>Plugins>Filters Unlimited 2.0 - Simple - Pizza Slice Mirror.
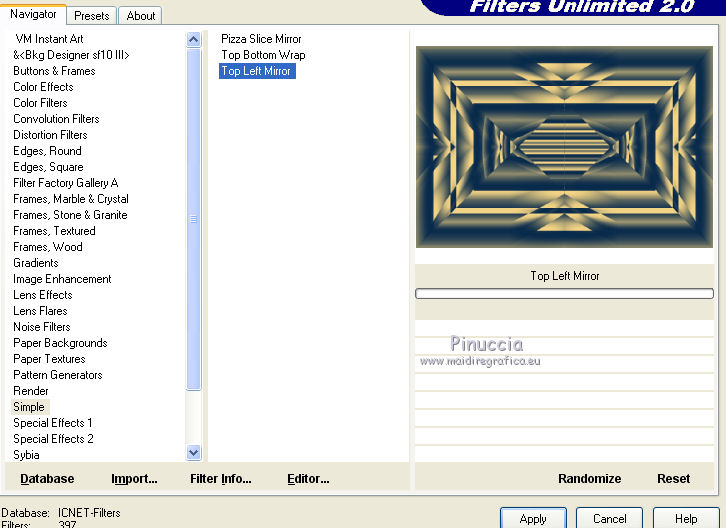
21. Effects>Plugins>Filters Unlimited 2.0 - Simple - Top Left Mirror.
22. Edit>Copy.
Edit>Paste as new image, and minimize it: you'll use this image later.
23. Go back to your work and activate the background layer.
Selections>Load/Save Selection>Load Selection from Disk.
Look for and load the selection ©Yedralina_Sel299.
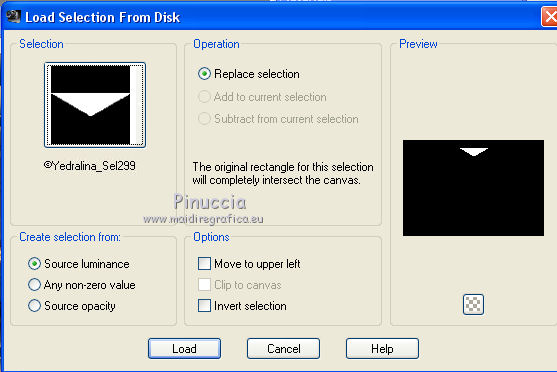
Selections>Promote Selection to Layer.
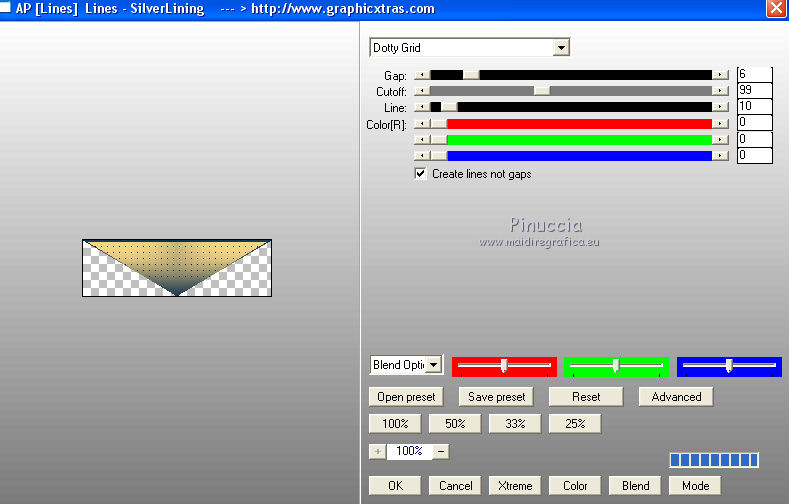
24. Effects>Plugins>AP Lines - Lines SilverLining.
25. Selections>Load/Save Selection>Load Selection from Disk.
Look for and load the selection ©Yedralina_Sel294.
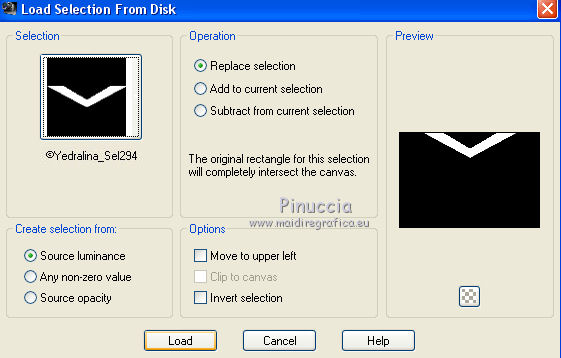
The new selection will take the place of the previous selection.
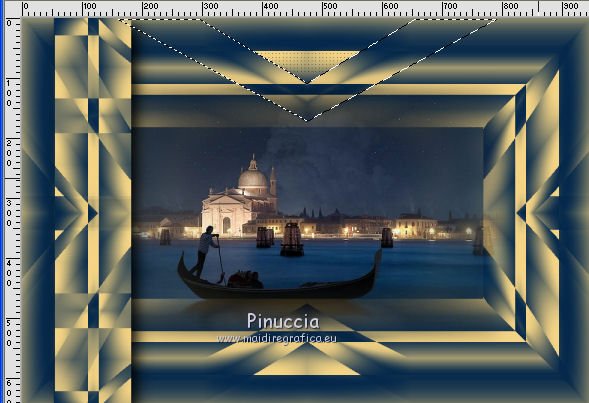
26. Effects>Plugins>Alien Skin Eye Candy 5 Impact - Perspective Shadow.
Select the preset Drop Shadow Blurry and ok.

27. Selections>Select None.
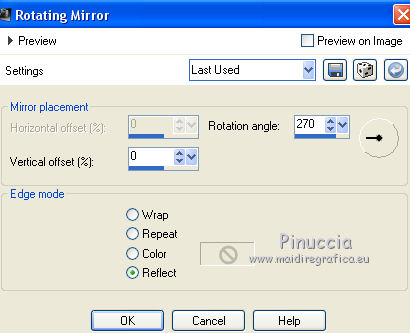
28. Effects>Reflection Effects>Rotating Mirror.
29. Open the text Text_Venezia2017©Yedralina - Edit>Copy.
Go back to your work and go to Edit>Paste as new layer.
Layers>Arrange>Bring to Top.
30. Place  the text where you want, or see my example. the text where you want, or see my example.
Effects>3D Effects>Drop Shadow, as you prefer.
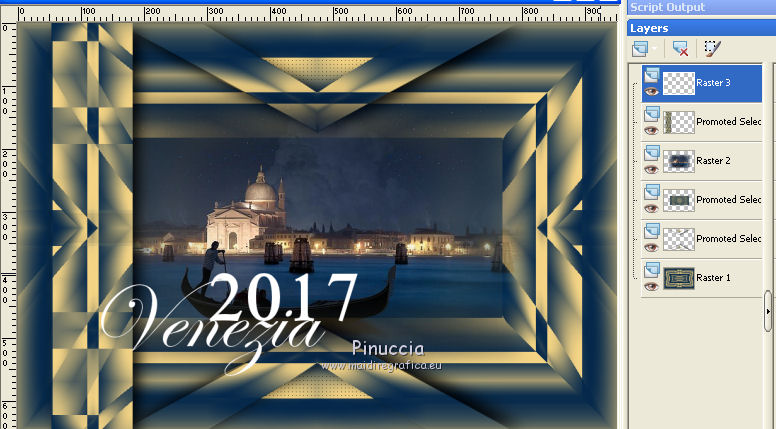
31. You should have this
32. Image>Add borders, 1 pixel, symmetric, dark color.
Image>Add borders, 2 pixels, symmetric, light color.
Image>Add borders, 1 pixel, symmetric, dark color.
Image>Add borders, 10 pixels, symmetric, light color.
Image>Add borders, 1 pixel, symmetric, dark color.
Image>Add borders, 2 pixels, symmetric, light color.
Image>Add borders, 1 pixel, symmetric, dark color.
33. Selections>Select All.
Image>Add borders, 40 pixels, symmetric, whatever color.
Selections>Invert.
34. Activate the image minimized at the step 22.
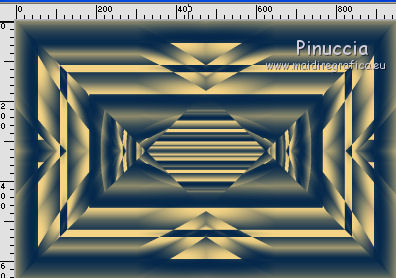
Edit>Copy.
Go back to your work and go to Edit>Paste into Selection.
35. Effects>3D Effects>Drop Shadow, color black.
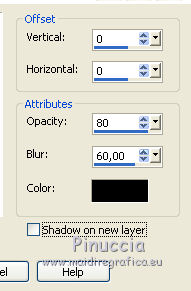
Selections>Select None.
36. Effects>Plugins>AAA Filters - Custom - select Prewitt and ok.
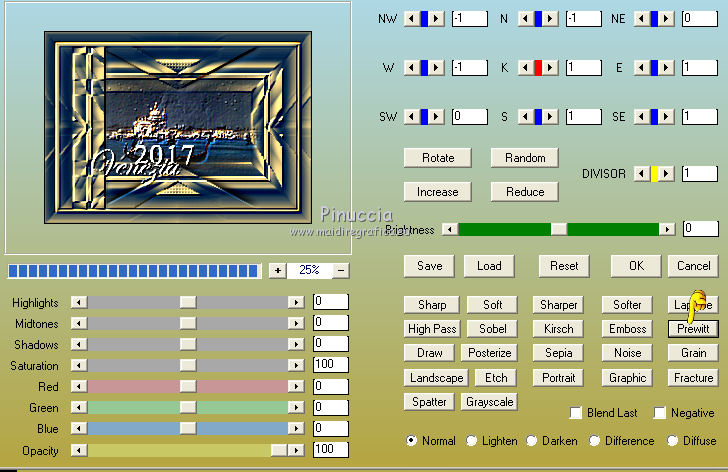
37. Open your deco tube - Edit>Copy.
Go back to your work and go to Edit>Paste as new layer.
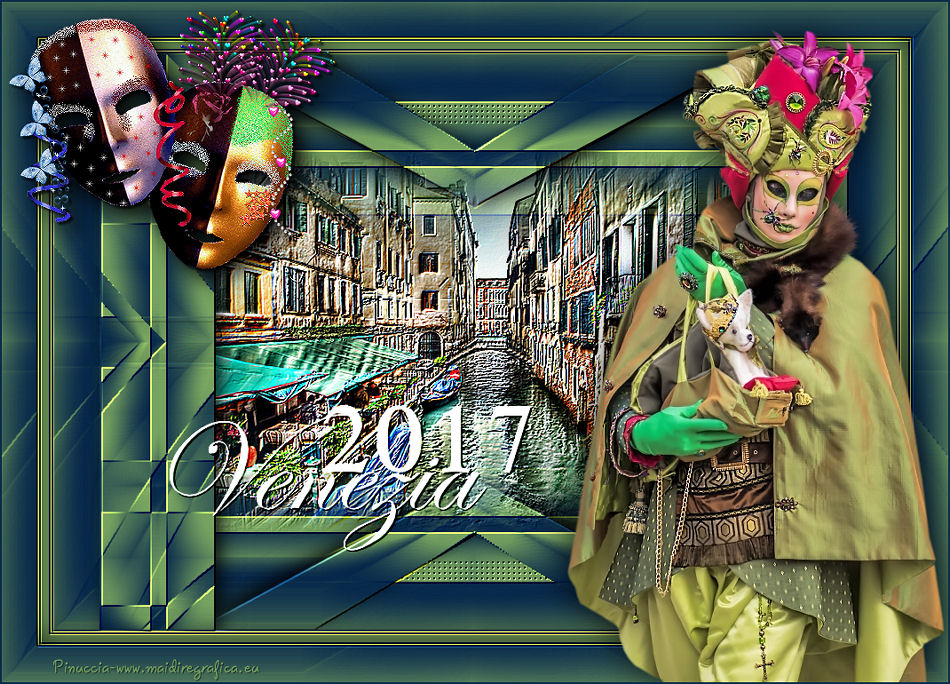
Image>Resize, if it is necessary (for me 70%), resize all layers not checked.
Move  it on the left bord. it on the left bord.
38. Effects>Plugins>Alien Skin Eye Candy 5 Impact - Perspective Shadow.
Select the preset Drop Shadow Blurry and ok.

39. Open your main tube - Edit>Copy.
Go back to your work and go to Edit>Paste as new layer.
Image>Resize, if it is necessary (for me 90%), resize all layers not checked.
Move  the tube to the right side. the tube to the right side.
40. Effects>Plugins>Alien Skin Eye Candy 5 Impact - Perspective Shadow.
Select the preset Drop Shadow Blurry and ok.

41. Sign your work on a new layer.
42. Image>Add borders, 2 pixels, symmetric, dark color.
43. Image>Resize, 950 pixels width, resize all layers checked.
Save as jpg.
The tubes of this version are by Thafs and Mina

If you have problems or doubts, or you find a not worked link, or only for tell me that you enjoyed this tutorial, write to me.
21 February 2017
|
