|
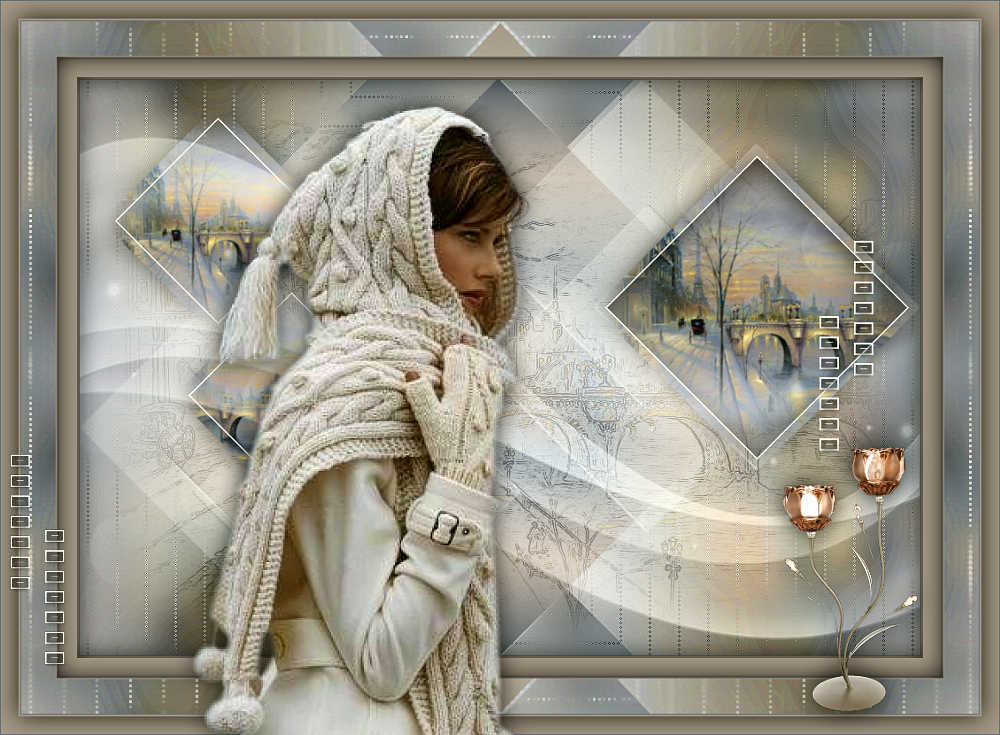
BAJO CERO
 BELOW ZERO BELOW ZERO

Thanks Yedralina for your invitation to translate your tutorials into english

This tutorial was written with PSP2020 and translated with PSPX9 and PSP2020, but it can also be made using other versions of PSP.
Since version PSP X4, Image>Mirror was replaced with Image>Flip Horizontal,
and Image>Flip with Image>Flip Vertical, there are some variables.
In versions X5 and X6, the functions have been improved by making available the Objects menu.
In the latest version X7 command Image>Mirror and Image>Flip returned, but with new differences.
See my schedule here
 italian translation here italian translation here
 french translation here french translation here
 your versions here your versions here

For this tutorial, you will need:

Thanks for the tubes OBG and Natascha and for the mask Silvie.
The rest of the material is by Yedralina
(The links of the tubemakers here).

consult, if necessary, my filter section here
Filters Unlimited here
Simple - Blintz here
Mura's Seamless - Emboss at Alpha here
L&K's - L&K's Zitah here
AAA Filters - Edge Frame, Custom here
Filters Simple and Mura's Seamless can be used alone or imported into Filters Unlimited.
(How do, you see here)
If a plugin supplied appears with this icon  it must necessarily be imported into Unlimited it must necessarily be imported into Unlimited

You can change Blend Modes according to your colors.
In the newest versions of PSP, you don't find the foreground/background gradient (Corel_06_029).
You can use the gradients of the older versions.
The Gradient of CorelX here

Open the mask in PSP and minimize it with the rest of the material.
1. Set your foreground color to #a19992,
and your background color to #686e7d.
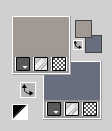
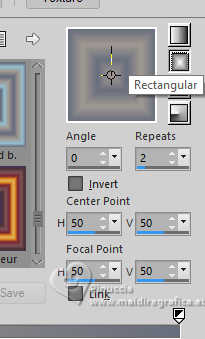
Set your foreground color to a Foreground/Background Gradient, style Rectangular.
2. Apri CanalAlpha BAJO CERO
Window>Duplicate or, on the keyboard, shift+D to make a copy.

Close the original.
The copy, that will be the basis of your work, is not empty,
but contains the selections saved to alpha channel.
3. Selections>Select All
Open the misted Winter_Landscape_91 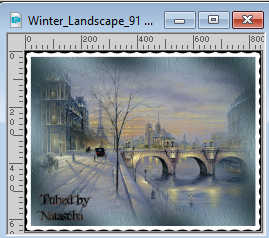
Edit>Copy.
Go back to your work and go to Edit>Paste into Selection.
Selections>Select None.
4. Layers>Duplicate.
Close this layers and activate the layer below of the original.
5. Effects>Image Effects>Seamless Tiling, default settings.

6. Adjust>Blur>Gaussian Blur - radius 20

7. Effects>Plugins>L&K's - L&K's Zitah, default settings.
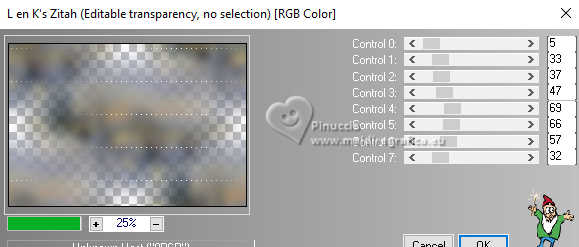
Effects>Edge Effects>Enhance.
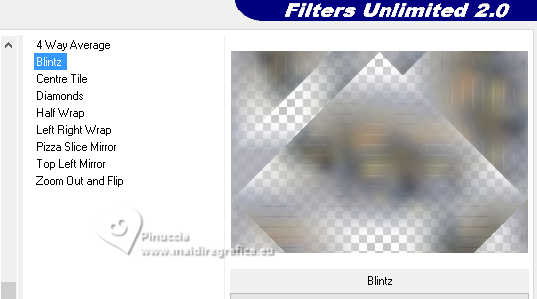
8. Effects>Plugins>Filters Unlimited 2.0 - Simple - Blintz
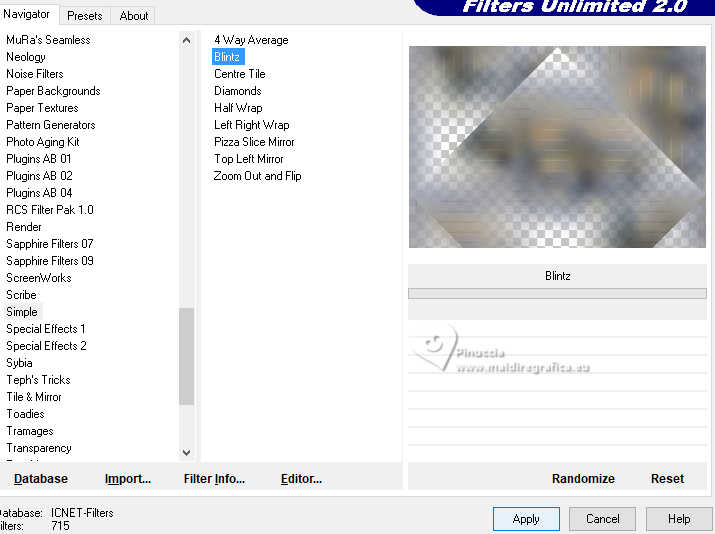
Repeat this Effect another time.
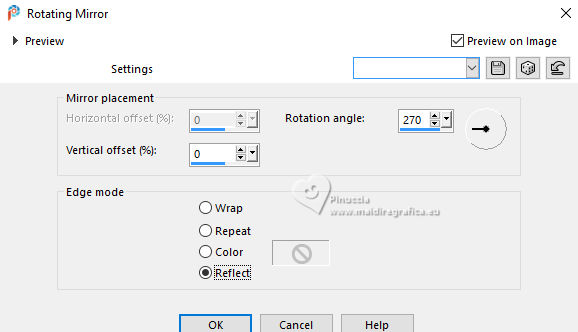
9. Effects>Reflection Effects>Rotating Mirror.
Adjust>Sharpness>Sharpen More.
10. Layers>New Raster Layer.
Flood Fill  the layer with your Gradient. the layer with your Gradient.
Layers>Arrange>Move Down.
11. Layers>New Raster Layer.
Selections>Load/Save Selection>Load Selection from Alpha Channel.
The selection #1 is immediately available. You just have to click Load.
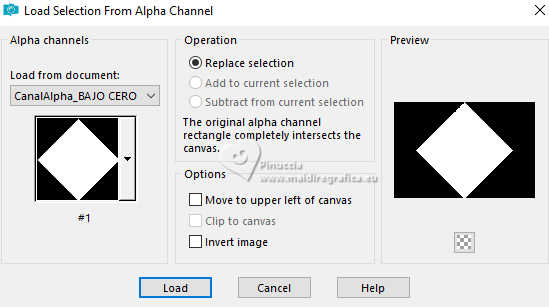
Flood Fill  the selection with your Gradient. the selection with your Gradient.
Selections>Select None.
Layers>Arrange>Move Up.
12. Open the tube Deco00300©Yedralina 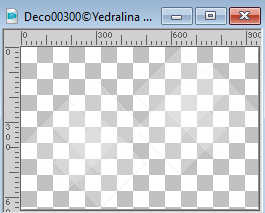
Edit>Copy.
Go back to your work and go to Edit>Paste as new layer.
13. Open and activate your top layer.
Effects>Plugins>AAA Filters - Edge Art
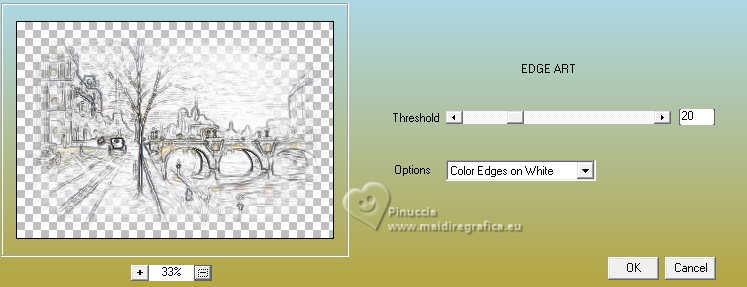
If necessary: Effects>Edge Effects>Enhance - or Enhance More.
Change the Blend Mode of this layer to Soft Light.
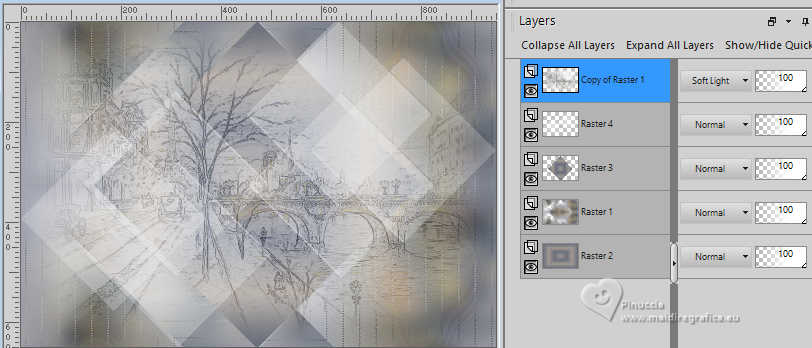
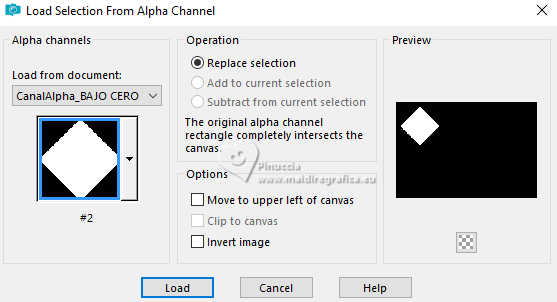
14. Selections>Load/Save Selection>Load Selection from Alpha Channel.
Open the Selections menu and load the selection #2
15. Layers>New Raster Layer.
Activate again the misted Winter Landscape 91 and go to Edit>Cpy.
Go back to your work and go to Edit>Paste into Selection.
16. Selections>Modify>Contract - 12 pixels.
Edit>Copy
17. Set your foreground color to white.
Flood Fill  the selection with color white. the selection with color white.
18. Selections>Modify>Contract - 2 pixels.
Press CANC on the keyboard 
be careful, if you are used to deleting with Edit>Cut,
in this case don't do it, because this command would delete the image your put in memory at point 16
19. Edit>Paste into Selection
Selections>Select None.
20. Effects>3D Effects>Drop Shadow, color black.

21. Layers>Duplicate.
Image>Flip>Flip Horizontal.
22. Effects>3D Effects>Offset.
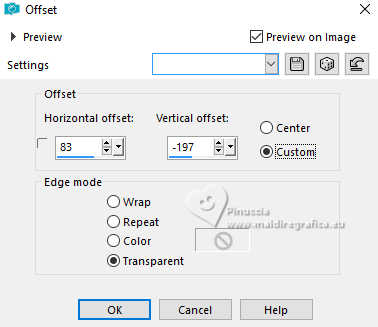
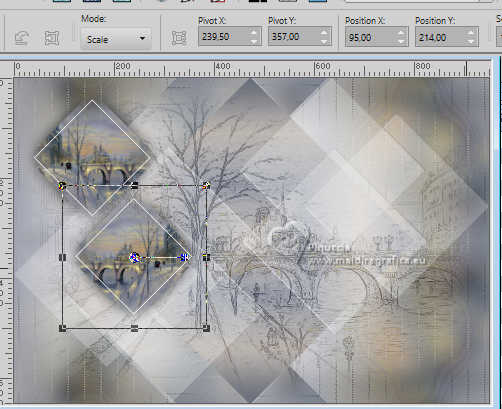
Flip/Flip Horizontal command reflects and leaves the image in the same position.
If you are using an old version:
Image>Mirror and after activate your Pick Tool 
and set Position X: 95,00 and Position Y: 214,00.
23. Layers>New Raster Layer.
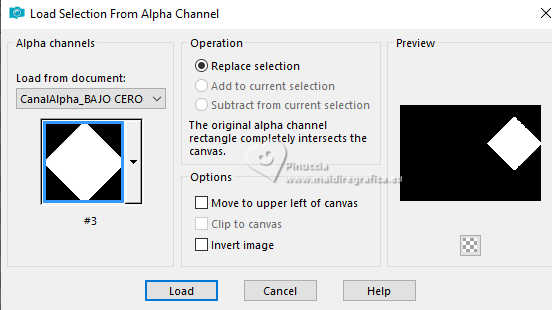
Selections>Load/Save Selection>Load Selection from Alpha Channel.
Open the Selections menu and load the selection #3
24. Activate again the misted Winter Landscape 91 and go to Edit>Copy.
Go back to your work and go to Edit>Paste into Selection.
25. Selections>Modify>Contract - 10 pixels.
Edit>Copy
26. Flood Fill  the selection with color white. the selection with color white.
Selections>Modify>Contract - 2 pixels.
Press CANC on the keyboard
(warning: do not Edit>Cut, because you would lose the image copied in step 25)
27. Edit>Paste into Selection (the image copied in step 25).
Selections>Invert.
28. Effects>3D Effects>Drop Shadow, same settings.

Selections>Select None.
29. Again Effects>3D Effects>Drop Shadow, same settings.

30. Layers>New Raster Layer.
Flood Fill  the layer with color white. the layer with color white.
31. Layers>New Mask layer>From image
Open the menu under the source window and you'll see all the files open.
Select the mask Silvie_Mask_Deco_purple22
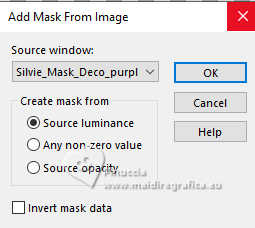
Layers>Merge>Merge Group.
Image>Mirror>Mirror Horizontal (Image>Mirror)
32. Effects>Plugins>Mura's Seamless - Emboss at Alpha, default settings
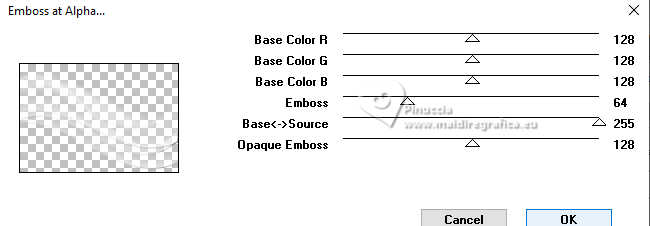
33. Change the Blend Mode of this layer to Luminance (legacy), or to your liking.
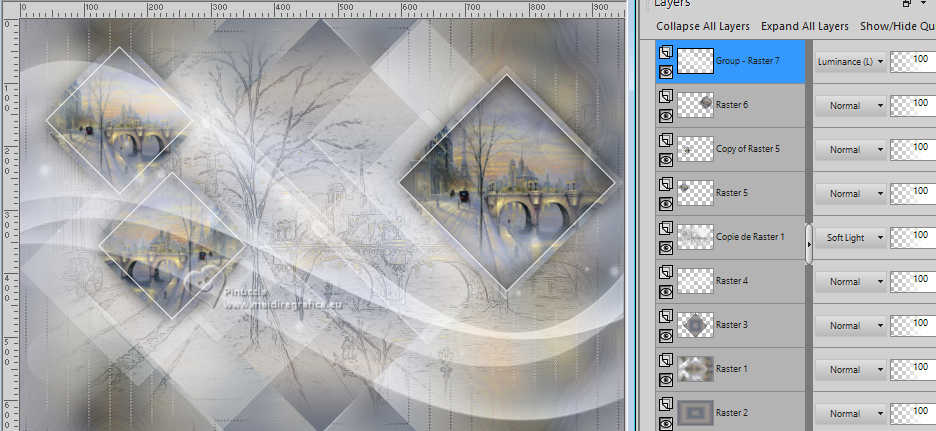
34. Open the tube Deco00298©Yedralina 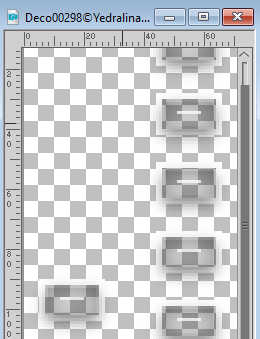
Edit>Copy.
Go back to your work and go to Edit>Paste as new layer.
35. Effects>Image Effects>Offset.
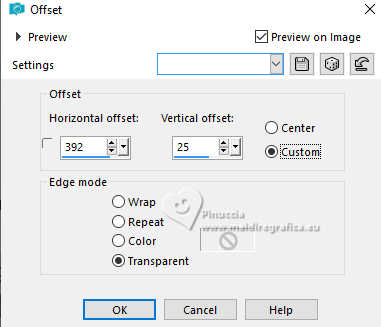
36. Activate the second layer from the bottom, Raster 1.
Edit>Copy.
Edit>Paste as new image, and minimize this image.
Go back to your work.
Set again your foreground color to #a19992.

37. Image>Add borders, 1 pixel, symmetric, background color.
Image>Add borders, 2 pixels, symmetric, foreground color.
38. Selections>Select All.
Image>Add borders, 20 pixels, symmetric, foreground color.
Selections>Invert.
39. Effects>3D Effects>Drop Shadow, color black.

40. Image>Add borders, 1 pixel, symmetric, background color.
Image>Add borders, 2 pixels, symmetric, foreground color.
41. Selections>Select All.
Image>Add borders, 40 pixels, symmetric, foreground color.
42. Edit>Paste into Selection (the image minimized in step 36 is still in memory).
Effects>Reflection Effects>Rotating Mirror, default settings.

Effects>Edge Effects>Dilate.
43. Effects>3D Effects>Drop Shadow, color black.

Selections>Select None.
44. Image>Add borders, 1 pixel, symmetric, background color.
Image>Add borders, 2 pixels, symmetric, foreground color.
45. Selections>Select All.
Image>Add borders, 20 pixels, symmetric, foreground color.
46. Effects>3D Effects>Drop Shadow, same settings.

47. Image>Add borders, 1 pixel, symmetric, background color.
Selections>Select None.
48. Open your main tube OBG_GIRL_634 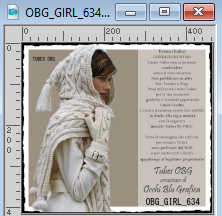
Erase the watermark and go to Edit>Copy.
Go back to your work and go to Edit>Paste as new layer.
Image>Resize, to 175%, resize all layers not checked.
Adjust>Sharpness>Sharpen.
Move  the tube to the left. the tube to the left.
49. Effects>3D Effects>Drop Shadow, same settings.

50. Open the tube 1590©Yedralina 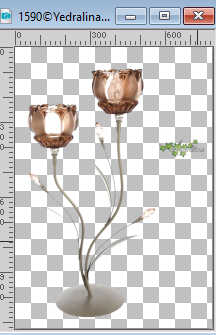
Erase the watermark and go to Edit>Copy.
Go back to your work and go to Edit>Paste as new layer.
Image>Resize, to 30%, resize all layers not checked.
Adjust>Sharpness>Sharpen.
Move  the tube at the bottom right. the tube at the bottom right.
Effects>3D Effects>Drop Shadow, same settings.
51. Activate again the tube Deco00298©Yedralina and go to Edit>Copy.
Go back to your work and go to Edit>Paste as new layer.
Image>Mirror>Mirror Horizontal.
52. K key to activate your Pick Tool 
and set Position X: 7,00 and Position Y: 508,00.

M key to deselect the Tool.
53. Sign your work on a new layer.
54. Image>Resize, 1000 pixels width, resize all layers checked.
55. Layers>Merge>Merge All.
56. Optional: Effects>Plugins>AAA Filters - Custom - Landscape.
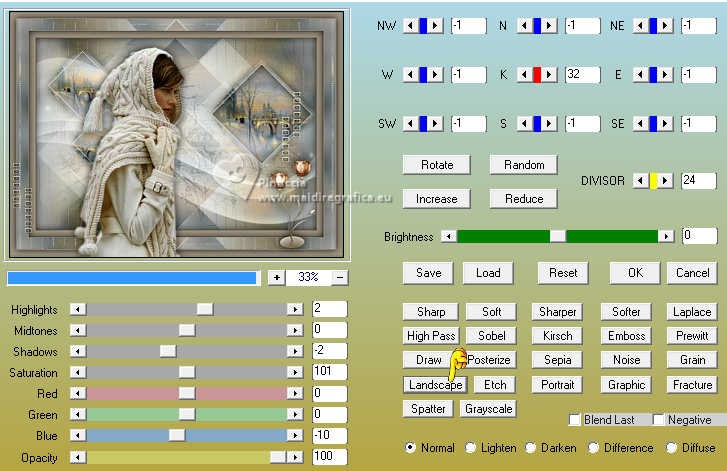
Save as jpg.
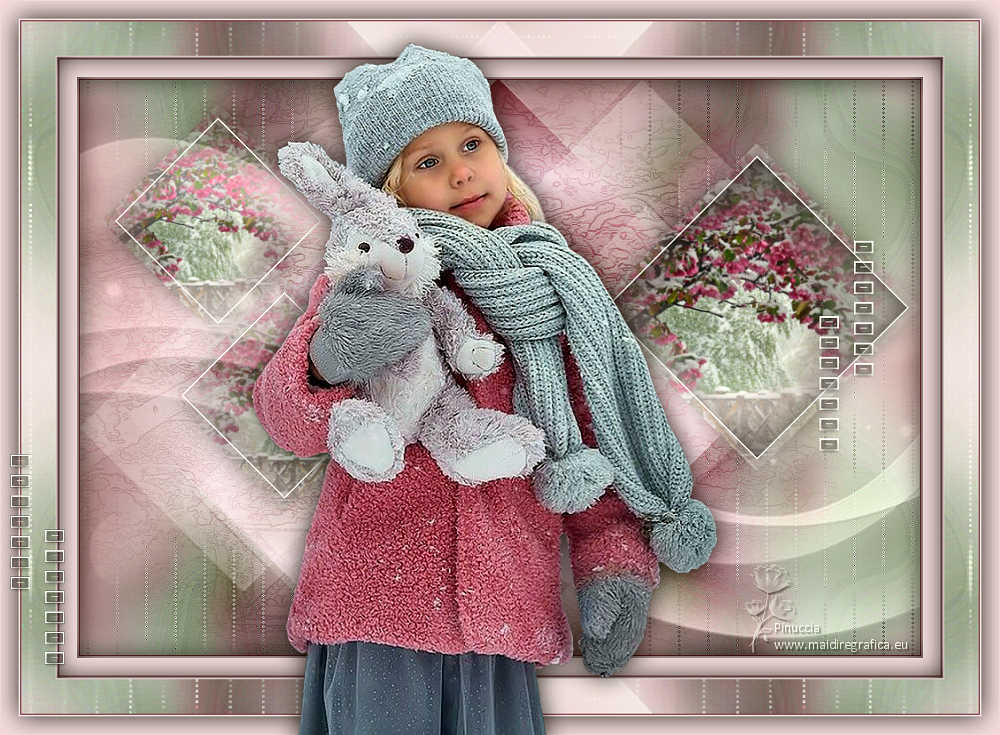
For the tubes of these version thanks
Luz Cristina and Mentali
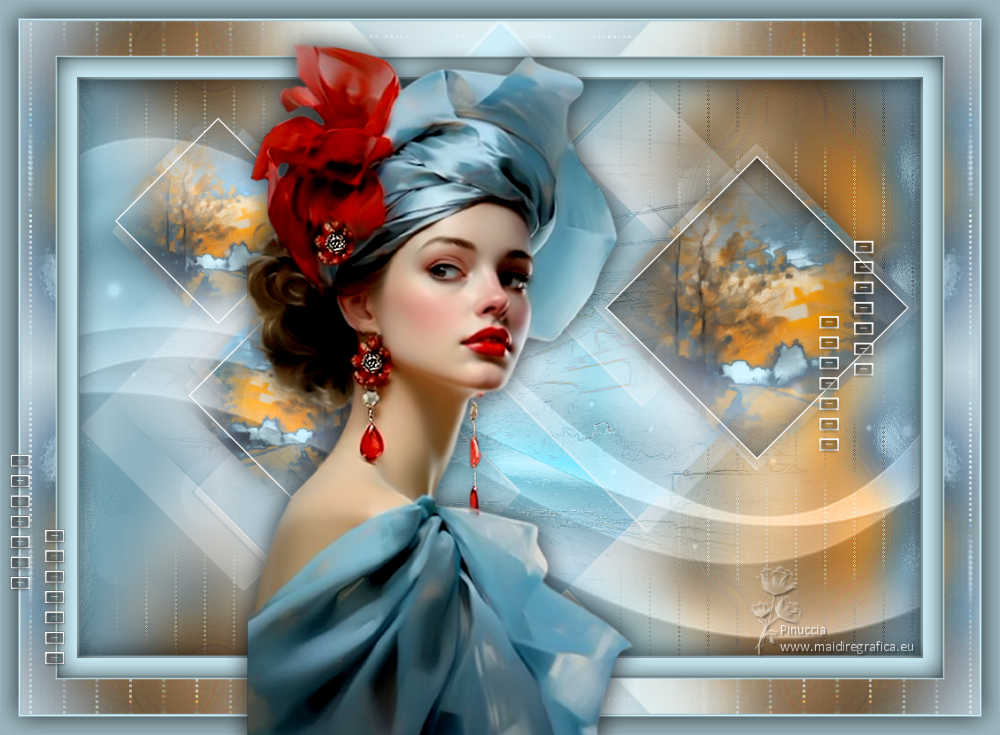
Tine and Yedralina

If you have problems or doubts, or you find a not worked link, or only for tell me that you enjoyed this tutorial, write to me.
8 January 2024

|
 BELOW ZERO

 BELOW ZERO