|
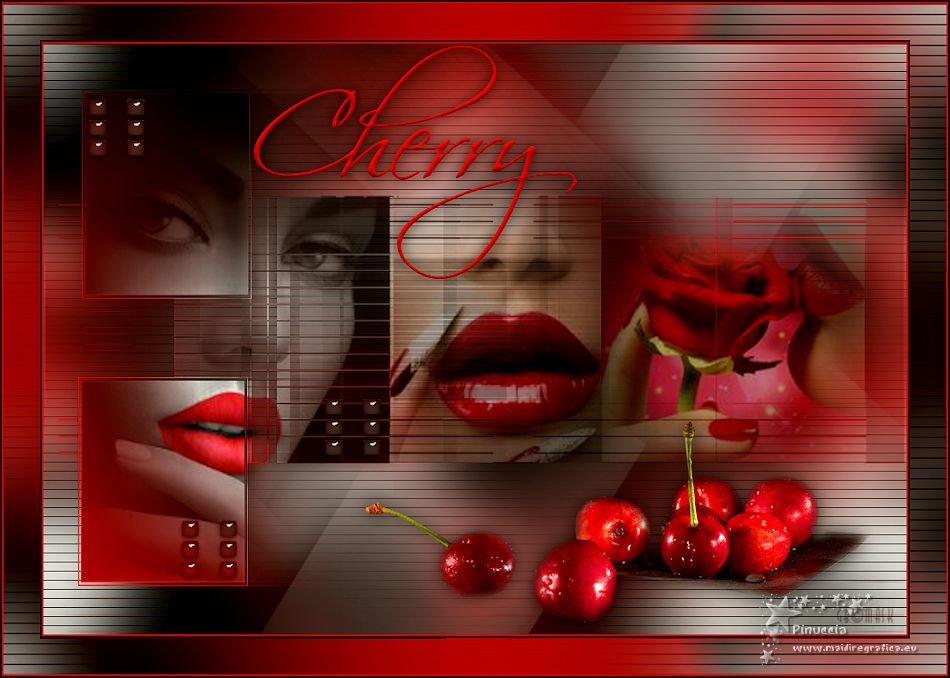
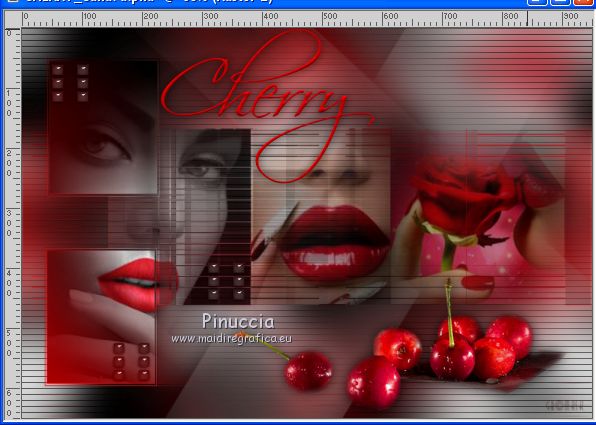
CHERRY


Thanks Yedralina for your invitation to translate your tutorials into english

This tutorial was written with CorelX19 and translated with CorelX17, but it can also be made using other versions of PSP.
Since version PSP X4, Image>Mirror was replaced with Image>Flip Horizontal,
and Image>Flip with Image>Flip Vertical, there are some variables.
In versions X5 and X6, the functions have been improved by making available the Objects menu.
In the latest version X7 command Image>Mirror and Image>Flip returned, but with new differences.
See my schedule here
italian translation here
french translation here
your versions here
For this tutorial, you will need:
Material qui
For the masks thanks Nikita and Gabry.
The rest of the material is by Yedralina.
(The links of the tubemakers here).
Plugins:
consult, if necessary, my filter section here
Filters Unlimited 2.0 here
Simple - Blintz here
AP Lines - Lines SilverLining here
AAA Filters - Custom here
Filters Simple can be used alone or imported into Filters Unlimited.
(How do, you see here)
If a plugin supplied appears with this icon  it must necessarily be imported into Unlimited it must necessarily be imported into Unlimited

You can change Blend Modes according to your colors.
In the newest versions of PSP, you don't find the foreground/background gradient (Corel_06_029).
You can use the gradients of the older versions.
The Gradient of CorelX here
Open the masks in PSP and minimize them with the rest of the material.
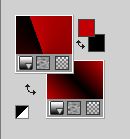
Set your foreground color to #c20004
and your background color to #000000
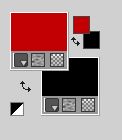
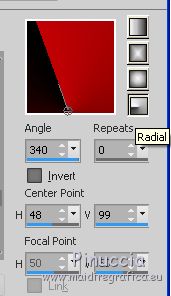
Set your foreground color to a Foreground/Background Gradient, style Radial.
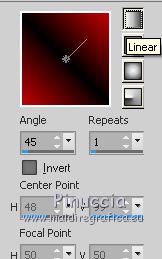
Set your background color to a Foreground/Background Gradient, style Linear.
1. Open Alpha Cherry_Canal Alpha.
Duplicate the image (on the keyboard shift+D) and close the original.
The copy, that will be the basis of your work, is not empty,
but it contains the selections saved on the alpha channel.
Rename the layer Raster 1.
Flood Fill  the layer with your foreground Gradient. the layer with your foreground Gradient.
Selections>Select All.
Open the first misted (for me 1920©Yedralina) and go to Edit>Copy.
Go back to your work and go to Edit>Paste into Selection.
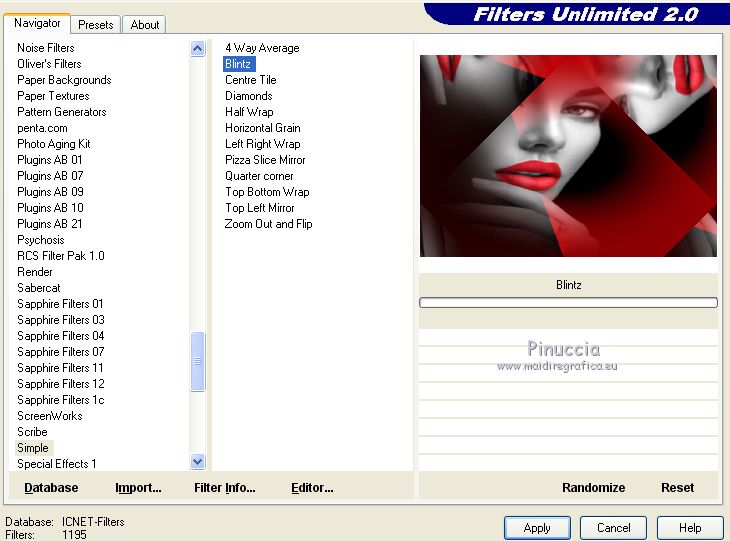
Effects>Plugins>Filters Unlimited 2.0 - Simple - Blintz
Selections>Select None.
Effects>Image Effects>Seamless Tiling.

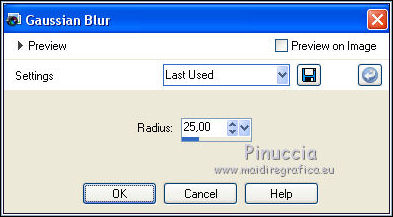
Adjust>Blur>Gaussian Blur - radius 25.
2. Layers>New Raster Layer.
Selections>Select All.
Edit>Paste into Selection (your misted is still in memory).
Selections>Select None.
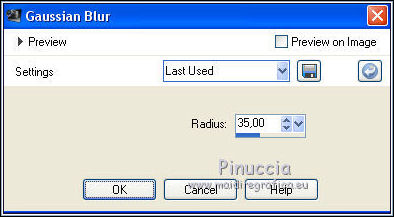
Adjust>Blur>Gaussian Blur - radius 35.
Effects>Plugins>AP Lines - Lines SilverLining.
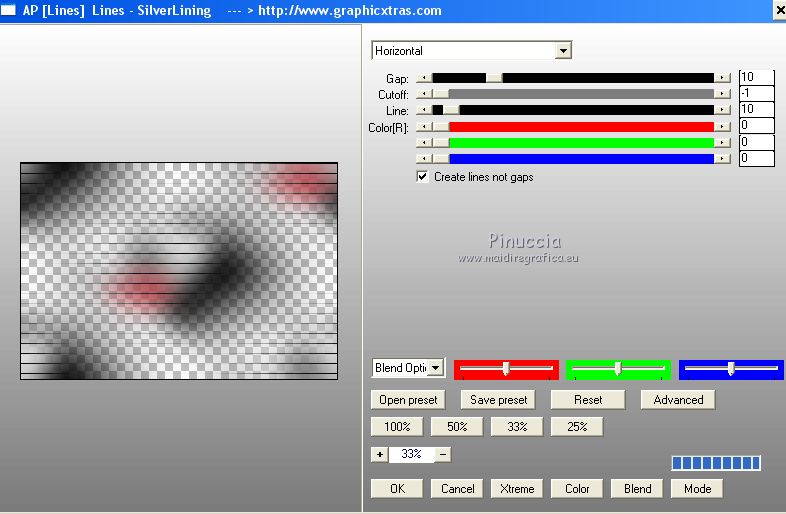
3. Set your foreground color to color #a28b8b.
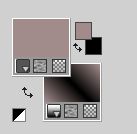
Layers>New Raster Layer.
Flood Fill  with your foreground color #a28b8b. with your foreground color #a28b8b.
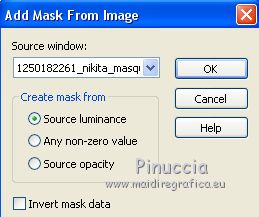
Layers>New Mask layer>From image
Open the menu under the source window and you'll see all the files open.
Select the mask 1250182261_nikita_masque.
Layers>Merge>Merge group.
Image>Mirror.
Reduce the opacity of this layer +/-45%.
Layers>Arrange>Move Down.
4. Set your foreground color again to color #c20004,
to get the initial background gradient.
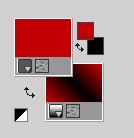
Layers>New Raster Layer.
Flood Fill  the layer with your background gradient. the layer with your background gradient.
Layers>New Mask layer>From image
Open the menu under the source window
and select the mask Mask_11_GB_2019.
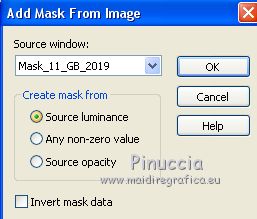
Layers>Merge>Merge Group.
Layers>Arrange>Bring to Bottom.
Effects>Edge Effects>Enhance.
5. Edit>Paste as new layer (your misted is still in memory).
For my example: Image>Resize, to 90%, resize all layers not checked.
Move  the tube over the mask. the tube over the mask.
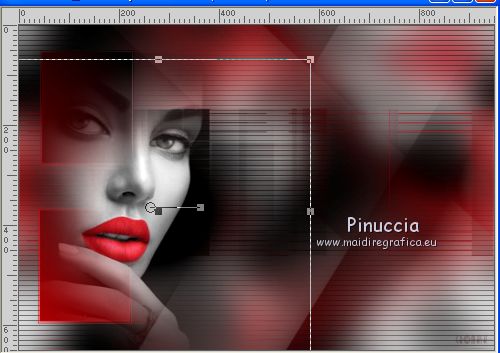
Layers>New Mask layer>From image
Open the menu under the source window
and select again the mask Mask_11_GB_2019.

if necessary, according to your tube and your colors: Layers>Duplicate
Layers>Merge>Merge Group.
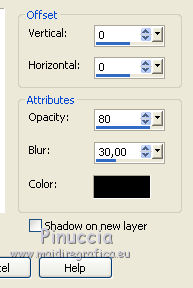
Effects>3D Effects>Drop Shadow, color black.
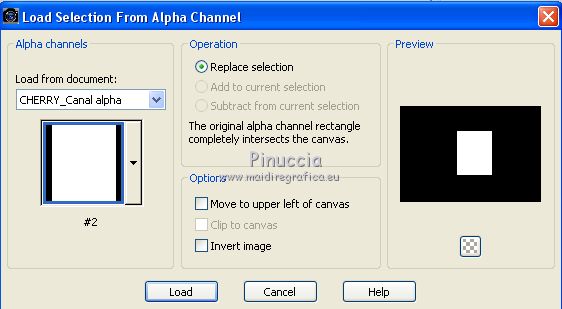
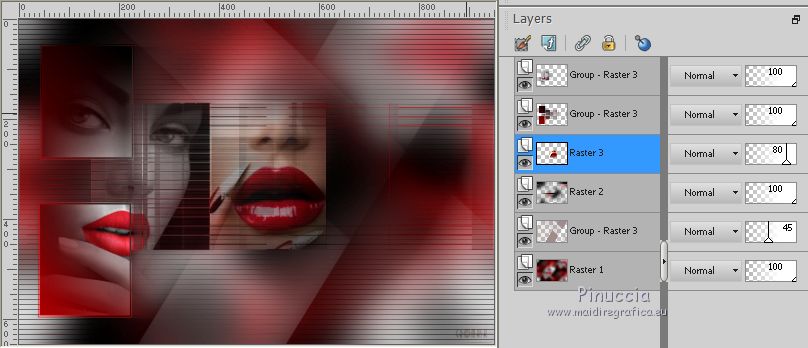
6. Selections>Load/Save Selection>Load Selection from alpha Channel.
Open the Selections menu and load the selection #2.
Open your 2nd misted - for me 1921©Yedralina.
Image>Mirror.
Edit>Copy.
Go back to your work and go to Edit>Paste as new layer.
Image>Resize, to 70%, resize all layers not checked.
Place  the tube in the selection. the tube in the selection.
Selections>Invert.
Press CANC on the keyboard 
Selections>Select None.
Layers>Arrange>Move Down - 2 times.
Reduce the opacity of this layer to 80%, or according to your tube.
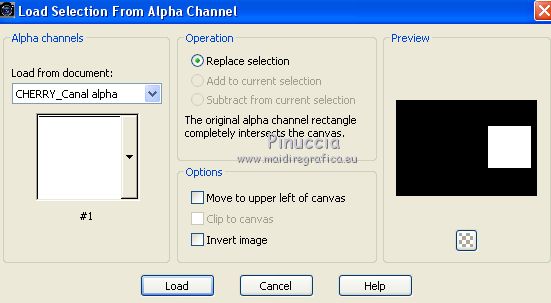
7. Selections>Load/Save Selection>Load Selection from Alpha Channel
The selection #1 is immediately available. You just have to click Load.
Open the third misted - for me 1924%copy;Yedralina.
Image>Mirror.
Edit>Copy.
Go back to your work and go to Edit>Paste as new layer.
Image>Resize, 70%, resize all layers not checked.
Place  the tube in the selection. the tube in the selection.
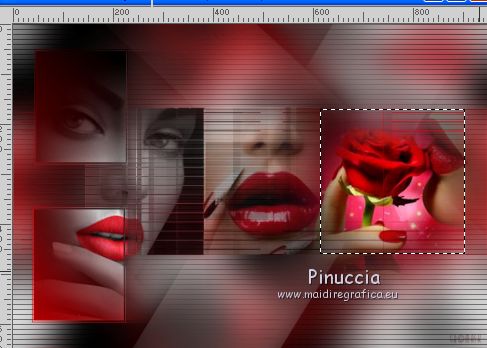
Selections>Invert.
Press CANC on the keyboard.
Selections>Select None.
Reduce the opacity of this layer to 60%, or according your colors.
Layers>Arrange>Move Down.
8. Activate your top layer.
Open the tube Deco00241©Yedralina and go to Edit>Copy.
Go back to your work and go to Edit>Paste as new layer.
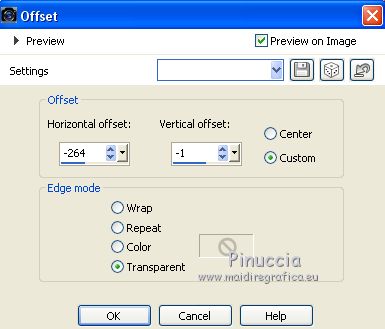
Effects>Image Effects>Offset.
Change the Blend Mode of this layer to Luminance or Luminance (legacy), at your choice.
9. Open the deco tube 1919©Yedralina and go to Edit>Copy.
Go back to your work and go to Edit>Paste as new layer.
Image>Mirror.
Image>Resize, to 65%, resize all layers not checked.
Move  the tube at the bottom right. the tube at the bottom right.
Effects>3D Effects>Drop Shadow, at your choice.
10. Open the tube Text_Cherry©Yedralina and go to Edit>Copy.
Go back to your work and go to Edit>Paste as new layer.
If your prefer, write your text (in the material the font used).
Place  the text as in my example. the text as in my example.
11. Activate the layer with the Plugin Ap Lines.
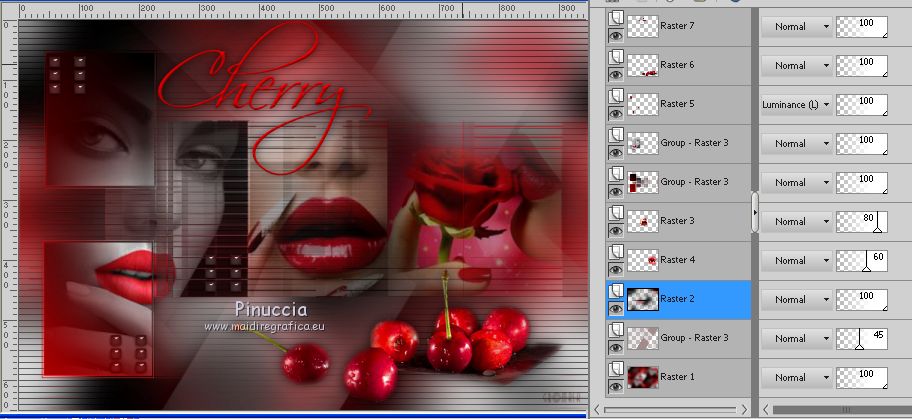
Edit>Copy.
12. Set your foreground color to the initial Gradient.

Image>Add borders, 2 pixels, symmetric, foreground color.
Image>Add borders, 2 pixels, symmetric, background color.
Selections>Select All.
Image>Add borders, 40 pixels, symmetric, foreground color.
Selections>Invert.
Flood Fill  the selection with your foreground Gradient. the selection with your foreground Gradient.
Image>Mirror.
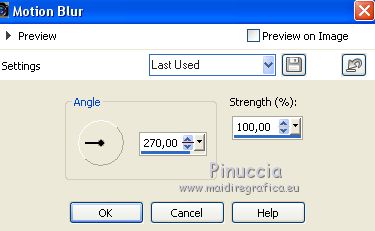
Adjust>Blur>Motion Blur.
Edit>Paste into Selection (the layer copied at step 11).
Selections>Promote Selection to layer.
Selections>Select None.
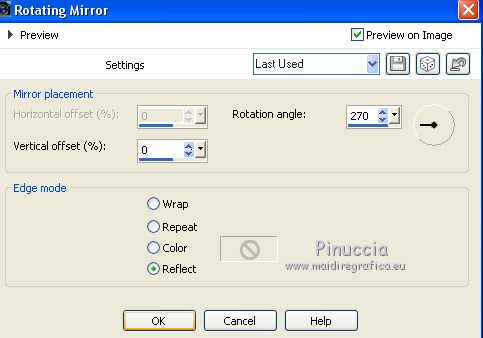
Effects>Reflection Effects>Rotating Mirror.
Image>Add borders, 2 pixels, symmetric, foreground color.
Image>Add borders, 2 pixels, symmetric, background color.
13. Image>Resize, 1000 pixels width, resize all layers checked.
Sign your work on a new layer.
Layers>Merge>Merge All.
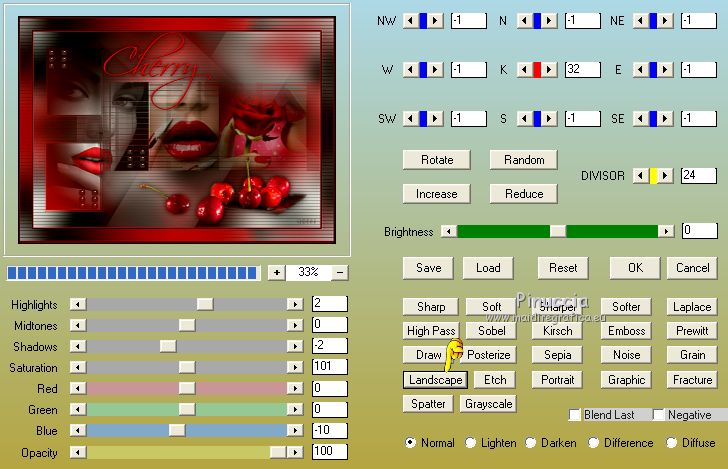
Optional: Effects>Plugins>AAA Filters- Custom - Landscape.
Save as jpg.
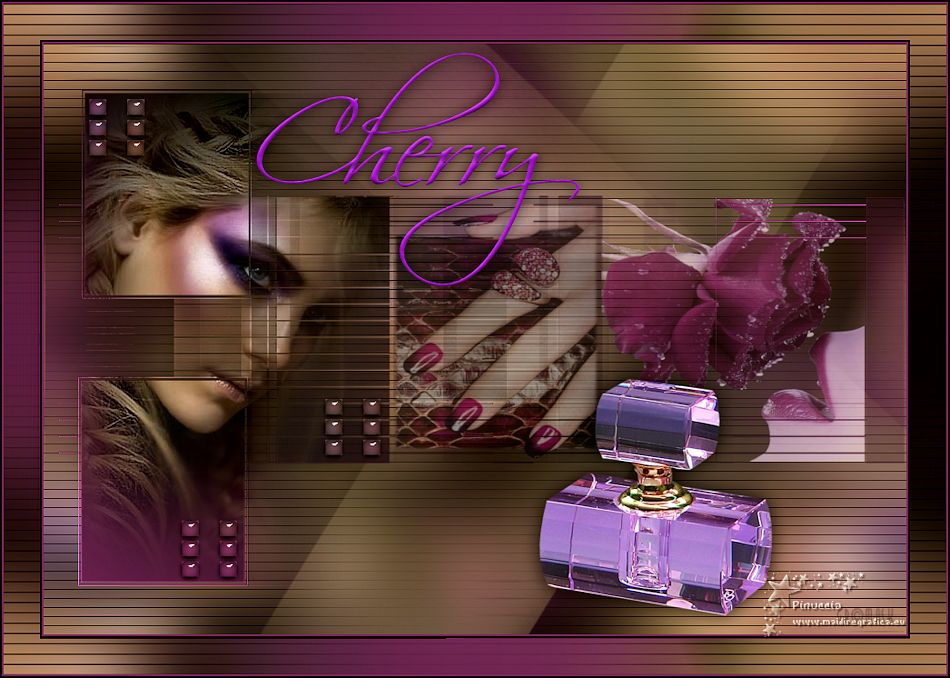
The tubes of this version are by Luz Cristina, Kad, Beatriz and Syl

If you have problems or doubts, or you find a not worked link, or only for tell me that you enjoyed this tutorial, write to me.
25 May 2019
|

