|
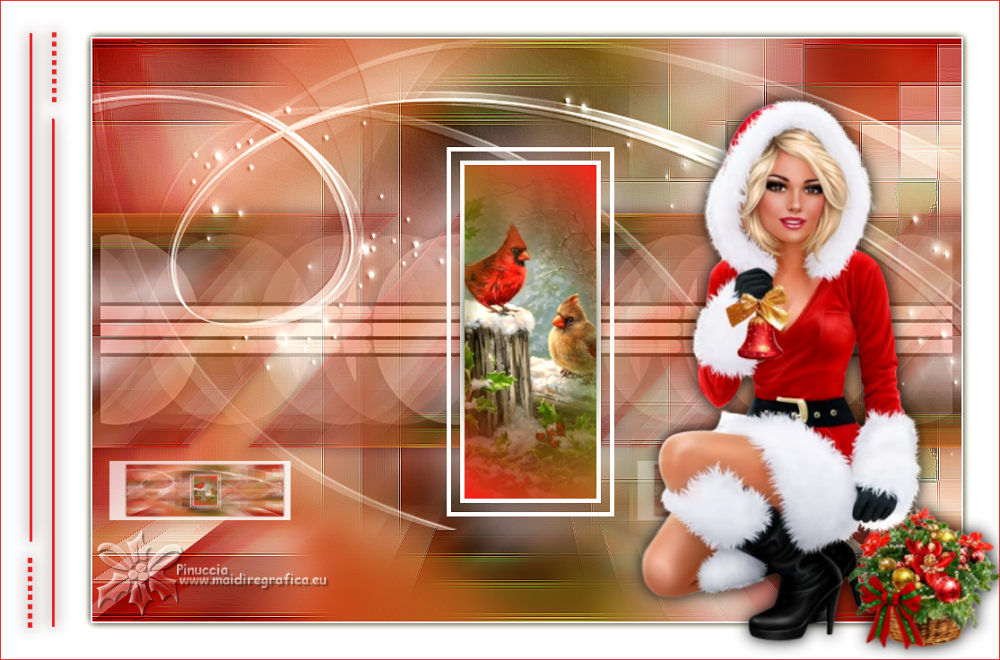
ERES NAVIDAD


Thanks Yedralina for your invitation to translate your tutorials into english

This tutorial was written with PSP2020 and translated with PSPX9, PSP2019 and PSP2020, but it can also be made using other versions of PSP.
Since version PSP X4, Image>Mirror was replaced with Image>Flip Horizontal,
and Image>Flip with Image>Flip Vertical, there are some variables.
In versions X5 and X6, the functions have been improved by making available the Objects menu.
In the latest version X7 command Image>Mirror and Image>Flip returned, but with new differences.
See my schedule here
 italian translation here italian translation here
 french translation here french translation here
 your versions here your versions here
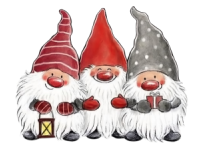
For this tutorial, you will need:

For the misted thanks Tine (misted_noel7_tine_11.2019)
and for the mask thanks Silvie (Silvie_Mask_Deco_OOH).
The woman's tube is not signed.
The rest of the material is by Yedralina
(The links of the tubemakers here).

consult, if necessary, my filter section here
Filters Unlimited 2.0 here
Mehdi - Sorting Tiles here
RCS Filter Pak - RCS TripleExposure here
Mura's Meister - Perspective Tiling here
AAA Filters - Custom here
Filters RCS Filter Pak can be used alone or imported into Filters Unlimited.
(How do, you see here)
If a plugin supplied appears with this icon  it must necessarily be imported into Unlimited it must necessarily be imported into Unlimited


You can change Blend Modes according to your colors.
In the newest versions of PSP, you don't find the foreground/background gradient (Corel_06_029).
You can use the gradients of the older versions.
The Gradient of CorelX here

Copy the preset Emboss 3 and Double Vision in the Presets Folder.
Open the mask in PSP and minimize it with the rest of the material.
Colors

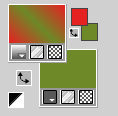
1. Set your foreground color to #e52222,
and your background color to #6e8928.
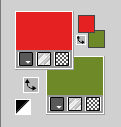
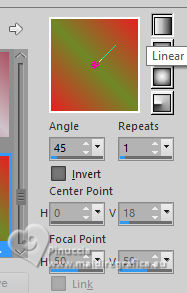
Set your foreground color to a Foreground/Background Gradient, style Linear.
2. Open CanalAlphaEresNavidad .
Window>Duplicate or, on the keyboard, shift+D to make a copy.

Close the original.
The copy, that will be the basis of your work, is not empty,
but contains the selections saved to alpha channel.
Flood Fill  the transparent image with your gradient. the transparent image with your gradient.
3. Layers>New Raster Layer.
Selections>Select All.
4. Open your main tube k9pDQi... 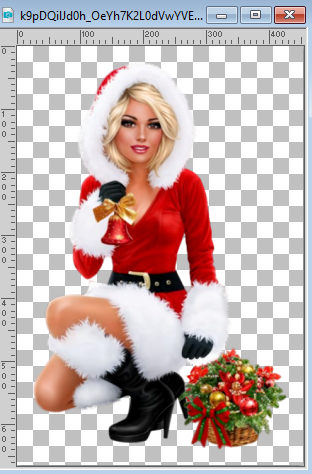
Edit>Copy.
Go back to your work and go to Edit>Paste into Selection.
Selections>Select None.
5. Adjust>Blur>Gaussian Blur - radius 20.

6. Effects>Image Effects>Seamless Tiling, default settings.

7. Effects>Plugins>Mehdi - Sorting Tiles.
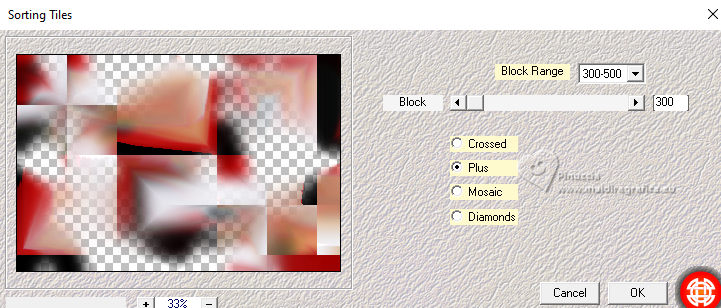
Effects>Edge Effects>Enhance.
8. Effects>User Defined Filters - select the preset Double vision and ok.
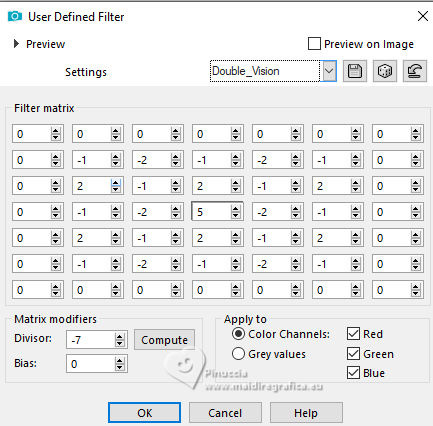
9. Layers>Merge>Merge visible.
10. Effects>Plugins>Filters Unlimited 2.0 - RCS Filter Pak 1.0 - RCSTriple Exposure, default settings.
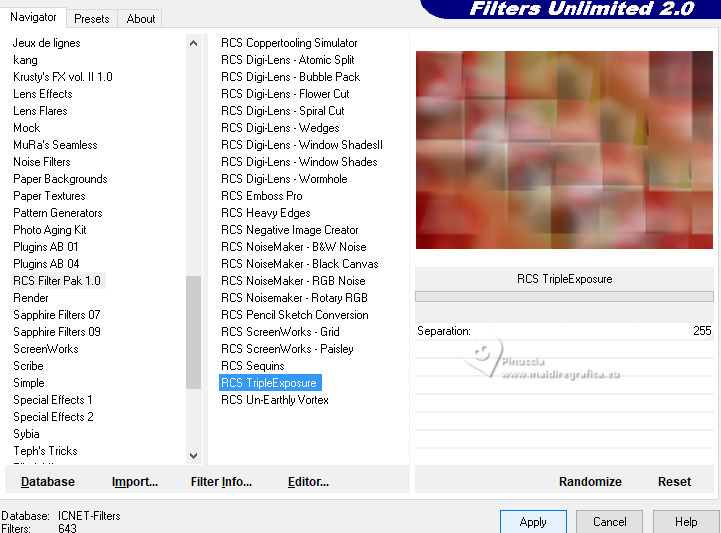
Adjust>Sharpness>Sharpen More.
11. Effects>Reflection Effects>Rotating Mirror.
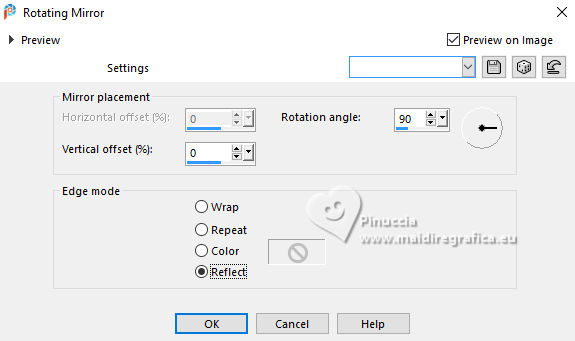
12. Layers>Duplicate.
Image>Resize, to 40%, resize all layers not checked.
13. Effects>Image Effects>Seamless Tiling, Side by Side.

14. Effects>Reflection Effects>Rotating Mirror.

Repeat Effects>Reflection Effects>Rotating Mirror.
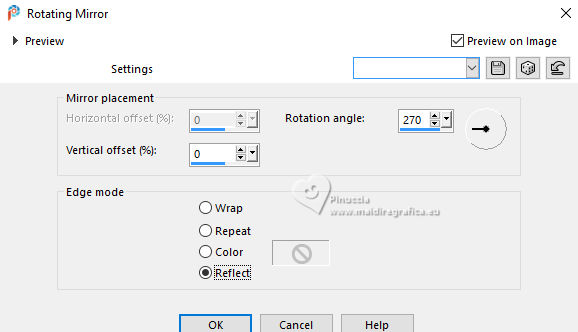
15. Again Effects>Image Effects>Seamless Tiling, Side by side.

Adjust>Sharpness>Sharpen More.
16. Effects>3D Effects>Drop Shadow, color 3 #3b0708.

17. Effects>Geometric Effects>Skew.

18. Open the tube Deco00318©Yedralina 
Edit>Copy.
Go back to your work and go to Edit>Paste as new layer.
Don't move it.
19. Change the Blend Mode of this layer to Luminance (legacy),
and reduce the opacity to 60%.
20. Effects>3D Effects>Drop Shadow, same settings.
21. Set your background color to white.
Layers>New Raster Layer.
Flood Fill  the layer with color white. the layer with color white.
22. Layers>New Mask layer>From image
Open the menu under the source window and you'll see all the files open.
Select the mask Silvie_Mask_Deco0HH
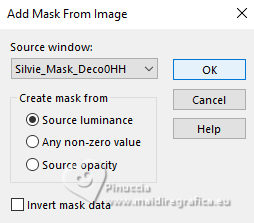
Layers>Merge>Merge Group.
23. Effects>User Defined Filter - select the preset Emboss 3 and ok.

24. Image>Flip.
K key to activate your Pick Tool 
keep Position X: 0,00 and set Position Y: -102,00.

M key to deselect the Tool.
25. Layers>New Raster Layer.
Selections>Load/Save Selection>Load Selection from Alpha Channel.
The selection #1 is immediately available. You just have to click Load.

Flood Fill  the selection with color white. the selection with color white.
26. Selections>Modify>Contract - 5 pixels.
Press CANC on the keyboard 
27. Selections>Modify>Contract - 10 pixels.
Flood fill  the selection with color white. the selection with color white.
28. Selections>Modify>Contract - 5 pixels.
Set again your background color to #6e8928 to get your initial Gradient.
Flood Fill  the selection with your gradient. the selection with your gradient.
29. Open the tube misted_noel7_tine_11.2019 
Edit>Copy.
Go back to your work and go to EDit>Paste as new layer.
Image>Resize, if necessary, resize all layers not checked.
Place  the tube on the selection to your liking. the tube on the selection to your liking.
30. Selections>Invert.
Press CANC on the keyboard.
31. Effects>3D Effects>Drop Shadow, color black.
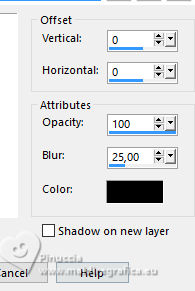
Selections>Select None.
32. Activate your background layer, Merged.
Layers>Duplicate.
33. Effects>Plugins>Mura's Meister - Perspective Tiling.

34. Activate your Magic Wand Tool  , tolerance 0 and feather 40. , tolerance 0 and feather 40.
and click in the transparent part to select it.
Press +/-5 times CANC on the keyboard.
Selections>Select None.
don't forget to set again the feather to 0
35. Image>Add borders, 2 pixels, symmetric, color white.
Selections>Select All.
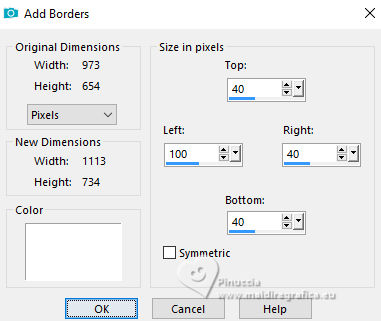
36. Image>Add borders, symmetric not checked.
37. Effects>3D Effects>Drop Shadow, color black.
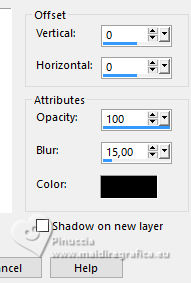
Selections>Select None.
38. Effects>Plugins>AAA Filters - Custom - click on Landscape, Brightness 10 and ok.

39. Edit>Copy
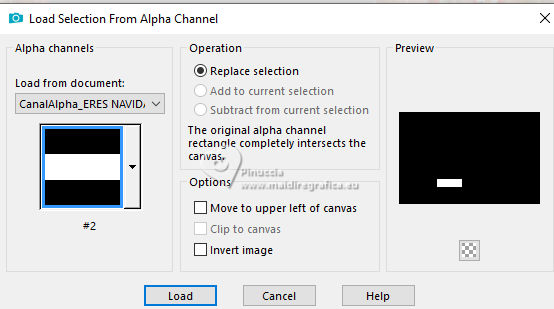
40. Selections>Load/Save Selection>Load Selection from Alpha Channel.
Open the Selections menu and load the selection #2.
41. Layers>New Raster Layer.
Edit>Paste into Selection
42. Effects>Image Effects>Seamless Tiling, Side by side.

43. K key to activate your Pick tool 
and set Position X: 121,00 and Position Y: 513,00.

M key to deselect the Tool.
44. Open Deco00319©Yedralina 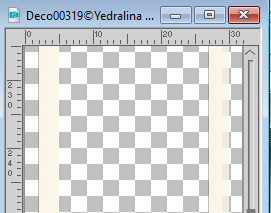
Set your foreground color to Color.
To colorize the deco you can use your Color Changer Tool 
or:
Selections>Select All.
Selections>Float.
Selections>Defloat.
Flood Fill  the selection with your foreground color. the selection with your foreground color.
Selections>Select None.
45. Edit>Copy.
Go back to your work and go to Edit>Paste as new layer.
46. To place it, activate again your pick Tool (K) 
and set Position X: 30,00 and keep Position Y: 35,00.

M key to deselect the Tool.
47. Effects>3D Effects>Drop Shadow, color 3 #3b0708.

48. Activate again your main tube and go to Edit>Copy.
Go back to your work and go to Edit>Paste as new layer.
Image>Resize, if necessary - for the supplied tube I didn't it.
Move  the tube to the right side. the tube to the right side.
Effects>3D Effects>Drop Shadow, at your choice.
49. Image>Add borders, 1 pixel, symmetric, foreground color.
50. Image>Resize, 1000 pixels width, resize all layers checked.
51. Sign your work on a new layer.
Layers>Merge>Merge All and save as jpg.
For the tubes of these versions thanks
Gabry and Karine
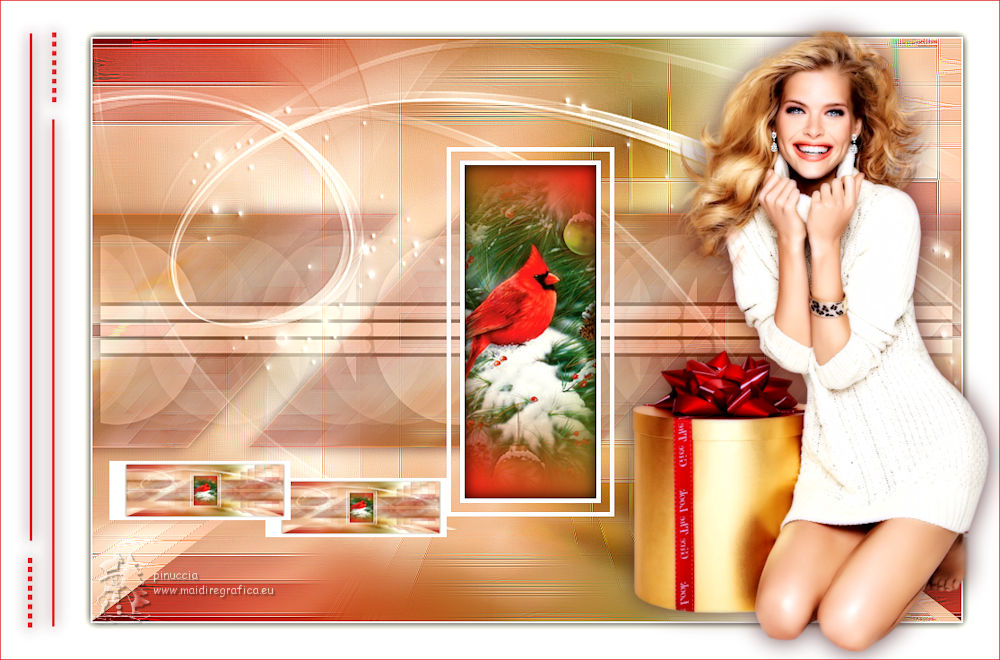
Clo and Yedralina
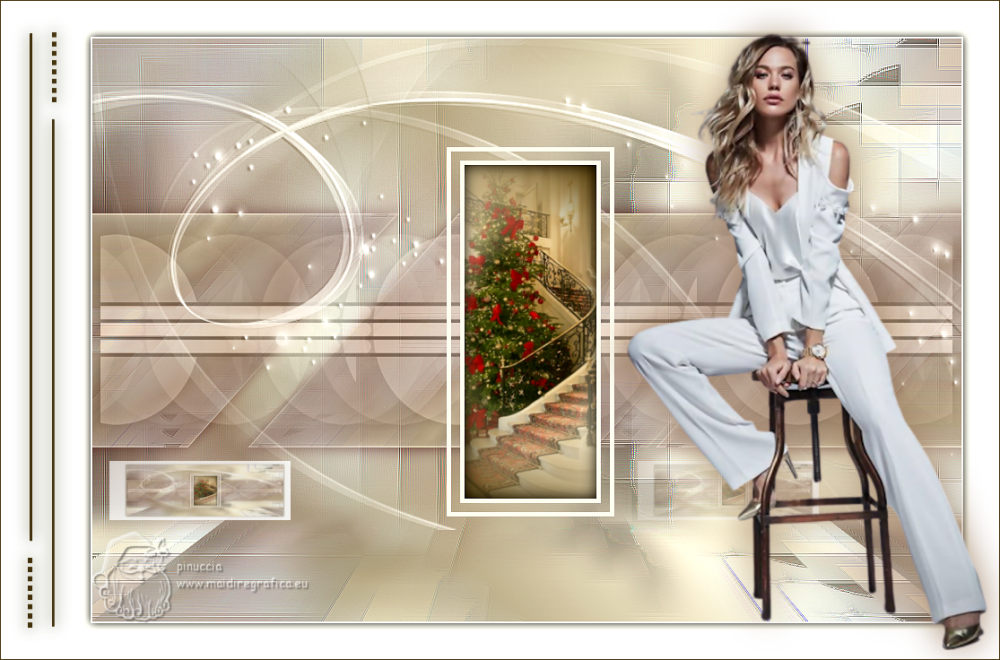

If you have problems or doubts, or you find a not worked link, or only for tell me that you enjoyed this tutorial, write to me.
1 November 2023

|

