|
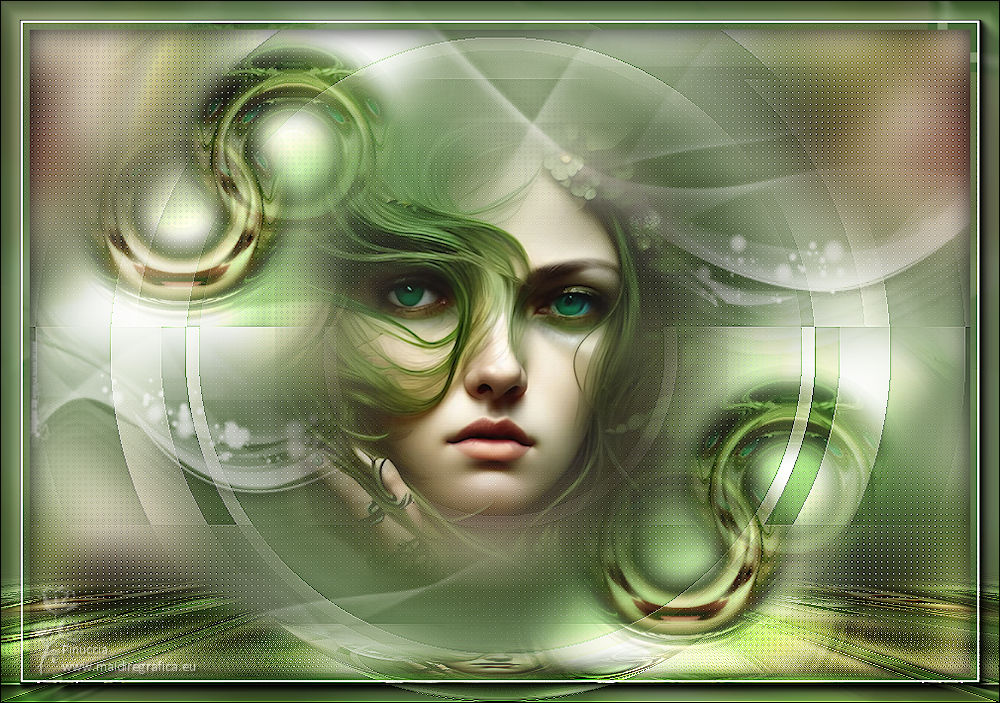
GESTO


Thanks Yedralina for your invitation to translate your tutorials into english

This tutorial was written with PSP2020 and translated with PSPX9 and PSP2020, but it can also be made using other versions of PSP.
Since version PSP X4, Image>Mirror was replaced with Image>Flip Horizontal,
and Image>Flip with Image>Flip Vertical, there are some variables.
In versions X5 and X6, the functions have been improved by making available the Objects menu.
In the latest version X7 command Image>Mirror and Image>Flip returned, but with new differences.
See my schedule here
 italian translation here italian translation here
 french translation here french translation here
 your versions here your versions here

For this tutorial, you will need:

Thanks for the tube Silvie and for the mask OBG-Beatrice.
(The links of the tubemakers here).

consult, if necessary, my filter section here
Filters Unlimited 2.0 here
Mehdi - Sorting Tiles here
RCS Filter Pak - RCS-Triple Exposure here
Mura's Meister - Perspective Tiling here
FM Tile Tools - Blend Emboss here
Carolaine and Sensibility - CS-LDots here
AAA Frames - Foto Frame here
Filters RCS Filer Pak can be used alone or imported into Filters Unlimited.
(How do, you see here)
If a plugin supplied appears with this icon  it must necessarily be imported into Unlimited it must necessarily be imported into Unlimited

You can change Blend Modes according to your colors.
In the newest versions of PSP, you don't find the foreground/background gradient (Corel_06_029).
You can use the gradients of the older versions.
The Gradient of CorelX here

Open the mask in PSP and minimize it with the rest of the material.
1. Set your foreground color to #e0ecd4,
and your background color to #4c6b3a.
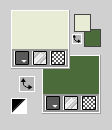
Set your foreground color to a Foreground/Background Gradient, style Sunburst.
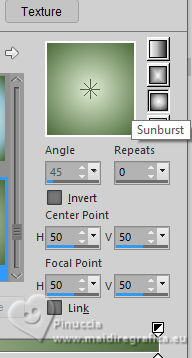
Open a new transparent image 950 x 650 pixels.
Flood Fill  the transparent image with your gradient. the transparent image with your gradient.
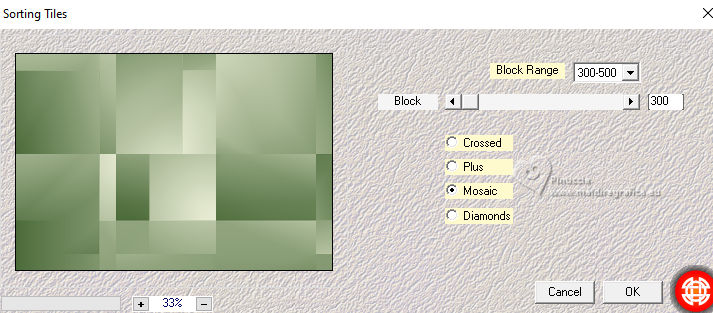
2. Effects>Plugins>Mehdi - Sorting Tiles
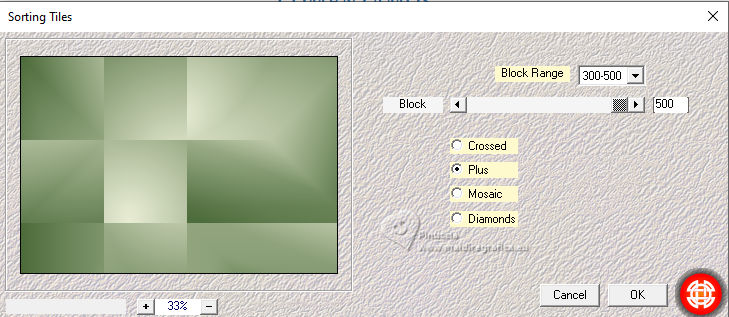
3. Again Effects>Plugins>Mehdi - Sorting Tiles.
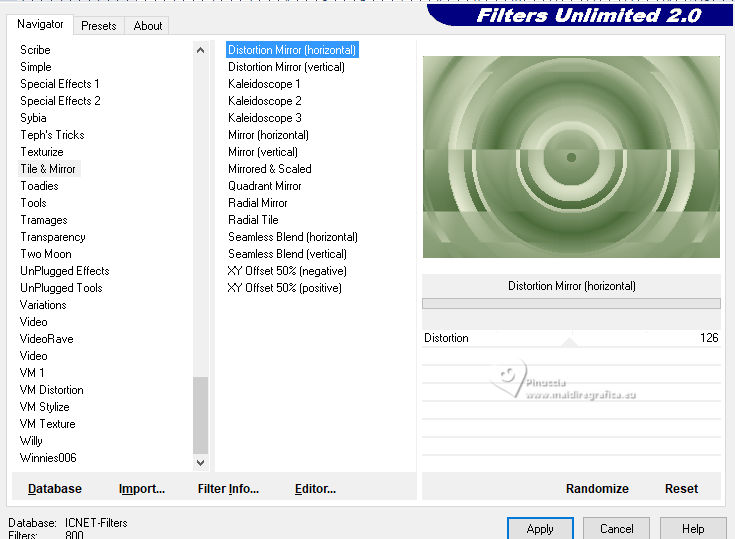
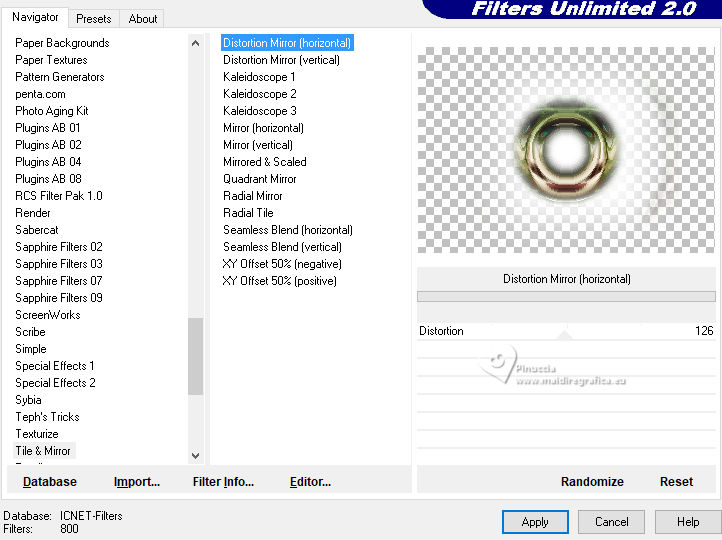
4. Effects>Plugins>Filters Unlimited 2.0 - Tile &Mirror - Distortion Mirror (horizontal), default settings.
5. Effects>Edge Effects>Enhance.
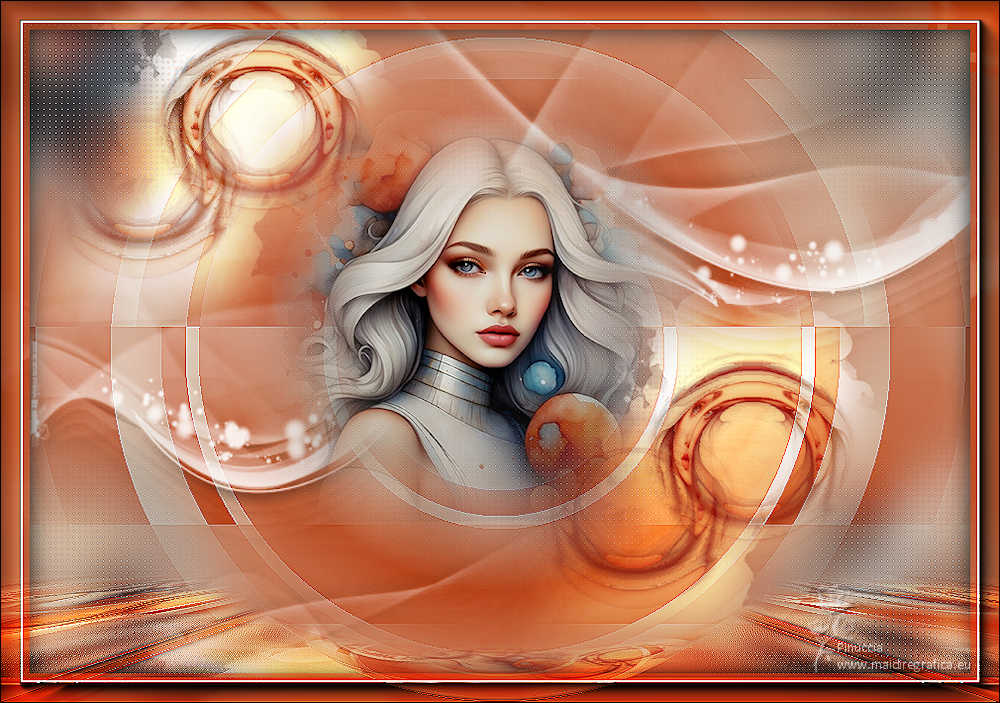
6. Open the tube Lady_Face66T-misted_Silvie_31.03.2023 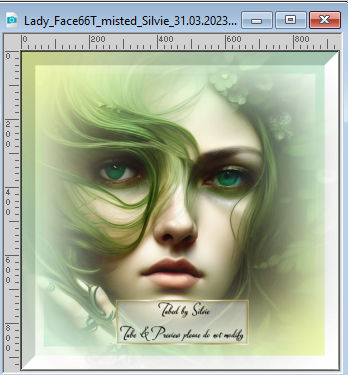
Edit>Copy.
Go back to your work and go to Edit>Paste as new layer.
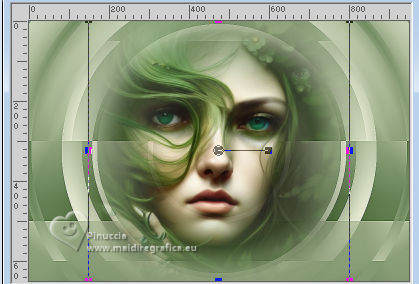
7. K key to activate your Pick Tool 
mode Scale 
use the center nodes to fit the tube to the center of the image,
almost as in the example.
M key to deselect the Tool.
if you prefer, instead of using the Pick tool,
you can resize the tube to your liking (for my example I resized to 70%),
and then position it well in the center of the work
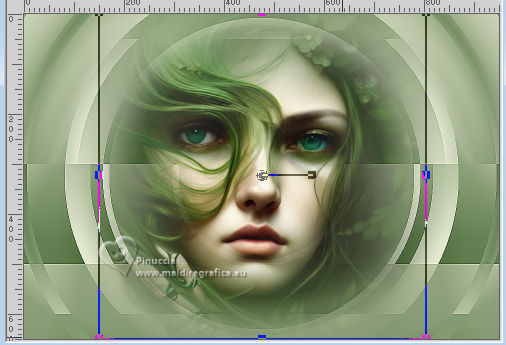
Adjust>Sharpness>Sharpen.
8. Layers>Duplicate.
Effects>Image Effects>Seamless Tiling, default settings.
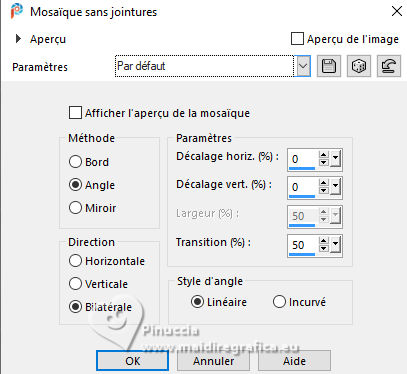
9. Adjust>Blur>Gaussian Blur - radius 25.

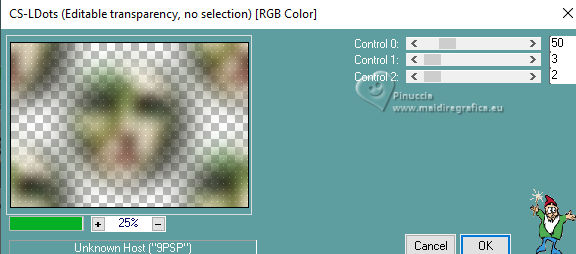
10. Effects>Plugins>Carolaine and Sensibility - CS-LDots, default settings.
11. Effets>Effets de bords>Accentuer.
Layers>Arranger>Move Down.
12. Activate your top layer.
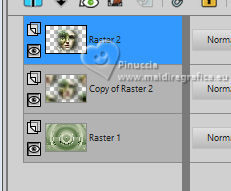
13. Layers>Duplicate.
Effects>Plugins>Filters Unlimited 2.0 - Tile & Mirror - Distortion Mirror (horizontal), default settings.
14. Image>Resize, to 60%, resize all layers not checked.
15. K key to activate your Pick Tool 
and set Position X: -42,00 and Position Y: -19,00.

16. Layers>Duplicate.
Set Position X: 574,00 and Position Y: 264,00.

M key to deselect the Tool.
17. Layers>Merge>Merge Down.
18. Effects>Image Effects>Seamless Tiling, default settings.

19. Change the Blend Mode of this layer to Overlay.
Activate the layer below of the tube.
Layers>Arrange>Bring to top.
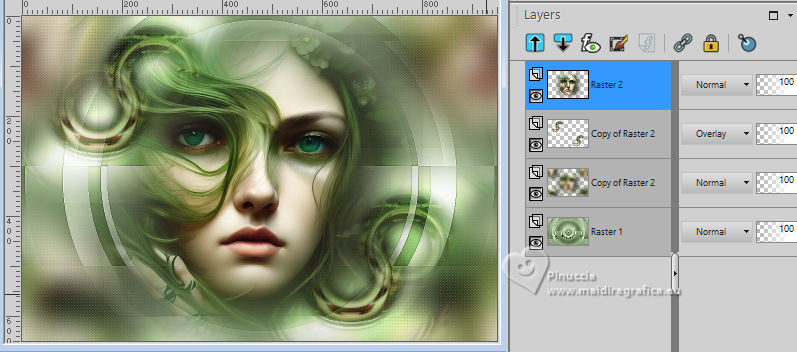
Image>Resize, to 80%, resize all layers not checked.
you can adjust according to your tube; for my example I resized to 70%.
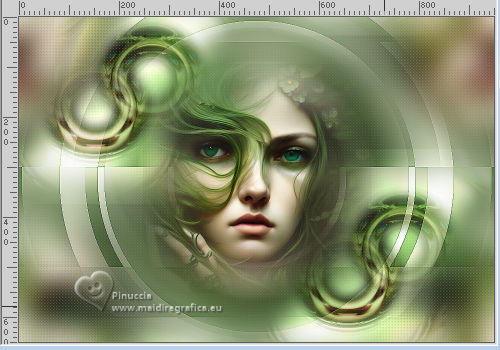
21. Set your foreground color to white.
Layers>New Raster Layer.
Flood Fill  the layer with color white. the layer with color white.
22. Layers>New Mask layer>From image
Open the menu under the source window and you'll see all the files open.
Select the mask OBG_MASK_165
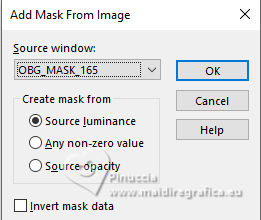
Layers>Merge>Merge Group.
23. Layers>Duplicate.
Layers>Merge>Merge Down.
Image>Mirror>Mirror horizontal (Image>Mirror).
24. Effects>Plugins>FM Tile Tools - Blend Emboss, default settings.

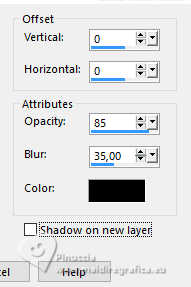
25. Effects>3D Effects>Drop Shadow, color black.
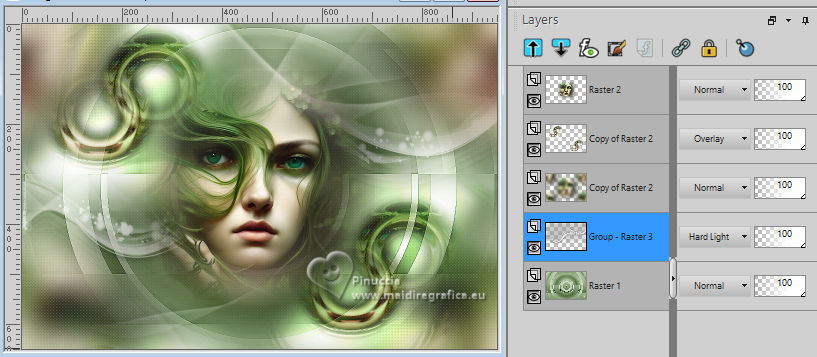
26. Change the Blend Mode of this layer to Hard Light.
Layers>Arrange>Move Down, and repeat until it is on the background layer
27. Selections>Select All.
Image>Add borders, 10 pixels, symmetric, dark color.
Image>Add borders, 10 pixels, symmetric, light color.
Image>Add borders, 10 pixels, symmetric, dark color.
28. Selections>Invert.
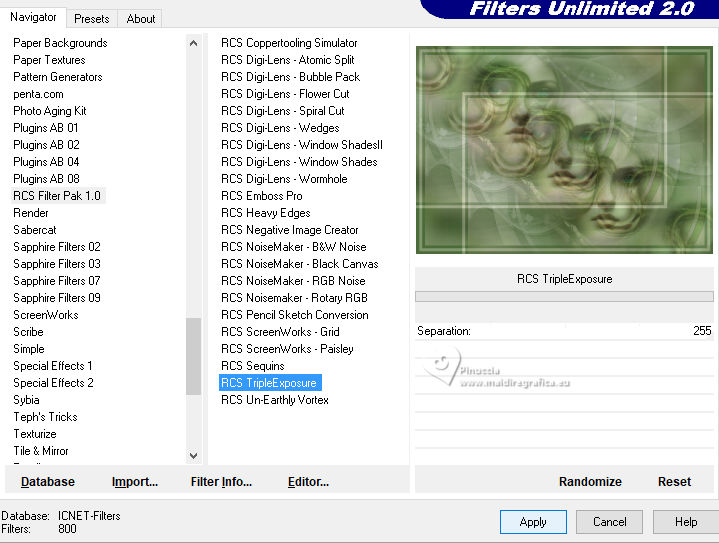
Effects>Plugins>Filters Unlimited 2.0 - RCS Filter Pak 1.0 - RCS TripleExposure, default settings.
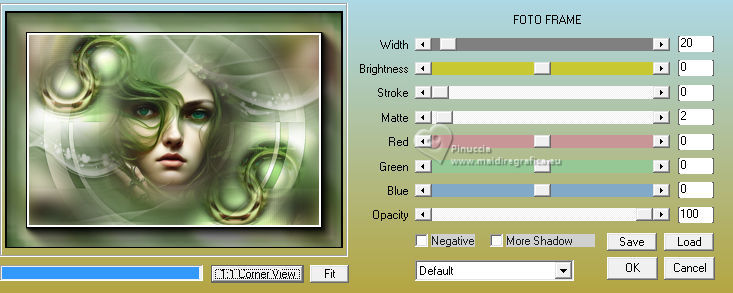
29. Effects>Plugins>AAA Frames - Foto Frame.
30. Effects>3D Effects>Drop Shadow, same settings.

Selections>Select None.
31. Image>Resize, 1000 pixels width, resize all layers checked.
32. Layers>Duplicate.
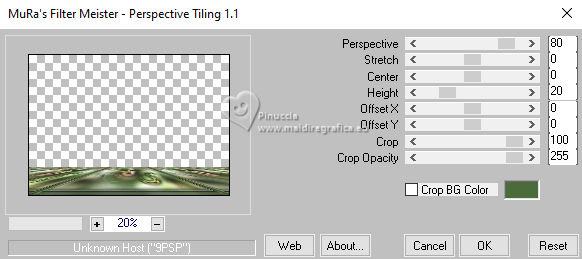
Effects>Plugins>Mura's Meister - Perspective Tiling.
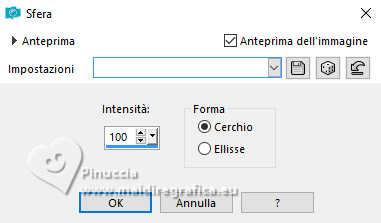
33. Effects>Geometric Effects>Spherize.
34. Activate your Magic Wand Tool  , feather 50 , feather 50

click in the transparent part to select it.
Press +/-10 times CANC on the keyboard 
Selections>Select None.
Don't forget to set again the Feather of your Magic Wand Tool to 0.
35. Effects>Edge Effects>Enhance.
Change the Blend Mode of this layer to Overlay.
36. Sign your work on a new layer.
Layers>Merge>Merge All and save as jpg.
For the tubes of these versions thanks
Tati
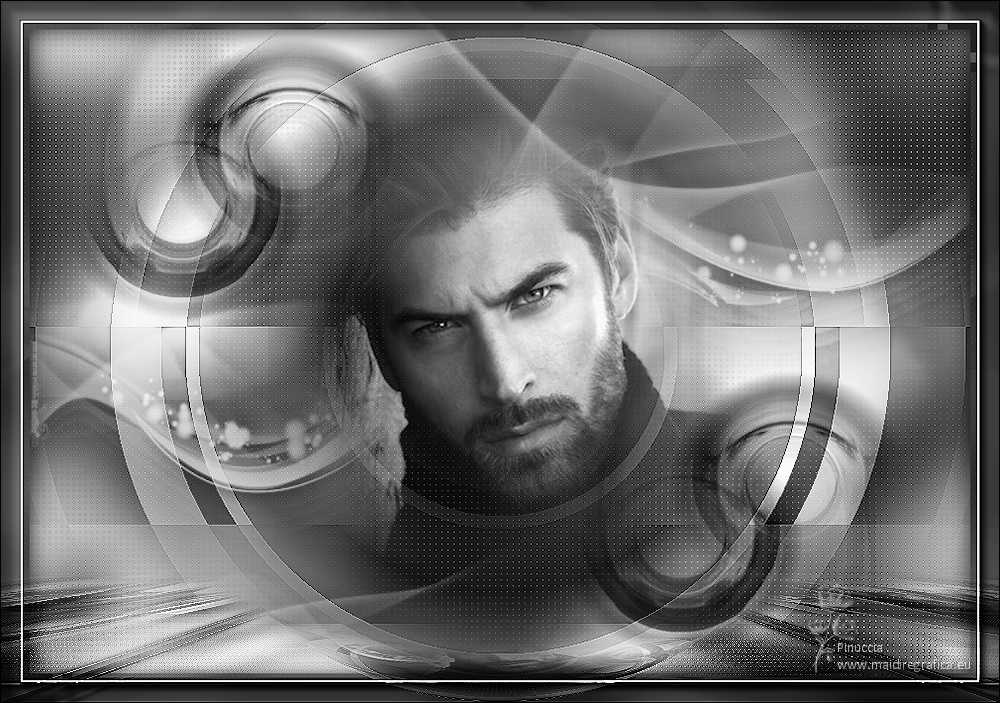
Mentali
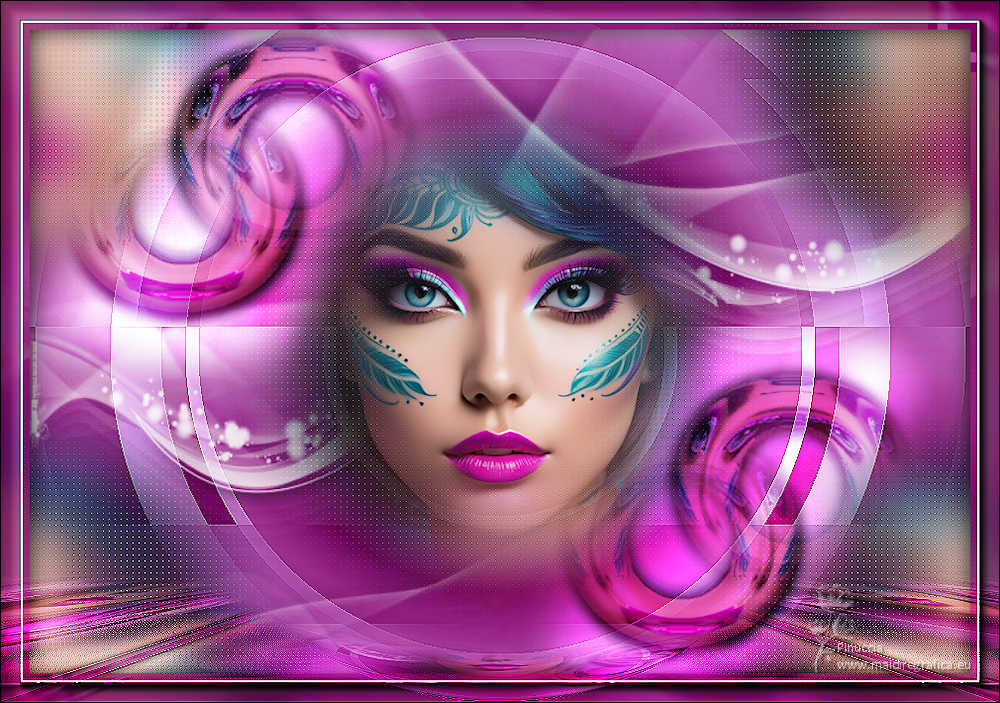
Luz Cristina

If you have problems or doubts, or you find a not worked link, or only for tell me that you enjoyed this tutorial, write to me.
3 Aprile 2024

|

