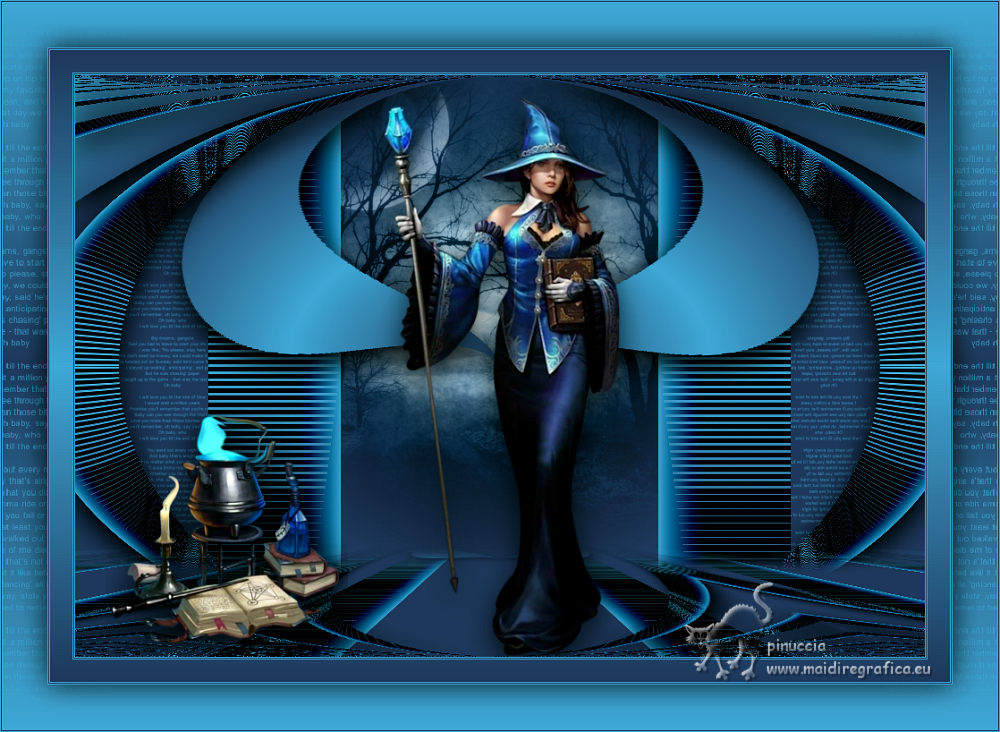
|
HECHIZOS
 SPELLS SPELLS

Thanks Yedralina for your invitation to translate your tutorials into english

This tutorial was written with PSP2020 and translated with CorelX17, but it can also be made using other versions of PSP.
Since version PSP X4, Image>Mirror was replaced with Image>Flip Horizontal,
and Image>Flip with Image>Flip Vertical, there are some variables.
In versions X5 and X6, the functions have been improved by making available the Objects menu.
In the latest version X7 command Image>Mirror and Image>Flip returned, but with new differences.
See my schedule here
 italian translation here italian translation here
 french translation here french translation here
 your versions here your versions here

For this tutorial, you will need:

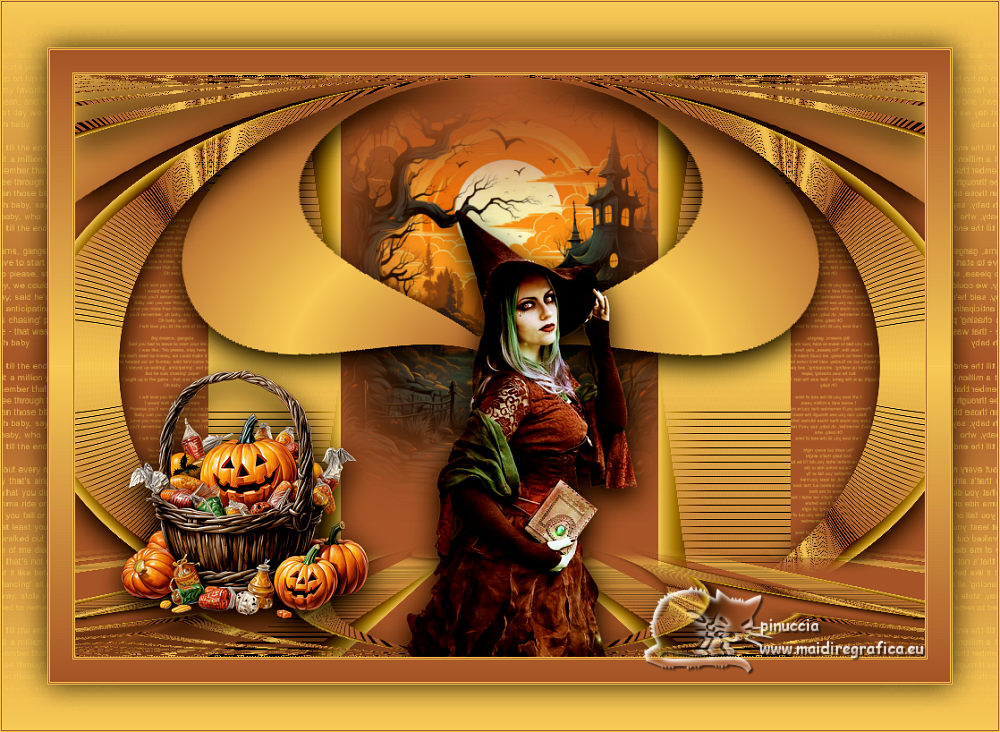
For the tube thanks Ina and NaiseM.
Misted from klipartz.com.
(The links of the tubemakers here).

consult, if necessary, my filter section here
Filters Unlimited 2.0 here
VM Experimental - TeeWee, Deep Crunch here
Mura's Meister - Perspective Tiling here
AAA Filters - Custom here
Filters VM Experimental can be used alone or imported into Filters Unlimited.
(How do, you see here)
If a plugin supplied appears with this icon  it must necessarily be imported into Unlimited it must necessarily be imported into Unlimited

You can change Blend Modes according to your colors.
In the newest versions of PSP, you don't find the foreground/background gradient (Corel_06_029).
You can use the gradients of the older versions.
The Gradient of CorelX here

Copy the two files of the brush in the Brushes Folder.
1. Set your foreground color to #273d67,
and your background color to #46a5d9.
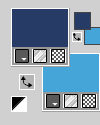
Set your foreground color to a Foreground/Background Gradient, style Linear.
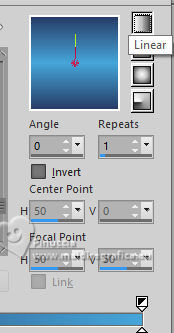
To begin, set your foreground color to Color.
2. Open CanalAlpha_HECHIZOS.
Window>Duplicate or, on the keyboard, shift+D to make a copy.

Close the original.
The copy, that will be the basis of your work, is not empty,
but contains the selections saved to alpha channel.
(the selection #3 will not be used)
Flood Fill  the transparent image with your foreground color. the transparent image with your foreground color.
3. Layers>New Raster Layer.
Selections>Load/Save Selection>Load Selection from Alpha Channel.
The selection #1 is immediately available. You just have to click Load.
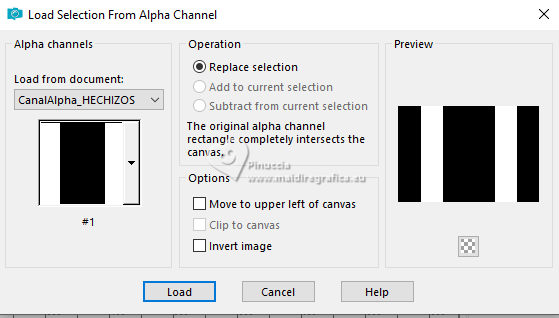
4. Set your foreground color to Gradient.
Flood Fill  the selection with your Gradient. the selection with your Gradient.
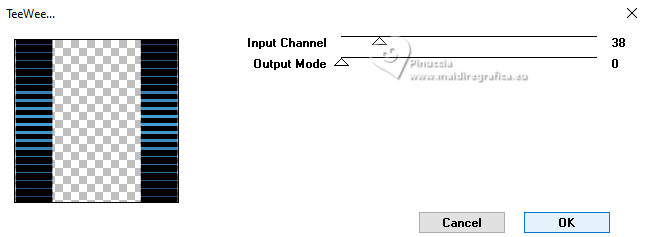
5. Effects>Plugins>VM Experimental - TeeWee.
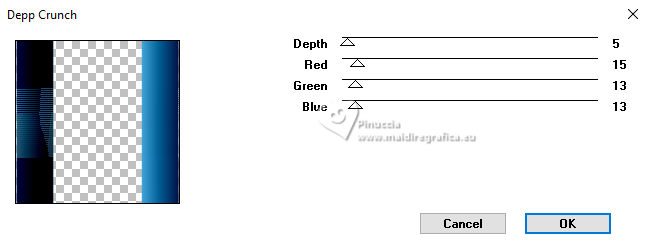
6. Effects>Plugins>VM Experimental - Deep Crunch.
7. Effects>Reflection Effects>Rotating Mirror, default settings.

Selections>Select None.
8. Layers>Duplicate.
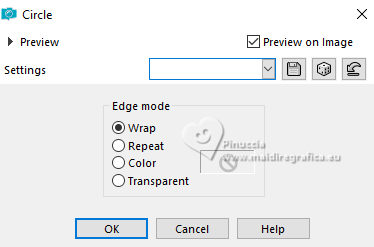
Effects>Geometric Effects>Circle.
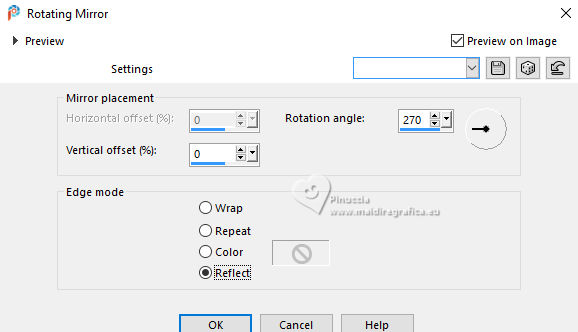
9. Effects>Reflection Effects>Rotating Mirror.
10. Selections>Load/Save Selection>Load Selection from Alpha Channel.
Open the selections menu and load the selection #2
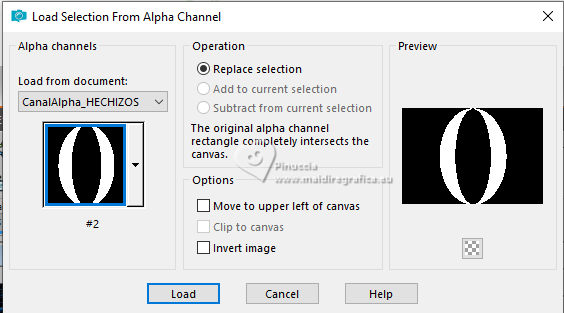
Press CANC on the keyboard CANC 
11. Layers>New Raster Layer.
Flood Fill  the selection with your Gradient. the selection with your Gradient.
Selections>Select None.
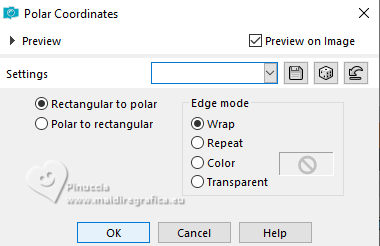
12. Effects>Distortion Effects>Polar Coordinates.
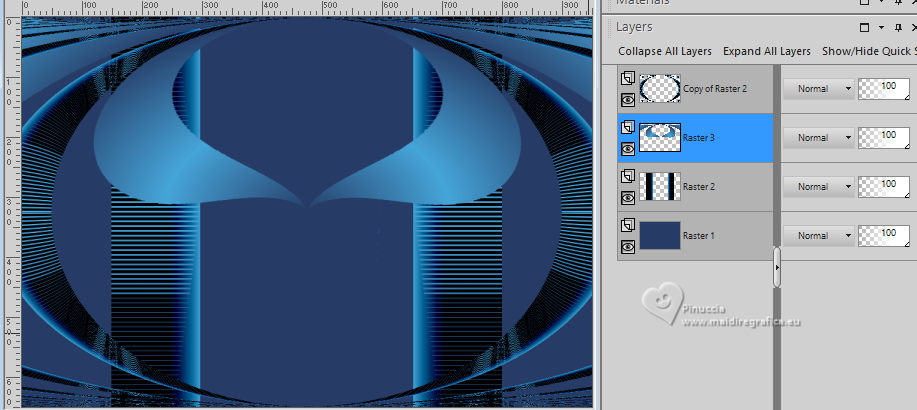
13. Image>Flip.
Layers>Arrange>Move Down.
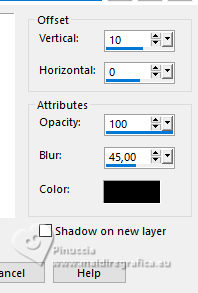
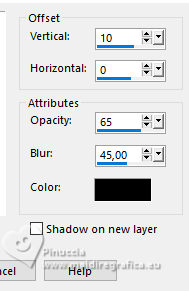
14. Effects>3D Effects>Drop Shadow, color black.
15. Activate your top layer.
Edit>Repeat Drop Shadow.
16. Layers>Merge>Merge on a new layer.

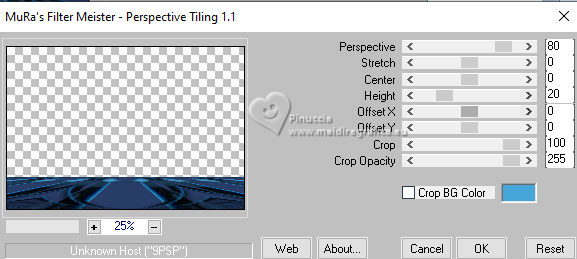
17. Effetti>Plugins>Mura's Meister - Perspective Tiling.
18. Activate your Magic Wand Tool  , tolerance 20, feather 35. , tolerance 20, feather 35.

Click in the transparent part to select it.
Press +/-10 times CANC on the keyboard.
Selections>Select None.
don't forget to set again tolerance and feather to 0
19. Open your misted, for me klipartz.com 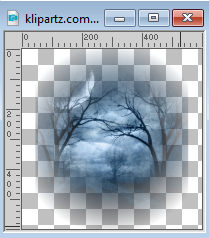
Edit>Copy.
Go back to your work and go to Edit>Paste as new layer.
Image>Resize, if necessary.
Move  the tube up. the tube up.
Layers>Arrange>Move Down - 4 times (above the background layer).
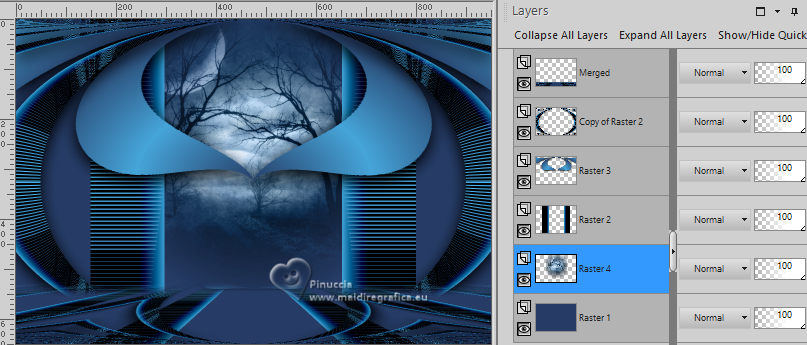
20. Activate your background layer, Raster 1.
Layers>New Raster Layer.
21. Activate your Brush Tool 
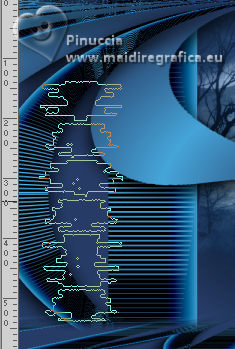
look for and select the brush Text brush 1, size 400 pixels.

Apply the brush to the left, clicking with your right button to use your background color.
 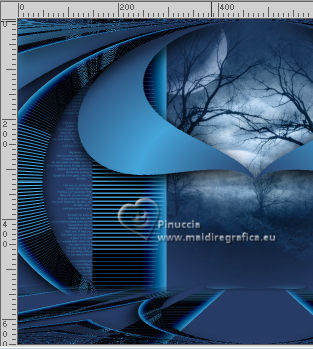
22. Effects>Reflection Effects>Rotating Mirror.

23. Activate your top layer.
Open your tube, for me ina_heks_02-10-2022 
Edit>Copy.
Go back to your work and go to Edit>Paste as new layer.
Image>Resize, if necessary, for me 90%, resize all layers not checked.
Move  the tube down. the tube down.
(Objects>Align/Bottom).
24. Effects>3D Effects>Drop Shadow, color black.
25. If you want to add a deco tube, this is the moment.
For my example halloween-naisem-74 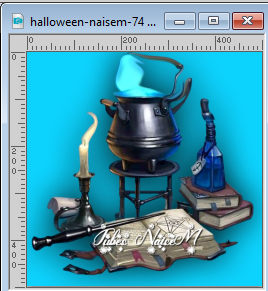
Move  the tube at the bottom left. the tube at the bottom left.
26. Image>Add borders, 1 pixel, symmetric, background color.
Image>Add borders, 1 pixel, symmetric, foreground color.
Image>Add borders, 1 pixel, symmetric, background color.
27. Selections>Select All.
Image>Add borders, 25 pixels, symmetric, whatever color.
Selections>Invert.
Flood Fill  the selection with your gradient. the selection with your gradient.
Selections>Select None.
28. Image>Add borders, 1 pixel, symmetric, background color.
Image>Add borders, 1 pixel, symmetric, foreground color.
Image>Add borders, 1 pixel, symmetric, background color.
29. Selections>Select All.
Image>Add borders, 50 pixels, symmetric, whatever color.
Selections>Invert.
30. Change the settings of your Gradient and select Invert.
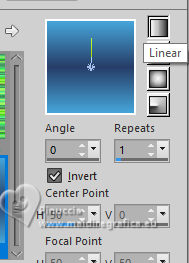
Flood Fill  the selection with your Gradient. the selection with your Gradient.
Keep selected.
31. Layers>New Raster Layer.
Activate again your Brush Tool 
and set the size to 780

Apply the brush on the selection, a little off the edge, as below.
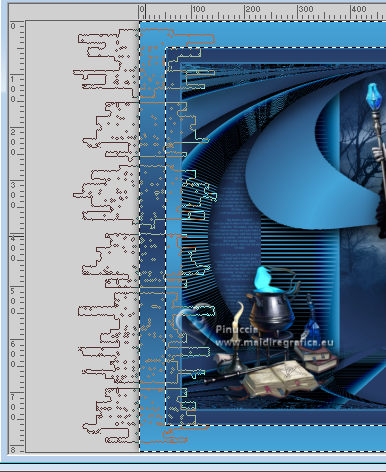
32. Effects>Reflection Effects>Rotating Mirror.

Selections>Invert.
33. Effects>3D Effects>Drop Shadow, color black.
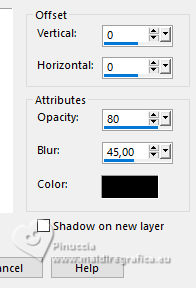
Selections>Select None.
34. Image>Add borders, 1 pixel, symmetric, background color.
Image>Add borders, 1 pixel, symmetric, foreground color.
Image>Add borders, 1 pixel, symmetric, background color.
35. Image>Resize, 1000 pixels width, all layers checked.
36. Sign your work on a new layer.
37. Layers>Merge>Merge All.
38. Effects>Plugins>AAA Filters - Custom - click on Landscape and ok.
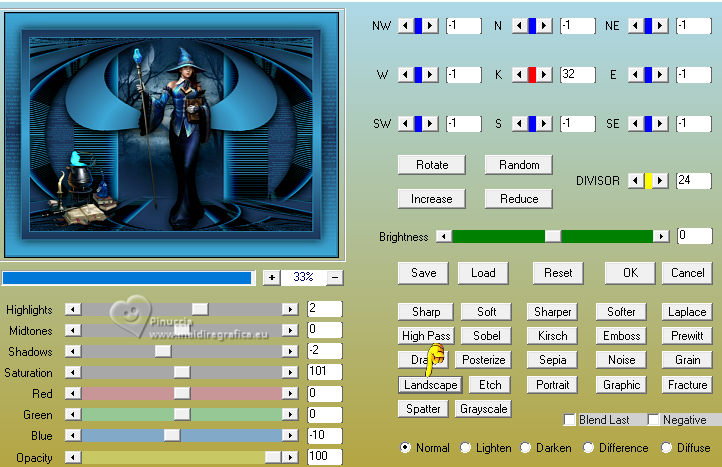
Save as jpg.
For the tubes of this version thanks Ina, Svc and NaiseM.
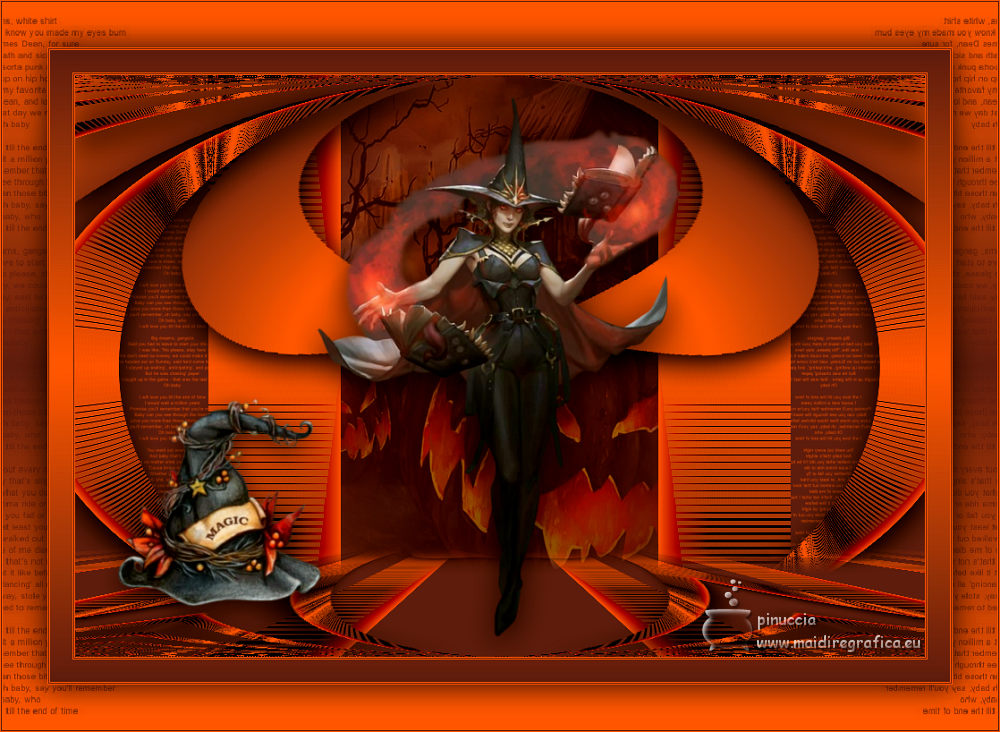
For the tube of this version thanks Criss.


If you have problems or doubts, or you find a not worked link, or only for tell me that you enjoyed this tutorial, write to me.
20 Ottobre 2023

|
 SPELLS

 SPELLS