|
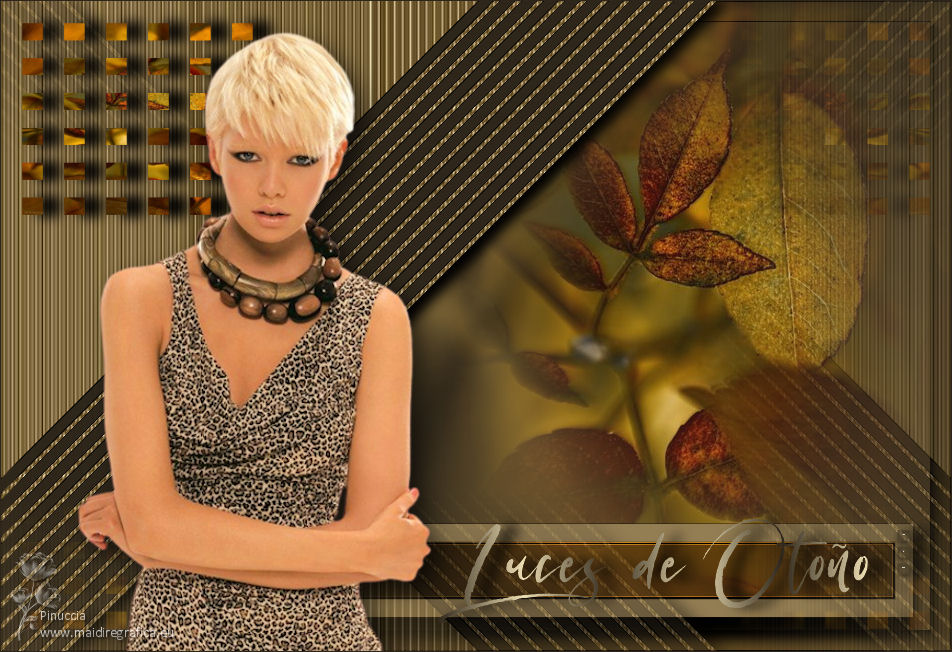
LUCES DE OTOÑO
 AUTUMN LIGHTS AUTUMN LIGHTS

Thanks Yedralina for your invitation to translate your tutorials into english

This tutorial was written with CorelX19 and translated with CorelX17, but it can also be made using other versions of PSP.
Since version PSP X4, Image>Mirror was replaced with Image>Flip Horizontal,
and Image>Flip with Image>Flip Vertical, there are some variables.
In versions X5 and X6, the functions have been improved by making available the Objects menu.
In the latest version X7 command Image>Mirror and Image>Flip returned, but with new differences.
See my schedule here
 italian translation here italian translation here
 french translation here french translation here
 your versions here your versions here
For this tutorial, you will need:
Tubes at your choice.

For the tubes used and not supplied thanks Naise M (mulheres_1542).
Image jpg de Pinterest.
The rest of the material is by Yedralina
(The links of the tubemakers here).
Plugins:
consult, if necessary, my filter section here
Alien Skin Eye Candy 5 Impact - Glass qui
AAA Frames - Foto Frame here

You can change Blend Modes according to your colors.
In the newest versions of PSP, you don't find the foreground/background gradient (Corel_06_029).
You can use the gradients of the older versions.
The Gradient of CorelX here
Copy the preset  in the folder of the plugin Alien Skin Eye Candy 5 Impact>Settings>Glass. in the folder of the plugin Alien Skin Eye Candy 5 Impact>Settings>Glass.
One or two clic on the file (it depends by your settings), automatically the preset will be copied in the right folder.
why one or two clic see here

Open the masks and the Pattern CordonY in PSP and minimize them with the rest of the material.
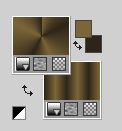
1. Set your foreground color to #7c6538,
and your background color to #2e261a.
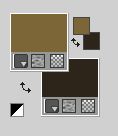
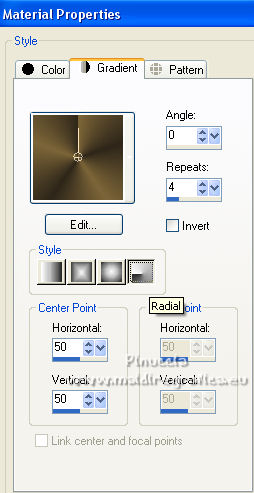
2. Set your foreground color to a Foreground/Background Gradient, style Radial.
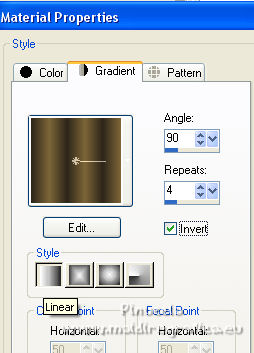
Set your background color to a Foreground/Background Gradient, style Linear.
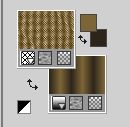
Set your foreground color to Pattern and select the pattern CordonY.
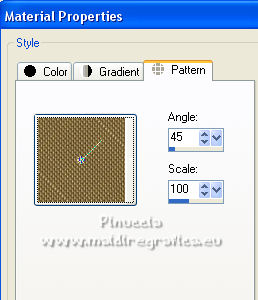
For a start, leave the pattern in the foreground color.
3. Open CanalAlpha_LucesDOtoño.
Window>Duplicate or, on the keyboard, shift+D to make a copy.

Close the original.
The copy, that will be the basis of your work, is not empty,
but contains the selections saved to alpha channel.
4. Selections>Load/Save Selection>Load Selection from Alpha Channel.
The selection #1 is immediately available. You just have to click Load.
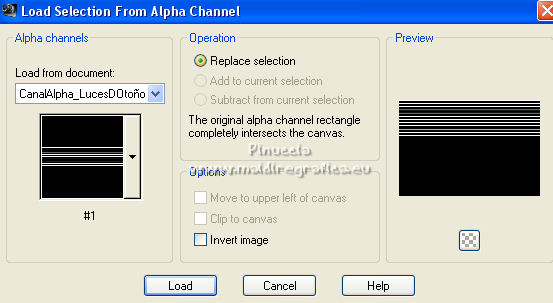
Flood Fill  the selection with the foreground pattern CordonY. the selection with the foreground pattern CordonY.
you can also fill with gradient or solid color to match your image
Selections>Select None.
color the transparent selections with the foreground color.
For my example I filled with the dark background color.
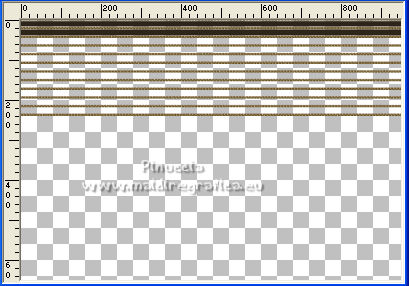 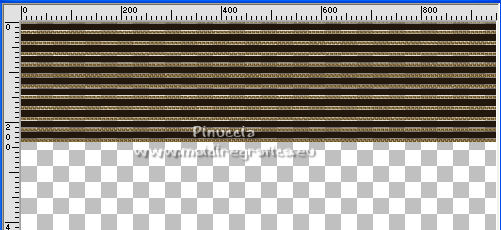
(If you follow my example, don't forget to change the background color back to Gradient)
For my second example I left the selections transparent.
5. Effects>Geometric Effects>Skew.

6. Effects>3D Effects>Drop Shadow, color black.

7. Layers>Duplicate.
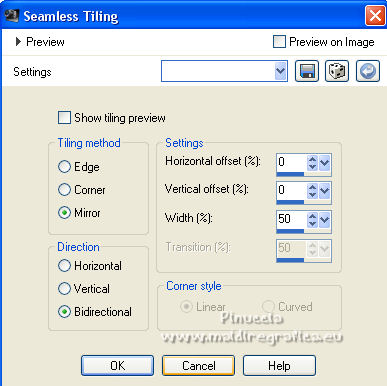
8. Effects>Image Effects>Seamless Tiling.
9. Layers>New Raster Layer.
Flood Fill  the layer with the Radial background gradient. the layer with the Radial background gradient.
10. Layers>Arrange>Send to Bottom.
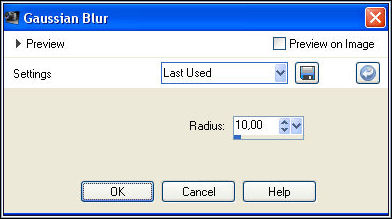
11. Adjust>Blur>Gaussian Blur - radius 10.
12. Effects>Plugins>AAA Frames - Foto Frame.
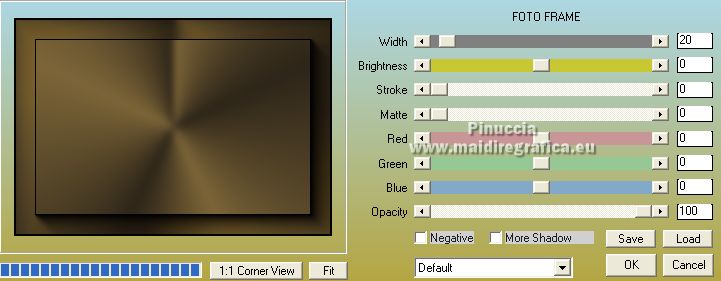
Stay on this layer.
13. Selections>Load/Save Selection>Load Selection from Alpha Channel.
Open the selections menu and load the selection #2.
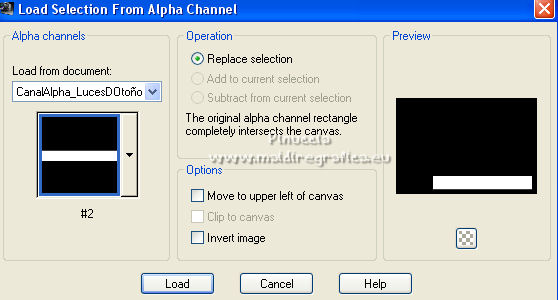
Selections>Promote Selection to Layer.
14. Adjust>Blur>Gaussian Blur - radius 10.

15. Effects>Plugins>AAA Frames - Foto Frame.
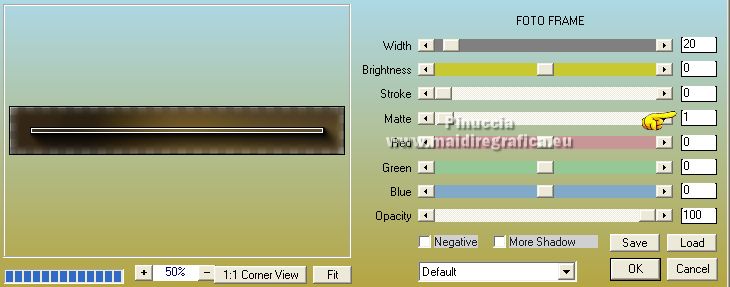
Selections>Select None.
16. Change the Blend Mode of this layer to Overlay.
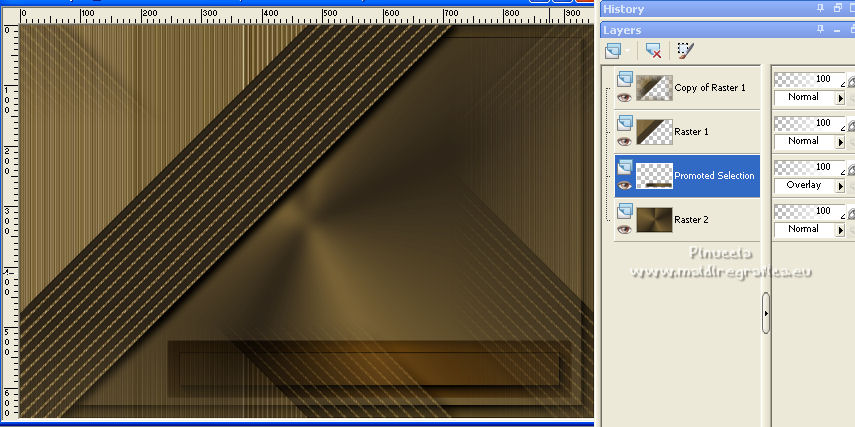
Effects>3D Effects>Drop Shadow, color black.

17. Layers>New Raster Layer.
Selections>Load/Save Selection>Load Selection from Alpha Channel.
Open the selections menu and load again the selection #2.

Set your foreground color to Color.
Flood Fill  the selection with your foreground color. the selection with your foreground color.
Selections>Modify>Contract - 18 pixels.
Press CANC on the keyboard 
Selections>Select None.
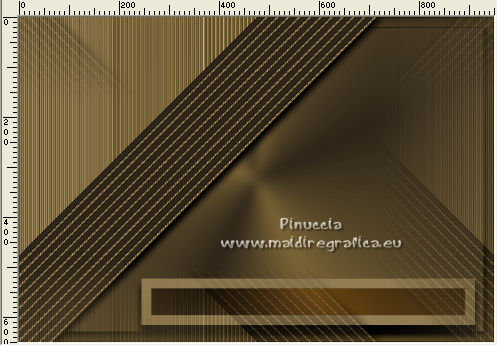
Result
18. Layers>New Raster Layer.
Layers>Arrange>Bring to top.
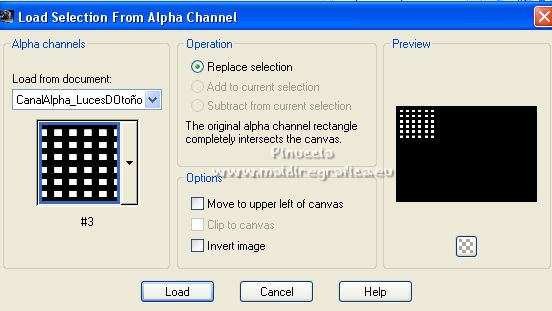
19. Selections>Load/Save Selection>Load Selection from Alpha Channel.
Open the selections menu and load the selection #3.
20. Open the jpg image you choose for your misted,
for my example image 1 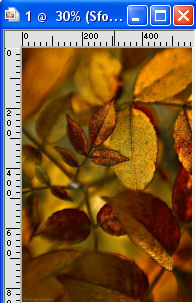
Edit>Copy.
Go back to your work and go to Edit>Paste into Selection.
21. Effects>3D Effects>Drop Shadow, color black.

Selections>Select None.
22. Layers>Duplicate.
Effects>Image Effects>Seamless Tiling, same settings.

23. Open again your jpg image and work on this image.
Layers>Duplicate (to keep the original).
Close the image's layer and stay on the copy's layer.
24. Layers>Load/Save Mask>Load Mask from Disk.
Look for and load the mask 20-20.

*** I did it from here, because I have this mask in the Masks folder,
but you can also apply it from layer (Layers>New Mask Layer>From Image ...)***
Layers>Duplicate.
Layers>Merge>Merge Group.
25. Edit>Copy.
26. Go back to your work and go to Edit>Paste as new layer.
Image>Resize, if necessary, resize all layers not checked.
Move  the tube a little further to the right. the tube a little further to the right.

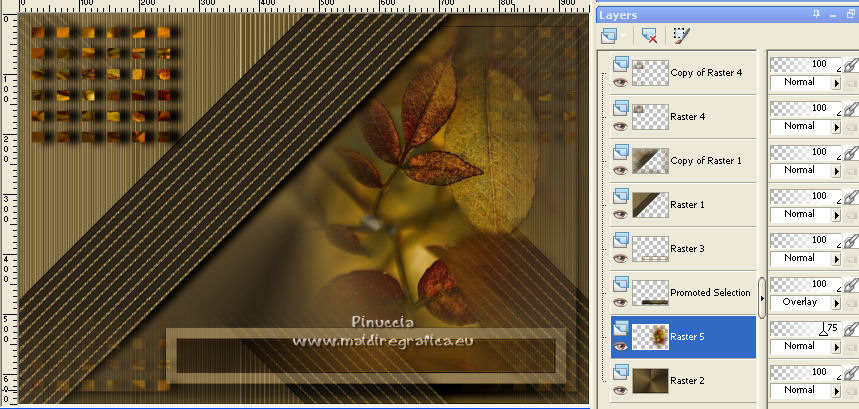
27. Move this layer over the background layer,
and reduce the opacity +/-75%.
28. Layers>New Raster Layer.
Selections>Load/Save Selection>Load Selection from Alpha Channel.
Open the selections menu and load the selection #Sel Texto.
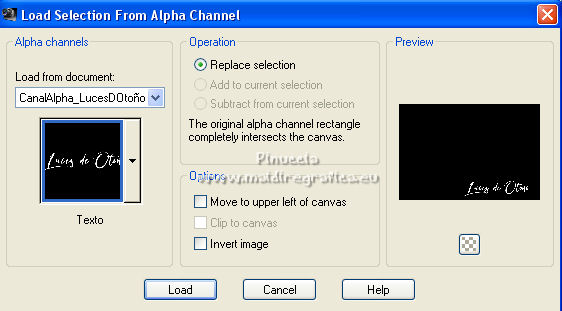
in the material you find the font used for this text.
background color Gradient_pattern or solid color at your choice
29. For my example I changed the foreground color with a lighter color: #eddfb4.

Flood Fill  the selection with the background Linear Gradient. the selection with the background Linear Gradient.
30. Effects>3D Effects>Drop Shadow, color black.

Result

31. Selections>Load/Save Selection>Load Selection from Alpha Channel.
Open the selections menu and load the selection #4.
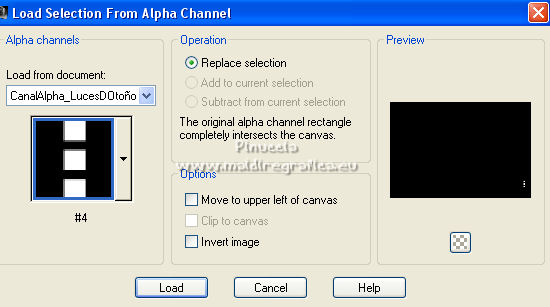
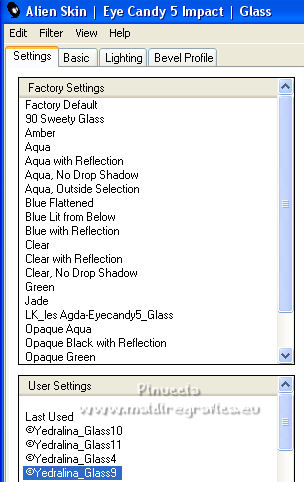
32. Effects>Plugins>Alien Skin Eye Candy 5 Impact - Glass.
Select the preset ©Yedralina_Glass9.
**If you prefer, copy/paste as new layer le tube Deco4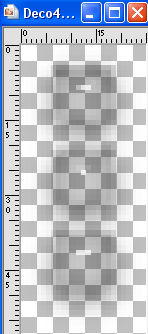
you find in the material.
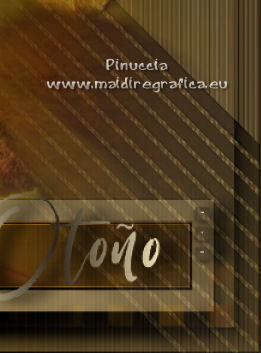
33. Effects>3D Effects>Drop Shadow, color black.

34. Open the main tube - for me Mulheres_1542 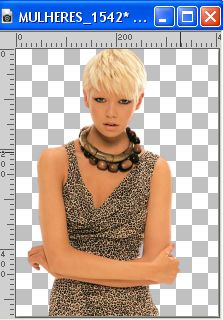
Edit>Copy.
Go back to your work and go to Edit>Paste as new layer.
Image>Resize, if necessary (for me 1 time to 110% and 1 time to 115%, resize all layers not checked.
Move  the tube to the left side, or to your liking. the tube to the left side, or to your liking.
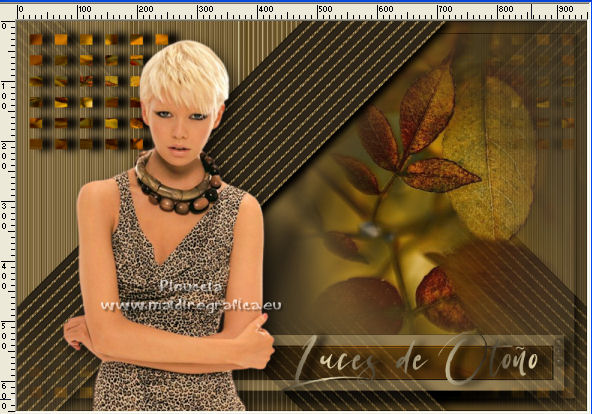
Effects>3D Effects>Drop Shadow, at your choice.
35. Sign your work on a new layer.
36. Layers>Merge>Merge All.
37. Image>Add borders, 1 pixel, symmetric, dark color.
38. Save as jpg.
For the tube of this version thanks Naise M (exclusivo_84).


If you have problems or doubts, or you find a not worked link, or only for tell me that you enjoyed this tutorial, write to me.
28 October 2022

|
 AUTUMN LIGHTS

 AUTUMN LIGHTS