|
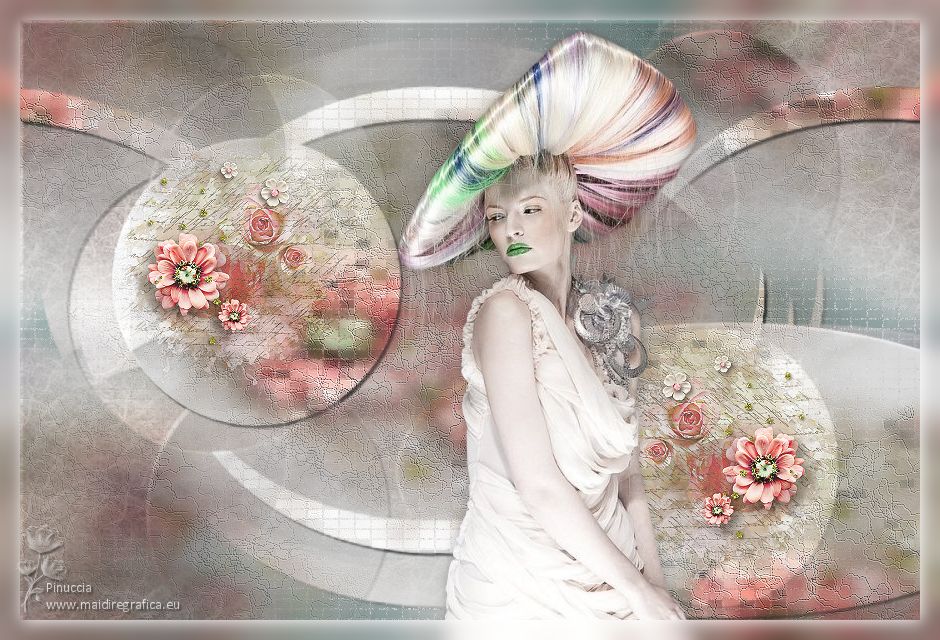
LUZ


Thanks Yedralina for your invitation to translate your tutorials into english

This tutorial was written with CorelX19 and translated with CorelX17, but it can also be made using other versions of PSP.
Since version PSP X4, Image>Mirror was replaced with Image>Flip Horizontal,
and Image>Flip with Image>Flip Vertical, there are some variables.
In versions X5 and X6, the functions have been improved by making available the Objects menu.
In the latest version X7 command Image>Mirror and Image>Flip returned, but with new differences.
See my schedule here
 italian translation here italian translation here
 french translation here french translation here
 your versions here your versions here
For this tutorial, you will need:

Thanks for the tube Guismo and for the mask Monaiekje.
The rest of the material is by Yedralina.
(The links of the tubemakers here).

consult, if necessary, my filter section here
Filters Unlimited 2.0 here
Graphics Plus here
Filters Graphics Plus can be used alone or imported into Filters Unlimited.
(How do, you see here)
If a plugin supplied appears with this icon  it must necessarily be imported into Unlimited it must necessarily be imported into Unlimited

You can change Blend Modes according to your colors.
In the newest versions of PSP, you don't find the foreground/background gradient (Corel_06_029).
You can use the gradients of the older versions.
The Gradient of CorelX here

Open the mask in PSP and minimize it with the rest of the material.
Set your foreground color to #008080,
and your background color to #797974.
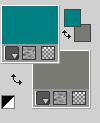
Set your foreground color to a Foreground/Background Gradient, style Linear
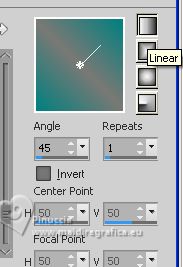
1. Open a new transparent image 900 x 600 pixels.
Flood Fill  the transparent image with your Gradient. the transparent image with your Gradient.
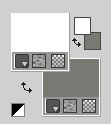
2. Set your foreground color to white
Layers>New Raster Layer.
Flood Fill  the layer with color white. the layer with color white.
3. Layers>New Raster Layer.
Selections>Select All.
Open the misted imagen22 
Edit>Copy.
Minimize the tube.
Go back to your work and go to Edit>Paste into Selection.
Selections>Select None.
4. Effects>Image Effects>Seamless Tiling, default settings.

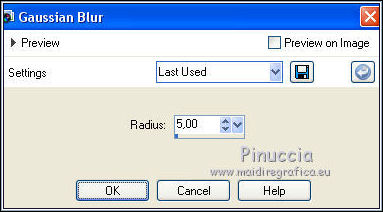
Adjust>Blur>Gaussian Blur - radius 5.
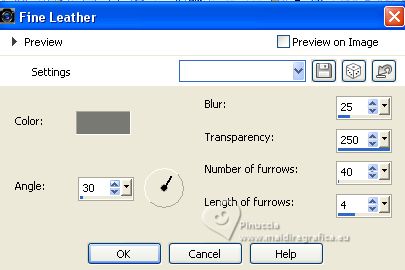
5. Effects>Texture Effects>>Fine Leather - foreground color #797974.
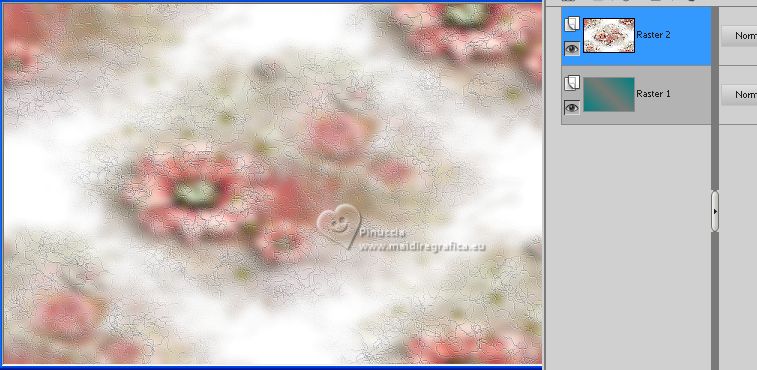
6. Effects>Edge Effects>Enhance.
Layers>Merge>Merge Down (Raster 2).
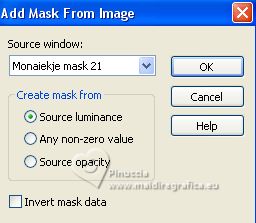
7. Layers>New Mask layer>From image
Open the menu under the source window and you'll see all the files open.
Select the mask Monaiekje mask 21
Layers>Merge>Merge Group.
8. Effects>3D Effects>Drop Shadow, color black.
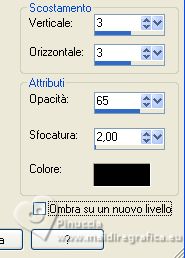
9. Layers>Duplicate - 4 times, to have 5 equal levels.
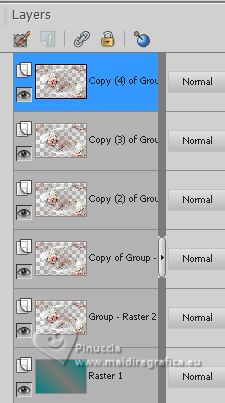
Now activate the first layer of the mask, Group - Raster 2.
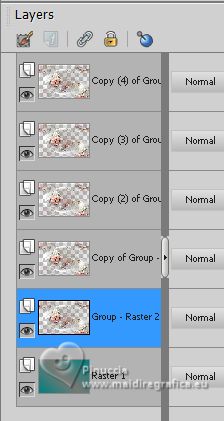
10. Image>resize, to 120%, resize all layers not checked.
Activate the layer above, Copy of Group - Raster 2.
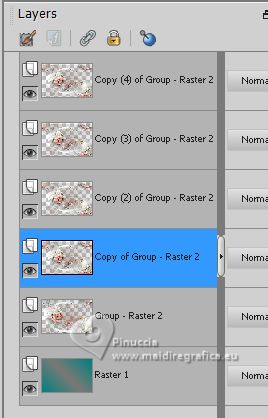
11. Image>Resize, to 110%, resize all layers not checked.
Objects>Align>Top,
or K key to activate your Pick Tool 
and set Position Y: 0,00.

12. Activate the next layer Copy (2) of Group-Raster 2.
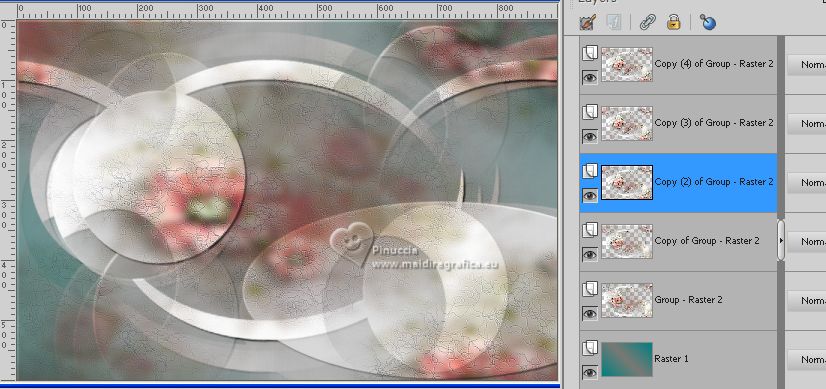
Effects>Plugins>Graphics Plus - Cross Shadow, default settings.
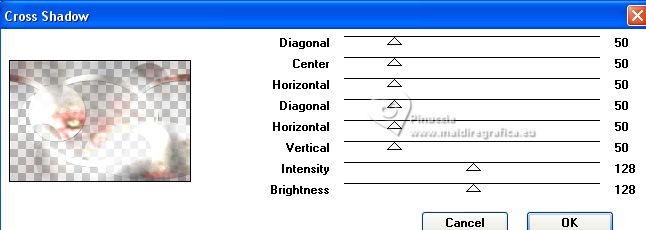
13. Activate now the top layer, Copy (4) of Group - Raster 2.
Effects>Texture Effects>Mosaic Antique.

14. Layers>New Mask layer>From image
Open the menu under the source window
and select again the mask Monaiekjes mask 21

Layers>Merge>Merge Group.
15. Reduce the opacity of this layer +/-36%.
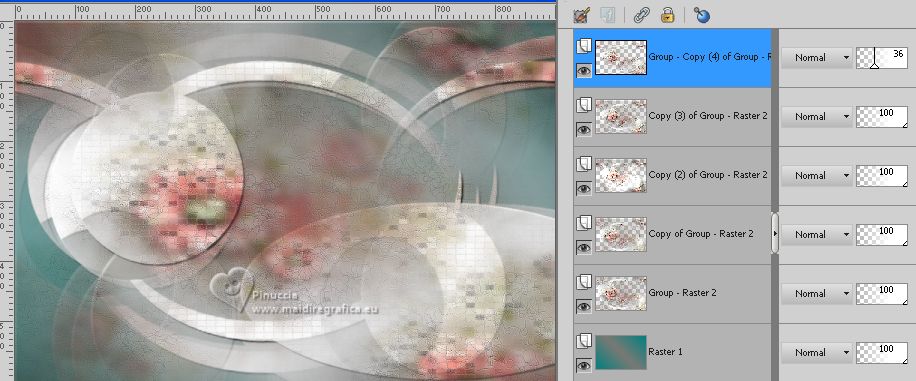
16. Layers>New Raster Layer.
Selections>Select All.
Open your main tube calguisbeauty24022014 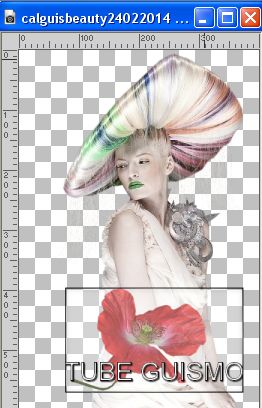
Edit>Copy.
Minimize the tube.
Go back to your work and go to Edit>Paste into Selection.
Selections>Select None.
17. Effects>Image Effects>Seamless Tiling, default settings.

18. Adjust>Blur>Gaussian Blur - radius 20.

19. Layers>Duplicate.
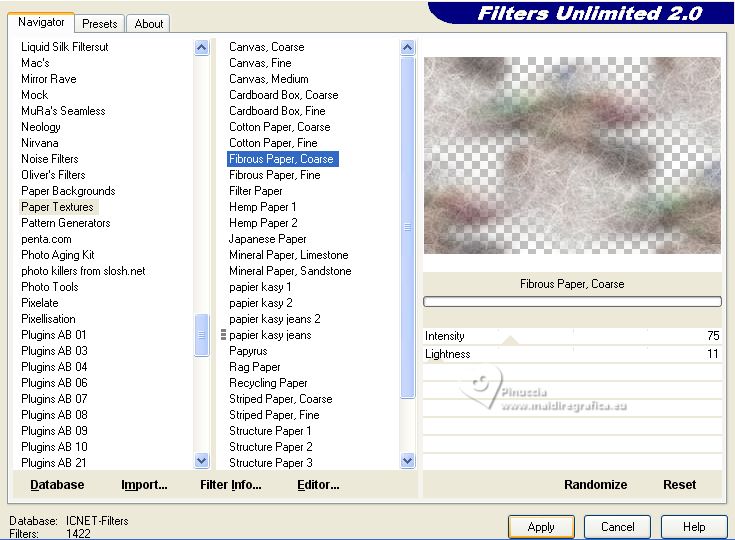
Effects>Plugins>Filters Unlimited 2.0 - Paper Textures - Fibrous Paper, Coarse.
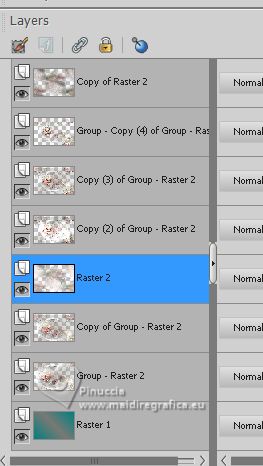
20. Activate the layer below of the original, Raster 2.
Effects>Texture Effects>Mosaic Antique, same settings.

Layers>Arrange>Move Down - 3 times (it is the fourth layer from the bottom)
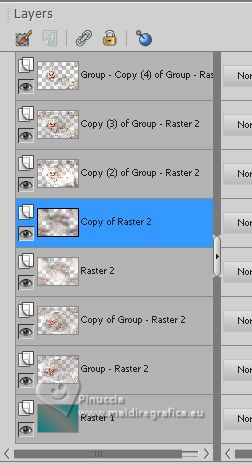
21. Activate again your top layer, Copy of Raster 2.
Move this layer over the previous one (it is the 5th layers from the bottom).
22. Activate again your top layer.
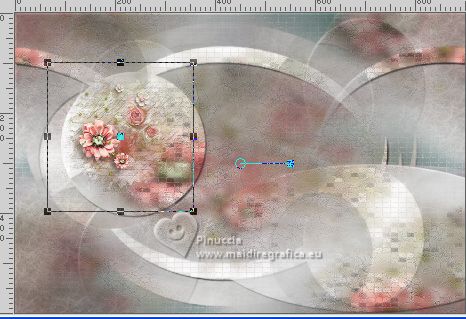
Activate again the flowers misted and go to Edit>Copy.
Go back to your work and go to Edit>Paste as new layer.
K key to activate your Pick Tool 
and set Position X: 63,00 and Position Y: 98,00

23. Layers>Duplicate.
Image>Mirror.
Set Position X: 556,00 and Position Y: 292,00.

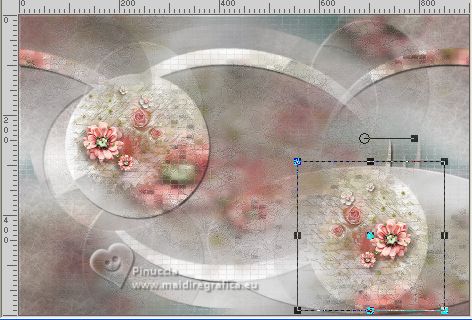
M key to deselect the Tool.
24. Activate again your main tube and go to Edit>Copy.
Go back to your work and go to Edit>Paste as new layer.
Image>Resize, if necessary; for this tube it is not.
Move  the tube a bit to the right. the tube a bit to the right.
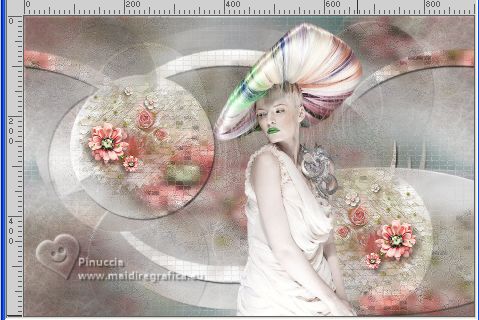
Effects>3D Effects>Drop Shadow, at your choice; for me

25. Your tag and the layers.
 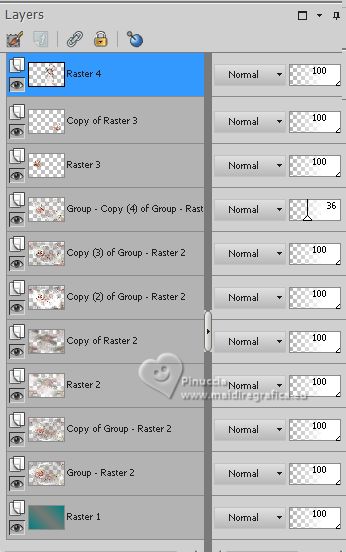
26. Layers>Merge>Merge visible.
27. Selections>Select All.
Edit>Copy
28. Image>Add borders, 20 pixels, symmetric, color white.
Selections>Invert.
29. Edit>Paste into Selection (image of step 27).
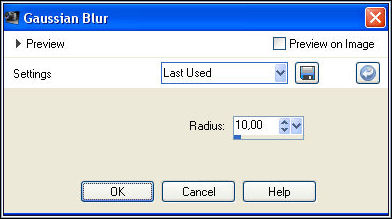
Adjust>Blur>Gaussian Blur - radius 10.
30. Selections>Invert.
Effects>3D Effects>Drop Shadow, color white.
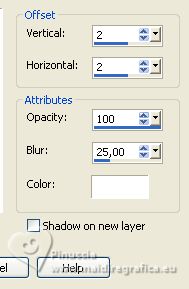
Selections>Select None.
31. Image>Resize, 1000 pixels width, resize all layers not checked.
32. Sign your work on a new layer.
33. Layers>Merge>Merge All and save as jpg.
For the tube of this version thanks Vera Mendes, flowers by pngwing.
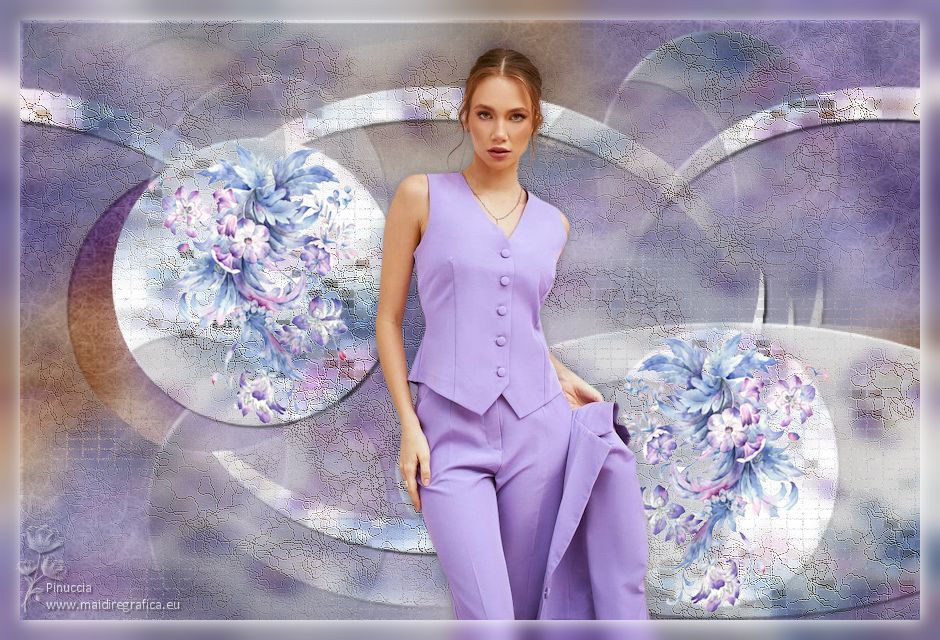


If you have problems or doubts, or you find a not worked link, or only for tell me that you enjoyed this tutorial, write to me.
18 July 2023

|

