|
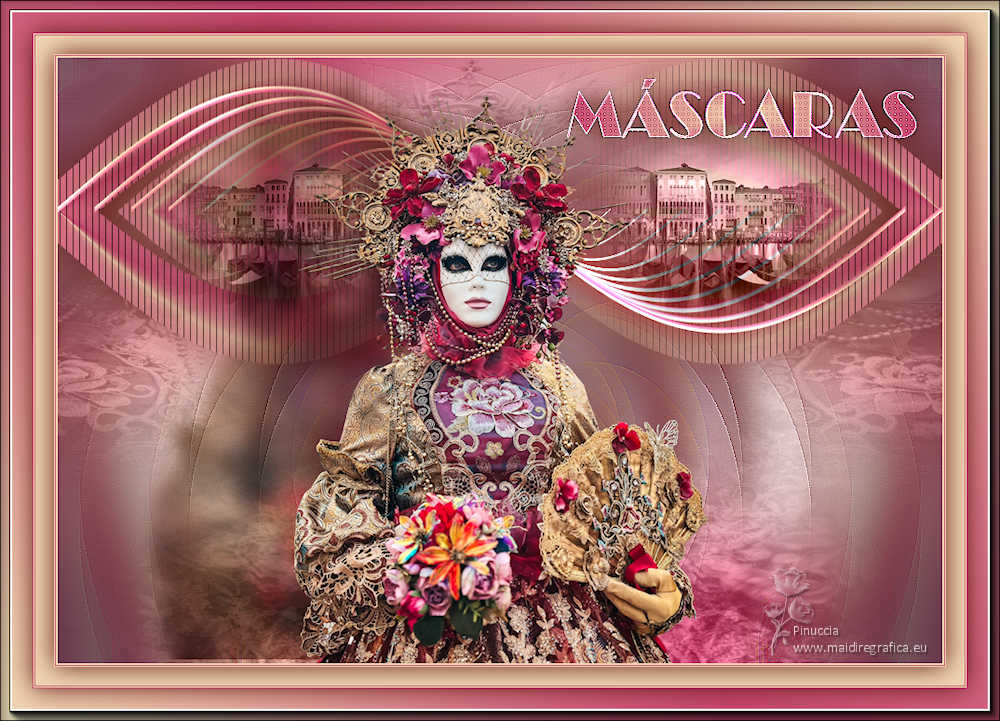
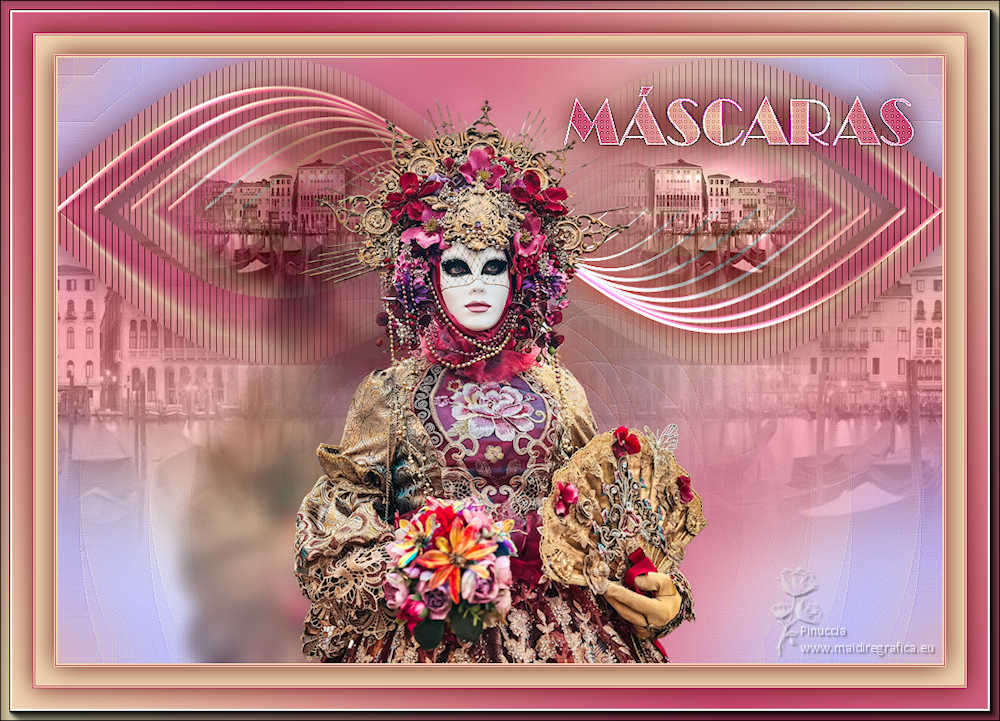
MÁSCARAS

Thanks Yedralina for your invitation to translate your tutorials into english

This tutorial was written with PSP2020 and translated with PSPX9 and PSP2020, but it can also be made using other versions of PSP.
Since version PSP X4, Image>Mirror was replaced with Image>Flip Horizontal,
and Image>Flip with Image>Flip Vertical, there are some variables.
In versions X5 and X6, the functions have been improved by making available the Objects menu.
In the latest version X7 command Image>Mirror and Image>Flip returned, but with new differences.
See my schedule here
 italian translation here italian translation here
 french translation here french translation here
 your versions here your versions here

For this tutorial, you will need:

For the tubes thanks Karin and LisaT.
The rest of the material is by Yedralina
(The links of the tubemakers here).

consult, if necessary, my filter section here
Filters Unlimited 2.0 here
Toadies - What are you here
Carolaine and Sensibility - CS_LDots here
Simple - Top Left Mirror here
Winnies6 - win_053 here
Tramages - Tow the Line here
Mura's Meister - Copies here
Graphics Plus - Cross Shadow here
AAA Frames - Foto Frame here
Filters Toadies, Simple, Tramages and Graphics Plus can be used alone or imported into Filters Unlimited.
(How do, you see here)
If a plugin supplied appears with this icon  it must necessarily be imported into Unlimited it must necessarily be imported into Unlimited

You can change Blend Modes according to your colors.
In the newest versions of PSP, you don't find the foreground/background gradient (Corel_06_029).
You can use the gradients of the older versions.
The Gradient of CorelX here

Copy the selection in the Selections Folder.
Copy the preset in the Presets Folder.
Choose two colors in tone with your main tube.
Be careful that they are not too dark, because there are effects that will be lost. See my second work.
Colors
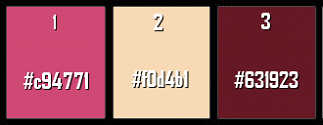
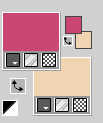
1. Set your foreground color to #c94771,
and your background color to #f0d4b1.
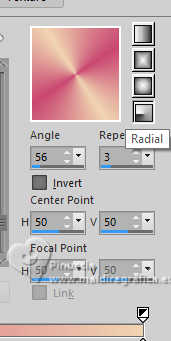
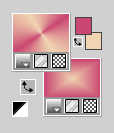
Set your foreground color to a Foreground/Background Gradient, style Radial.
Set your background color to a Foreground/Background Gradient, style Rectangular.
2. Open a new transparent image 950 x 650 pixels.
Flood Fill  the transparent image with your Radial foreground gradient. the transparent image with your Radial foreground gradient.
3. Layers>New Raster Layer.
Selections>Select All.
4. Open your main tube kw karneval 22 02 23 21 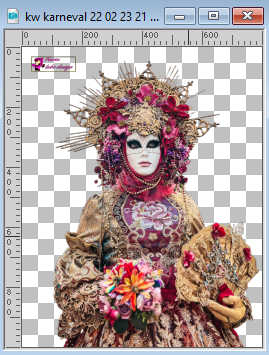
Erase the watermark and go to Edit>Copy.
Go back to your work and go to Edit>Paste into Selection.
Selections>Select None.
I noticed that the author did not use the main tube but the misted;
you decide how to do it; at the bottom of the tutorial is the version with the misted
(obviously, the effects screens refer to the version with the main tube
5. Layers>Duplicate.
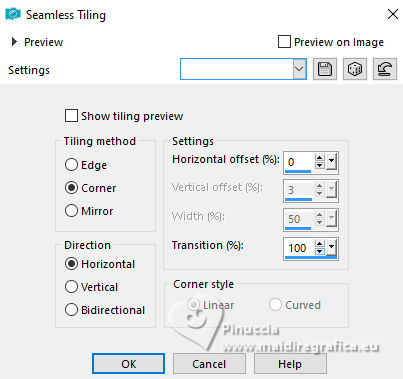
Effects>Image Effects>Seamless Tiling, default settings.

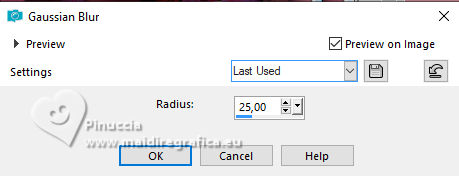
Adjust>Blur>Gaussian Blur - radius 25.
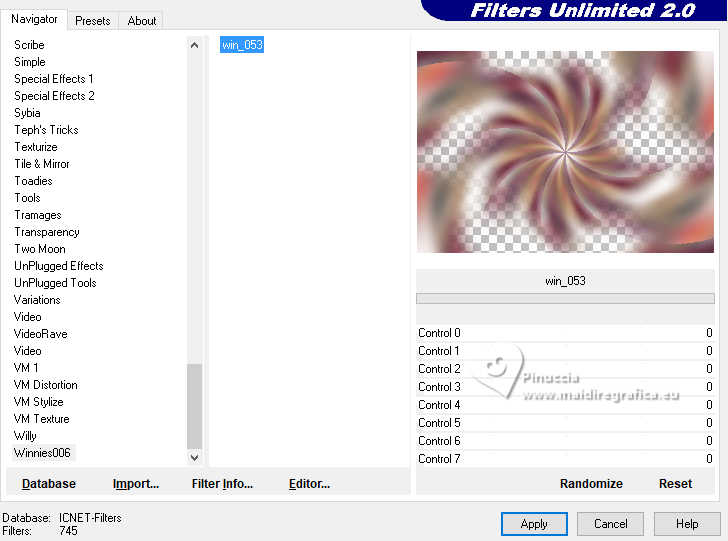
6. Effects>Plugins>Filters Unlimited 2.0 - Winnies6 - win_053.
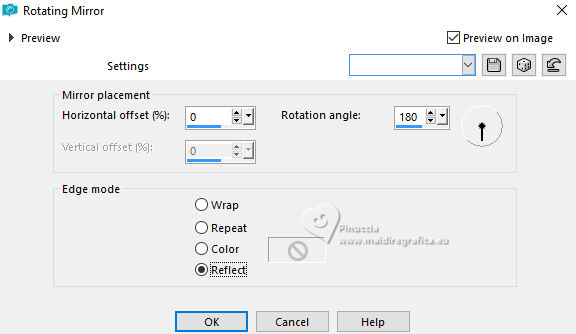
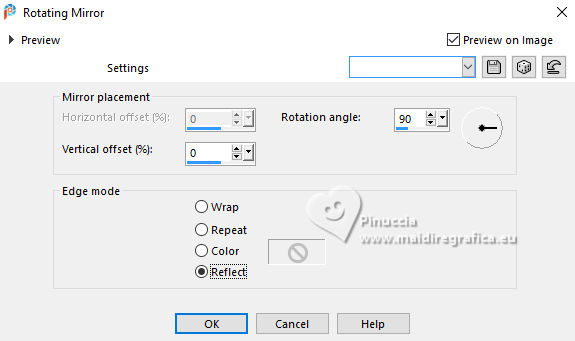
7. Effects>Reflection Effects>Rotating Mirror.
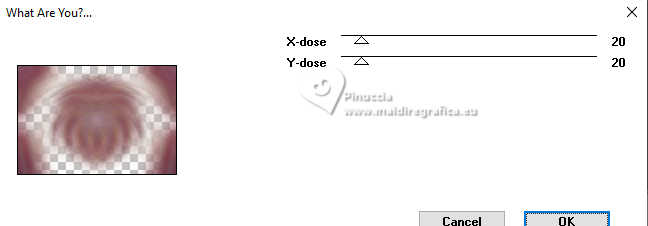
8. Effects>Plugins>Toadies - What are you.
Effects>Edge Effects>Enhance or Enhance More.
9. Activate the layer below of the original tube.
Effects>Image Effects>Seamless Tiling.
10. Change the Blend Mode of this layer to Luminance (legacy)
and reduce the opacity +/-65%, according to your tube.
in my second version I reduced the opacity to 85%
11. Activate your bottom layer.
Layers>Duplicate.
Layers>Arrange>Bring to Top.
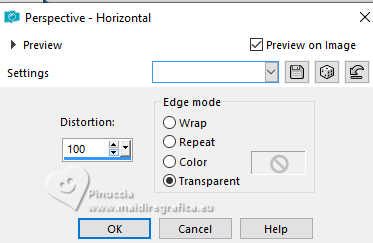
12. Effects>Geometric Effects>Perspective horizontal.

13. Image>Mirror>Mirror horizontal.
Repeat Effects>Geometric Effects>Perspective horizontal, same settings.
14. Effects>Plugins>Tramages - Tow the lines, default settings.

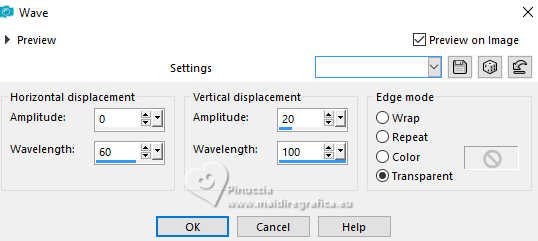
15. Effects>Distortion Effects>Wave
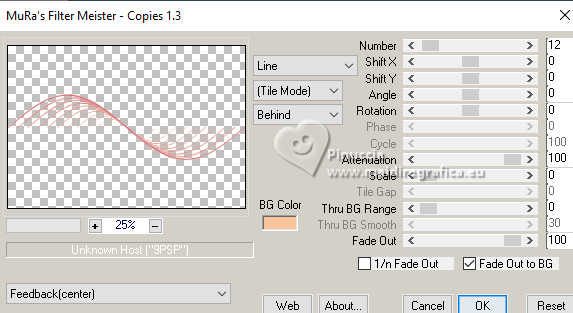
16. Effects>Plugins>Mura's Meister - Copies.
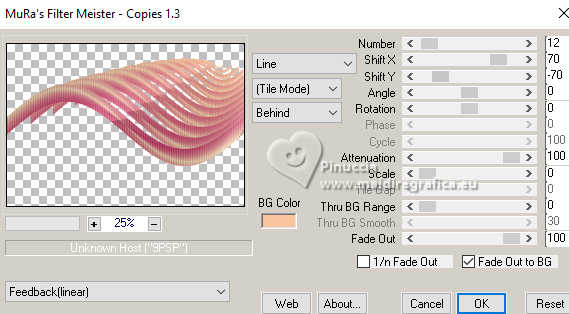
This is one of the cases where it is important to set BG color with your background color.
Click Reset to make sure you have your background color and then set the settings
17. Effects>Image Effects>Seamless Tiling, same settings.
18. Effects>Reflection Effects>Rotating Mirror.
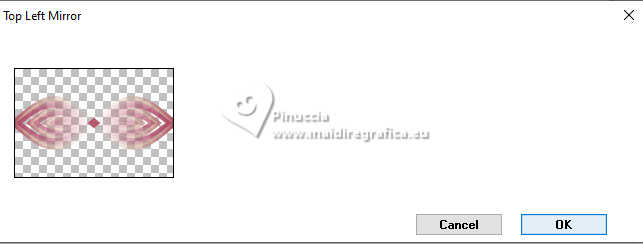
19. Effects>Plugins>Simple - Top Left Mirror.
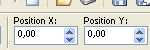
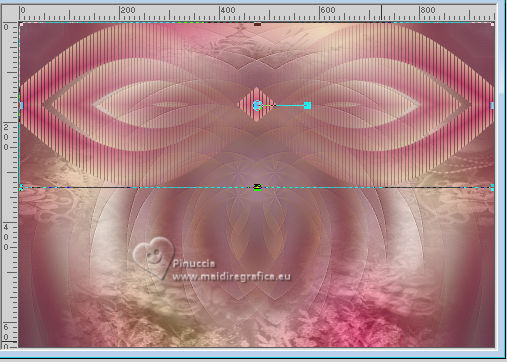
20. Objects>Align>Top
or K key to activate your Pick Tool 
and set Position X and Y: 0,00
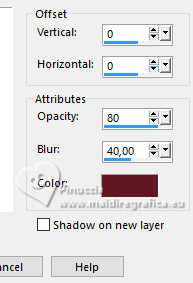
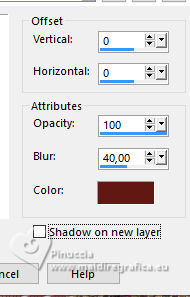
Effects>3D Effects>Drop Shadow, color 3 #631923

21. Activate again your background color.
Layers>Duplicate.
Layers>Arrange>Bring to Top.
Effects>Geometric Effects>Perspective horizontal
22. Image>Mirror.
Repeat Effects>Geometric Effects>Perspective horizontal, same settings.
23. Effects>Distortion Effects>Wave, same settings.
24. Effects>Plugins>Mura's Meister - Copies.
also in this case, you need to make sure that your background color is set in BG color
25. Effects>3D Effects>Drop Shadow, color 3 #631923
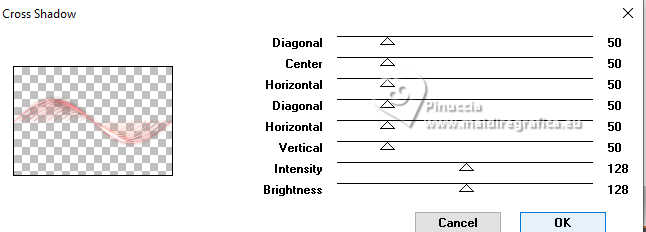
26. Effects>Plugins>Graphics Plus - Cross Shadow, default settings.
27. Objects>Align>Top
or K key to activate your Pick Tool
and set Position X and Y: 0,0

28. Layers>New Raster Layer.
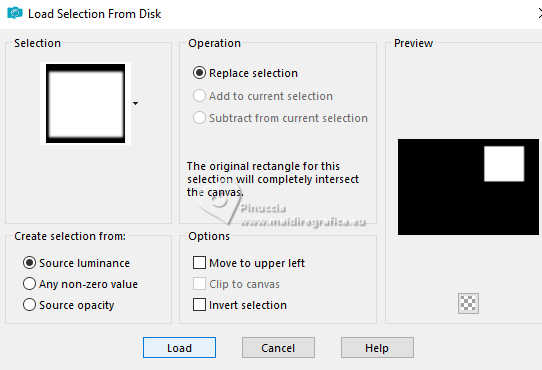
Selections>Load/Save Selection>Load Selection from Disk.
Look for and load the selection ©Yedralina_sel148
29. Open the misted paysages_0187_lisat 
Erase the watermark
for me: Image>Mirror
Edit>Copy.
Go back to your work and go to Edit>Paste into Selection.
Selections>Select None.
Adjust>Sharpness>Sharpen.
30. Layers>Duplicate.
Image>Mirror>Mirror horizontal.
Layers>Merge>Merge Down.
Change the Blend Mode of this layer to Luminance (legacy).
31. Activate again your main tube and go to Edit>Copy.
Go back to your work and go to Edit>Paste as new layer.
Image>Resize, if necessary, for me to 65%, resize all layers not checked.
Move  the tube to the left the tube to the left
(note the shadow of my final tag).
32. Layers>Duplicate.
Activate the layer below of the original.
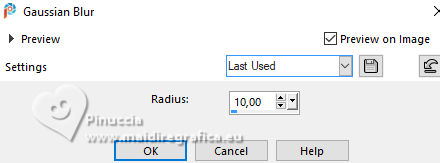
Adjust>Blur>Gaussian Blur - radius 10.
Change the Blend Mode of this layer to Multiply.
If you feel like the shadow is too dark, you can lower the opacity
33. Activate again the layer above of the copy.
Objects>Align>Horizontal Center.
34. Activate your Text Tool 
Font Broadway, size 72, foreground: Radial Gradient, background Rectangular Gradient

Write the text in capital letters (to write the accented letter A Á, type alt0193)
To adjust the text, activate your Pick Tool
and pull the center left and center right nodes.

Layers>Convert in Raster Layer.
****Another way to do it, is using the preset attached in the material.
Just click on Tool Settings, and from the drop-down menu select the preset 315-©Yedralina

(the preset shifts text to the left; you are free to use it however you like)
M key to deselect the Tool****
Adjust>Sharpness>Sharpen.
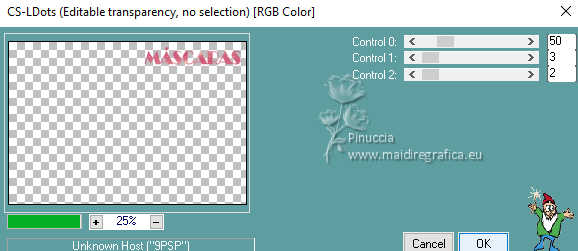
35. Effects>Plugins>Carolaine and Sensibility - CS-LDots, default settings.
36. Effects>3D Effects>Drop shadow, color 3 #631923.
Effects>Edge Effects>Enhance More.
37. Image>Add Borders, 1 pixel, symmetric, color 2.
Image>Add Borders, 1 pixel, symmetric, color 1.
Image>Add Borders, 1 pixel, symmetric, color 2.
38. Selections>Select All.
Image>Add Borders, 20 pixels, symmetric, color 2.
Effects>3D Effects>Drop Shadow, same settings.
39. Image>Add Borders, 1 pixel, symmetric, color 1.
Image>Add Borders, 1 pixel, symmetric, color 2.
Image>Add Borders, 1 pixel, symmetric, color 1.
40. Selections>Select All.
Image>Add Borders, 35 pixels, symmetric, whatever color.
Selections>Invert.
Flood Fill with your Radial Foreground Gradient.
Selections>Invert.
41. Effects>3D Effects>Drop shadow, same settings.
42. Again Selection>Invert.
Effects>Plugins>AAA Frames - Foto Frame.
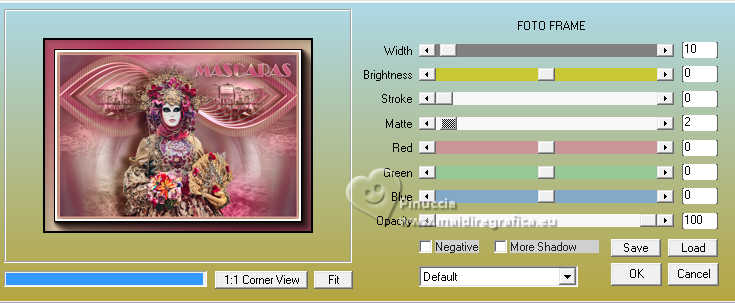
Selections>Select None.
43. Image>Resize, 1000 pixels width, resize all layers checked.
44. Sign your work on a new layer.
45. Layers>Merge>Merge All and save as jpg.
Version with the misted (see step 4)
For the tubes of these version thanks
Karin and LisaT.
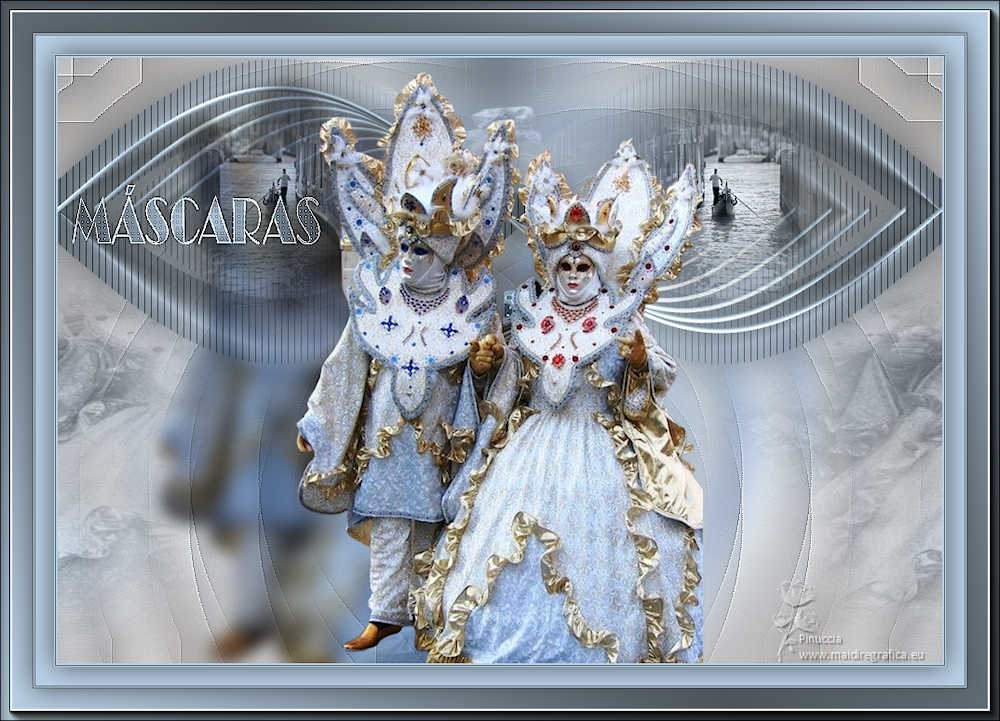
Mentali (the misted is mine)
If you have problems or doubts, or you find a not worked link, or only for tell me that you enjoyed this tutorial, write to me.
30 January 2024

|