|
MASCARAS


Thanks Yedralina for your invitation to translate your tutorials into english

This tutorial was written with CorelX19 and translated with CorelX17, but it can also be made using other versions of PSP.
Since version PSP X4, Image>Mirror was replaced with Image>Flip Horizontal,
and Image>Flip with Image>Flip Vertical, there are some variables.
In versions X5 and X6, the functions have been improved by making available the Objects menu.
In the latest version X7 command Image>Mirror and Image>Flip returned, but with new differences.
See my schedule here
italian translation here
french translation here
your versions here
For this tutorial, you will need:
A landscape and a tube
The rest of the material qui
For the tubes thanks OcchiBlu (OBG_1763) and Violette (violette03_806bb31f).
For the mask thanks Narah.
The rest of the material is by Yedralina.
(The links of the tubemakers here).
Plugins:
consult, if necessary, my filter section here
Filters Unlimited 2.0 here
Scribe - 4Way Mirror here
VM Stylize - Zoom Blur here
Mehdi - Sorting Tiles here
Filters Scribe and VM Stylize can be used alone or imported into Filters Unlimited.
(How do, you see here)
If a plugin supplied appears with this icon  it must necessarily be imported into Unlimited it must necessarily be imported into Unlimited

You can change Blend Modes according to your colors.
In the newest versions of PSP, you don't find the foreground/background gradient (Corel_06_029).
You can use the gradients of the older versions.
The Gradient of CorelX here
Copy the Selections in the Selections Folder.
Open the mask in PSP and minimize it with the rest of the material.
Choose two colors of your tube.
For me:
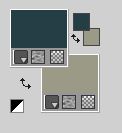
Set your foreground color to #263f46,
and your background color to #9b9a86.
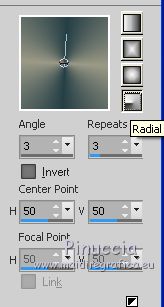
Set your foreground color to a Foreground/Background Gradient, style Radial.
1. Open a new transparent image 950 x 650 pixels.
Flood Fill  the transparent image with your Gradient. the transparent image with your Gradient.
Selections>Select All.
Open the misted
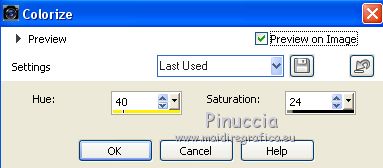
For my example I applied: Adjust>Hue and Saturation>Colorize
Edit>Copy.
Go back to your work and go to Edit>Paste into Selection.
Selections>Select None.
Adjust>Blur>Gaussian Blur - radius 20.

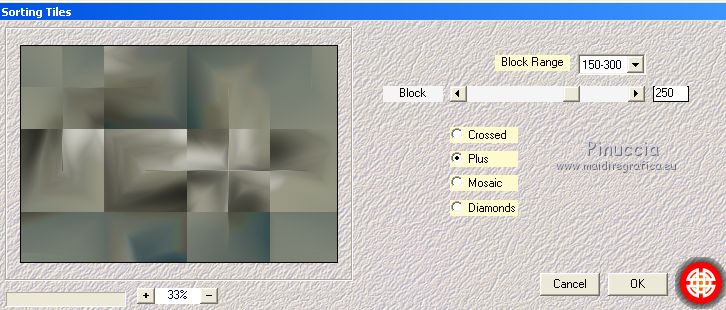
Effetti>Plugins>Mehdi - Sorting Tiles.
Effects>Edge Effects>Enhance More.
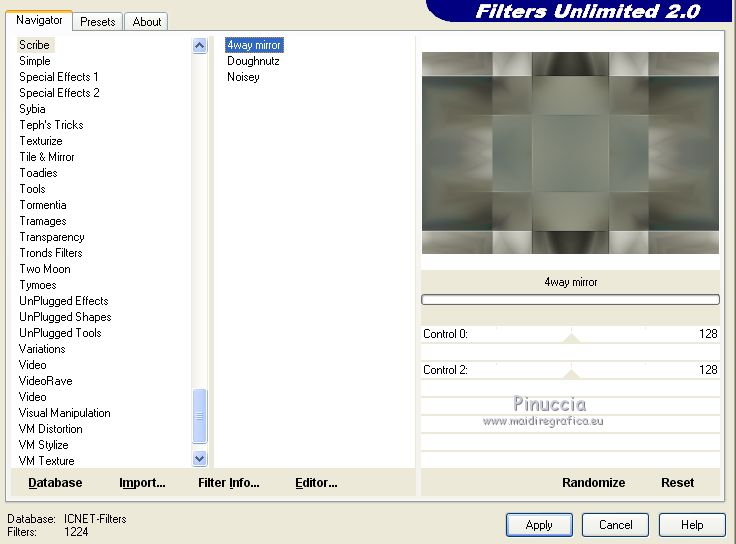
Effects>Plugins>Scribe - 4Way Mirror, default settings.
Layers>Duplicate.
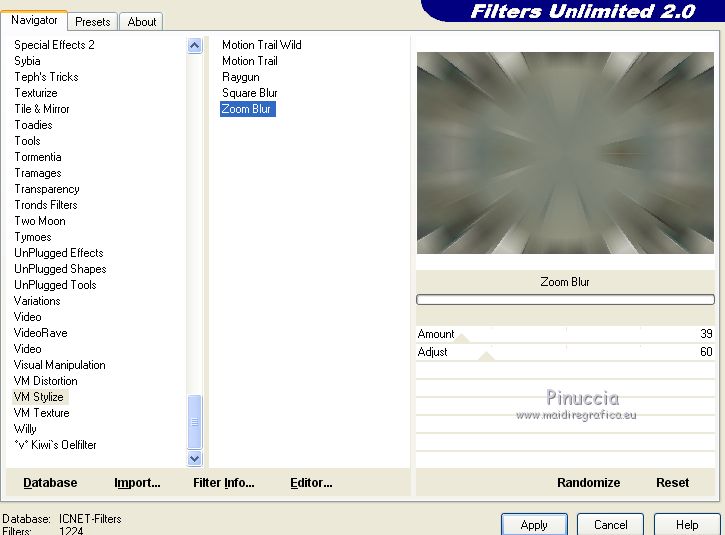
2. Effects>Plugins>VM Stylize - Zoom Blur, default settings.
Change the Blend Mode of this layer to Overlay.
3. Edit>Paste as new layer (the misted is still in memory).
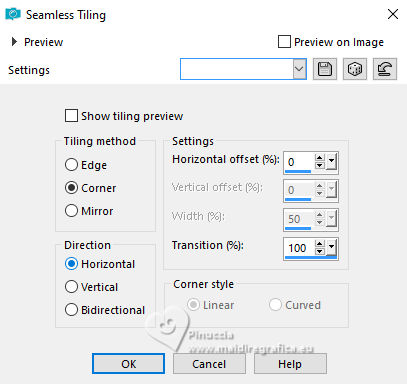
Effects>Image Effects>Seamless Tiling.
Effects>Art Media Effects>Brush Strokes.
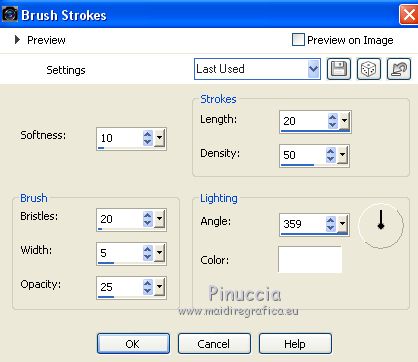
Change the Blend Mode of this layer to Luminance and reduce the opacity to 30
(for my second version I reduced to 70)
4. Layers>New Raster Layer.
Selections>Load/Save Selection>Load Selection from Disk.
Look for and load the selection ©Yedralina_sel732.

Flood Fill  the selection with your dark foreground color. the selection with your dark foreground color.
Selections>Modify>Contract - 30 pixels.
Flood Fill  the selection with your Gradient. the selection with your Gradient.
Selections>Modify>Contract - 3 pixels.
Flood Fill  the selection with your dark color. the selection with your dark color.
Selections>Modify>Contract - 3 pixels.
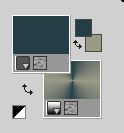
Change the Gradient settings and select Invert.
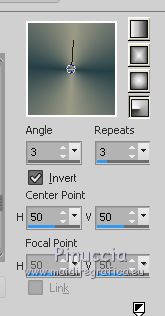
Flood Fill  the selection with your Gradient. the selection with your Gradient.
Selections>Modify>Contract - 3 pixels.
Flood Fill  the selection with your dark color. the selection with your dark color.
Keep selected.
5. Layers>New Raster Layer.
Edit>Paste into Selection (the misted is always in memory).
Change the Blend Mode of this layer to Luminance, or other.
Selections>Invert.
Effects>3D Effects>Drop Shadow, color black.
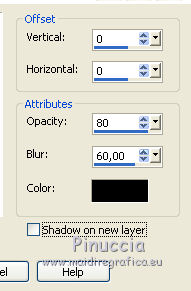
Layers>Merge>Merge Down.
Selections>Select None.
Layers>Duplicate.
6. Activate your Magic Wand Tool  , tolerance 20, , tolerance 20,

click on the wider border to select it.
Set your background color to Color.
Flood Fill  the selection with your light background color. the selection with your light background color.
Selections>Select None.
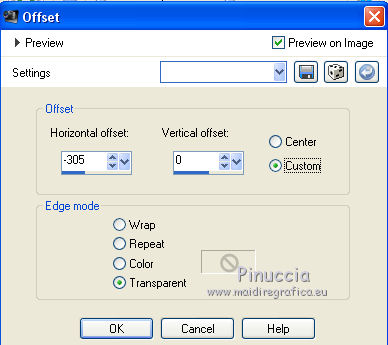
Effects>Image Effects>Offset.
Image>Flip>Flip Horizontal.
in older versions: Image>Mirror.
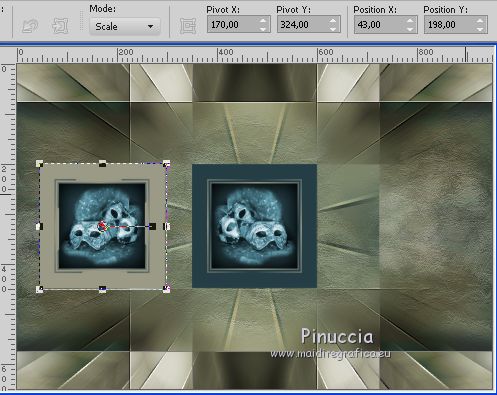
Pick Tool 
and set Position X: 43,00 and Position Y: 198,00
Layers>Merge>Merge down.
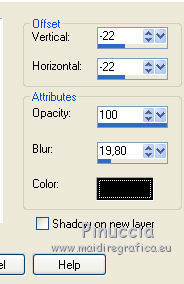
Effects>3D Effects>Drop Shadow.
7. Set your foreground color to white.
Layers>New Raster Layer.
Flood Fill  the layer with color white. the layer with color white.
In my second version I used the dark color
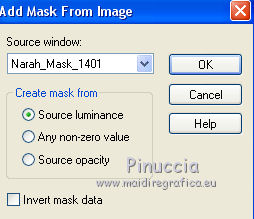
Layers>New Mask layer>From image
Open the menu under the source window and you'll see all the files open.
Select the mask Narah_Mask_1401.
Layers>Merge>Merge Group.
Change the Blend Mode of this layer to Soft Light, ou other.
in my second version I used Overlay
Image>Mirror.
Image>Flip.
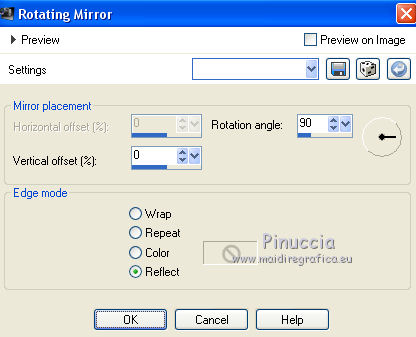
Effects>Reflection Effects>Rotating Mirror.
Layers>Arrange>Move Down.
8. Layers>New Raster Layer.
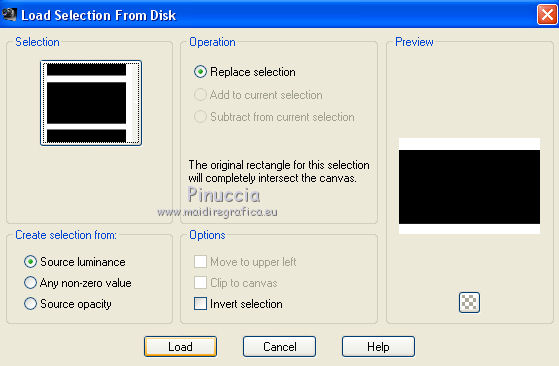
Selections>Load/Save Selection>Load Selection from Disk.
Look for and load the selection ©Yedralina_sel733.
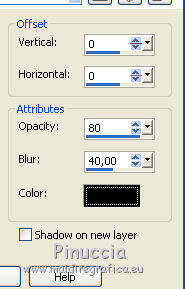
Effects>3D Effects>Drop Shadow, color black.
Selections>Select None.
Layers>Arrange>Move Down - 2 times.
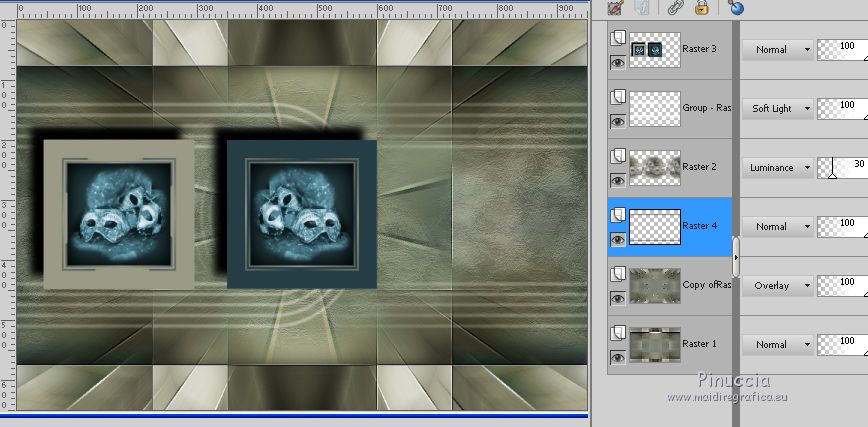
9. Activate your top layer.
Open the tube Deco00257©Yedralina and go to Edit>Copy.
Go back to your work and go to Edit>Paste as new layer.
Effects>Image Effects>Offset.
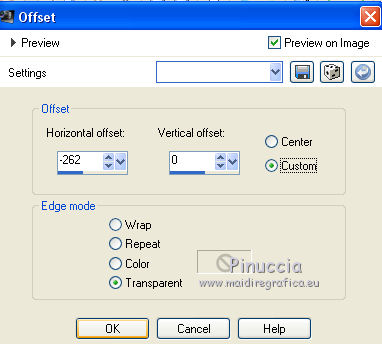
Change the Blend Mode of this layer to Overlay.
10. Open your main tube and go to Edit>Copy.
Go back to your work and go to Edit>Paste as new layer.
Move  the tube to the right side. the tube to the right side.
Effects>3D Effects>Drop Shadow, at your choice; for me
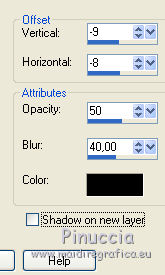
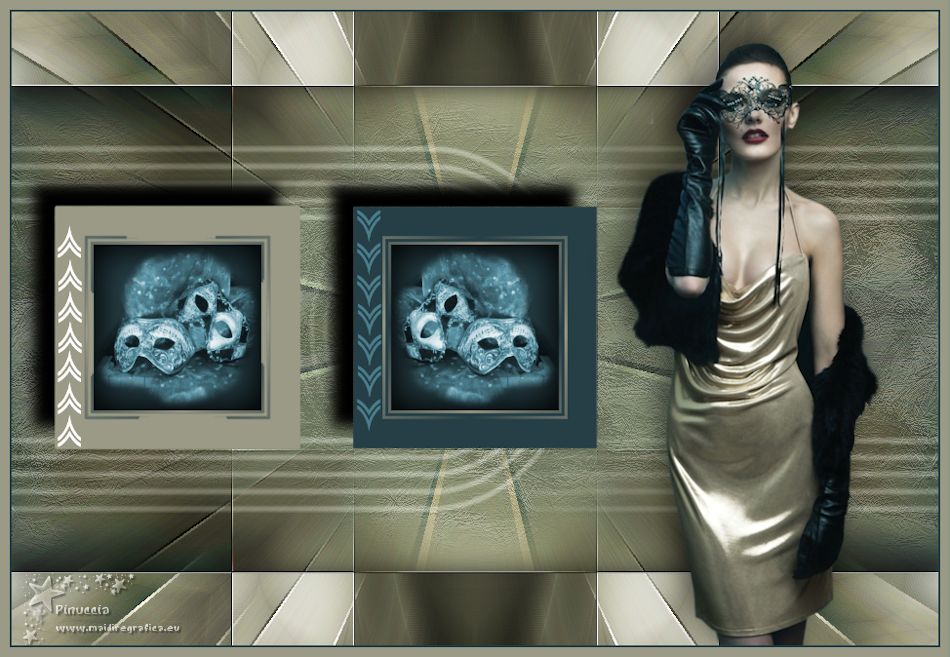
11. Your should have this
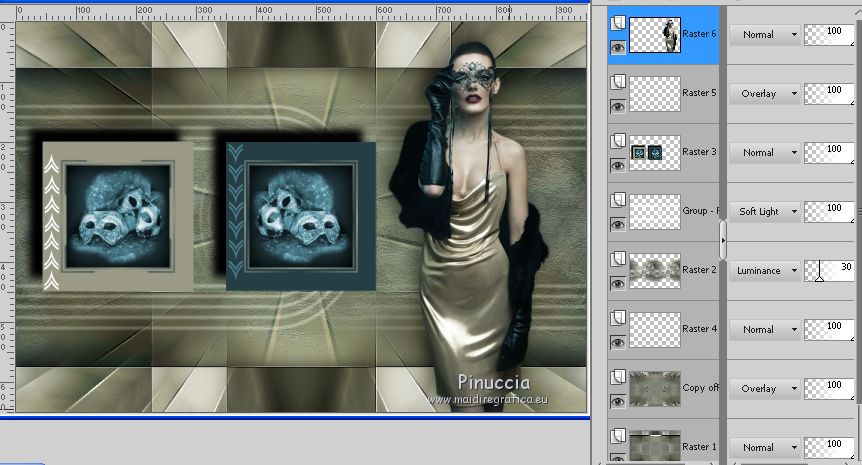
12. Image>Add borders, 2 pixels, symmetric, dark color.
Image>Add borders, 10 pixels, symmetric, light color.
Image>Resize, 950 pixels width, resize all layer checked.
Sign your work and save as jpg.
Version with tubes by OcchiBlu (OBG_1765) and Linda Gatita (Criss paisaje47)
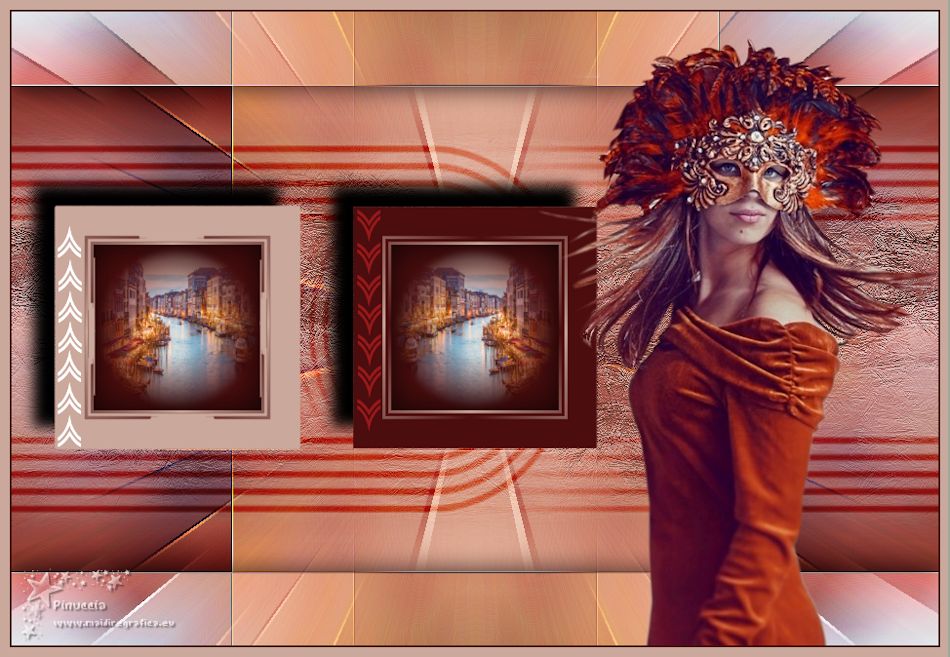
Versione with tubes by Luz Cristina and Nena Silva


If you have problems or doubts, or you find a not worked link, or only for tell me that you enjoyed this tutorial, write to me.
20 February 2020
|

