|
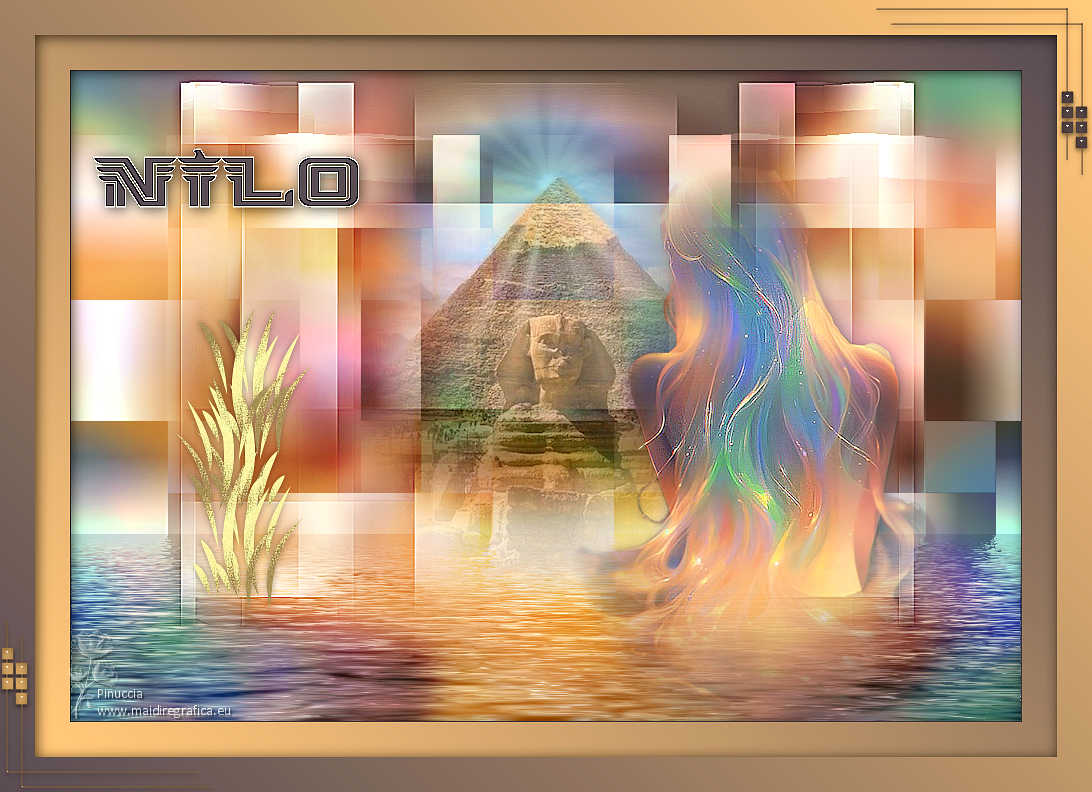
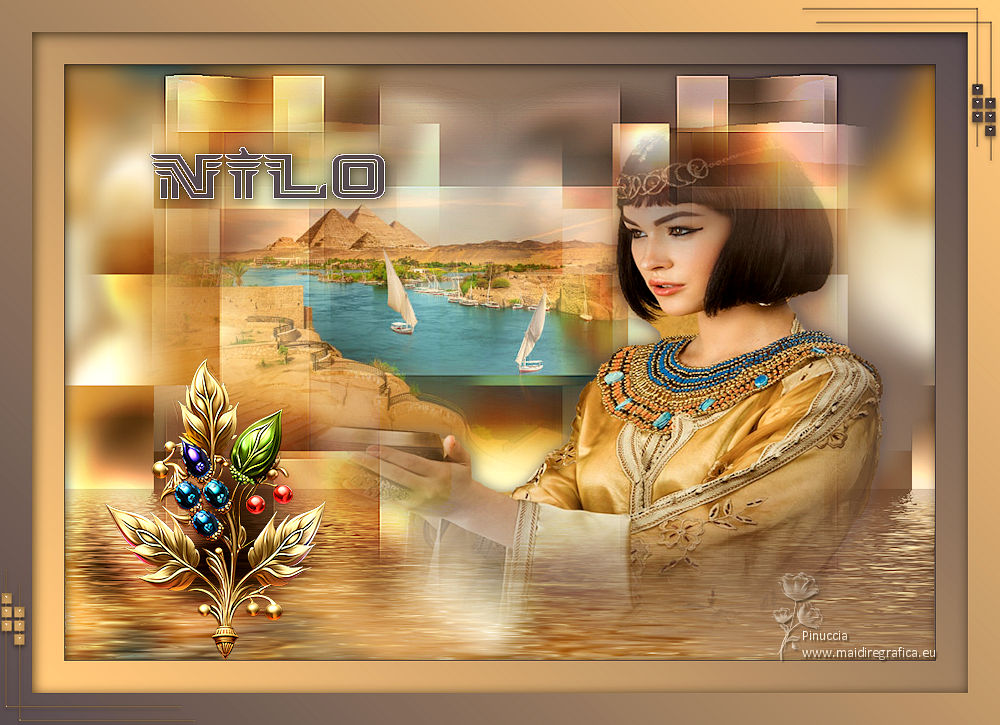
NILO


Thanks Yedralina for your invitation to translate your tutorials into english

This tutorial was written with PSP2020 and translated with PSPX9 and PSP2020, but it can also be made using other versions of PSP.
Since version PSP X4, Image>Mirror was replaced with Image>Flip Horizontal,
and Image>Flip with Image>Flip Vertical, there are some variables.
In versions X5 and X6, the functions have been improved by making available the Objects menu.
In the latest version X7 command Image>Mirror and Image>Flip returned, but with new differences.
See my schedule here
 italian translation here italian translation here
 french translation here french translation here
 your versions here your versions here

For this tutorial, you will need:

The material is by Yedralina.
(The links of the tubemakers here).

consult, if necessary, my filter section here
Filters Unlimited 2.0 here
Flaming Pear - Flood here
RCS Filter Pak - RCS-Triple Exposure here
Alien Skin Eye Candy 5 Impact - Glass here
VM Toolbox - Seamless Tile here
VM Natural - Weave Distortion here
AAA Filters - Custom here
Filters RCS Filer Pak can be used alone or imported into Filters Unlimited.
(How do, you see here)
If a plugin supplied appears with this icon  it must necessarily be imported into Unlimited it must necessarily be imported into Unlimited

You can change Blend Modes according to your colors.
In the newest versions of PSP, you don't find the foreground/background gradient (Corel_06_029).
You can use the gradients of the older versions.
The Gradient of CorelX here
Copy the preset  in the folder of the plugin Alien Skin Eye Candy 5 Impact>Settings>Glass. in the folder of the plugin Alien Skin Eye Candy 5 Impact>Settings>Glass.
One or two clic on the file (it depends by your settings), automatically the preset will be copied in the right folder.
why one or two clic see here

1. Set your foreground color to #5c5260,
and your background color to #fec987.
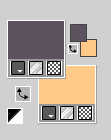
Set your foreground color to a Foreground/Background Gradient, style Linear.

Open a new transparent image 950 x 650 pixels.
Flood Fill  the transparent image with your gradient. the transparent image with your gradient.
2. Layers>New Raster Layer.
Selections>Select All.
3. Open your main tube 2648©Yedralina 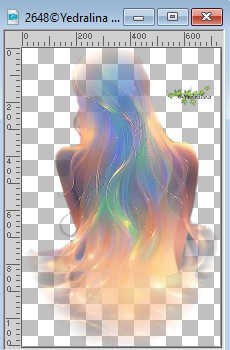
Erase the watermark and go to Edit>Copy.
Go back to your work and go to Edit>Paste into Selection.
Selections>Select None.
4. Effects>Image Effects>Seamless Tiling, default settings.

Adjust>Blur>Gaussian Blur - radius 15.

5. Layers>Duplicate.
Image>Resize, to 80%, resize all layers not checked.
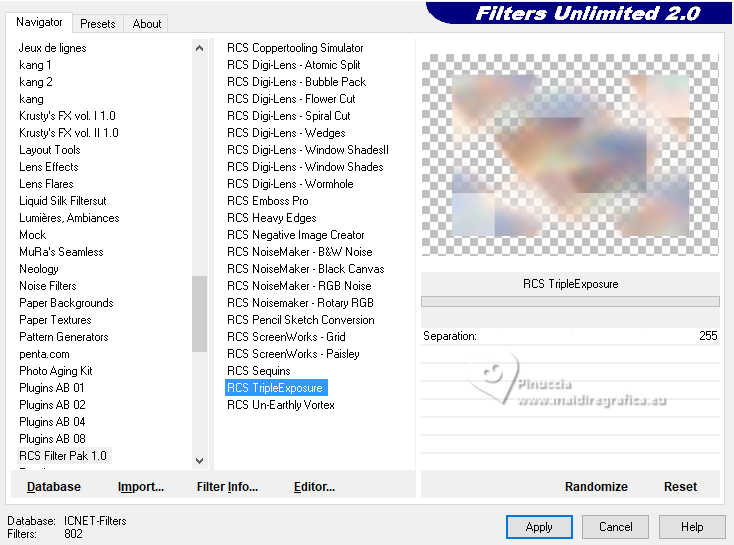
Effects>Plugins>Filters Unlimited 2.0 - RCS Filter Pak 1.0 - RCS TripleExposure, default settings.
6. Effects>Plugins>VM Natural - Weave Distortion.
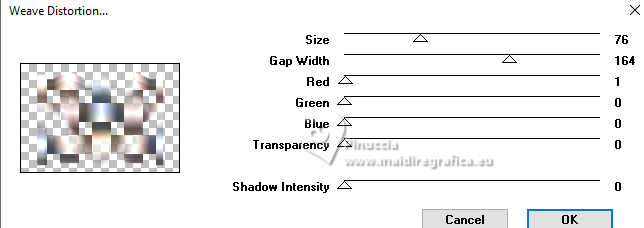
7. Effects>Image Effects>Seamless Tiling - Side by side.

Layers>Duplicate.
8. Effects>Plugins>Filters Unlimited 2.0 - VM Toolbox - Seamless Tile, default settings.
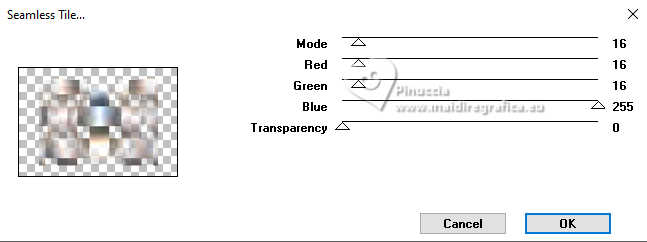
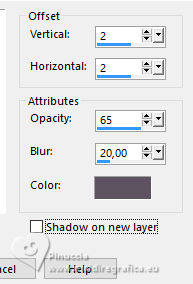
Effects>3D Effects>Drop Shadow, foreground color.
9. Effects>Reflection Effects>Rotating Mirror, default settings.

10. Effects>3D Effects>Drop shadow, same settings.

Change the Blend Mode of this layer to Overlay.
Objects>Align>Top.

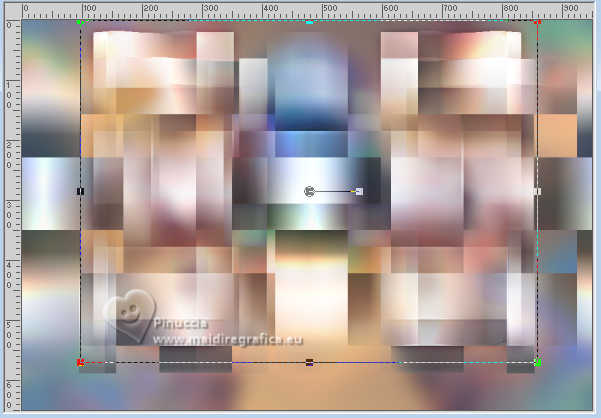
11. Effects>Distortion Effects>Punch.
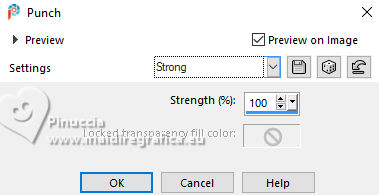
Adjust>Sharpness>Sharpen More.
Activate the layer below.
12. Effects>Plugins>Flaming Pear - Flood.
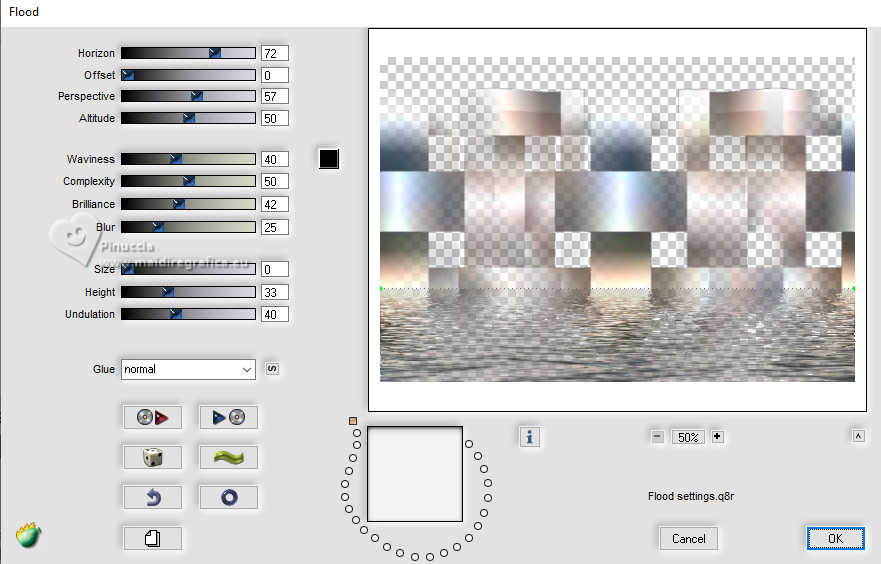
13. Change the Blend Mode of this layer to Overlay.
14. Activate again your main tube.
if your tube is not a misted, apply the mask 20-20.
Duplicate the mask.
Merge the group.
Edit>Copy.
Go back to your work and go to Edit>Paste as new lyaer.
Layers>Arrange>Bring to Top.
Image>Resize, if necessary - for the supplied tube 3 times to 80%, resize all layers not checked.
Adjust>Sharpness>Sharpen.
Move  the tube to the right, see my example. the tube to the right, see my example.
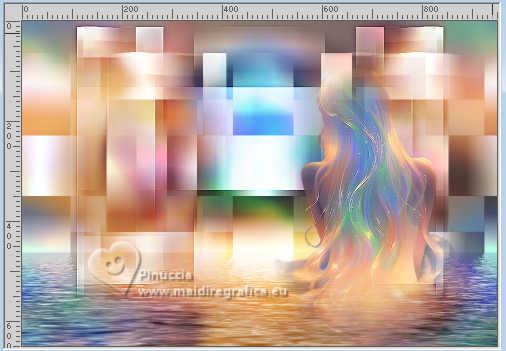
15. Layers>Duplicate.
**You can repeat this step as many times as needed,
depending on how blurry or transparent your tube is.
For my example, comparing the original tutorial version, I did not duplicate.
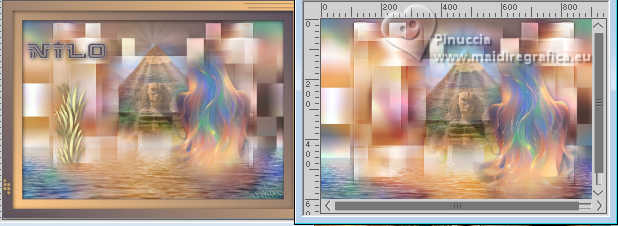
In my second version I duplicated 3 times
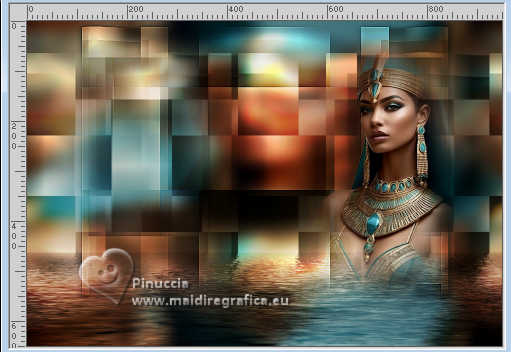
Layers>Merge>Merge Down, how many times have you duplicated the tube.
Effects>3D Effects>Drop Shadow, foreground color.

16. Open the misted 2643©Yedralina 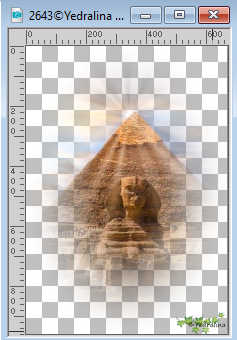
Erase the watermark and go to Edit>Copy.
Go back to your work and go to Edit>Paste as new layer.
Layers>Arrange>Move Down.
17. Image>Resize, if necessary, for the supplied tube 2 times to 80%, resize all layers not checked.
Adjust>Sharpness>Sharpen.
Move  the tube a little higher. the tube a little higher.
Reduce the opacity of this layer +/-70%, according to your tube.
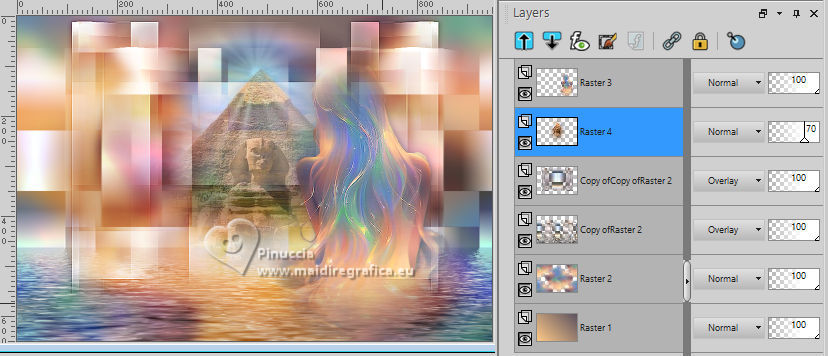
18. Image>Add borders, 1 pixel, symmetric, foreground color.
Selections>Select All.
Image>Add borders, 35 pixels, symmetric, background color.
Selections>Invert.
Flood Fill  the selection with your Gradient. the selection with your Gradient.
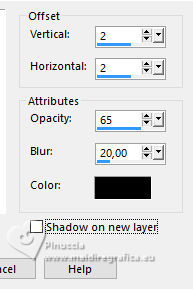
19. Effects>3D Effects>Drop Shadow, color black.
20. Again Selections>Select All.
Image>Add borders, 35 pixels, symmetric, background color.
Selections>Invert.
Change the settings of your gradient, by deselecting Invert.
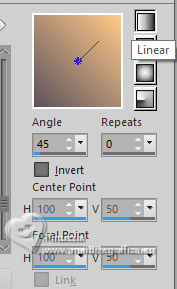
Flood Fill  the selection with your Gradient. the selection with your Gradient.
21. Effects>3D Effects>Drop Shadow, same settings.
Selections>Select None.
22. Layers>New Raster Layer.
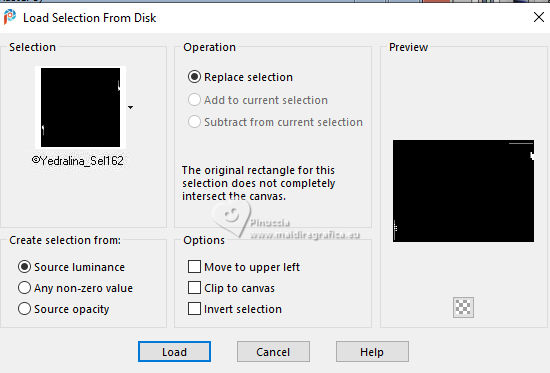
Selections>Load/Save Selection>Load Selection from Disk.
Look for and load the selection ©Yedralina_Sel162.
23. Invert again the color of your Gradient.

Flood Fill  the selection with your Gradient. the selection with your Gradient.
24. Effects>Plugins>Alien Skin Eye Candy 5 Impact - Glass
Select the preset ©Yedralina_Glass11 and ok.
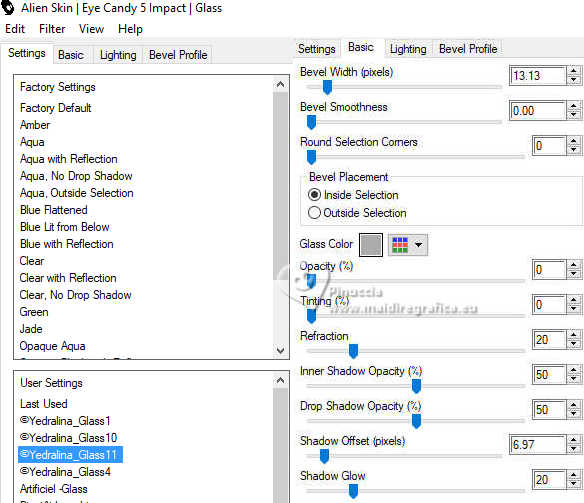
Selections>Select None.
25. Open the tube Deco00341©Yedralina 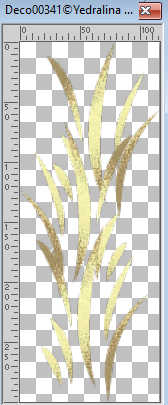
Edit>Copy.
Go back to your work and go to Edit>Paste as new layer.
Move  the tube to the left. the tube to the left.
For my example (not for my second version) I duplicated the layer and place it as below
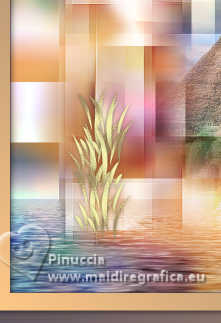
26. Layers>Merge>Merge Down.
Effects>3D Effects>Drop Shadow, color black.
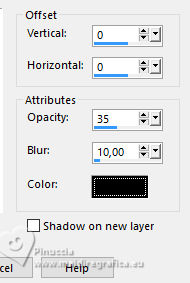
27. Image>Resize, 1000 pixels width, resize all layers checked.
28. Optional: You can add on a new layer the name Nilo,
with the supplied font WolfalconRegular-RpjW3 background color your dark color
Adjust the size according to your PSP version;
for example, the 128 pixels of the 2020 version correspond to 72 pixels in the X9 version

Layers>Convert in raster layer.
Effects>Edge Effects>Enhance More.
Effects>3D Effects>Drop Shadow, color black.

29. Sign your work on a new layer.
30. Layers>Merge>Merge All.
Optional: Effects>Plugins>AAA Filters - Custom - Landscape.
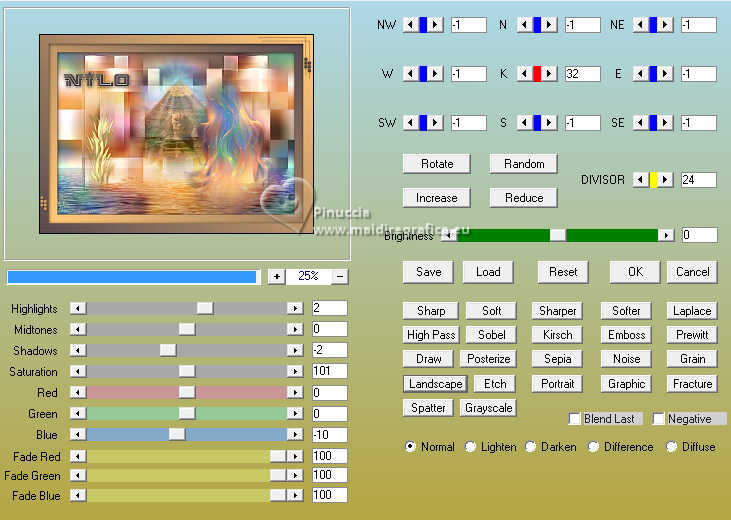
Save as jpg.
Second version with tubes by Yedralina
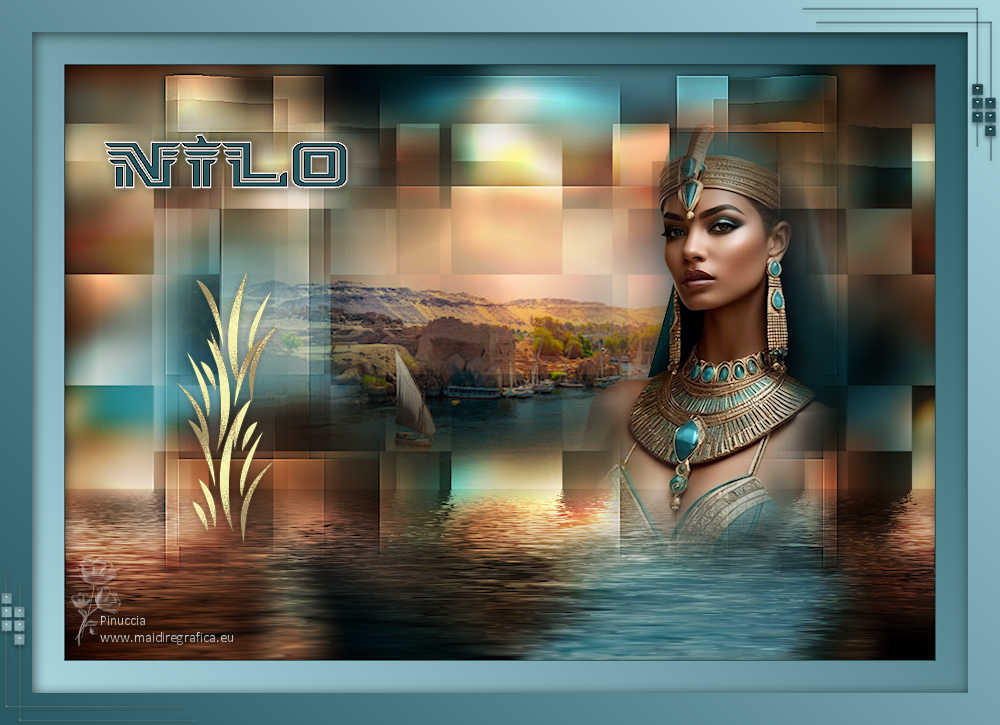
Version with my tubes

If you have problems or doubts, or you find a not worked link, or only for tell me that you enjoyed this tutorial, write to me.
12 Aprile 2024

|

