|
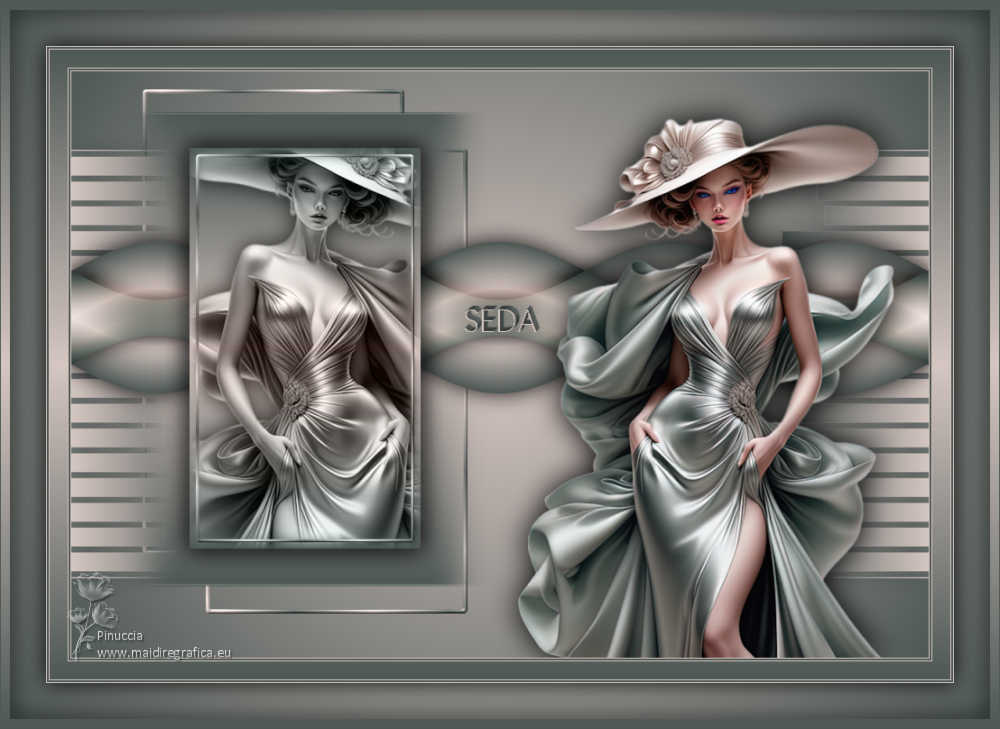
SEDA


Thanks Yedralina for your invitation to translate your tutorials into english

This tutorial was written with PSP2020 and translated with PSPX9 and PSP2020, but it can also be made using other versions of PSP.
Since version PSP X4, Image>Mirror was replaced with Image>Flip Horizontal,
and Image>Flip with Image>Flip Vertical, there are some variables.
In versions X5 and X6, the functions have been improved by making available the Objects menu.
In the latest version X7 command Image>Mirror and Image>Flip returned, but with new differences.
See my schedule here
 italian translation here italian translation here
 french translation here french translation here
 your versions here your versions here

For this tutorial, you will need:

For the tube thanks Kamil.
The rest of the material is by Yedralina
(The links of the tubemakers here).

consult, if necessary, my filter section here
Alien Skin Eye Candy 5 Impact - Extrude here

You can change Blend Modes according to your colors.
In the newest versions of PSP, you don't find the foreground/background gradient (Corel_06_029).
You can use the gradients of the older versions.
The Gradient of CorelX here

1. Set your foreground color to #4a5855,
and your background color to #d5c6c1.
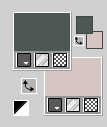
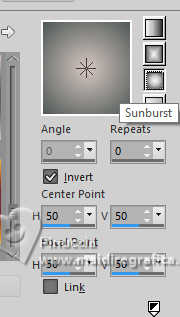
Set your foreground color to a Foreground/Background Gradient, style Sunburst.
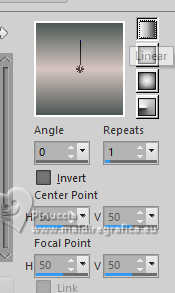
Set your background color to a Foreground/Background Gradient, style Linear.
 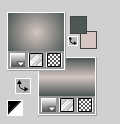
Flood Fill  the transparent image with your foreground gradient, Sunburst the transparent image with your foreground gradient, Sunburst  . .
3. Selections>Load/Save Selection>Load Selection from Alpha Channel.
The selection #1 is immediately available. You just have to click Load.
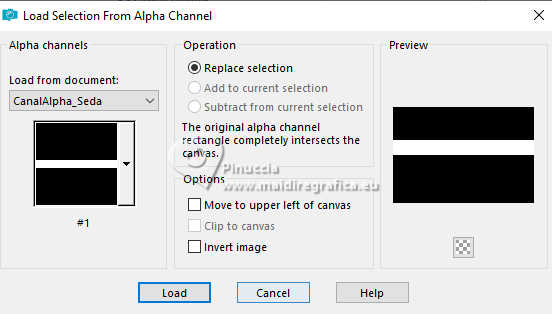
Promote Selection to layer.
4. Flood Fill  the selection with your background Gradient the selection with your background Gradient  . .
Selections>Select None.
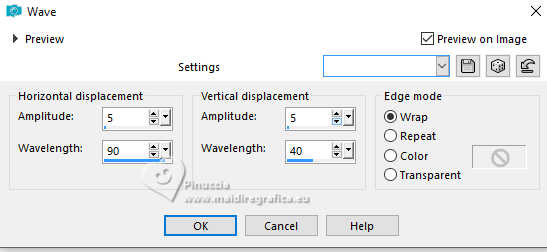
5. Effects>Distortion Effects>Wave.
6. Effects>3D Effects>Drop Shadow, color black.

7. Layers>Duplicate.
Image>Flip>Flip vertical.
Change the Blend Mode of this layer to Overlay.
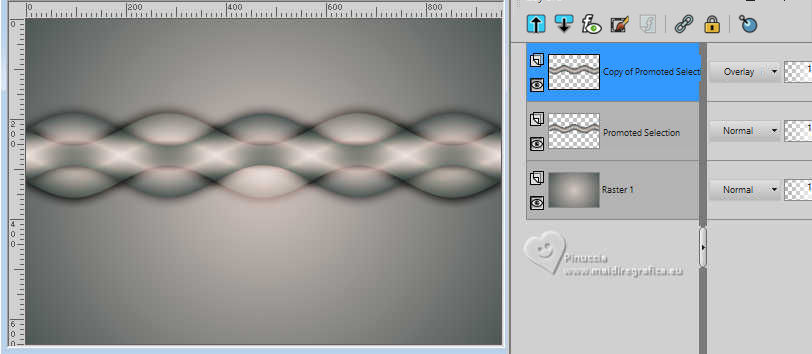
8. Layers>Merge>Merge Down.
9. Layers>New Raster Layer.
Selections>Load/Save Selection>Load Selection from Alpha Channel.
Open the Selections menu and load the selection #2
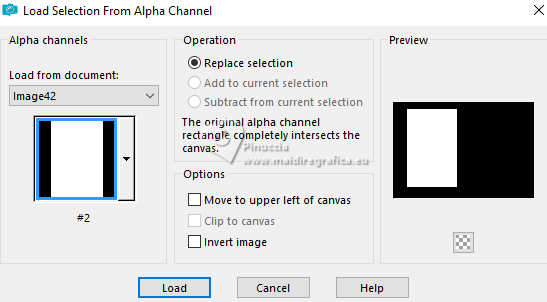
Flood Fill  the selection with your background Linear Gradient the selection with your background Linear Gradient  . .
10. Selections>Modifier>Contracter - 40 pixels.
Selections>Promote Selection to Layer.
Flood Fill  again with your background Linear Gradient again with your background Linear Gradient  . .
11. Effects>3D Effects>Drop Shadow, color black.
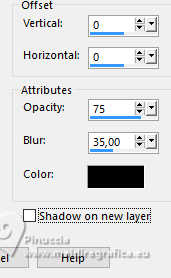
12. Selections>Select None.
Effects>3D Effects>Drop Shadow, same settings.
13. Open the tube KamilTube-1276 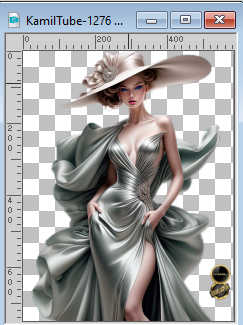
Erase the watermark and go to Edit>Copy.
Go back to your work and go to Edit>Paste as new layer.
Image>Resize, if necessary, for me to 80%, resize all layers not checked.
14. Layers>Duplicate.
Close this layer and activate the layer below of the original.
15. Image>Mirror>Mirror horizontal.
Place  the tube on the internal frame. the tube on the internal frame.
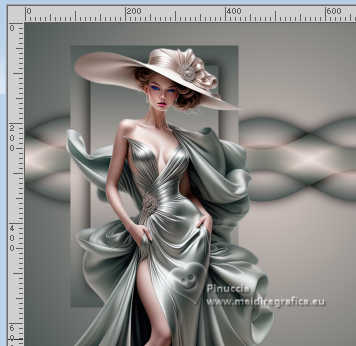
16. Effects>3D Effects>Drop Shadow, same settings.
17. Selections>Load/Save Selection>Load Selection from Alpha Channel.
Open the Selections menu and load the selection #3
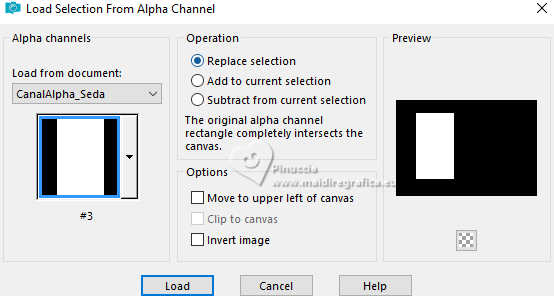
18. Selections>Modifier>Feather - 20 pixels.
Selections>Invert.
Press 3-4 fois CANC sur le clavier 
19. Selections>Load/Save Selection>Load Selection from Alpha Channel.
Open the Selections menu and load again the selection #3

20. Selections>Modifier>Contracter - 10 pixels.
Layers>New Raster Layer.
21. Selections>Modify>Select Selection Borders.
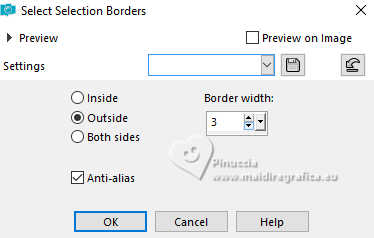
22. Change the settings of your linear Gradient.
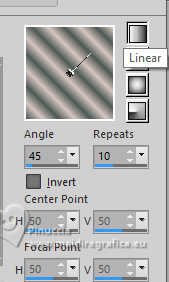
Flood Fill  the selection with your new background Linear Gradient the selection with your new background Linear Gradient  . .
23. Effects>3D Effects>Inner Bevel.
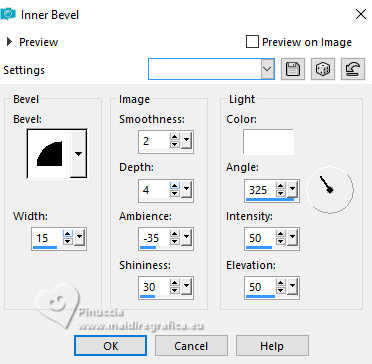
Selections>Select None.
24. Layers>Merge>Merge Down.
25. Activate the layer of the frame, Raster 2.
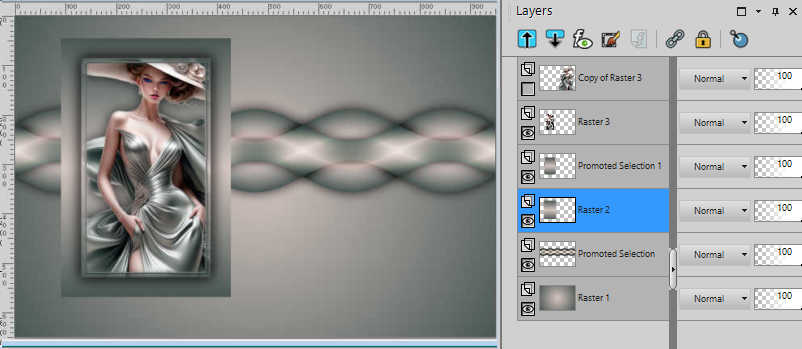
Adjust>Blur>Motion Blur.
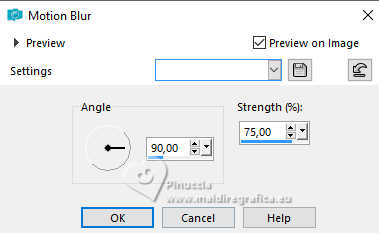
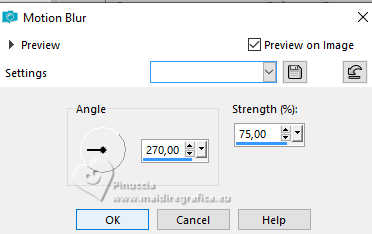
Repeat Motion Blur, angle 270
Effects>Edge Effects>Enhance.
Layers>Arrange>Move Down.
26. Activate your background layer.
Open the tube deco01_Seda_Yedra 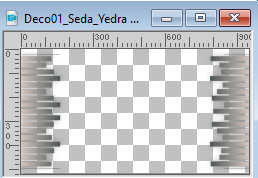
Edit>Copy.
Go back to your work and go to Edit>Paste as new layer.
Don't move it.
Change the color to adapt to yours.
In my second version I used the filter Adjust>Variations.
27. Layers>New Raster Layer.
Selections>Load/Save Selection>Load Selection from Alpha Channel.
Open the Selections menu and load the selection #4
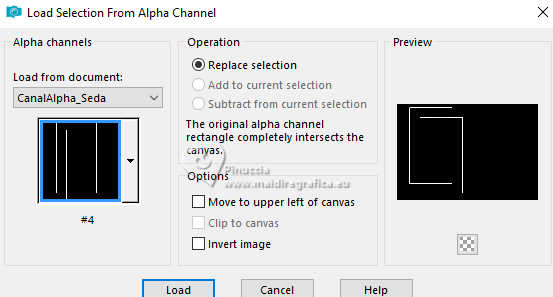
Flood Fill  the selection with your new background Linear Gradient the selection with your new background Linear Gradient  . .
28. Effects>3D Effects>Inner Bevel, same settings.

Selections>Select None.
Layers>Arrange>Move Down (over the background layer, Raster 1).
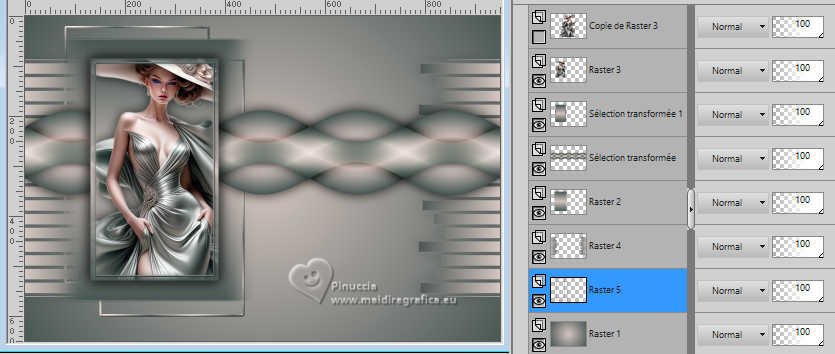
*****
29. If you want to write your text, close your foreground color,
and set your background color with your light background color.
Activate your Text Tool  and set your font. and set your font.

Write SEDA in capital letters
Place  the text as in my example. the text as in my example.
*****
30. Selections>Load/Save Selection>Load Selection from Alpha Channel.
Open the Selections menu and load the selection #5
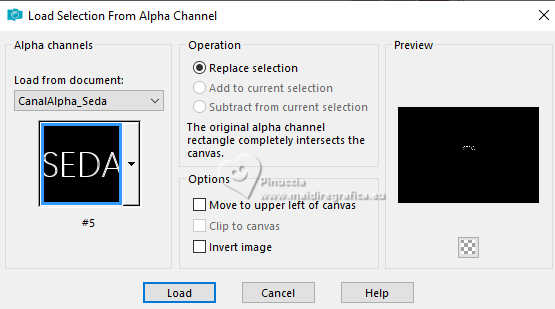
31. Layers>New Raster Layer.
Layers>Arrange>Bring to Top.
Flood Fill  the selection with your light background color. the selection with your light background color.
Selections>Select None.
32. Effects>Plugins>Alien Skin Eye Candy 5 Impact - Extrude
Solid Color: foreground color.
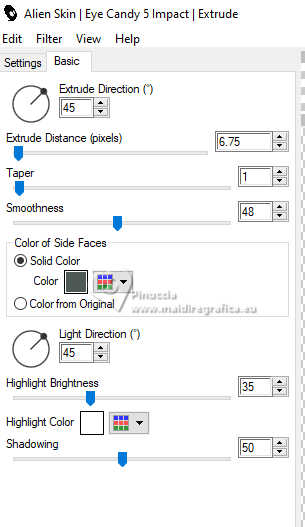
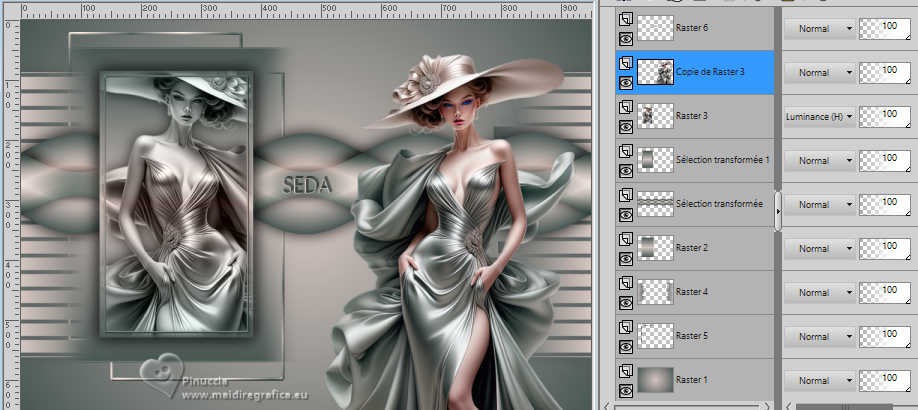
33. Open and activate the tube's layer, Copy of Raster 3.
Move  the tube to the right side. the tube to the right side.
Effects>3D Effects>Drop Shadow, at your choice.
For my example I changed the Blend Mode of the tube in the frame to Luminance (Legacy).
(for my second version I didn't it)
34. For the borders:
Set your foreground color with the Sunburst Gradient
and your background color with your first Linear Gradient.

Image>Add Borders, 1 pixel, symmetric, background color.
Image>Add Borders, 2 pixels, symmetric, foreground color.
Image>Add Borders, 1 pixel, symmetric, background color.
35. Selections>Select All.
Image>Add Borders, 20 pixels, symmetric, whatever color.
Selections>Invert.
Flood Fill  the selection with your background Linear Gradient the selection with your background Linear Gradient  . .
Selections>Select None.
37. Image>Add Borders, 1 pixel, symmetric, background color.
Image>Add Borders, 2 pixels, symmetric, foreground color.
Image>Add Borders, 1 pixel, symmetric, background color.
38. Selections>Select All.
Image>Add Borders, 40 pixels, symmetric, whatever color.
Selections>Invert.
Flood Fill  the selection with your foreground Sunburst Gradient the selection with your foreground Sunburst Gradient  . .
39. Selections>Invert.
Effects>3D Effects>Drop Shadow, color black.

40. Selections>Select All.
Image>Add Borders, 10 pixels, symmetric, whatever color.
Selections>Invert.
Flood Fill  with your background Linear Gradient with your background Linear Gradient  . .
41. Effects>3D Effects>Drop Shadow, same settings.
Selections>Select None.
42. Image>Add Borders, 1 pixel, symmetric, foreground color.
43. Image>Resize, 1000 pixels width, resize all layers checked.
44. Sign your work on a new layer.
Layers>Merge>Merge All and save as jpg.
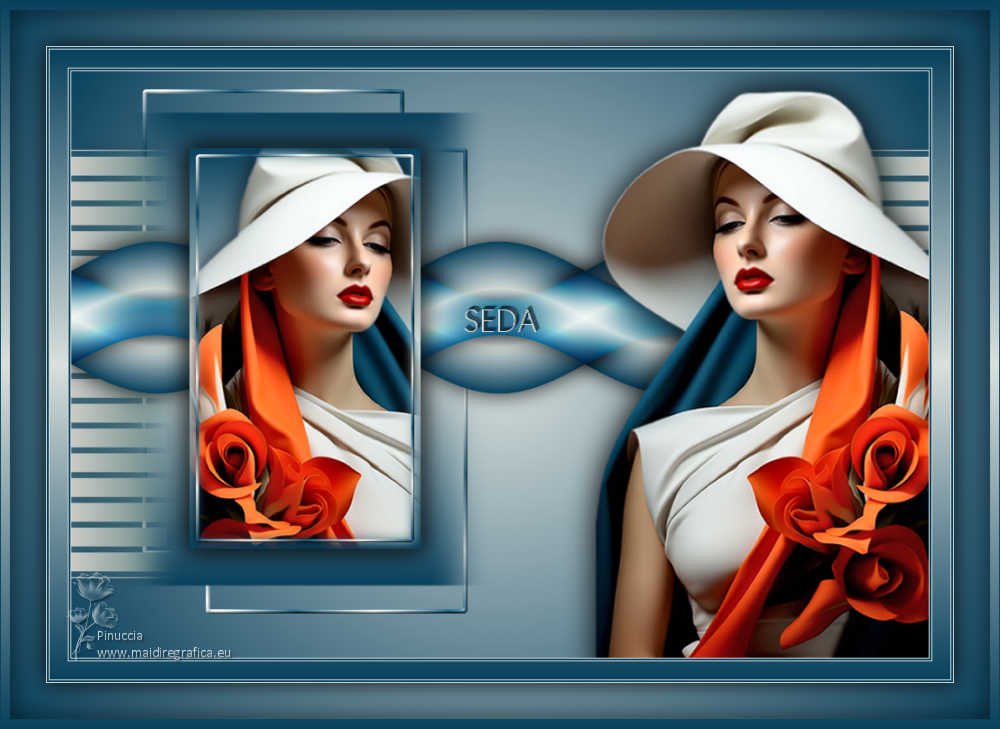
For the tubes of these versions thanks.
Per i tubes di questi esempi grazie
Kamil
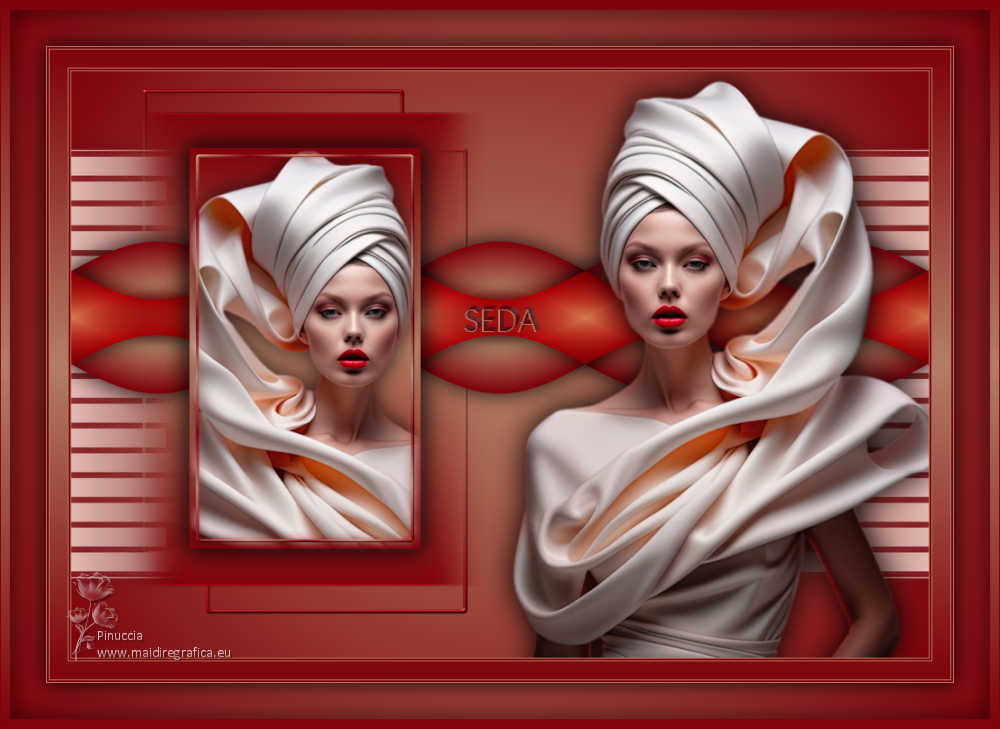
Luz Cristina

If you have problems or doubts, or you find a not worked link, or only for tell me that you enjoyed this tutorial, write to me.
18 January 2024

|

