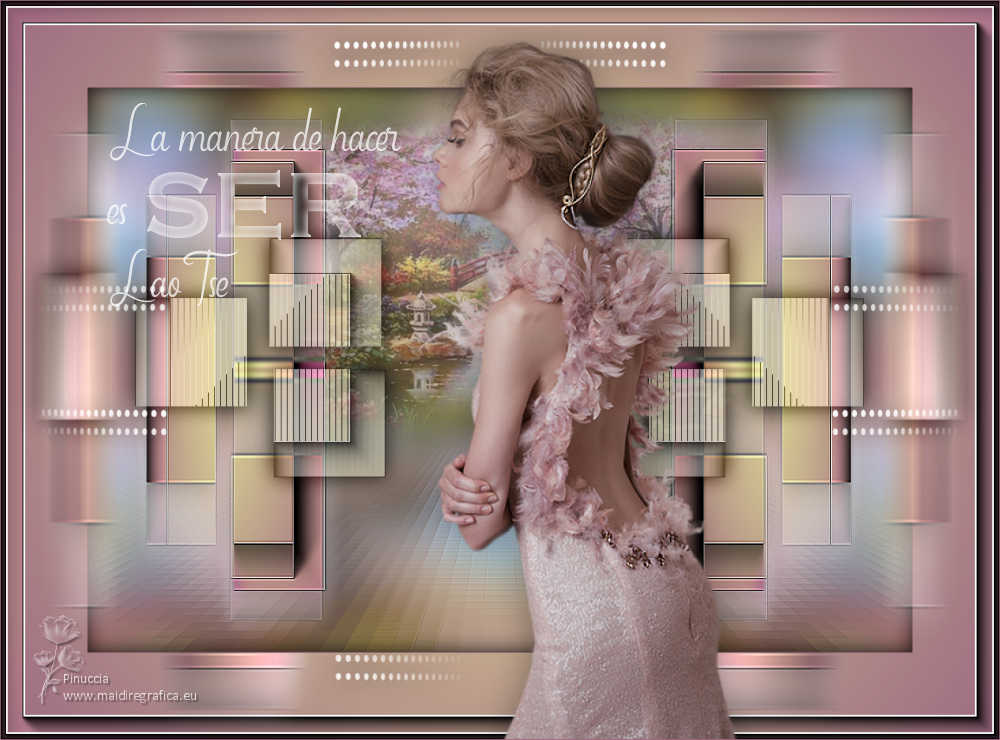
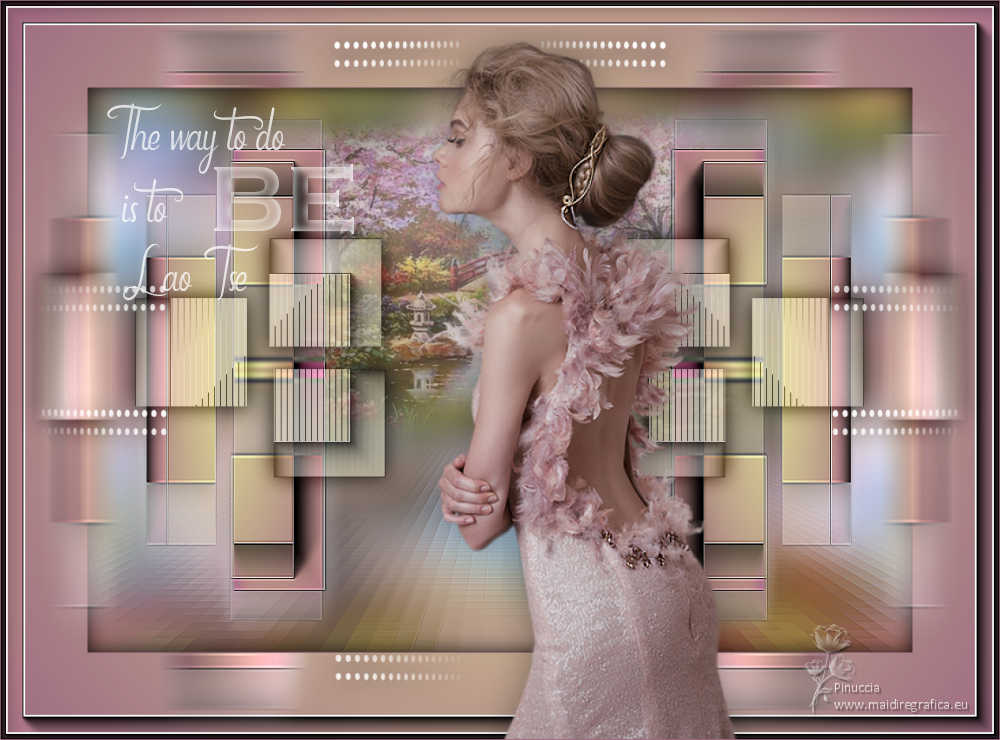
|
SER
 TO BE TO BE


Thanks Yedralina for your invitation to translate your tutorials into english

This tutorial was written with PSP2020 and translated with PSPX9 and PSP2020, but it can also be made using other versions of PSP.
Since version PSP X4, Image>Mirror was replaced with Image>Flip Horizontal,
and Image>Flip with Image>Flip Vertical, there are some variables.
In versions X5 and X6, the functions have been improved by making available the Objects menu.
In the latest version X7 command Image>Mirror and Image>Flip returned, but with new differences.
See my schedule here
 italian translation here italian translation here
 french translation here french translation here
 your versions here your versions here

For this tutorial, you will need:

For the tube thanks Beatriz.
(The links of the tubemakers here).

consult, if necessary, my filter section here
Filters Unlimited 2.0 here
Graphics Plus - Cross Shadow here
Tramages - Tow the Line here
Simple - 4 Way Average here
AAA Frames - Foto Frame here
Frischluft - Mosaic Plane here
Filters Graphics Plus, Tramages and Simple can be used alone or imported into Filters Unlimited.
(How do, you see here)
If a plugin supplied appears with this icon  it must necessarily be imported into Unlimited it must necessarily be imported into Unlimited

You can change Blend Modes according to your colors.
In the newest versions of PSP, you don't find the foreground/background gradient (Corel_06_029).
You can use the gradients of the older versions.
The Gradient of CorelX here

Copy the preset in the Presets Folder.
Copy the Selection in the Selections Folder.
1. Set your foreground color to #dfd795,
and your background color to #9c6a82.
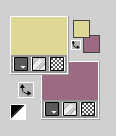
Set your foreground color to a Foreground/Background Gradient, style Linear.
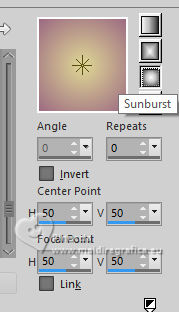
Open a new transparent image 950 x 650 pixels.
Flood Fill  the transparent image with your Gradient. the transparent image with your Gradient.
2. Layers>New Raster Layer.
Selections>Select All.
3. Open the misted SC-MistedSpringScenery04-04-14-201 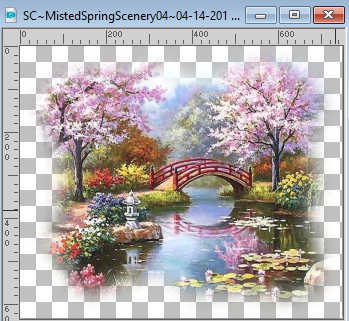
Edit>Copy.
Go back to your work and go to Edit>Paste into selection.
Selections>Select None.
4. Layers>Duplicate.
Effects>Image Effects>Seamless Tiling, default settings.

5. Adjust>Blur>Gaussian Blur - radius 25.

Layers>Arrange>Move Down.
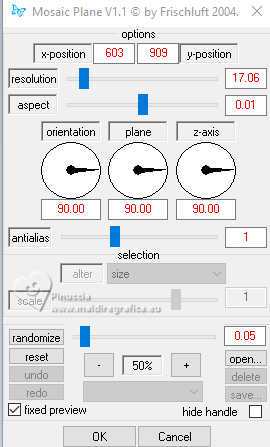
6. Effects>Plugins>Frischluft - Mosaic Plane.
7. Effects>Reflection Effects>Rotating Mirror.

8. Effects>Edge Effects>Enhance.
9. Layers>New Raster Layer.
Layers>Arrange>Bring to Top.
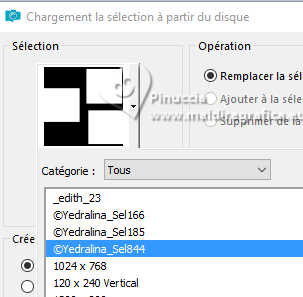
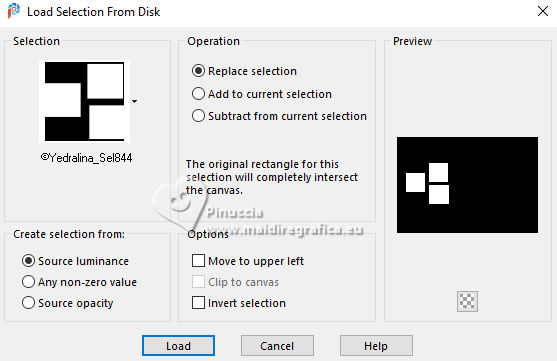
10. Selections>Load/Save Selection>Load Selection from Disk.
Look for and load the selection ©Yedralina_sel844.
attention please: the title starts with the © sign,
so you have to look for the selection at the beginning of the list.
11. To fill multiple selections with a single click,
set the Match mode of your Flood Fill Tool to None

Flood Fill  the selections with your Gradient. the selections with your Gradient.
12. Effects>Plugins>AAA Frames - Foto Frame.
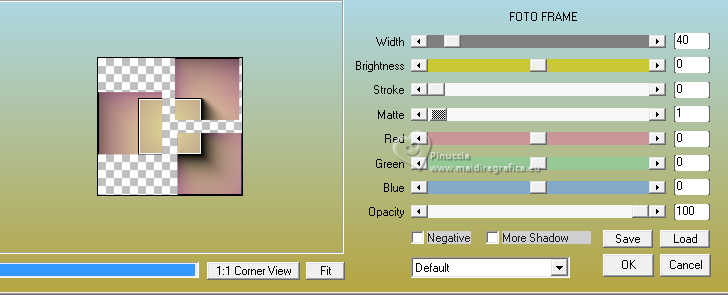
Repeat the Effect another time.
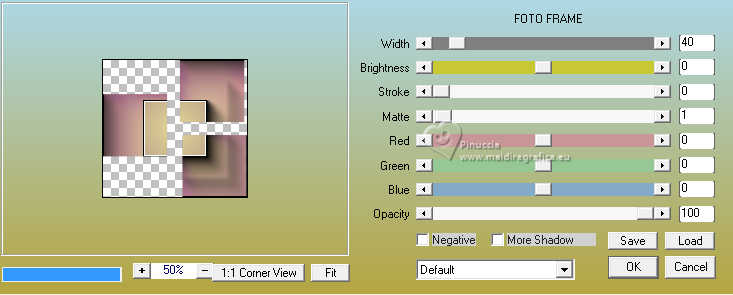
Selections>Select None.
13. Effects>Reflection Effects>Rotating Mirror.

14. Effects>3D Effects>Drop Shadow, color black.
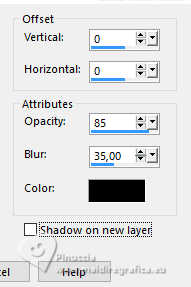
15. Effects>Plugins>Filters Unlimited 2.0 - Simple - 4Way Average.
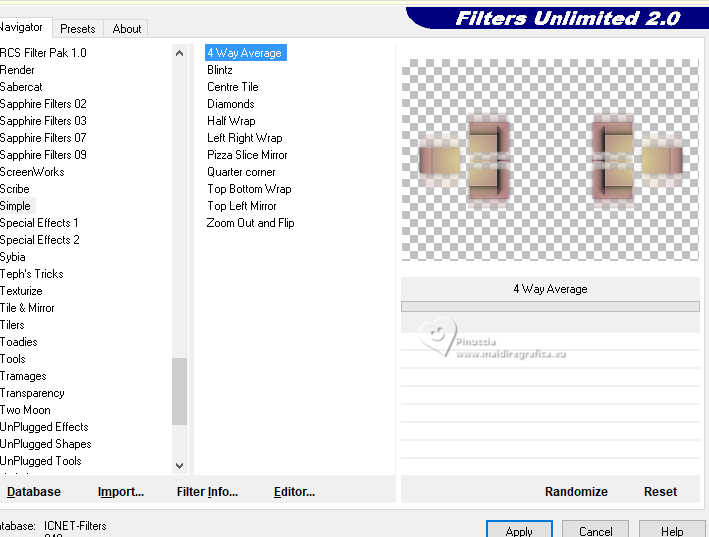
16. Effects>Edge Effects>Enhance.
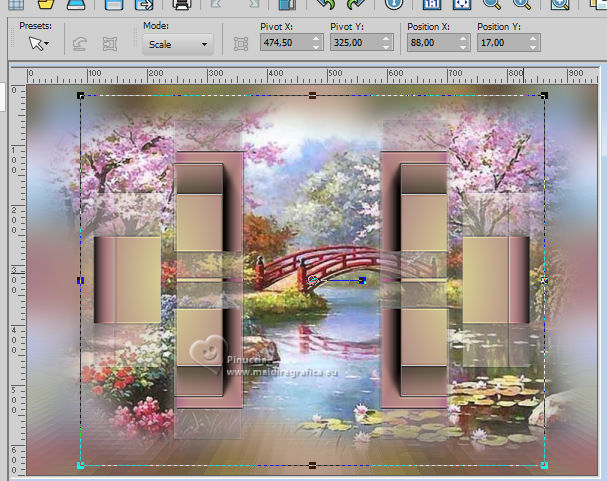
17. K key on the keyboard to activate your Pick Tool 
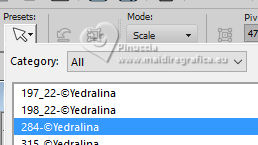
Open the presets menu and select the preset 284-©Yedralina
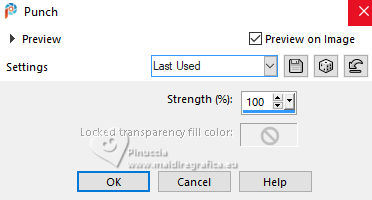
18. Effects>Distortion Effects>Punch.
19. Adjust>Sharpness>Sharpen.
20. Layers>New Raster Layer.
21. Selections>Load/Save Selection>Load Selection from Disk.
Look for and load the selection ©Yedralina_sel844.

Set your foreground color to Color,
reduce the opacity of your Flood Fill Tool to 60%,
Flood Fill  the selection with your light foreground color. the selection with your light foreground color.
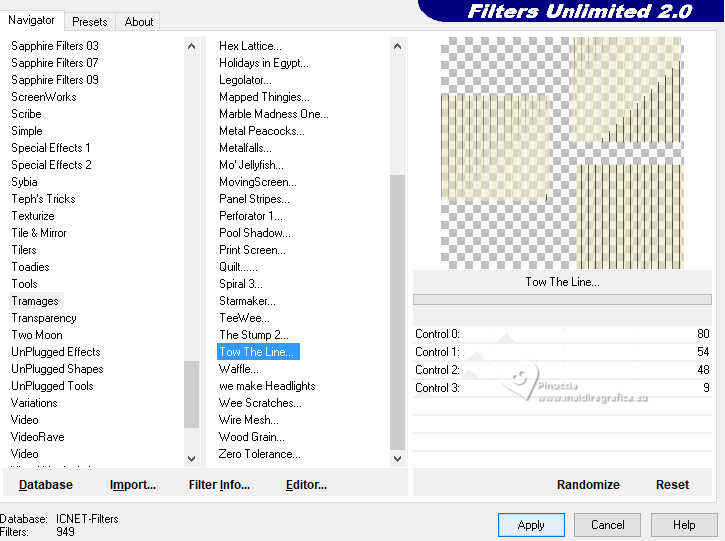
22. Effects>Plugins>Filters Unlimited 2.0 - Tramages - Tow the Line, default settings.
23. Effects>3D Effects>Drop Shadow, same settings.

24. Effects>Plugins>AAA Frames - Foto Frame, same settings.
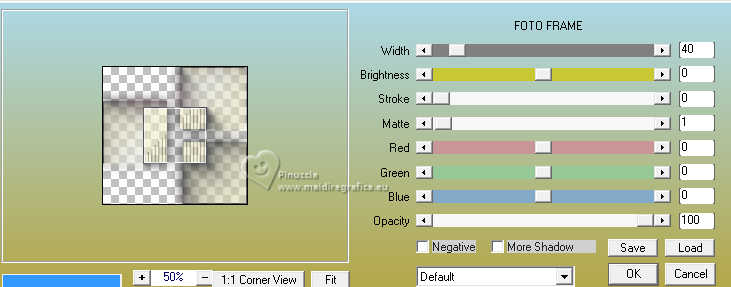
25. Selections>Select None.
26. Effects>Reflection Effects>Rotating Mirror.

27. Change the Blend Mode of this layer to Luminance (legacy).
28. Activate the layer of the misted, Raster 2.
Resize, if necessary; for my example I resized 2 times to 80%.
Reduce the opacity of this layer +/-58%, according to your tube.
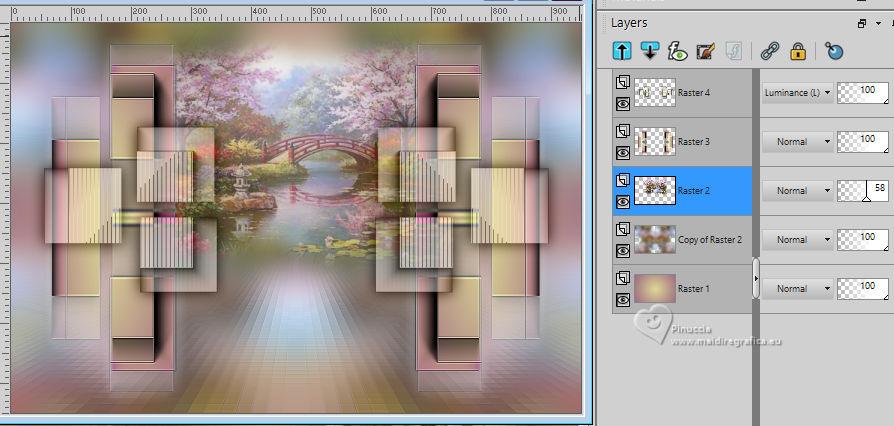
29. Activate your top layer.
Layers>Merge>Merge Down.
30. Edit>Cut.
Edit>Paste as new image, and minimize this image.
31. Go back to your work.
Image>Add borders, 1 pixels, symmetric, background color.
Selections>Select All.
32. Image>Add borders, 100 pixels, symmetric, whatever color.
Selections>Invert.
33. Set again your foreground color to Gradient,
don't forget to set again the opacity of your Flood Fill Tool to 100,
Flood Fill  the selection with your Gradient. the selection with your Gradient.
34. Effects>3D Effects>Drop Shadow, color black.

35. Layers>New Raster Layer.
Edit>Paste into Selection - the image minimized at step 30 is still in memory.
Selections>Select None.
36. Adjust>Blur>Motion Blur.
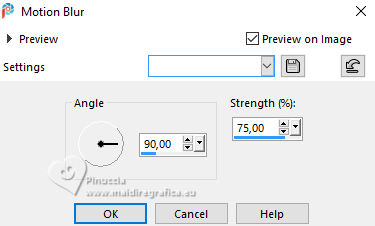
37. Effects>Plugins>Graphics Plus - Cross Shadow, default settings.
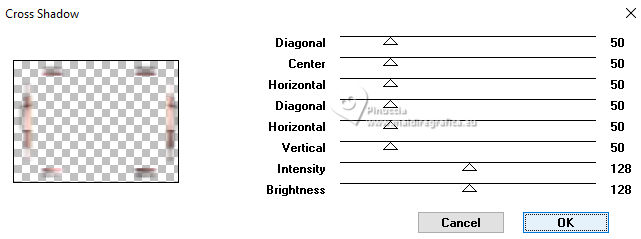
38. Effects>Reflection Effects>Rotating Mirror.

39. Edit>Paste as new layer - the image minimized at step 30 is always in memory.
40. Open the tube Deco00340©Yedralina 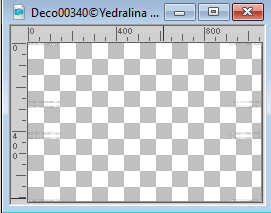
Edit>Copy.
Go back to your work and go to Edit>Paste as new layer.
Don't move it.
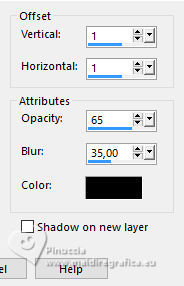
41. Effects>3D Effects>Drop shadow, color black.
42. Effects>Image Effects>Seamless Tiling, default settings.

43. Activate your background layer, Raster 1.
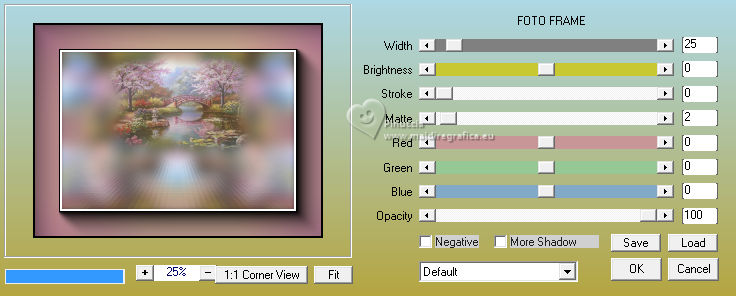
Effects>Plugins>AAA Frames - Foto Frame.
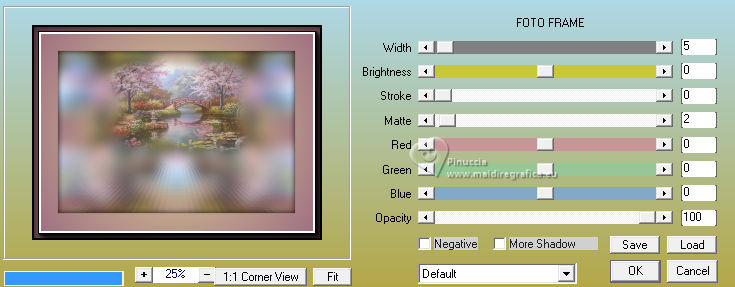
Repeat this Effect, Width to 5.
44. Activate your top layer.
Open your main tube 2732-woman-LB TUBES 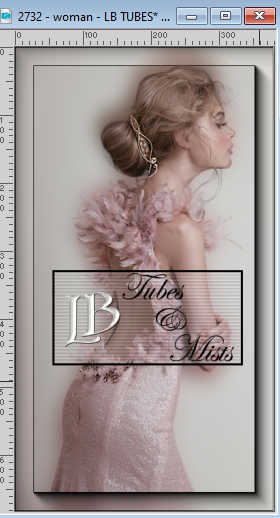
Edit>Copy.
Go back to your work and go to Edit>Paste as new layer.
Image>Mirror.
Image>Resize, to 130%, resize all layers not checked.
Adjust>Sharpness>Sharpen.
45. Effects>3D Effects>Drop Shadow, color black.
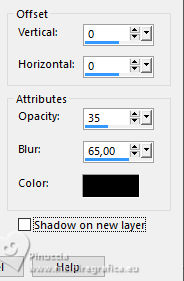
46. Image>Add borders, 1 pixel, symmetric, background color.
47. Image>Resize, 1000 pixels width, resize all layers checked.
48. Sign your work on a new layer.
49. Open the text Text_SER_©Yedralina 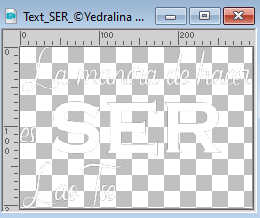
Edit>Copy.
Go back to your work and go to Edit>Paste as new layer.
****
If you want to write the text in your language,
with the font Catcalling Demo (CatcallingDemoRegular)

write La manera de hacer (The way to do)
es (is to)
Lao Tsé
With the font Copperplate Gothic Bold (COPRGTB)

write SER (BE)
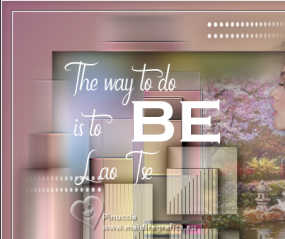
If you want to use my texts, they are here
****
50. Effects>3D Effects>Cutout.
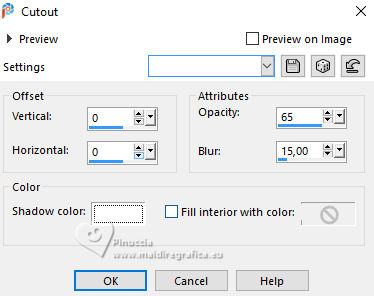
Change the Blend Mode of this layer to Screen.
51. K key to activate your Pick Tool 

52. Layers>Merge>Merge All and save as jpg.
For the tubes of these versions thanks
Kamil.
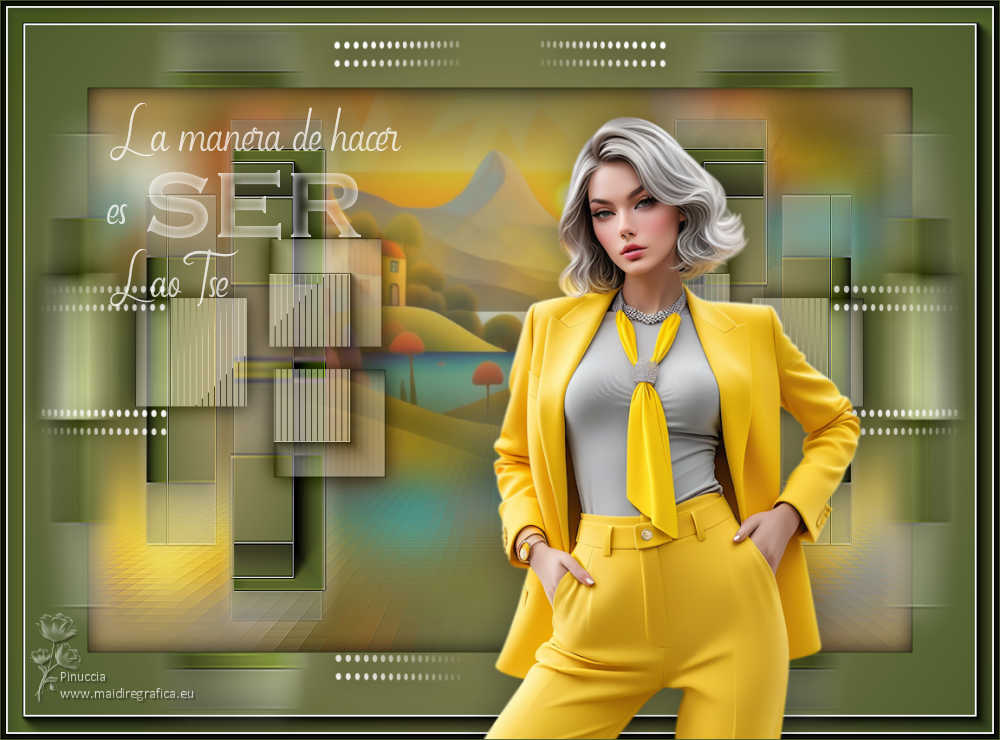
April Shareables
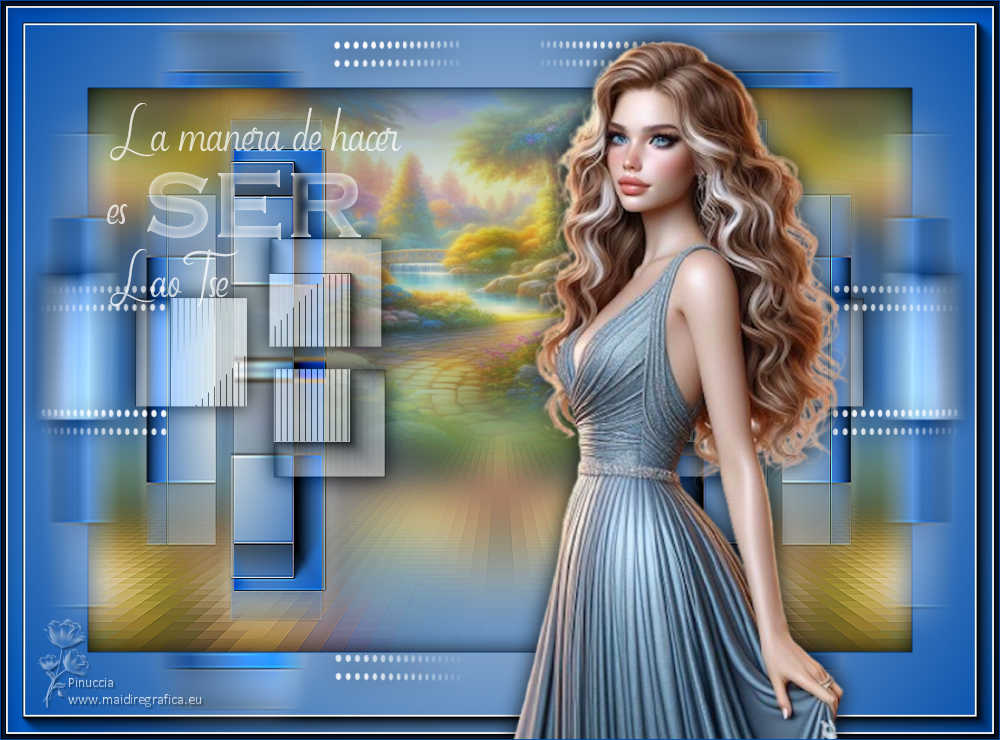

If you have problems or doubts, or you find a not worked link, or only for tell me that you enjoyed this tutorial, write to me.
18 Septembre 2024

|
 TO BE
TO BE 


 TO BE
TO BE 