|
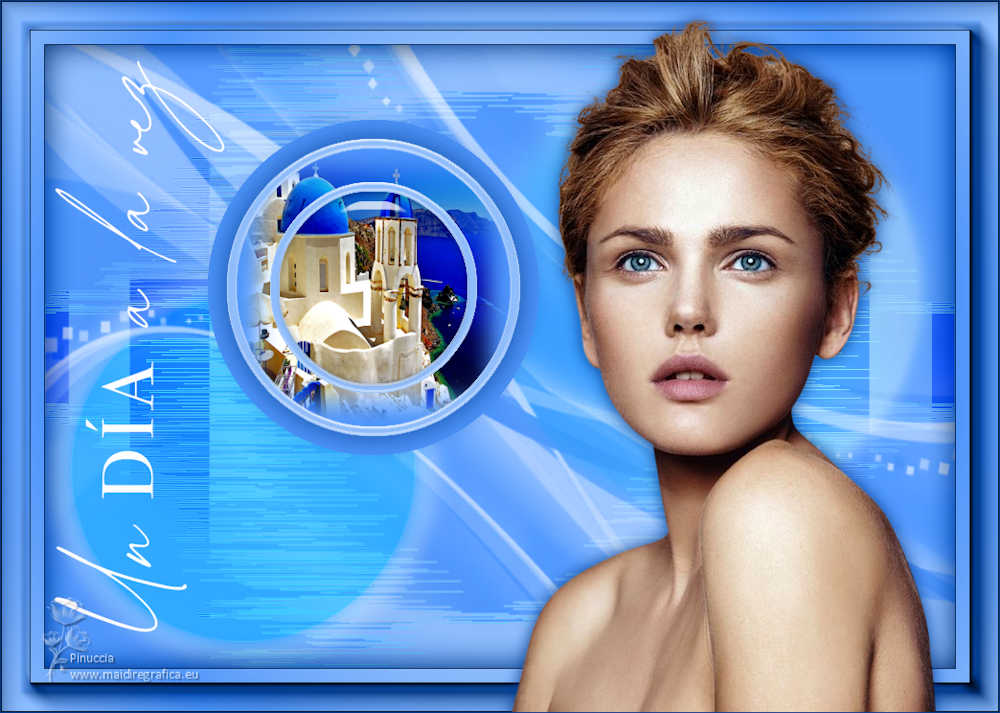
UN DIA A LA VEZ
 ONE DAY AT A TIME ONE DAY AT A TIME

Thanks Yedralina for your invitation to translate your tutorials into english

This tutorial was written with PSP2020 and translated with CorelX17, but it can also be made using other versions of PSP.
Since version PSP X4, Image>Mirror was replaced with Image>Flip Horizontal,
and Image>Flip with Image>Flip Vertical, there are some variables.
In versions X5 and X6, the functions have been improved by making available the Objects menu.
In the latest version X7 command Image>Mirror and Image>Flip returned, but with new differences.
See my schedule here
 italian translation here italian translation here
 french translation here french translation here
 your versions here your versions here

For this tutorial, you will need:

Thanks for the tubes Vera Mendes and Sonia and for the mask Narah.
The rest of the material is by Yedralina.
(The links of the tubemakers here).

consult, if necessary, my filter section here
Filters Unlimited 2.0 here
VanDerLee - Unplugged-X here
Lokas Artistics - Aqua here
Alien Skin Eye Candy 5 Impact - Glass here
AAA Frames - Foto Frame here

You can change Blend Modes according to your colors.
In the newest versions of PSP, you don't find the foreground/background gradient (Corel_06_029).
You can use the gradients of the older versions.
The Gradient of CorelX here
Copy the preset  in the folder of the plugin Alien Skin Eye Candy 5 Impact>Settings>Glass. in the folder of the plugin Alien Skin Eye Candy 5 Impact>Settings>Glass.
One or two clic on the file (it depends by your settings), automatically the preset will be copied in the right folder.
why one or two clic see here

Open the mask in PSP and minimize it with the rest of the material.
1. Set your foreground color to #8fbcfb,
and your background color to #4f96fb.
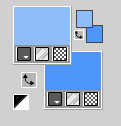
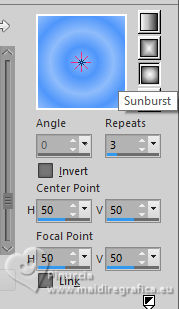
Set your foreground color to a Foreground/Background Gradient, style Sunburst.
2. Open CanalAlpha_UN DIA A LA VEZ.
Window>Duplicate or, on the keyboard, shift+D to make a copy.

Close the original.
The copy, that will be the basis of your work, is not empty,
but contains the selections saved to alpha channel.
Flood Fill  the transparent image with your Gradient. the transparent image with your Gradient.
3. Layers>New Raster Layer.
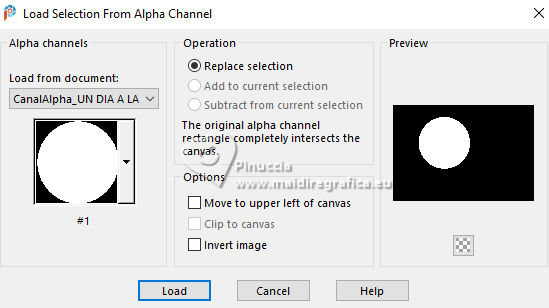
Selections>Load/Save Selection>Load Selection from Alpha Channel.
The selection #1 is immediately available. You just have to click Load.
Flood Fill  the selection with your background color. the selection with your background color.
4. Selections>Modify>Contract - 20 pixels.
Effects>3D Effects>Drop Shadow, colore #033c8d.
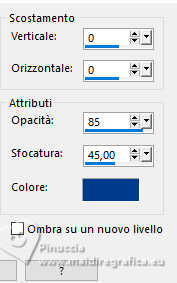
5. Set your foreground color to Color.
Flood Fill  the selection with your foreground color. the selection with your foreground color.
6. Selections>Modify>Contract - 10 pixels.
Flood Fill  the selection with your background color. the selection with your background color.
7. Layers>New Raster Layer.
Open the misted SoniaTubes_1084_23 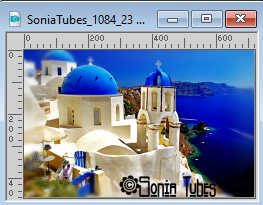
Edit>Copy.
Go back to your work and go to Edit>Paste into Selection.
8. Layers>New Raster Layer.
Selections>Modify>Contract - 35 pixels.
Flood Fill  the selection with your foreground color. the selection with your foreground color.
9. Selections>Modify>Contract - 10 pixels.
Press CANC on the keyboard  . .
10. Layers>New Raster Layer.
Select the preset ©Yedralina_Glass1
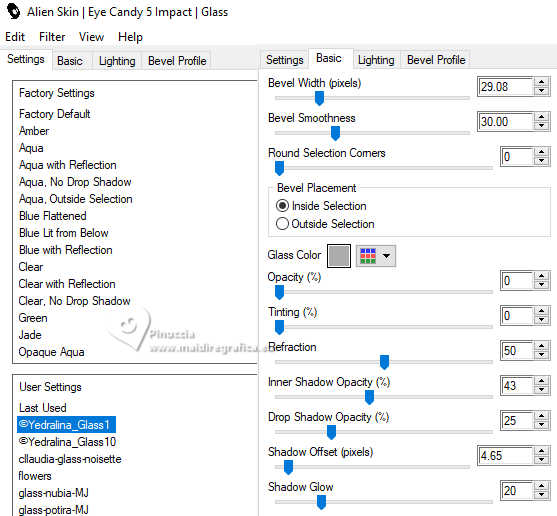
Selections>Select None.
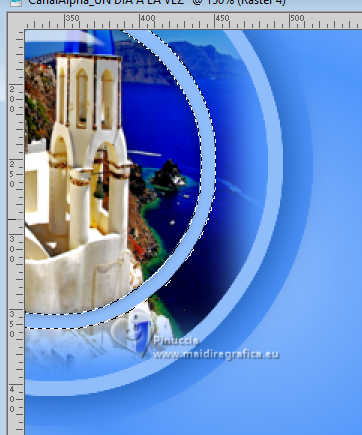
11. Activate the layer below, Raster 4.
Activate your Magic Wand Tool  , tolerance and feather 0, , tolerance and feather 0,
and click in the little border to select it
(don't hesitate to enlarge the image to see better)
12. Effects>Plugins>Lokas Software - Aqua
Color overlay: foreground color #8fbcfb
Highlight color: color white.
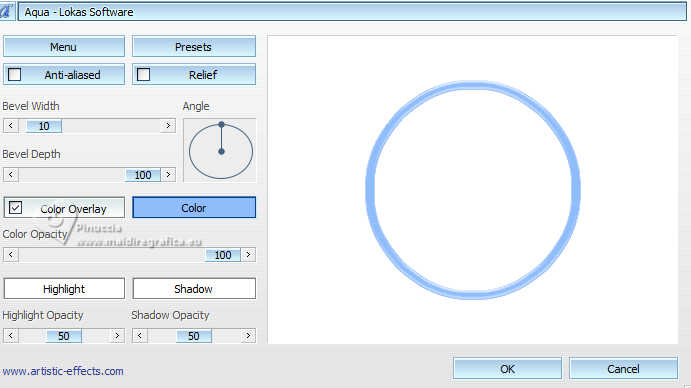
Selections>Select None.
13. Activate the largest frame layer, Raster 2.
Select this border with your Magic Wand Tool 
Repeat Effects>Plugins>Lokas Software - Aqua, same settings.
Selections>Select None.
14. Activate your background layer.
Set your foreground color to white.
Layers>New Raster Layer.
Flood Fill  the layer with color white. the layer with color white.
15. Layers>New Mask layer>From image
Open the menu under the source window and you'll see all the files open.
Select the mask NarahsMasks_1710
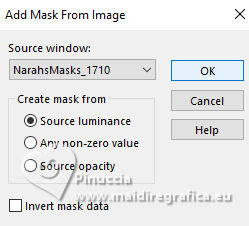
Layers>Duplicate.
Layers>Merge>Merge Group.
16. Image>Mirror.
Change the Blend Mode of this layer to Luminance (legacy).
(for my example I also reduced the opacity to 60%)
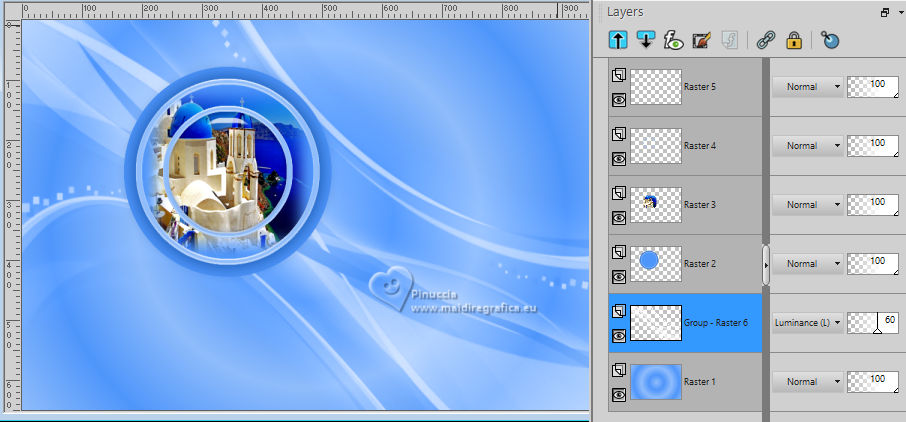
17. Activate again your background layer.
Layers>New Raster Layer.
Selections>Load/Save Selection>Load Selection from Alpha Channel.
Open the selections menu and load the selection #2
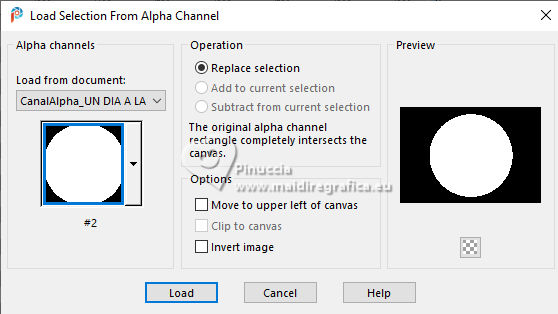
Flood Fill  the selection with your dark background color. the selection with your dark background color.
Selections>Select None.
18. Layers>Duplicate.
Image>Resize, to 80%, resize all layers not checked.
19. Effects>3D Effects>Drop Shadow, same settings.
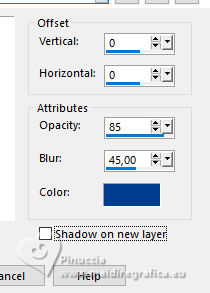
20. Objects>Align>Top.
Objects>Align>Right,
or activate your Pick Tool (K) 

Change the Blend Mode of this layer to Soft Light.
21. Layers>Duplicate.
Image>Resize, to 80%, resize all layers not checked.
22. Objects>Align>Bottom.
Objects>Align>Left.
Change the Blend Mode of this layer to Hard Light.
Pick Tool 

23. Adjust>Blur>Radial Blur.

for my example, I added:
Effects>3D Effects>Drop Shadow, same settings, but color white.
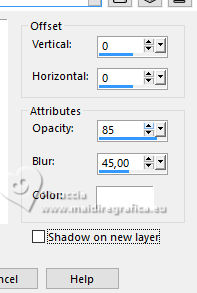
24. Activate the layer below, Copy of Raster 6.
Effects>Plugins>Filters Unlimited 2.0 - Special Effects 2 - Border White Fade 2, default settings.
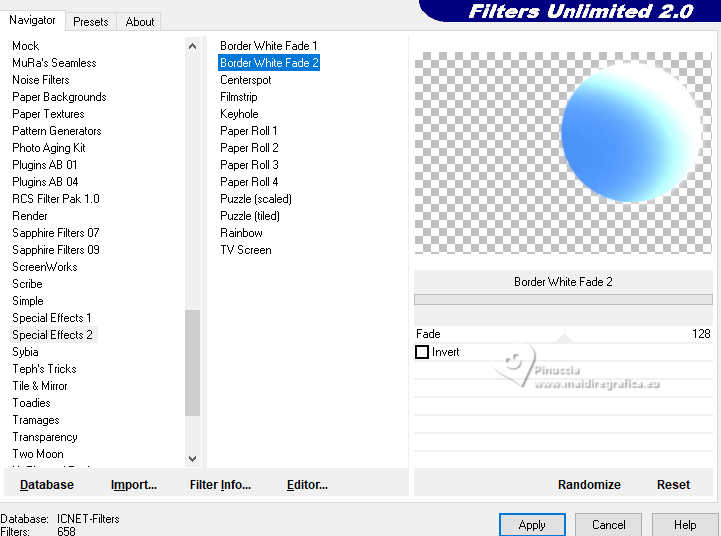
25. Adjust>Blur>Radial Blur, same settings.

27. Activate the layer of the central circle, Raster 6.
Effects>Plugins>VanDerLee - Unplugged-X - Distortion.
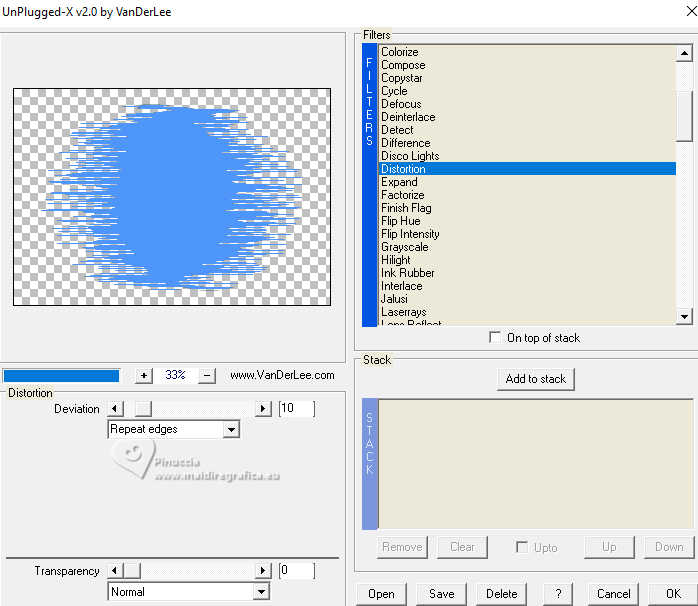
28. Effects>Image Effects>Seamless Tiling, default settings.

Adjust>Sharpness>Sharpen.
29. Open Deco00314©Yedralina 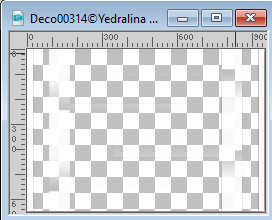
Edit>Copy.
Go back to your work and go to Edit>Paste as new layer.
It is not necessary to move it.
30. Change the color of the tube according to your background color.
For me I used the Changer Color Tool 
Change the Blend Mode of this layer to Multiply.
Layers>Arrange>Move Down.

31. Image>Add borders, 1 pixel, symmetric, color 3 #033c8d.
Selections>Select All.
Image>Add borders, 45 pixels, symmetric, whatever color.
32. Selections>Invert.
Set your foreground color to Gradient.
Flood Fill  the selection with your gradient. the selection with your gradient.
33. Selections>Modify>Contract - 20 pixels.
Set your foreground color to the color 3 #033c8d.
Flood Fill  the selection with your foreground color. the selection with your foreground color.
34. Selections>Select All.
Selections>Modify>Contract - 45 pixels.
35. Selections>Invert.
Selections>Promote Selection to Layer.
36. Effects>Plugins>AAA Frames - Foto Frame.
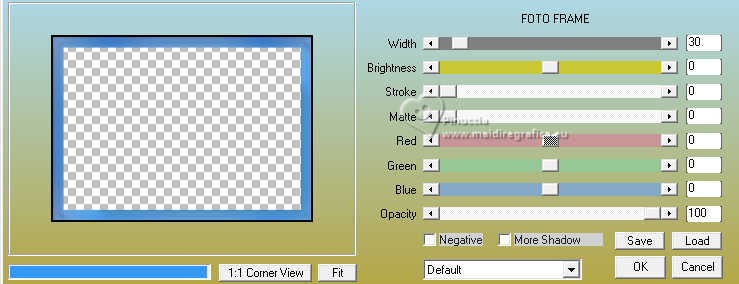
Change the Blend Mode of this layer to Luminance (legacy).
37. Effects>3D Effects>Drop Shadow, same settings, but color black.

Selections>Select None.
38. Open the text Texto_UN DIA A LA VEZ 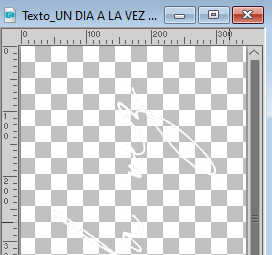
Edit>Copy.
Go back to your work and go to Edit>Paste as new layer.
Image>Resize, to 70%, resize all layers not checked.
K key to activate your Pick Tool 
and set Position X: 53,00 and Position Y: 54,00.

39. Activate your main tube 1405-vmtubes2 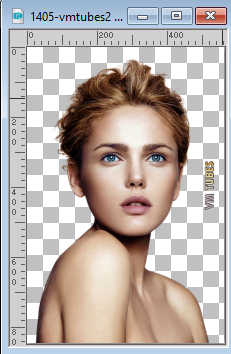
Erase the watermark and go to Edit>Copy.
Go back to your work and go to Edit>Paste as new layer.
Image>Resize, to 90%, resize all layers not checked.
Move  the tube to the right side. the tube to the right side.
Effects>3D Effects>Drop Shadow, at your choice; for me with color 3 #033c8d
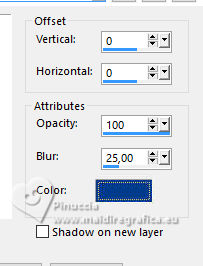
40. Image>Add borders, 1 pixel, symmetric, color 3 #033c8d.
41. Image>Resize, 1000 pixels width, resize all layers not checked.
Sign your work on a new layer.
42. Layers>Merge>Merge All and save as jpg.
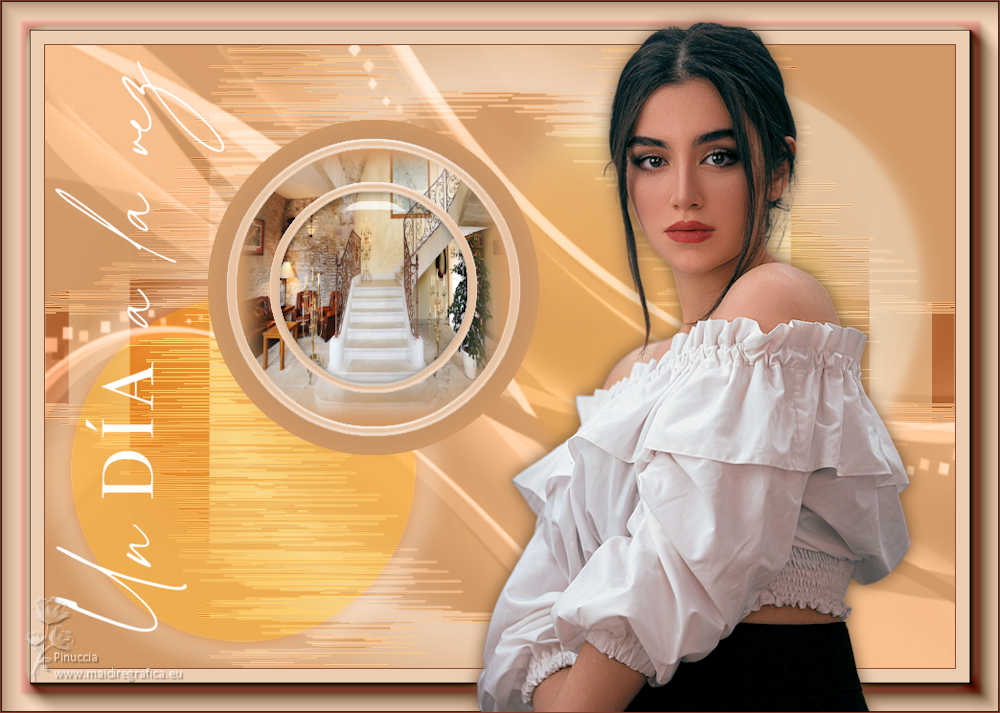
For the tubes of these versions thanks
Beas (the misted is mine)
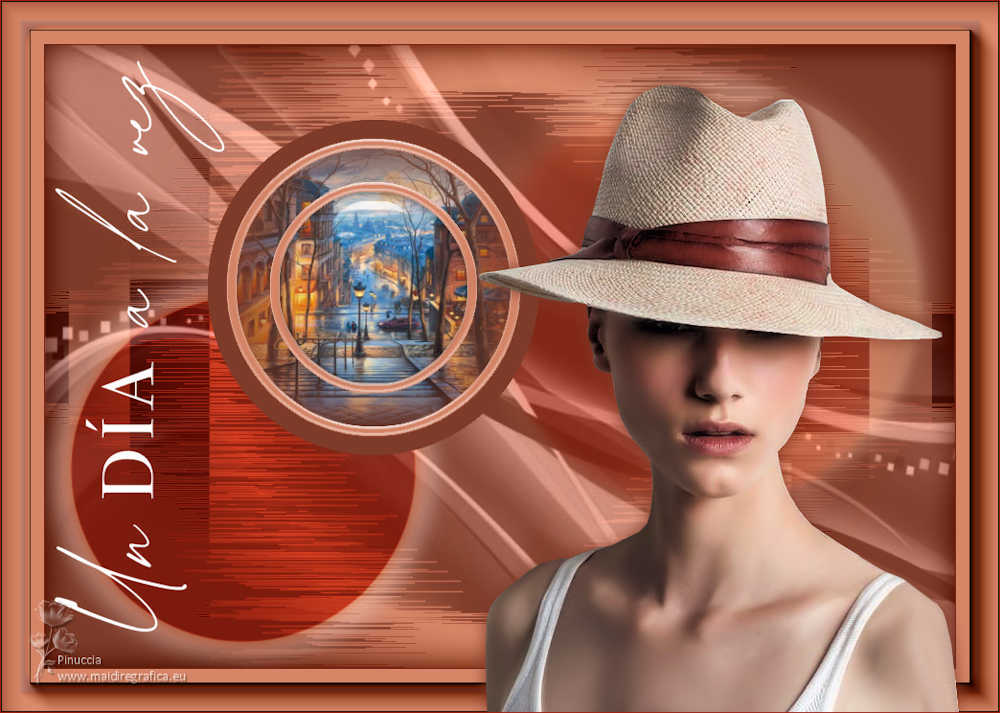
Vera Mendez and Mina


If you have problems or doubts, or you find a not worked link, or only for tell me that you enjoyed this tutorial, write to me.
25 November 2023

|
 ONE DAY AT A TIME

 ONE DAY AT A TIME