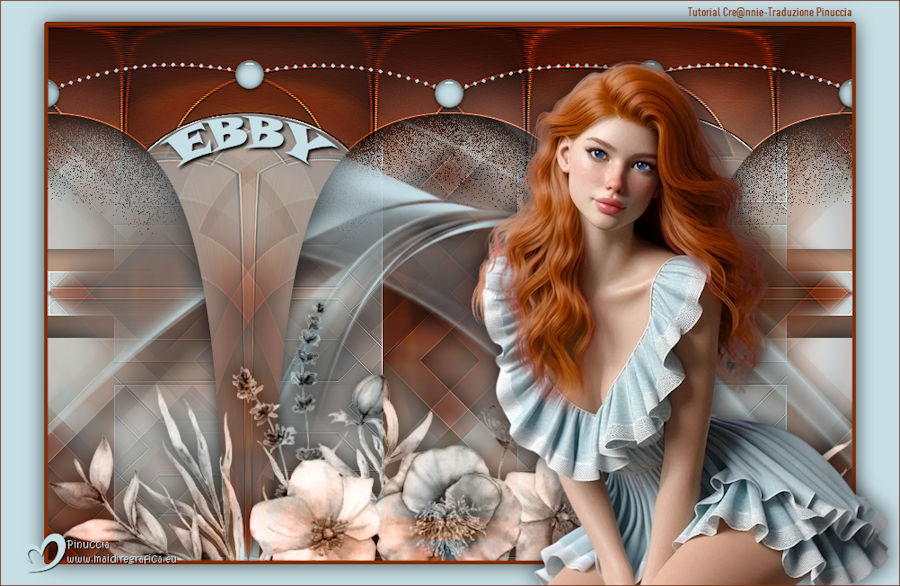
EBBY

Thanks Annie for your invitation to translate
Clic and move the image to follow the tutorial.
To print


|
This tutorial, created with PSP2020, was translated with PSPX8, PSPX9 and PSP2020, but it can also be made using other versions of PSP.
Since version PSP X4, Image>Mirror was replaced with Image>Flip Horizontal,
and Image>Flip with Image>Flip Vertical, there are some variables.
In versions X5 and X6, the functions have been improved by making available the Objects menu.
In the latest version X7 command Image>Mirror and Image>Flip returned, but with new differences.
See my schedule here
 italian translation here italian translation here
 french translation here french translation here
 your versions here your versions here
Necessary
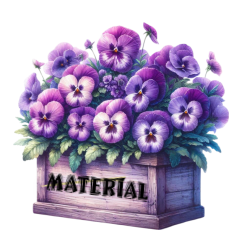
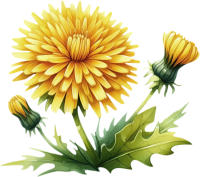
Thanks for the tube and the mask thanks Nadège and Narah.
(The links of the tubemakers here).
Plugins
consult, if necessary, my filter section here
Filters Unlimited 2.0 here
Graphics Plus - Cross Shadow here
Mehdi - Sorting Tiles here
Toadies - What are you here
Alien Skin Eye Candy 5 Impact - Perspective Shadow, Glass here
Filters Graphics Plus and Toadies can be used alone or imported into Filters Unlimited.
(How do, you see here)
If a plugin supplied appears with this icon  it must necessarily be imported into Unlimited it must necessarily be imported into Unlimited
You can change Blend Modes according to your colors.

Copy the selections in the Selections Folder.
Open the mask in PSP and minimize it with the rest of the material.
1. Open a new transparent image 650 x 500 pixels.
2. Set your foreground color to the light color #c7dee5
and your background color to the dark color #7e3104.
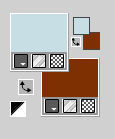
Flood Fill  the transparent image foreground color. the transparent image foreground color.
3. Selections>Select All.
Open the tube 2025_59_Nadege 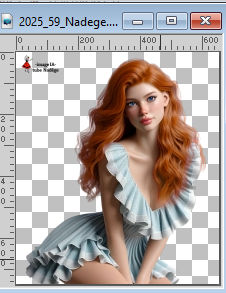
Erase the watermark and go to Edit>Copy.
Go back to your work and go to Edit>Paste into Selection.
Selections>Select None.
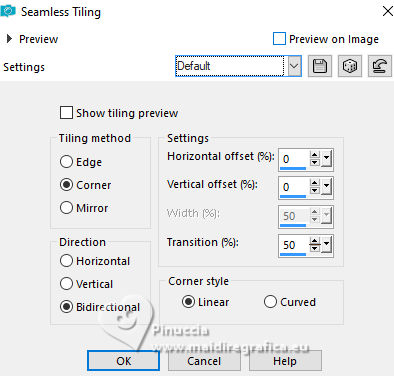
4. Effects>Image Effects>Seamless Tiling, default settings.
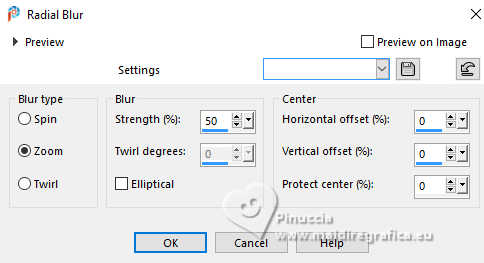
5. Adjust>Blur>Radial Blur.
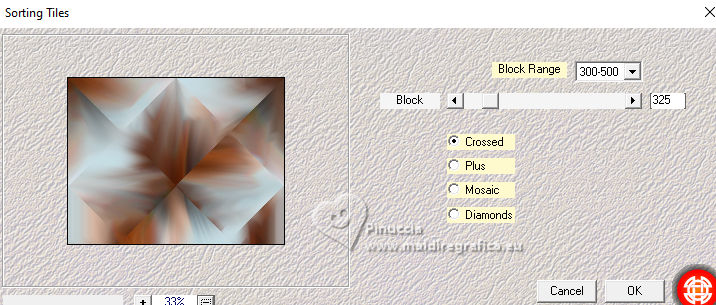
6. Effects>Plugins>Mehdi - Sorting Tiles.
7. Layers>Duplicate.
Image>Mirror>Mirror Horizontal.
Image>Mirror>Mirror Vertical (Image>Flip).
8. Reduce the opacity of this layer to 50%
Layers>Merge>Merge Down.
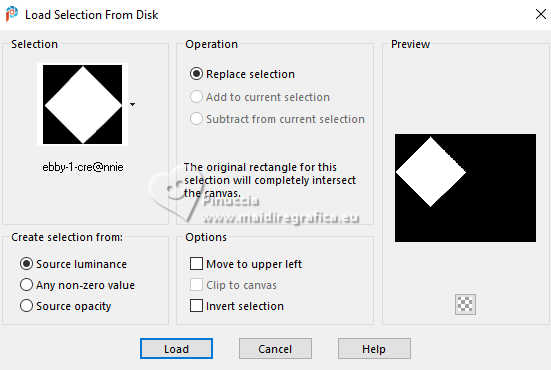
9. Selections>Load/Save Selection>Load Selection from Disk.
Look for and load the selection ebby-1-cre@nnie
Selections>Promote Selection to Layer.
10. Selections>Modify>Contract - 30 pixels.
Press CANC on the keyboard 
Selections>Select None.
Effects>Edge Effects>Enhance.
11. Layers>Duplicate.
Image>Mirror>Mirror Horizontal.
Image>Mirror>Mirror Vertical (Image>Flip).
Layers>Merge>Merge Down.
12. Effects>3D Effects>Drop Shadow, color black.
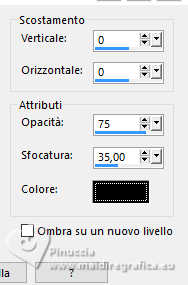
13. Change the Blend Mode of this layer to Overlay.
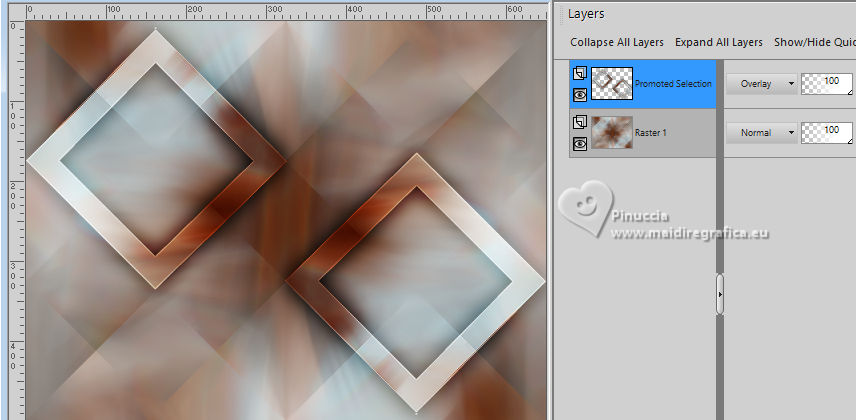
14. Selections>Select All.
Image>Add Borders, symmetric not checked, background color.
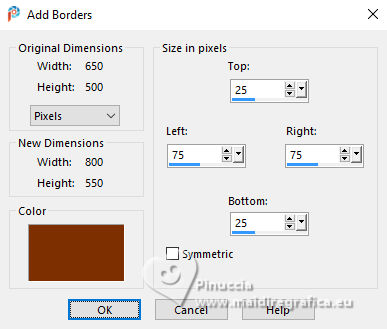
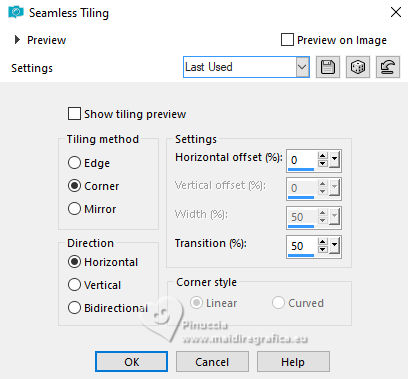
15. Effects>Image Effects>Seamless Tiling, last settings.
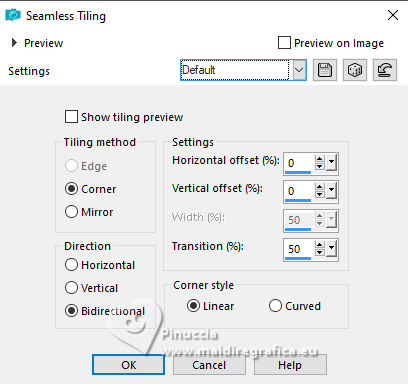
16. Selections>Invert.
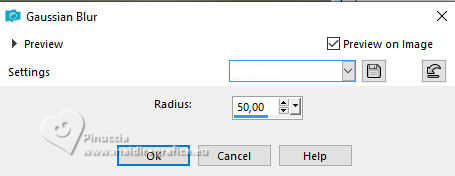
Adjust>Blur>Gaussian Blur - radius 50
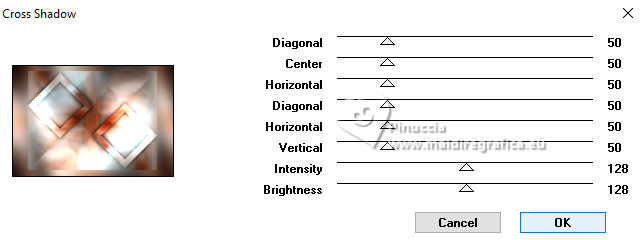
17. Effects>Plugins>Graphics Plus - Cross Shadow, default settings.
18. Selections>Invert.
Effects>3D Effects>Drop Shadow, last settings.
Selections>Select None.
19. Effects>Image Effects>Seamless Tiling, Horizontal checked.
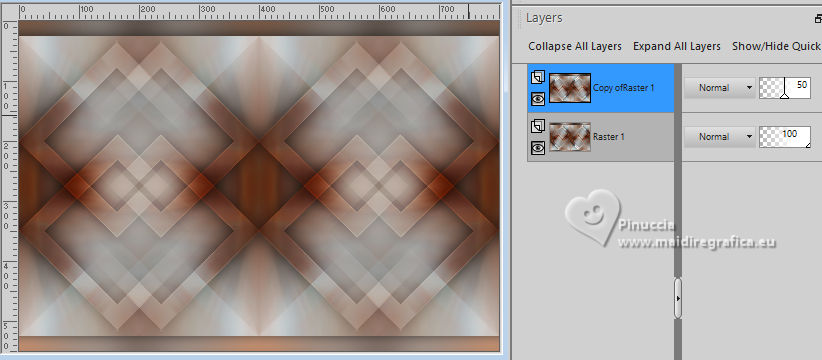
20. Layers>Duplicate.
Image>Mirror>Mirror Horizontal.
Reduce the opacity of this layer to 50%.
21. Selections>Select All.
Image>Add Borders, symmetric not checked, foreground color.
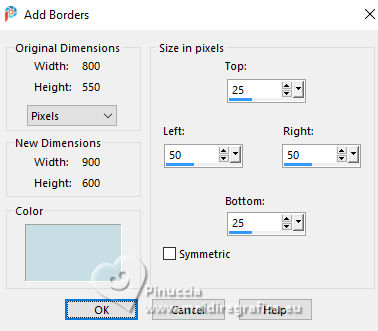
22. Selections>Invert.
Effects>Plugins>Toadies - What are you
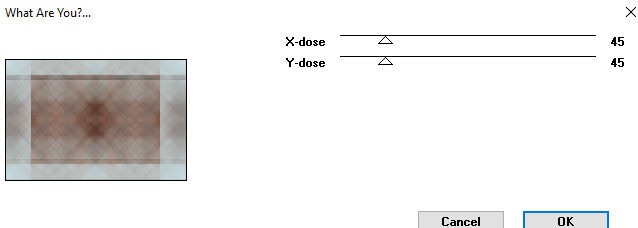
Effects>Edge Effects>Enhance More.
Selections>Select None.
23. Effects>Image Effects>Offset.
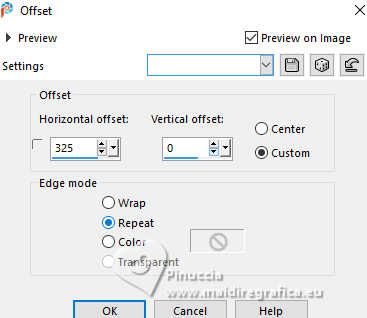
24. Layers>Duplicate.
Image>Mirror>Mirror Horizontal.
25. Change the Blend Mode of this layer to Hard Light,
and reduce the opacity to 50%.
Layers>Merge>Merge Down.
26. Effects>Image Effects>Seamless Tiling, again default settings.
27. Activate your Selection Tool 
(no matter the type of selection, because with the custom selection your always get a rectangle)
clic on the Custom Selection 
and set the following settings.
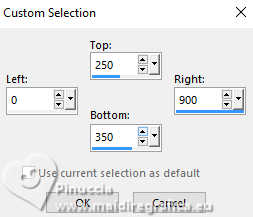
Selections>Promote Selection to Layer.
28. Effects>3D Effects>Drop Shadow, last settings.
Selections>Select None.
29. Effects>Distortion Effects>Polar Coordinates
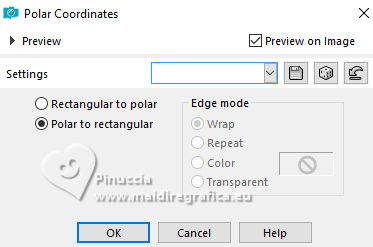
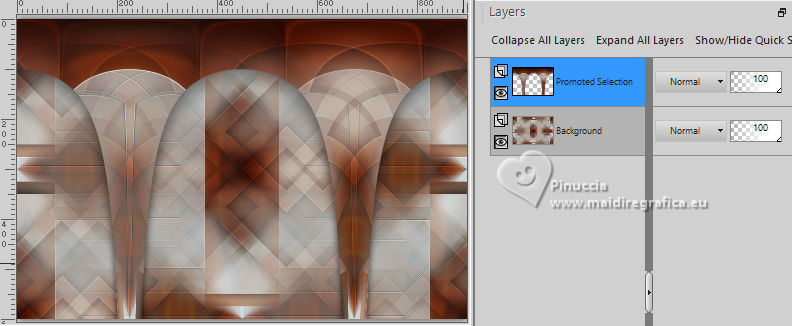
You should have this:
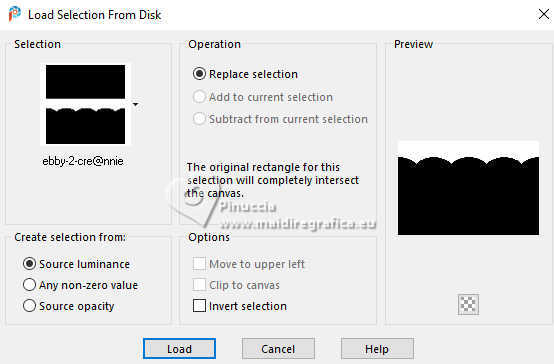
30. Selections>Load/Save Selection>Load Selection from Disk.
Look for and load the selection ebby-2-cre@nnie
31. Effects>Edge Effects>Enhance More.
Effects>3D Effects>Drop Shadow, last settings.
Selections>Promote Selection to Layer.
Selections>Select None.
32. Image>Rotate Right.
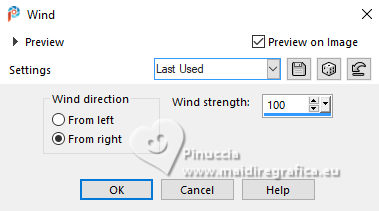
Effects>Distortion Effects>Wind - from right, strength 100
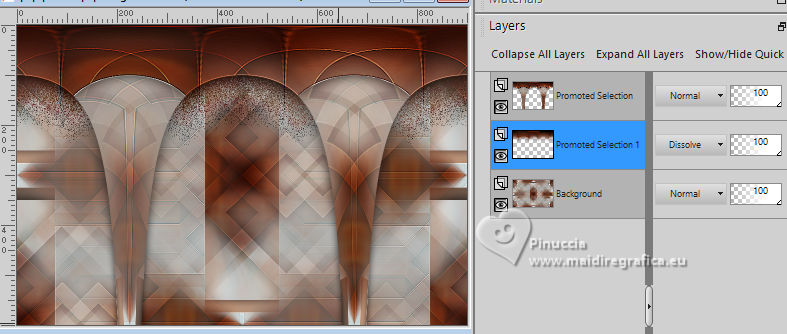
33. Image>Rotate Left.
Layers>Arrange>Move Down.
Change the Blend Mode of this layer to Dissolve.
34. Layers>New Raster Layer.
Flood Fill the layer with your foreground color.
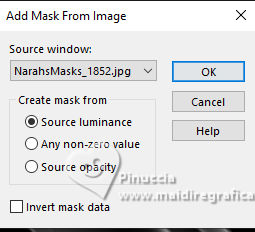
35. Layers>New Mask layer>From image
Open the menu under the source window and you'll see all the files open.
Select the mask NarahsMasks_1852.
Layers>Merge>Merge Group.
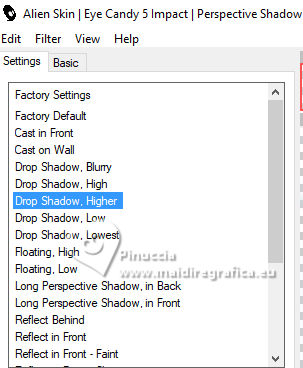
36. Effects>Plugins>Alien Skin Eye Candy 5 Impact - Perspective Shadow
Preset Drop Shadow Higher
37. Activate your top layer.
Layers>New Raster Layer.
Selections>Load/Save Selection>Load Selection from Disk.
Look for and load the selection ebby-3-cre@nnie
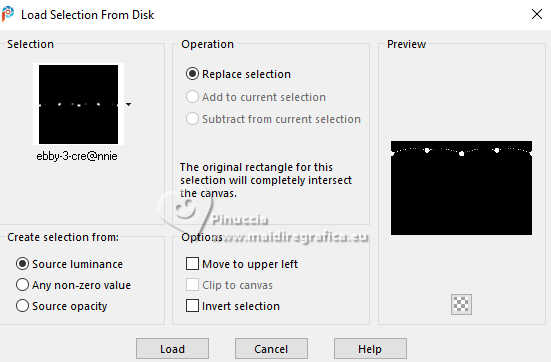
Flood Fill the selection with your foreground color.
38. Effects>Plugins>Alien Skin Eye Candy 5 Impact - Glass
Preset Clear
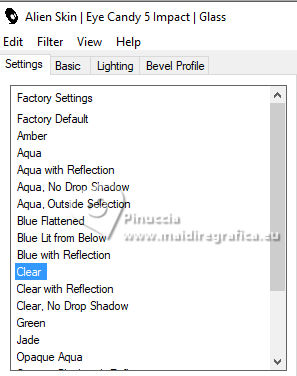
Selections>Select None.
39. Open the tube bloemenrand-pr 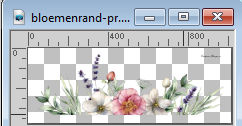
Erase the watermark and go to Edit>Copy.
Go back to your work and go to Edit>Paste as new layer.
Image>Resize, to 95%, resize all layers not checked.
Objects>Align>Bottom.
40. Change the Blend Mode of this layer to Luminance (legacy).
Effects>3D Effects>Drop Shadow, last settings.
41. Selections>Select All.
Image>Add Borders, last settings.
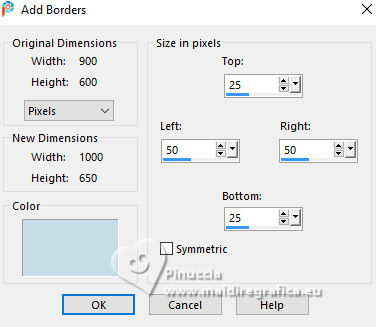
42. Effects>3D Effects>Drop Shadow, last settings.
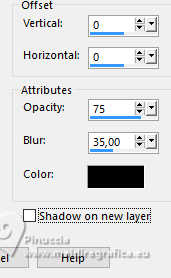
43. Selections>Modify>Select Selection Borders
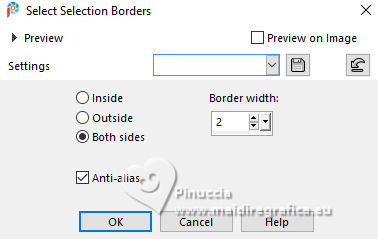
Flood Fill the selection with your background color.
Selections>Select None.
44. Activate again the tube 2025_59_Nadege and go to Edit>Copy.
Go back to your work and go to Edit>Paste as new layer.
Image>Resize, to 80%, resize all layers not checked.
Image>Mirror>Mirror Horizontal.
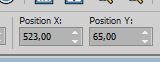
45. K key to activate your Pick Tool 
Position X: 523,00 - Position Y: 65,00.
Effects>3D Effects>Drop Shadow, last settings.
46. Open the tube tekst-ebby 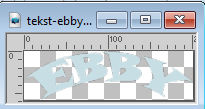
Edit>Copy.
Go back to your work and go to Edit>Paste as new layer.
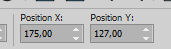
Position X: 175,00 - Position Y: 127,00.
M key to deselect the Tool.
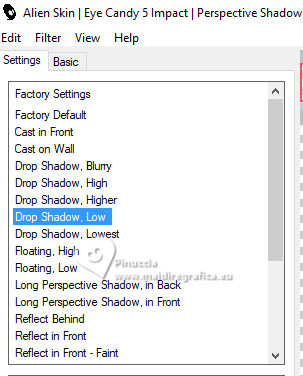
47. Effects>Plugins>Alien Skin Eye Candy 5 Impact - Perspective Shadow
Preset Drop Shadow,Low
48. Sign your work on a new layer.
49. Image>Add Borders, 1 pixel, symmetric, background color.
50. Image>Resize, 800 pixels width, resize all layers checked.
Save as jpg.
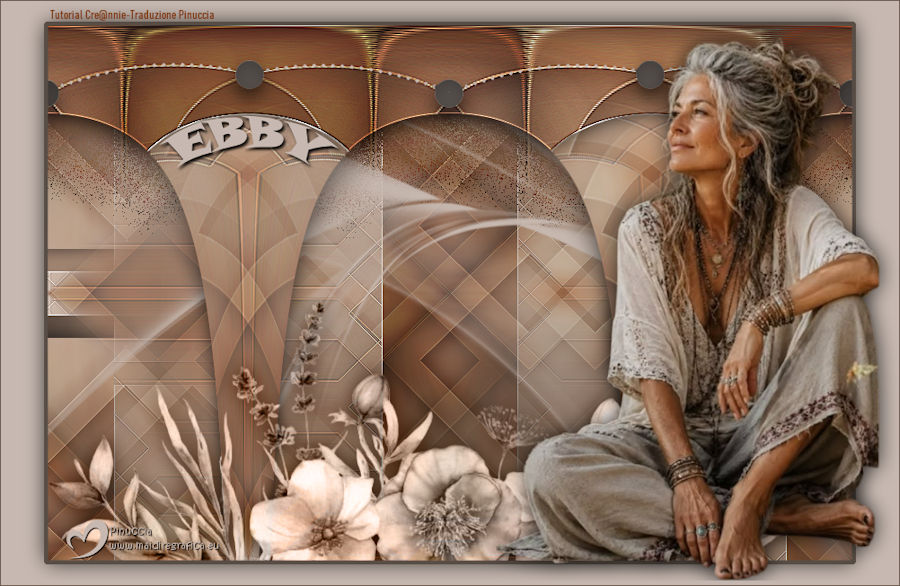
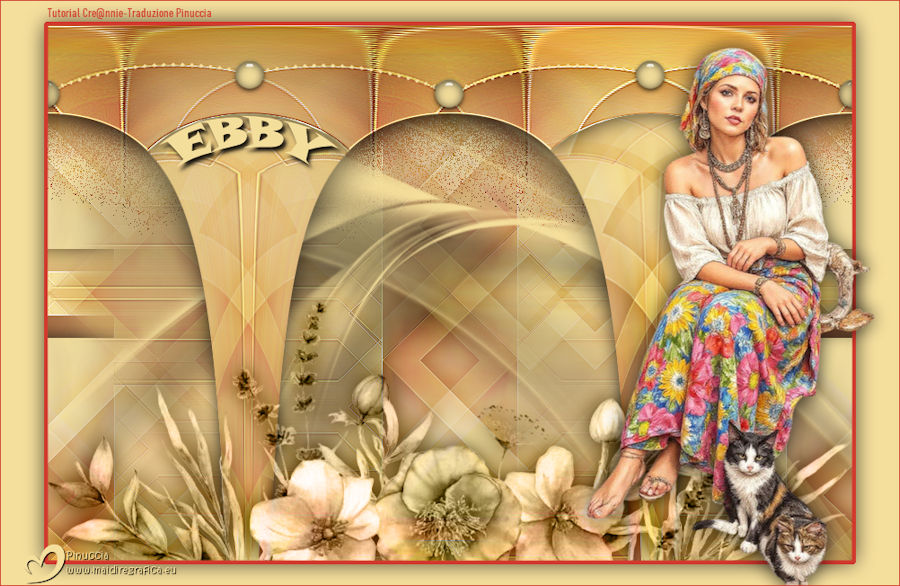
Versions with tubes from Pinterest images
If you have problems or doubts, or you find a not worked link, or only for tell me that you enjoyed this tutorial, write to me.
5 July 2026

|