WHITLEY


Thanks Annie for your invitation to translate

Clic and move the brush to follow the tutorial.

To print


|
This tutorial, created with PSP2020, was translated with PSPX8, PSPX9 and PSP2020, but it can also be made using other versions of PSP.
Since version PSP X4, Image>Mirror was replaced with Image>Flip Horizontal,
and Image>Flip with Image>Flip Vertical, there are some variables.
In versions X5 and X6, the functions have been improved by making available the Objects menu.
In the latest version X7 command Image>Mirror and Image>Flip returned, but with new differences.
See my schedule here
 italian translation here italian translation here
 french translation here french translation here
 your versions here your versions here
Necessary

For the tube and the mask thanks Franie Margot and Narah
(The links of the tubemakers here).
Plugins
consult, if necessary, my filter section here
Alien Skin Eye Candy 5 Impact - Extrude here
Mehdi - Wavy Lab 1.1. here
Mehdi - Sorting Tiles here
Mehdi - Kaleidoscope 2.1 here
Mura's Meister - Perspective Tiling here

You can change Blend Modes according to your colors.
Copy the preset  in the folder of the plugin Alien Skin Eye Candy 5 Impact>Settings>Extrude. in the folder of the plugin Alien Skin Eye Candy 5 Impact>Settings>Extrude.
One or two clic on the file (it depends by your settings), automatically the preset will be copied in the right folder.
why one or two clic see here

Copy the selections in the Selections Folder.
Open the mask in PSP and minimize it with the rest of the material.
1. Open a new transparent image 650 x 500 pixels.
Set your foreground color to the light color #127dd0
and your background color to the dark color #0d0d12.
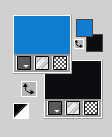
2. Effects>Plugins>Mehdi - Wavy Lab 1.1.
This filter creates gradients with the colors of your Materials palette.
The first is your background color, the second is your foreground color.
Change the last two colors created by the filtre, both with the color #edecef.

3. Adjust>Blur>Gaussian Blur - radius 30.

4. Effects>Image Effects>Seamless Tiling.
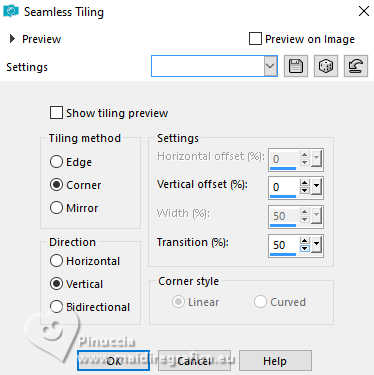
5. Layers>Duplicate.
Effects>Plugins>Mehdi - Sorting Tiles.
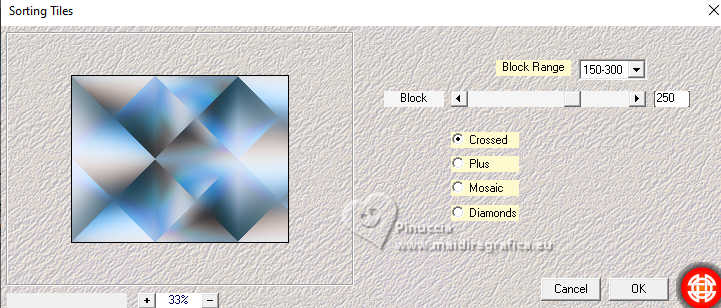
Effects>Edge Effects>Enhance More.
6. Change the Blend Mode of this layer to Hard Light.
Layers>Merge>Merge Down.
7. Effects>Image Effects>Seamless Tiling, Horizontal checked.

8. Layers>Duplicate.
Image>Mirror>Mirror Horizontal.
Reduce the opacity of this layer to 50%.
Layers>Merge>Merge Down.
9. Layers>New Raster Layer.
Flood Fill  the layer with your background color. the layer with your background color.
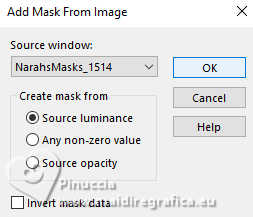
10. Layers>New Mask layer>From image
Open the menu under the source window and you'll see all the files open.
Select the mask NarahsMasks_1514.
Layers>Merge>Merge Group.
Reduce the opacity of this layer to 75%.
11. Selections>Select All.
Image>Add Borders, symmetric not checked, background color.
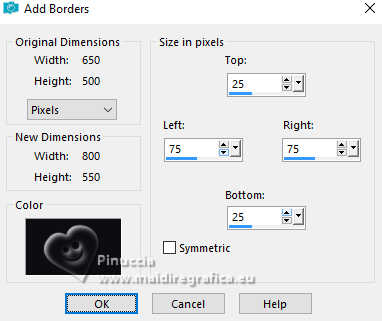
12. Selections>Invert.
Effects>Plugins>Mehdi - Kaleidoscope 2.1.
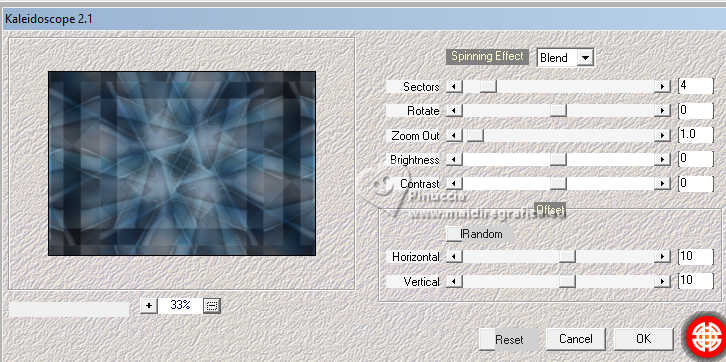
13. Effects>3D Effects>Drop Shadow, color black.

Selections>Select None.
14. Effects>Image Effects>Seamless Tiling, default settings.

15. Selections>Load/Save Selection>Load Selection from Disk.
Look for and load the selection whitley-1-cre@nnie.
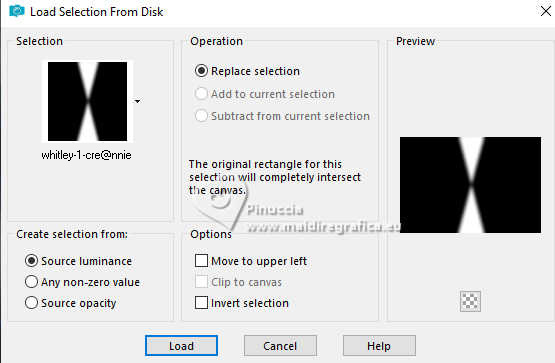
16. Effects>Texture Effects>Blinds - background color.
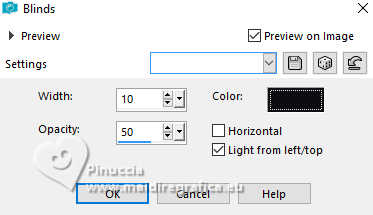
17. Selections>Load/Save Selection>Load Selection from Disk.
Look for and load the selection whitley-2-cre@nnie.
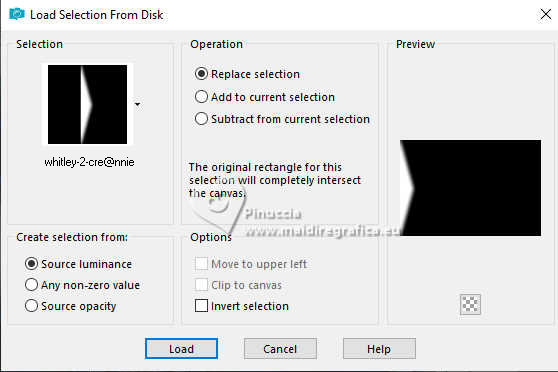
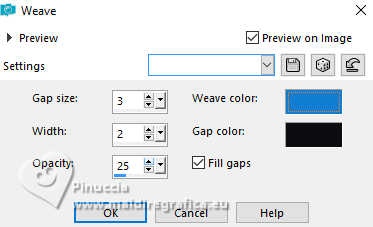
18. Effects>Texture Effects>Weave
weave color: foreground color
gap color: background color.
Effects>Edge Effects>Enhance.
19. Selections>Edit Selection - and the selected area turns red
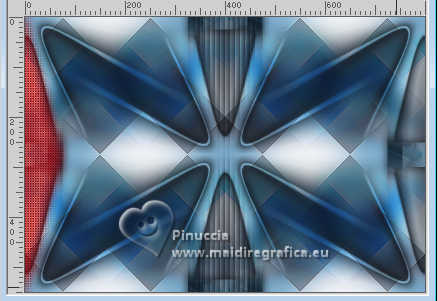
Image>Mirror>Mirror Horizontal.
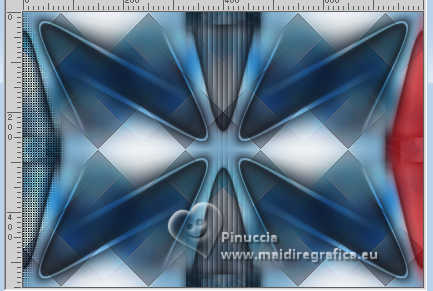
Selections>Edit Selection - and the red area turns normal.
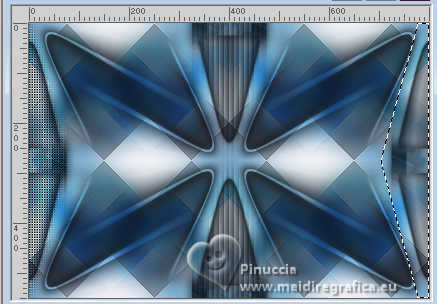
20. Effects>Texture Effects>Weave, same settings.

Effects>Edge Effects>Enhance.
21. Selections>Select All.
Image>Add Borders, symmetric not checked, foreground color.
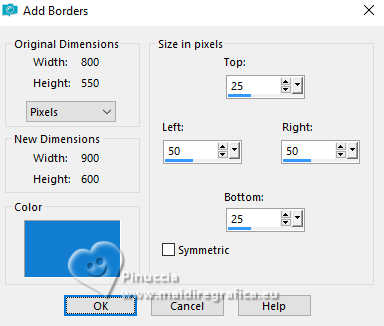
22. Effects>Image Effects>Seamless Tiling, same settings.

23. Selections>Invert.
Adjust>Blur>Gaussian Blur, same settings.

24. Effects>Texture Effects>Weave, same settings.

25. Selections>Invert.
Effects>3D Effects>Drop Shadow, same settings.

Selections>Select None.
26. Effects>Image Effects>Seamless Tiling.
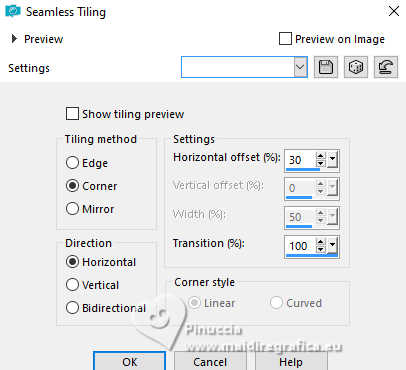
27. Activate your Selection Tool 
(no matter the type of selection, because with the custom selection your always get a rectangle)
clic on the Custom Selection 
and set the following settings.
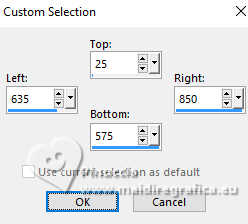
Selections>Promote Selection to Layer.
28. Change the Blend Mode of this layer to Overlay.
Effects>Edge Effects>Enhance.
Effects>3D Effects>Drop Shadow, same settings.

Selections>Select None.
You should have this
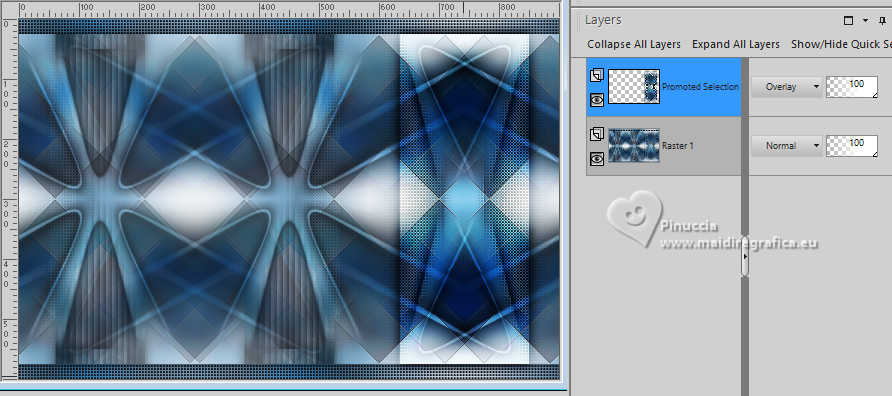
29. Activate your bottom layer.
Layers>Duplicate.
Effects>Geometric Effects>Circle.
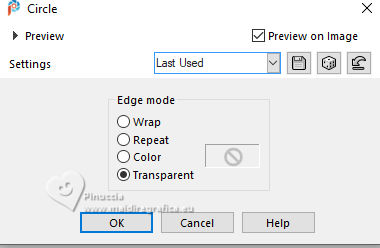
30. Layers>Arrange>Bring to Top.
Image>Resize, to 30%, resize all layers not checked.
31. K key to activate your Pick Tool 
Position X: 655,00 - Position Y: 128,00.

32. Effects>3D Effects>Drop Shadow, same settings.

33. Activate your bottom layer.
Layers>Duplicate.
Effects>Image Effects>Seamless Tiling, same settings, but Bidirectional checked.
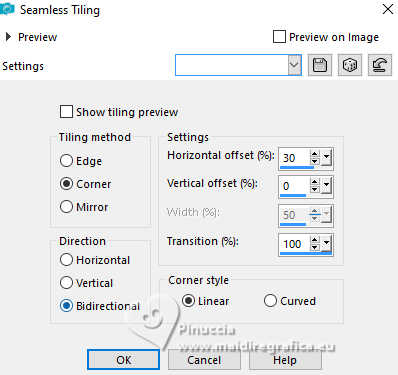
34. Effects>Plugins>Mura's Meister - Perspective Tiling.
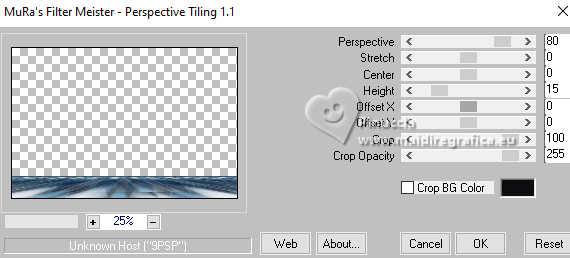
(if you have problems with the filter,
copy/paste as new layer the image punt64  ). ).
Objects>Align>Bottom: Position X: 0,00 - Position Y: 510,00)
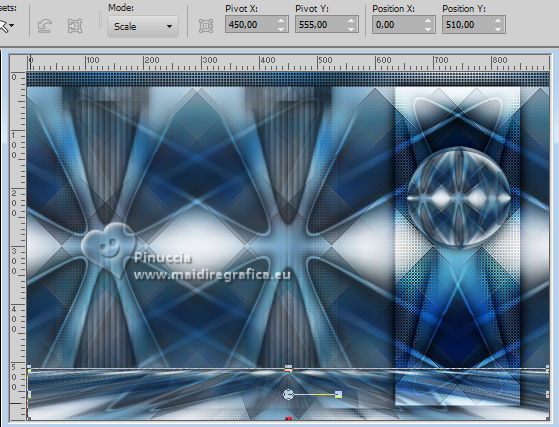
35. Effects>3D Effects>Drop Shadow, same settings.

Layers>Arrange>Bring to Top.
36. Activate again your bottom layer.
Effects>Distortion Effects>Wind - from right, strength 100
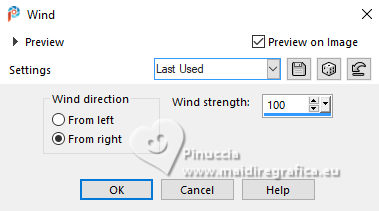
Edit>Repeat Wind.
Effects>Edge Effects>Enhance More.
37. Open the tube nature 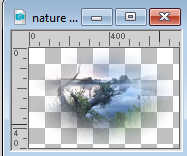
Edit>Copy.
Go back to your work and go to Edit>Paste as new layer.
Position x: 0,00 - Position Y: 28,00.

38. Change the Blend Mode of this layer to Hard Light,
and reduce the opacity to 60%.
39. Open the tube tekst-whitley 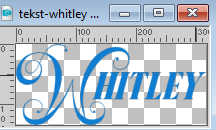
Edit>Copy.
Go back to your work and go to Edit>Paste as new layer.
Layers>Arrange>Bring to Top.
40. Position x: 524,00 - Position Y: 422,00.

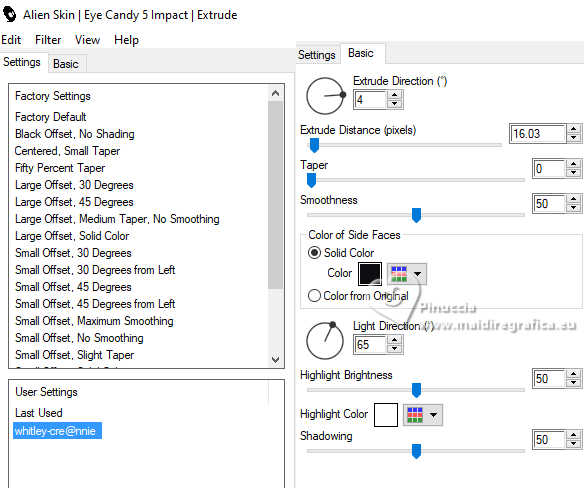
41. Effects>Plugins>Alien Skin Eye Candy 5 Impact - Extrude
Select the preset whitley-cre@nnie
42. Effects>3D Effects>Drop Shadow, same settings.

Effects>Edge Effects>Enhance.
43. Open the tube femme95_franiemargot 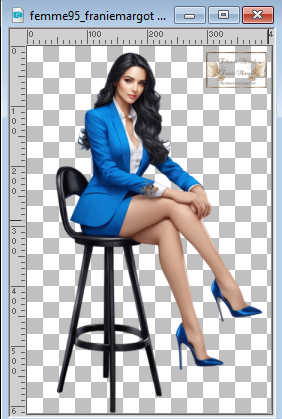
Erase the watermark and go to Edit>Copy.
Go back to your work and go to Edit>Paste as new layer.
Image>Resize, to 80%, resize all layers not checked.
Position X: 60,00 - Position Y: 100,00.

44. Effects>3D Effects>Drop Shadow, same settings.

M key to deselect the Tool.
Adjust>Sharpness>Sharpen More.
45. Selections>Select All.
Image>Add Borders, 50 pixels, symmetric, foreground color.
46. Selections>Invert.
Layers>New Raster Layer.
Flood Fill  the selection with your background color. the selection with your background color.
47. Layers>New Mask layer>From image
Open the menu under the source window
and select again the mask NarahsMasks_1514.

48. Layers>Merge>Merge visible.
Selections>Invert.
Effects>3D Effects>Drop Shadow, same settings.

Selections>Select None.
49. Sign your work on a new layer.
50. Image>Add Borders, 1 pixel, symmetric, background color.
51. Image>Resize, 800 pixels width, resize all layers checked.
Save as jpg.
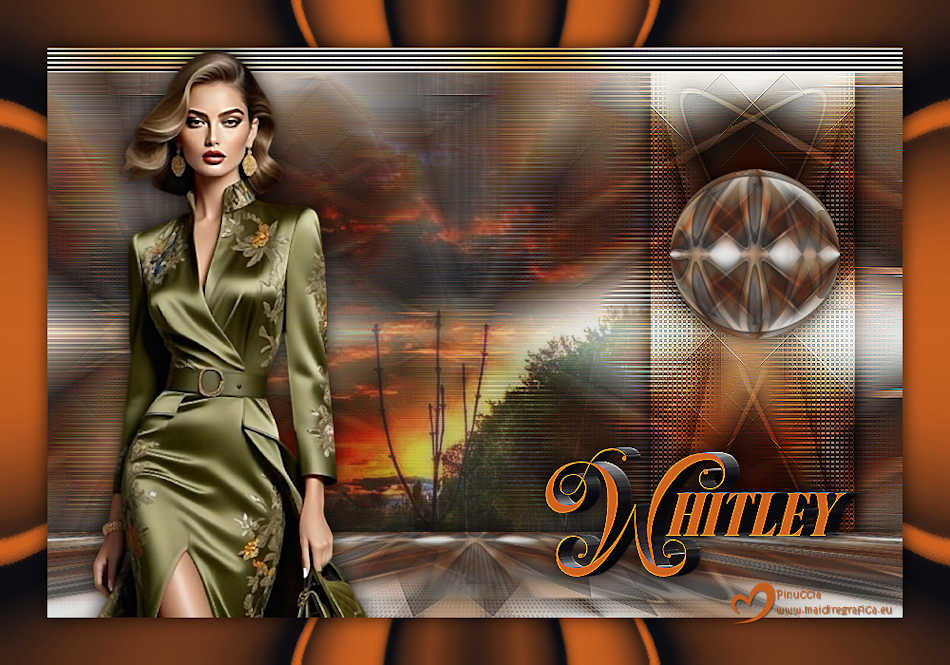
For the tube of this version thanks Wieske

If you have problems or doubts, or you find a not worked link, or only for tell me that you enjoyed this tutorial, write to me.
17 July 2025

|

